I thought I’d start a topic about some of the home automation things I’m doing with Blynk.
We live in London, England, and also have a holiday home in Spain where we spend around 4 months of the year. Most of my home automation projects are based in the Spanish home and are aimed at simplifying day-to-day life while we’re there. My wife is disabled, and finds new technology a bit of a challenge, so all the projects that I’ve created are aimed at being practical, easy to use and reliable.
Lets start with a bit of an introduction to the technology platform that I’m using…
Part 1 – Background
I don’t use Blynk in the same way as most other people, so this post is aimed at explaining the technology used and hopefully demonstrating that it’s worthwhile going down this route if you’re building complex projects.
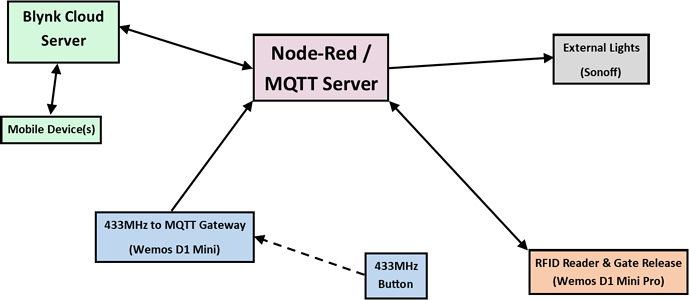
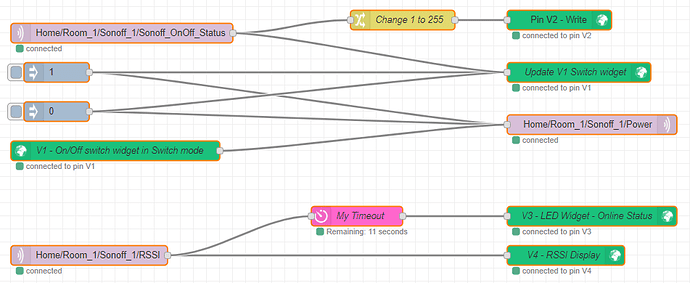
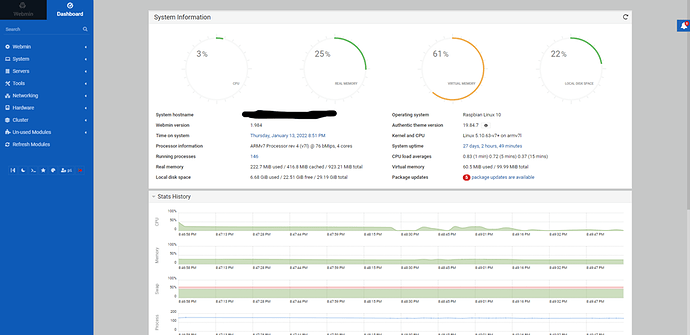
The core of my system is a Raspberry Pi 3 running Node-Red and the Mosquitto MQTT server. I use the Blynk cloud server for simplicity and reliability.
Node-Red is a graphical programming/workflow environment that is extremely powerful and it can be expanded by writing your own functions in a language which is very similar to Arduino C+. It’s also very simple to import additional ‘Nodes’ that are contributed via the Node-Red community and which add additional functionality. One of the ones I use is set of nodes developed and maintained by @gab.lau that give integration with Blynk. This is called node-red-contrib-blynk-ws. Other nodes I use on a regular basis allow integration with Amazon Alexa (node-red-contrib-alexa-home-skill) and Ikea Tradfri/Philips Hue lighting. There’s also a very powerful and flexible timing node developed by @scargill called node-red-contrib-bigtimer which I use to handle all of my scheduling.
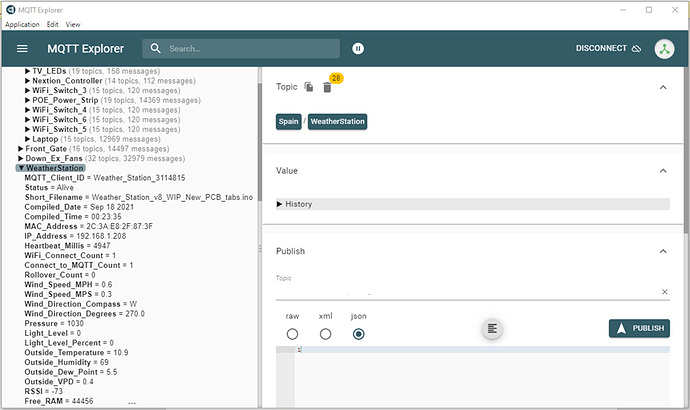
MQTT is a message transfer protocol that allows devices to transfer commands and data very easily. One way to visualise how MQTT works is to think of it as a standard folder/directory system that you might find on a Windows PC where you can drop messages for various programs to pick-up and use. Say you set-up a folder structure called:
../Home/Lounge/Lights/Light_1/Command/
You can then drop commands like “On” / “Off” (or “1” / “0”) in to this folder so that the devices that monitor this folder see the command, pick it up and do something with it.
In MQTT terms, putting a message in a folder is called Publishing and monitoring a folder is called Subscribing. The folders themselves are called Topics.
Obviously you don’t use a Windows file structure to achieve this, everything is handled in the background by the Mosquitto MQTT server when it comes to where and how the messages are stored. But, thinking of it in the same terms as you would when setting-up a folder structure to store data on your PC can help you to create a logical topic structure.
A Simple Example
Let’s take a look at a simple example of how you could use Blynk, Node-Red and MQTT together to control a light…
A simple system could have:
-
A mobile phone or tablet running Blynk, with a project that has a single on/off button widget connected to virtual pin 1.
-
A simple Node-Red flow that takes the output from the V1 button and writes it to our MQTT topic of Home/Lounge/Lights/Light_1/Command
-
An MCU device (in this case a Sonoff switch that will control a light), running software that connects to the local Wi-Fi and subscribes to the Home/Lounge/Lights/Light_1/Command topic. If the Sonoff receives a “1” then it will activate the relay to turn the light on, if it receives a “0” it will deactivate the relay to turn the light off.
The Node-Red flow for this would simply be:
The green node on the left is the incoming data from the Blynk button widget (a “0” or “1”), the pink node on the right outputs the same message (“0” or “1”) to the MQTT Topic.
You might ask “Why go to all this bother – why not just use a simple Blynk sketch”. The answer us that for something as basic as this then yes, a simple Blynk sketch is easier and quicker. However, it’s very easy to add-in other devices and get them talking to each other, something that isn’t as simple to do using just Blynk.
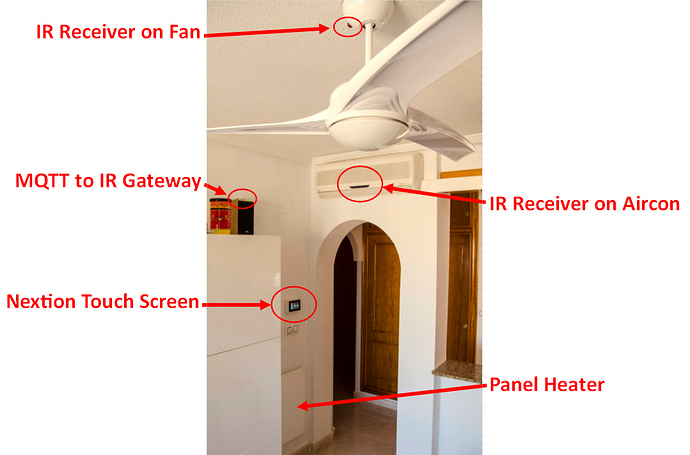
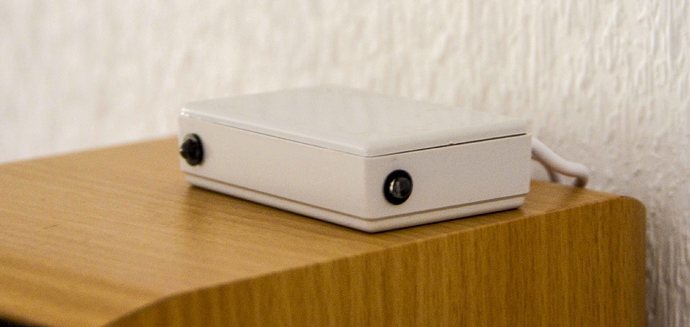
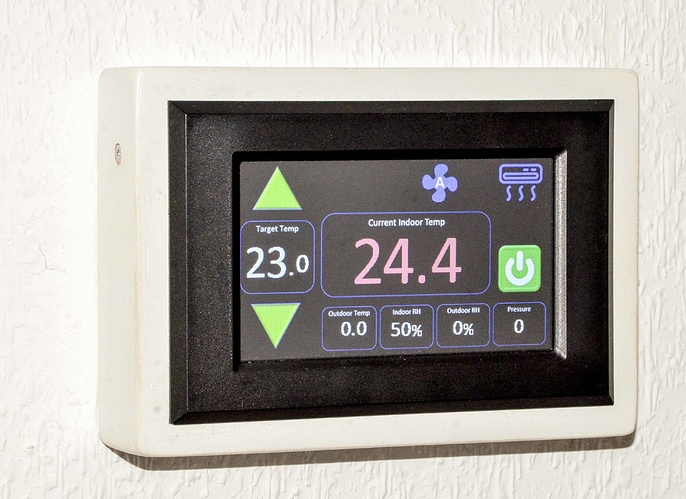
One of the things I use this system for is controlling my air conditioning, cooling fans and wall heaters. I have multiple temperature/humidity sensors, a Nextion touch screen, Infra-Red transmitters (to control the aircon and fans), Sonoff switches (to control the heaters) and a 433MHz receiver linked to door & window sensors (to warn if they are open when using the heating or air conditioning). This gives 8 devices that all talk to each other and interact in some way.
Doing this with Blynk alone would be a challenging task, so I use Blynk for what it’s great at – giving app control over settings, regardless of where you are in the world at the time.
Adding-in Alexa Voice Control
Building on my previous example, here’s how you would add-in Amazon Alexa voice control for the light that we’ve just set-up.
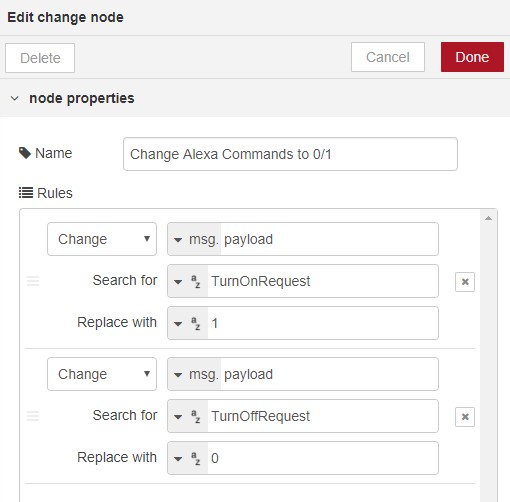
The Alexa “plug-in” for Node-Red allows you to name your devices however you wish. In this case I’ve gone with “Light 1” again. This is the Grey node bottom left. The output from the Alexa node takes the form of “TurnOnRequest” or “TurnOffRequest” and these strings need to be translated into “1” and “0” so we use a Change node (the yellow one at the bottom for this) for this.
As we also want the Blynk switch widget to stay synchronised, we need to write the output of the Change node back to pin V1, as well as to the MQTT node, so we use a Blynk output node (green, bottom right).
Once you’ve asked Alexa to discover your new device, saying “Alexa, Turn Light 1 On” will activate the Sonoff and turn the light on, as well as updating the app to show the switch widget on V1 as being On. I doubt that there’s an easier or quicker way to add Alexa integration to any project.
[Update December 2021] I’ve now moved away from the Alexa plug-in used in the screenshots and started using the node-red-contrib-virtual-smart-home plug-in instead.
The original plug-in had started to give “I’m not sure what went wrong” responses (despite the device responding correctly) when values were specified in the command (such as “Alexa, set the fan to 3”). The new plug-in is much simpler to use, and devices are added and deleted when the Node-Red flow is deployed without the need to ask Alexa to discover new devices. It’s also much more responsive than the other plug-in and eliminates the error responses that I had started to get.
It also allows a wider variety of Alexa device types to be specified when adding a new device.
Graphical Programming versus Coding
As an example of how easy it is to achieve results using the graphical programming environment of Node-Red, this is how the Change node is configured to translate the output from the Alexa node into the format we want:
It’s extremely simple to do things like this and I’m sure some would find it easier than writing the corresponding “if” statement in code.
Having said that, it you want to do this in a user defined function then there’s a node to allow you to do that. Personally, I tend to write functions that can perform multiple tasks to reduce the node count, but it depends on the complexity of the flow and what I’m trying to achieve.
Hopefully this has helped to explain a bit about what Node-Red and MQTT are, and how this combination can be used with Blynk.
If you’re interested in creating your own Node-Red and MQTT setup on a Pi then I’d recommend taking a look at the installation script that @scargill has created on his tech blog website:
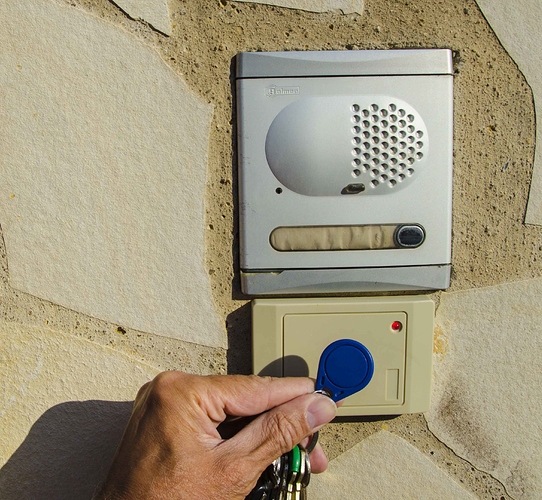
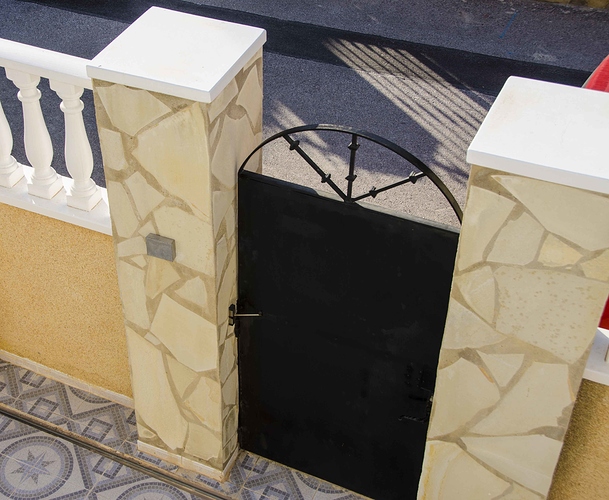
In the next posts I’ll start to get into more detail about the real world projects that I’m working on, starting with my door-entry system that I’ve created in Spain.
Pete.


