hello!
just continuing with my wandering in the realm of linux and rpi… maybe will be useful for others. today i managed to configure the rest of the necessary stuff:
-
downloaded blynk server files from here
-
copy server.properties file into home/pi folder and make your modifications if necessary. i’ve changed here:
enable.raw.db.data.store=true
allowed.administrator.ips=0.0.0.0/0 (only i will use this server, so no security concern)
-
reboot pi
-
start blynk admin panel in browser, give yourself lots of energy in users > yourAccount > energy > save changes
-
make the modifications in hw sketch and upload. for easy switching between cloud and local server, i made like this:
in header file:
// SERVER CONFIGURATION
//#define CLOUD
#define LOCAL
in main file:
#ifdef CLOUD
const char* ssid = "router ssid";       // CLOUD
const char* pass = "router wifi pass";  // CLOUD
char auth[] = "cloud token";
#endif

#ifdef LOCAL
char ssid[] = "zero ssid";             // LOCAL
char pass[] = "zero wifi pass";        // LOCAL
char auth[] = "local token";
#endif
and in void setup:
#ifdef CLOUD
    Blynk.begin(auth, ssid, pass);  // CLOUD
#endif

#ifdef LOCAL
    Blynk.begin(auth, ssid, pass, IPAddress(zero ip here));  // LOCAL
#endif
this way, when switching the same hw between local or cloud, i just have to comment / uncomment the 2 lines in the header file.
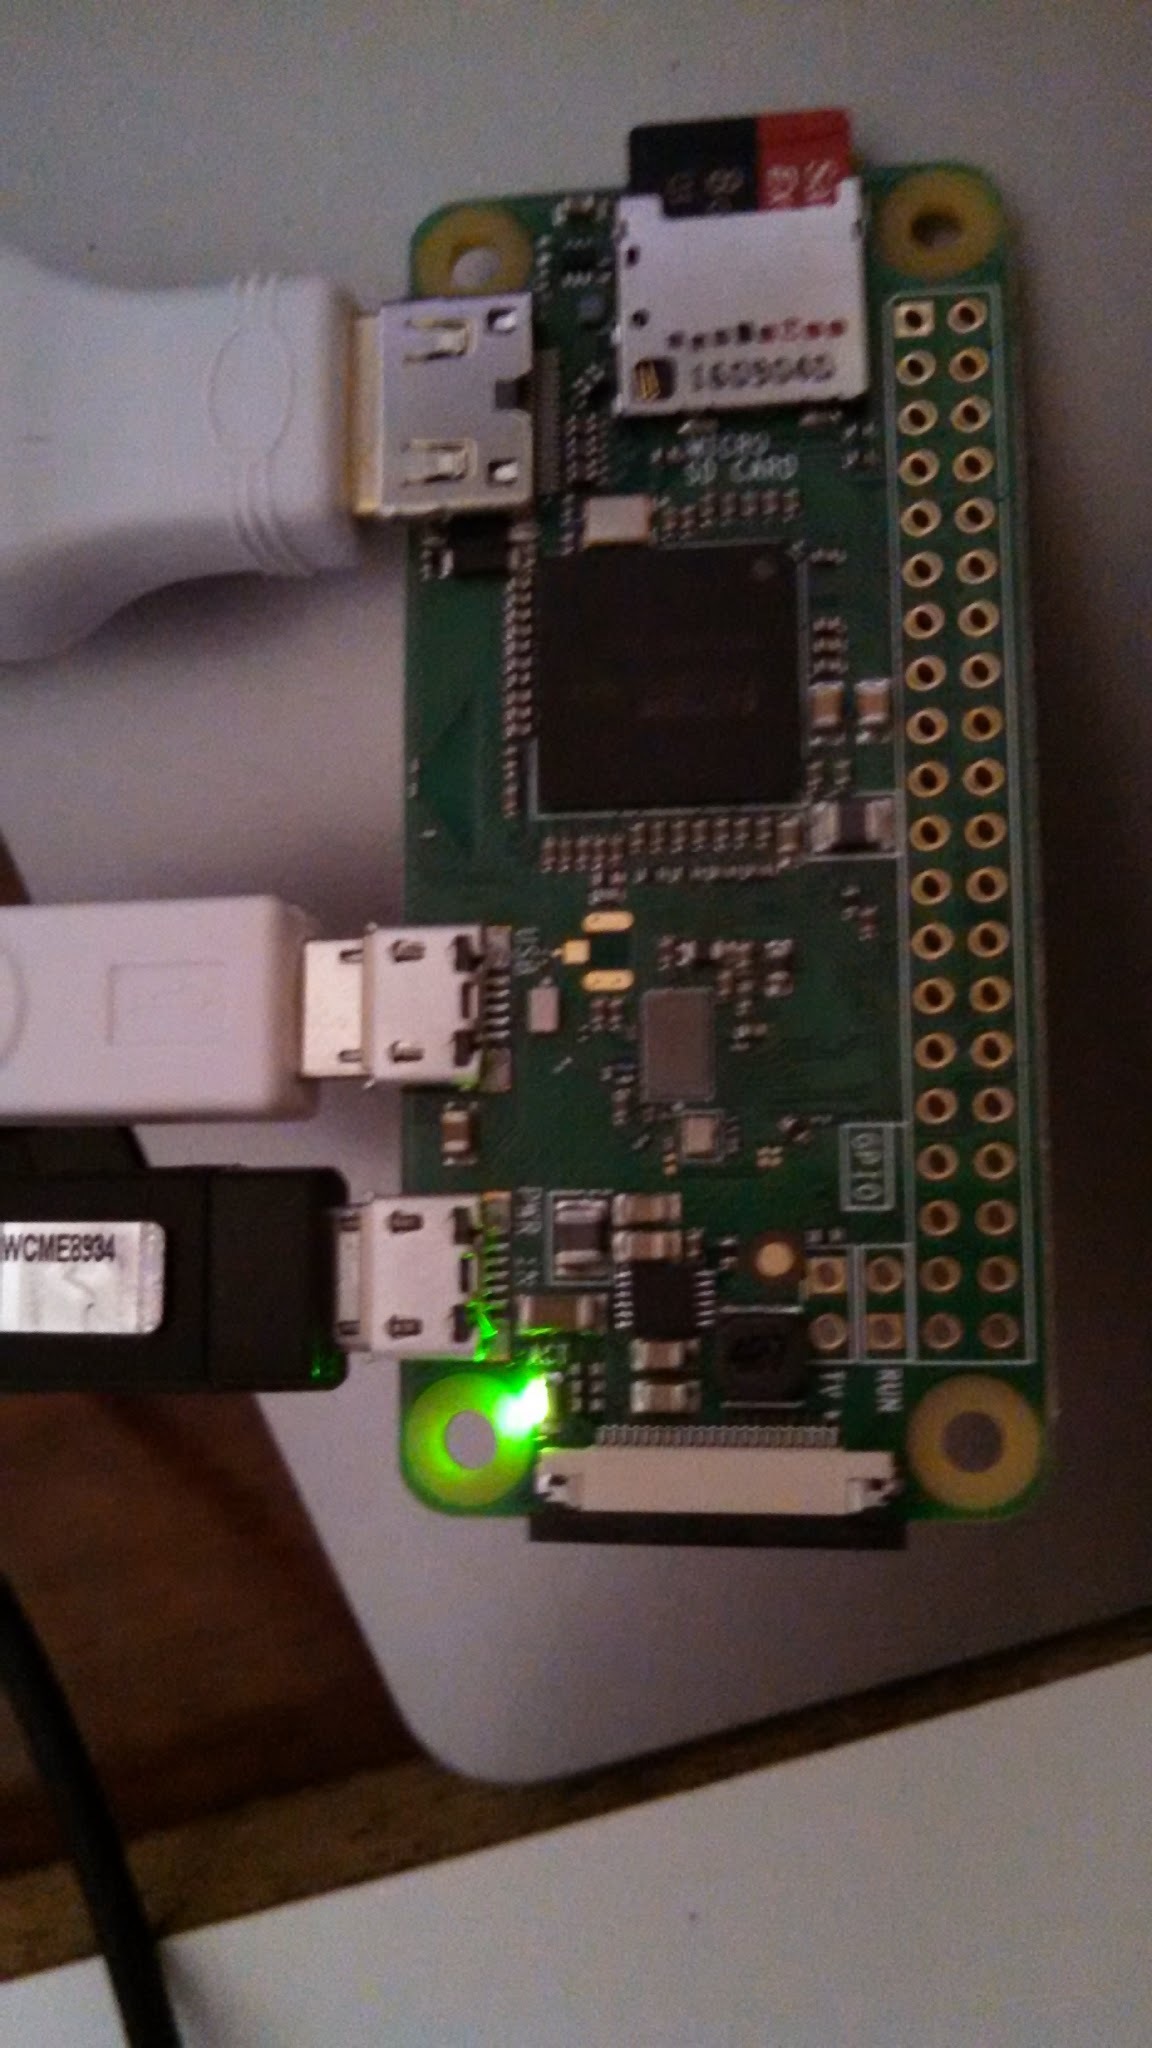
at this point all the pi / ap / server / app / hw configuration is done. now, i can connect to my local blynk server and have a fully standalone, working system. (when uploading new sketch ota, i just connect with my laptop to the pi zero wifi, and select the wemos ip address in arduino ide)
now, i could even stop here, because theoretically all is set up. but i’m too lazy person, and i wanted to have other “gadgets” like:
1) reduced boot time / power consumption on pi
2) access my pi zero from my windoze laptop (this way i can renounce to the pi’s keyboard, mouse and display)
3) have internet connection on the pi, while still in ap mode (this is important, because i have to keep the os and blynk server up to date, etc)
my linux knowledge is ultra basic, to say at least. probably i could never figure out how to achieve all these functions, if one of my friends didn’t help me out. (luckily, that guy is a unix / linux guru. these specimens are really strange kind of people, but could be quite handy sometimes ;))
1) ok, actually i could do this alone, with some google:
in terminal type: sudo raspi-config (this is kind of a “bios” menu for the pi)
here one can find various basic os setting. i just have selected the “no gui on startup, with command line auto login” option, that’s all. this way i have much shorter boot up time, lower current consumption, lighter on ram, etc.
2) access pi from windoze pc:
-
first enable ssh on the pi:
one can do this in gui:
start menu > preferences > pi configuration > interfaces
or in sudo raspi-config
-
after ssh is enabled, install putty portable on the windoze machine. connect to the pi hotspot, open putty and type the pi zero ip address. leave the other settings as is (port 22, ssh). you can also save the session for future use. (on my pc the putty text size was too small to read, i could set the size in window > appearance > font settings.)
also, if you wish to set up auto log in with putty, you can do like this:
- create a shortcut for putty exe
- edit in shortcut > properties > target > putty.exe -load my_server -l your_user_name -pw your_password
(‘my_server’ is the saved session name)
if all is set, just press open. a terminal window will open, here you have to enter user (default rpi user is “pi”), and password (default is “raspberry”).
there you have a working command line, to interact with the pi zero! no dedicated keyboard, mouse, display are needed, you can mount now the mini server out of sight!
3) internet connection:
for my project i set up the pi to work in access point mode (wifi hotspot). so, there is no internet connection on it. if you wish to check for server updates, or install new app, it is not possible.
here is how to share your laptop’s ethernet connection with the pi:
on the windoze pc:
-
connect to the pi zero wifi
-
start putty and connect to the pi (log in, etc)
-
set the gateway to use static ip:
edit the interfaces file: sudo nano /etc/network/interfaces
add after netmask line these 2 lines:
-
gateway xxx.xxx.xxx.200 (the pi ip address)
-
dns-nameservers 8.8.8.8 8.8.4.4
-
it should look like this:
iface wlan0 inet static
address 192.168.42.1
netmask 255.255.255.0
gateway 192.168.42.200
dns-nameservers 8.8.8.8 8.8.4.4
save the file and close editor: ctrl+x, y, enter
- restart pi with:
sudo reboot
- after the pi has restarted connect to pi wifi, open network and sharing centre
- click on the ethernet connection > properties > sharing tab > check the first tab, uncheck the second. click ok.
- click on the pi zero wifi > properties > internet protocol version 4 > properties > confirm that use the following ip address is selected, then click advanced.
- in ip settings tab at ip addresses click add. enter the pi zero ip address, except for the last value give 200 (like this:
xxx.xxx.xxx.200). for subnet mask use 255.255.255.0
- after you create the alias, click ok in each previous dialog box
- reboot pi, after it has restarted connect to pi wifi
- in putty terminal check the internet connection with:
ping 8.8.8.8 (if you see some ms times it is ok)
ping google.com (if you see some ms times it is ok)
- now you can install mc file manager for example with
sudo apt-get install mc
- if you need to transfer files between you pc and pi zero, you can do it easily with winscp portable
-
!!! after you no longer need the internet on the pi, you should uncheck the box in: ethernet connection > properties > sharing tab > uncheck the first tab