Update January 2022
Okay, it’s been almost 3 years since my last post in this topic, and things have changed quite a bit – so it’s time for an update….
New Blynk IoT
Obviously, the main thing that’s changed since my last update is the launch of the new Blynk IoT system (AKA Blynk 2.0). This required some changes to the Node-Red contrib for Blynk, so a new contrib called node-red-contrib-blynk-iot has been launched. The current version of this contrib is 0.2.0 and the following warning…
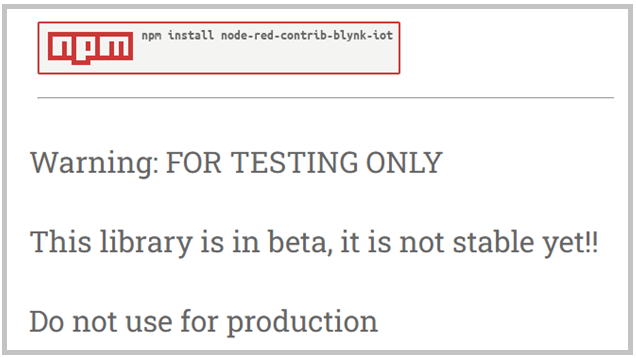
However, I’ve been using this on a daily basis since it was launched 7 months ago without any problems.
There are some restrictions to the current contrib, and I’d suggest that you read this issues list before going too far with your Blynk IoT flow development…
Any features that are missing from the contrib (such as logging events to trigger notifications) can be done via API calls and I’ll demonstrate this later.
Rationalising my Devices
When I first started using Blynk with Node-Red I followed the approach of each physical device being treated as a device in Blynk. This approach is still necessary if you run Blynk code on your devices, but if you run only MQTT code on your devices and allow Node-Red to handle all Blynk communication then there is no need for this approach.
After a while I rationalised my approach to devices in Blynk Legacy, and tended to group physical devices together into one Blynk device. For example, I had a Blynk device called “Lounge Lights” that had 5 or 6 physical devices (mostly Sonoff switches) each controlling a light in the lounge.
I quickly realised that even this approach used too many Blynk devices, but didn’t feel like restructuring all of my flows to rationalise things.
The big difference between Blynk IoT and Legacy is that Legacy allowed widgets that are attached to multiple devices to be displayed on the same Project dashboard. Blynk IoT doesn’t allow that, it’s one dashboard per device and these are arranged in something that resembles Device Tiles in Legacy.
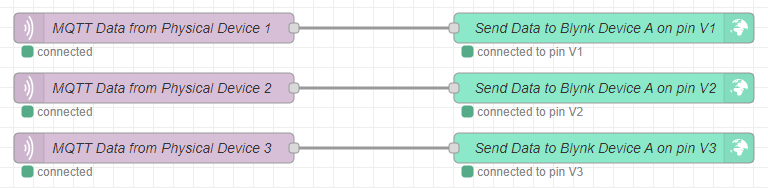
This meant that it makes sense to have just one device in Blynk when I converted my flows to work with Blynk IoT. This is a simple visual representation of how that might look, with three physical devices (1, 2 & 3) pushing data to one Blynk device (A)
The type of Blynk subscription you have limits how many widgets there can be on each dashboard. For the Free plan the limit is 30 widgets, Plus is limited to 80 widgets and Pro is limited to 255 widgets. This may affect how you arrange your devices in Blynk and therefore in Node-Red
One other potential limiting factor is Events and Notifications. Notifications work differently in Blynk IoT. Notifications are triggered by Events, and there is a limit of 100 events per device, per day.
Whilst you shouldn’t have a need to be sending 100 notifications per day, Events that don’t have notifications attached to them have other uses. Blynk IoT doesn’t have a Table widget, and if you previously used a table to display a history of actions then using Events may be a good replacement. If you need to trigger more than 100 Events per day then you may need to use multiple Blynk devices in Node-Red.
Dealing with the missing nodes in the Blynk IoT Contrib
Notifications
I mentioned earlier that Notifications work differently in Blynk IoT, and the Legacy version of the Contrib had a Notification Node. That’s missing from the new contrib, but it’s easy enough to work around that with an API call.
The API syntax is different in Blynk IoT, and previously it was necessary to use the IP address of the Blynk cloud server where your project lived if you were hosting your Node-Red server on the cloud. Blynk have now introduced subdomains to identify the regional cloud servers instead of having to find and use the appropriate IP address. The new API syntax, and details of the server subdomains are here (the server subdomain info is in the Troubleshooting section):
https://docs.blynk.io/en/blynk.cloud/https-api-overview
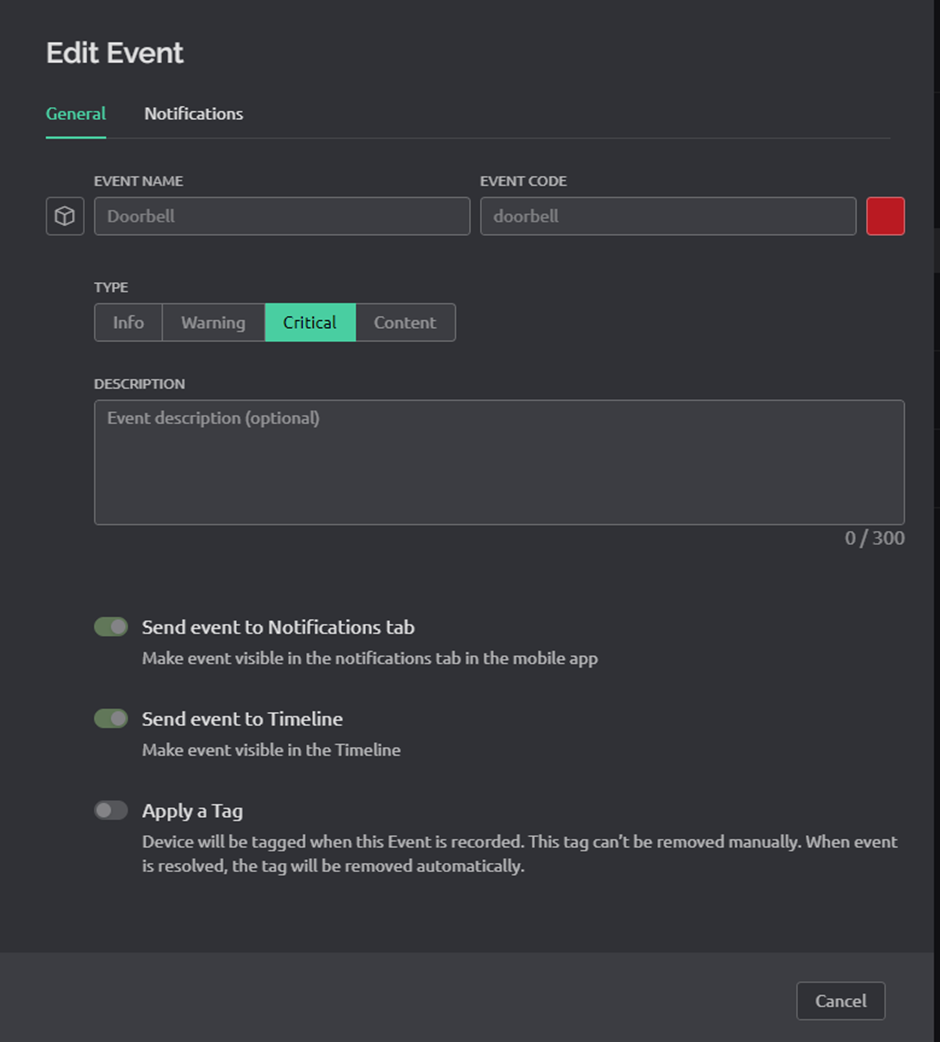
In the Blynk web console I’ve created an event with an event code of “doorbell” …
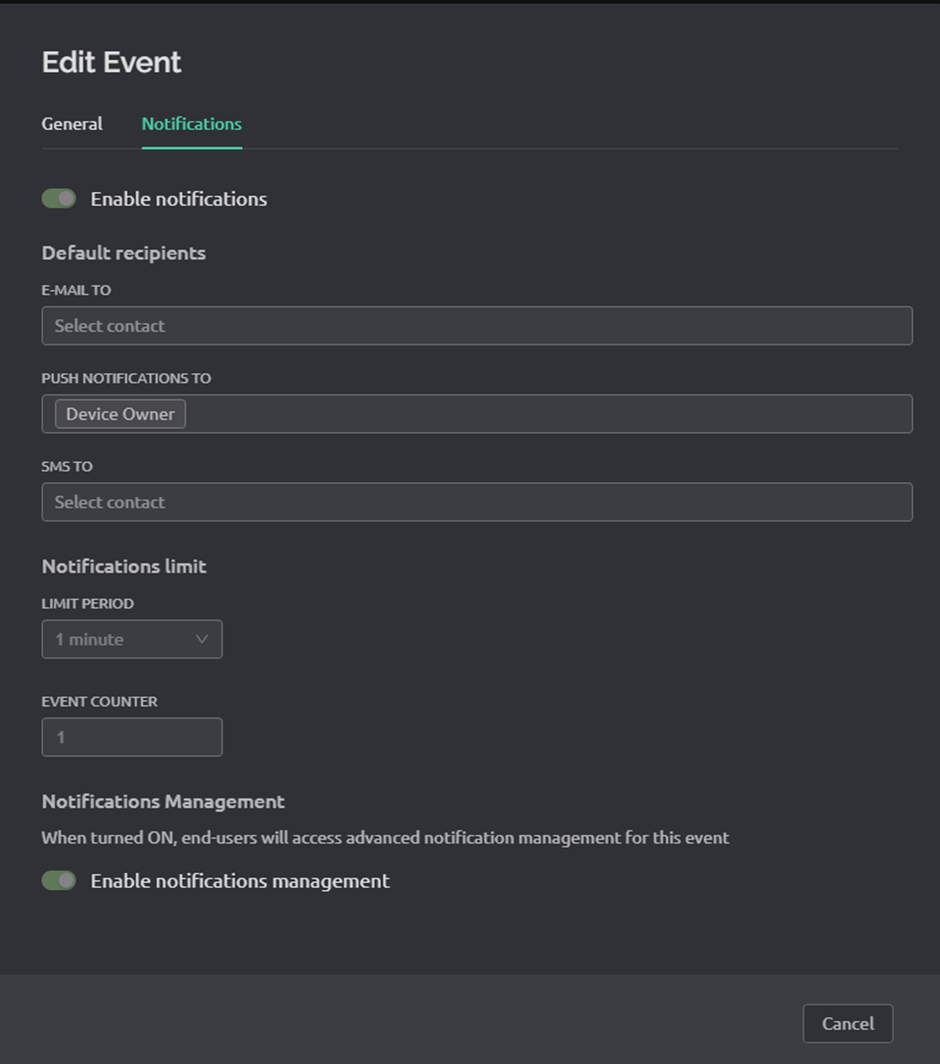
And in the Notifications tab I’ve enabled notifications…
I can then use an HTTP Request Node on Node-Red that looks like this:
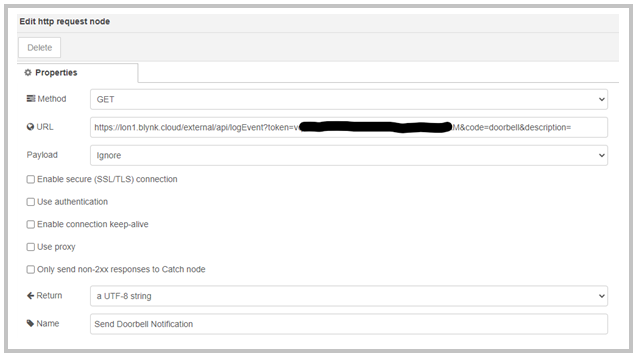
The URL in this dialog box is:
https://lon1.blynk.cloud/external/api/logEvent?token=vXXXXXXXXXXXXXXXXXXXXXXXXXXXXXXM&code=doorbell&description=
I’ve not added a description to the event, as it’s not needed in this case.
When the doorbell is pressed this is what I see on my phone…
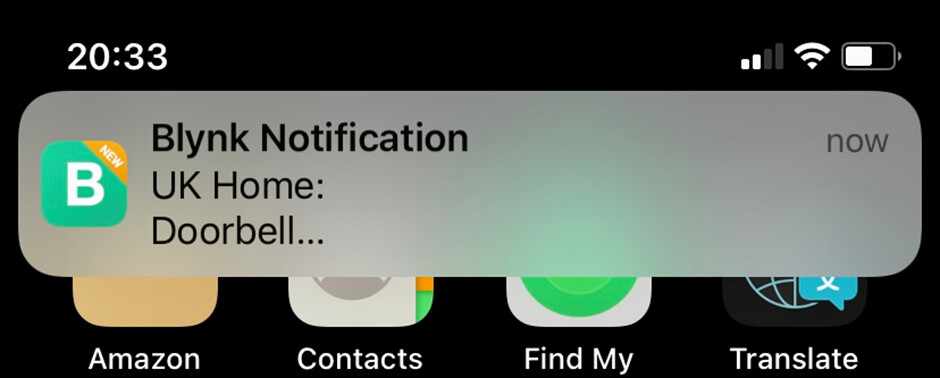
Tapping the notification shows this:
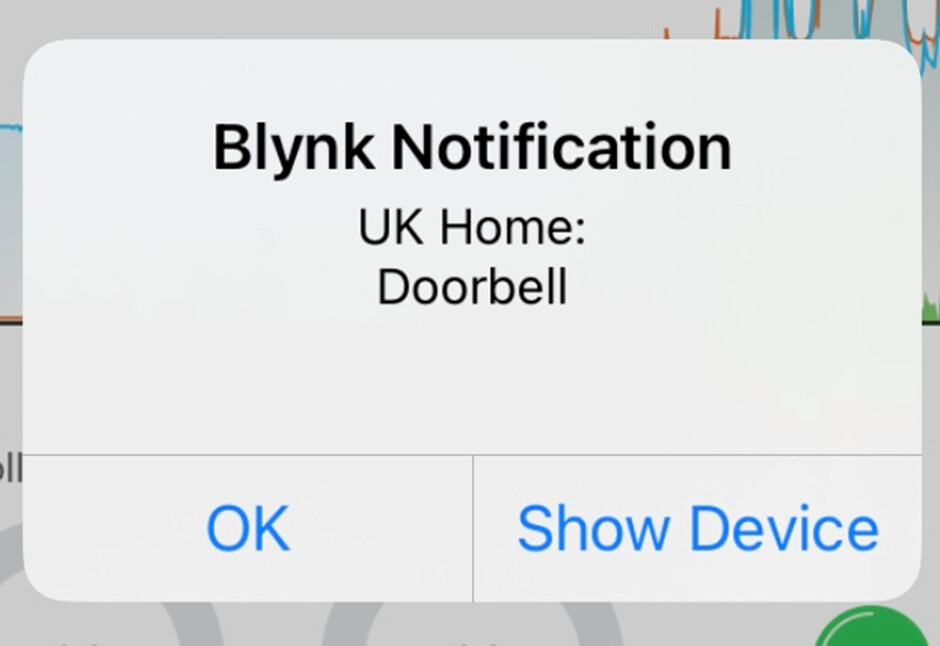
The “UK Home” part of the message is the Device name and “Doorbell” is the Event name, so choosing sensible names for these is important.
If you have more than one device then clicking the “Show Device” link in the notification message will open the correct device in the Blynk app.
If you add a description to the end of the API call then it can provide additional data like this:
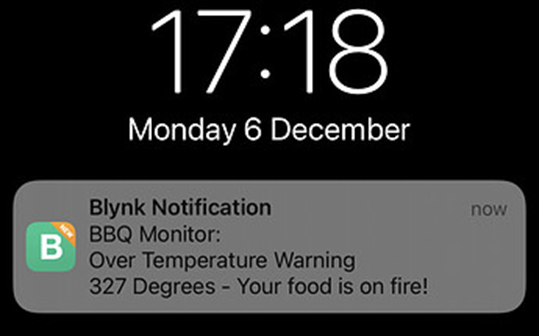
In this example the device name is “BBQ Monitor”, the Event name is “Over Temperature Warning” and the description is “327 Degrees – Your food is on fire!”.
A few things to look out for with Events/Notifications…
As mentioned earlier, there is a limit of 100 events per day.
The “Notifications Limit” part of the Edit Event – Notifications tab allows you to specify the time period between notifications. The minimum is 1 minute, which means that Blynk will only send one notification per minute. Any other events that are triggered during this one minute waiting period will be ignored. If you set this to 1 hour then only one notification will be sent per hour etc. etc.
The “Event Counter” part of the same tab specifies the number of events that have to be received before one notification will be sent. If this was set to 10 then you’d only receive your first notification when 10 events have been triggered, and your second when 20 events have been triggered (and the Notifications Limit time had passed).
TBH, I think it’s best to leave the Notifications Limit set to 1 minute and the Event Counter set to 1 and manage your own notification rules in Node-Red – probably using the Delay or Filter Nodes (Filter was previously called RBE).
There is more detailed info on Events and Notifications in this topic…
Other Missing Functionality
There are new properties such as isDisabled which isn’t presented as an option in the Set Property node, but once again this can be done via an API call, so is easy to implement in Node-Red.
Reading Metafield Values is also something that can be achieved via the API.
Amazon Alexa Integration
I’ve added an update to Part 1 of this topic to sat that I’ve now moved away from the previous Alexa contrib and I’m now using the node-red-contrib-virtual-smart-home plug-in instead and this has proved to be a good move.
I’ve also started to use the rather strangely named “node-red-contrib-alexa-remote2-applestrudel” contrib. This allows me to get Alexa to make announcements when certain criteria are met.
For example, my doorbell system in the UK is a Honeywell wireless doorbell that I’ve modified by incorporating an ESP8266 module. The initial logic behind this was that I wanted to receive an alert when someone rang the doorbell while we were out, so I could check the CCTV camera to see of a parcel had been left outside.
This works perfectly, but there’s one room in the house where the doorbell can’t be heard very well. That room does have an Echo Dot in it, to I now have Alexa tell me – via just the speaker in that room – that there is someone at the front door.
In future I might add other announcements, such as reminders that the washing machine has finished, or that it’s started to rain but the back door is open. However, the contrib is much more powerful than that can allow you to do things like playing particular music on one or all of the Alexa devices in the house, so you could create a jukebox functionality using Node-Red (and Blynk maybe) if you wished.
ZeroTier, and other Software
In this section I’m going to cover the free software tools that I think are invaluable if you’re running Node-Red on a Raspberry Pi (and many are extremely useful for other platforms too). I’ve been using some of these for a long time, but haven’t really discussed them before in this topic, other are a more recent addition.
ZeroTier
As I’ve mentioned before, I have two home automation systems – one at home in London and the other at our holiday home in Spain. The two work independently, and have their own Raspberry Pi controllers for Node-Red and MQTT, but both send data to the same Blynk IoT account.
I’ve started using ZeroTier to allow me to access and control my Pi in Spain from the UK – and vice versa. However, this approach can also be useful if you have a single Node-Red instance and want to be able to make changes or monitor the health of the setup remotely when away from home. I previously used TeamViewer to remotely control my home PC, but I’ve found that ZeroTier is much more effective and much faster. You can even do Windows RDP sessions over ZeroTier (provided you are running the Pro version of Windows) and that is much nicer than TeamViewer remote control.
For ZeroTier to work, each device (the Raspberry Pi servers in this case) need to be running the ZeroTier client, and the PC, phone or laptop that you’re using also needs to be running the ZeroTier client.
I created a “Global;” ZeroTier network and signed each device in to it. They then all have their own unique IP address, that’s in a range which is different to the IP addresses on your local network.
This sounds complicated, but it really isn’t. Let’s say that my RPI in Spain has a local IP address of 192.168.1.123 and a ZeroTier IP address of 10.144.0.123 and that it has Node-Red running on port 1880
On my PC at home in the UK I can browse to `10.144.0.123:1880” and (provided my PC is running the ZeroTier client and is logged-in to my “Global” network) it will immediately launch the Node-Red editor and allow me to edit the flows on my RPI in Spain.
This same principal can also be used with other applications, and most allow you to set-up and save these ZeroTier IP addresses so that you can easily re-connect.
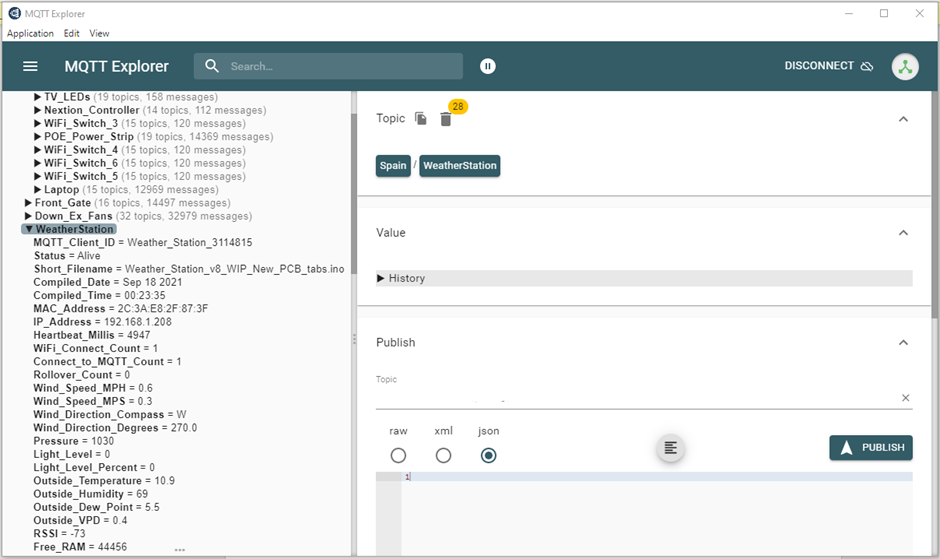
MQTT Explorer
Because all of my devices talk to Node-Rec using MQTT, a good MQTT monitoring tool is essential to view the data and occasionally manually publish data to topics. I had used MQTT.fx for a while, but MQTT explorer is much better.
This is the main MQTT Explorer screen…
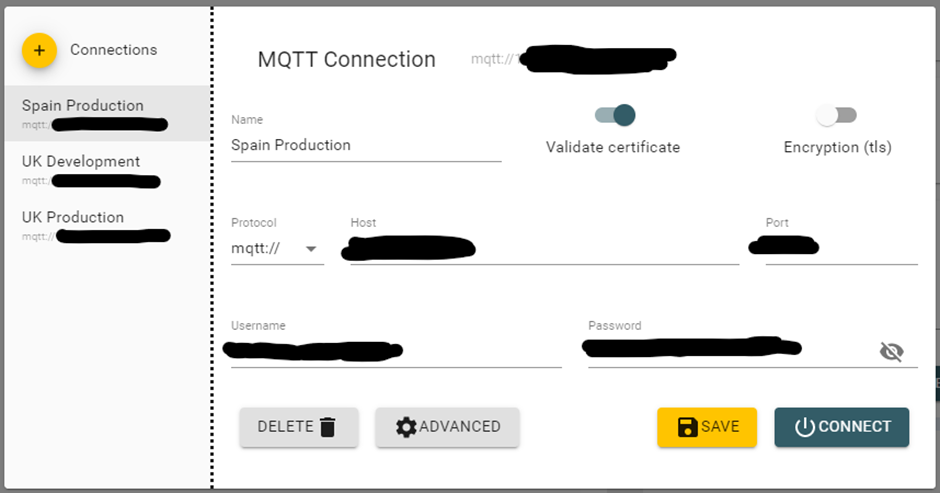
And this is the saved connections screen that has the Global ZeroTier IP addresses saved for easy use…
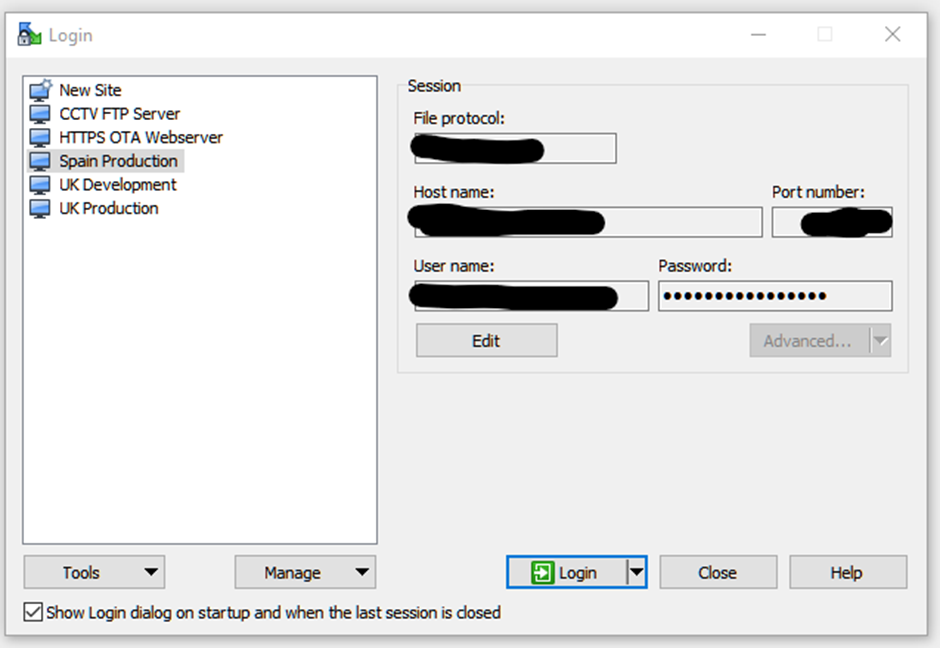
WinSCP
This is a file-explorer type app that allows you to easily browse the files on your RPI, as well as easily launching a PuTTY terminal session. It also allows you to save connections that use the ZeroTier Global IP addresses…
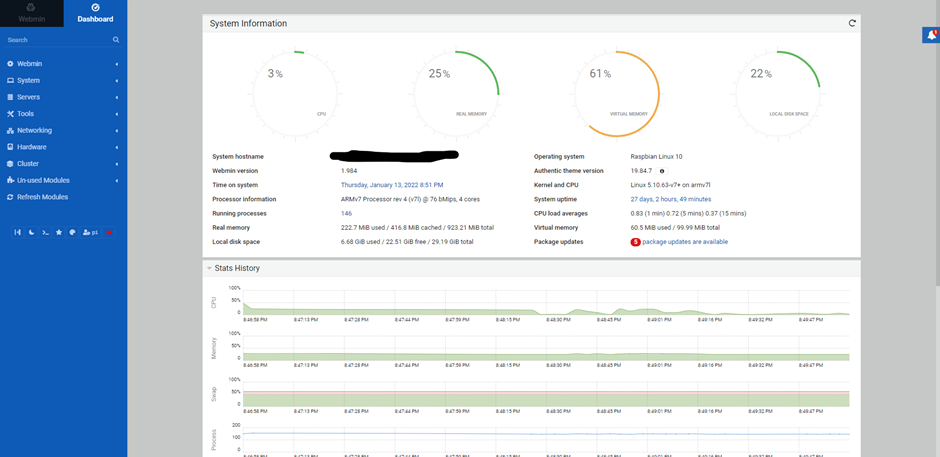
WebMin
This is a web-based administration tool for the RPI, which I like because it gives me a simple overview of the device, and alerts me to available updates (and makes it easy to apply those updates). You can see from the screenshot below that there are 5 package updates available, and clicking that alert will allow me to review then install them
Because this is a web-based system, it’s simply a case of entering the global ZeroTier IP address for the device and the port.
I find that making changes to network settings, and staring/stopping services is much simpler from this web-based system than from a command line interface.
Okay, I think that’s most of the significant things that have changed since the last update, with the exception of how I set-up my Pi from scratch (I no longer use Pete Scargill’s Script for this), but that’s probably something for a future post.
Pete.