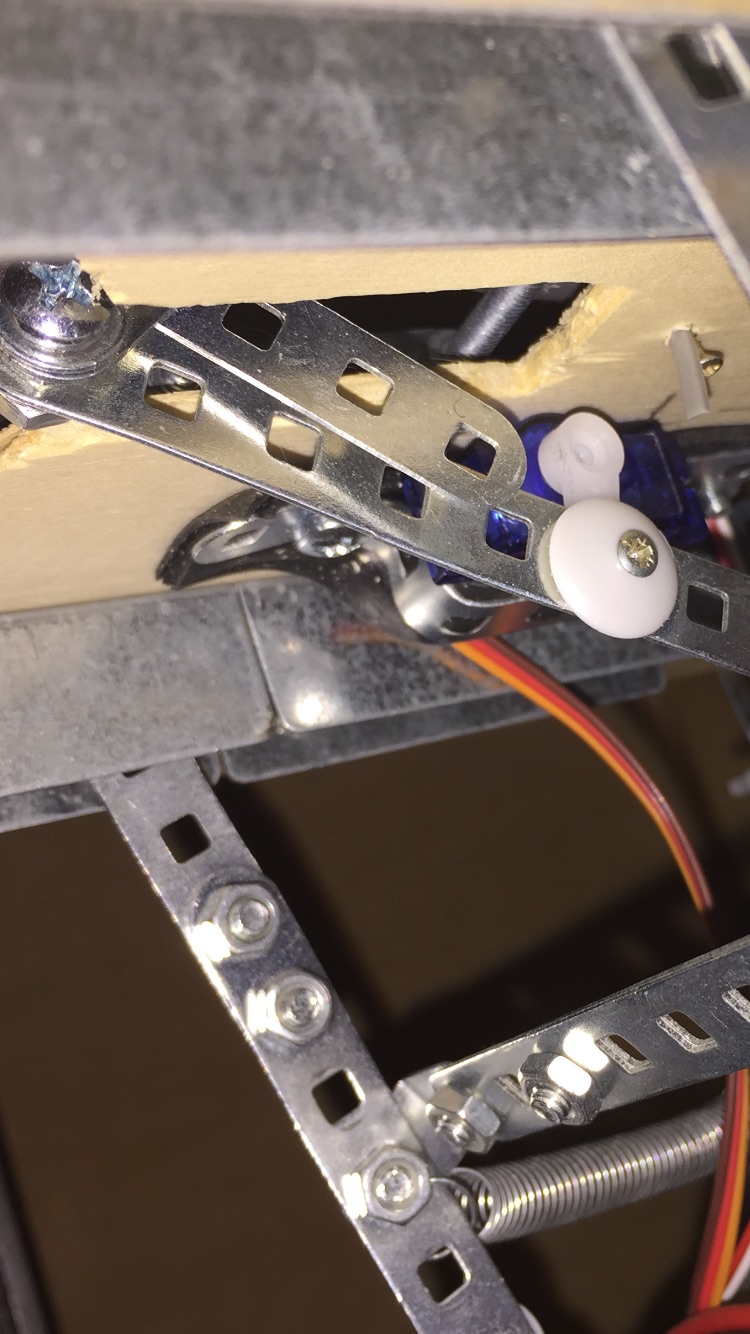
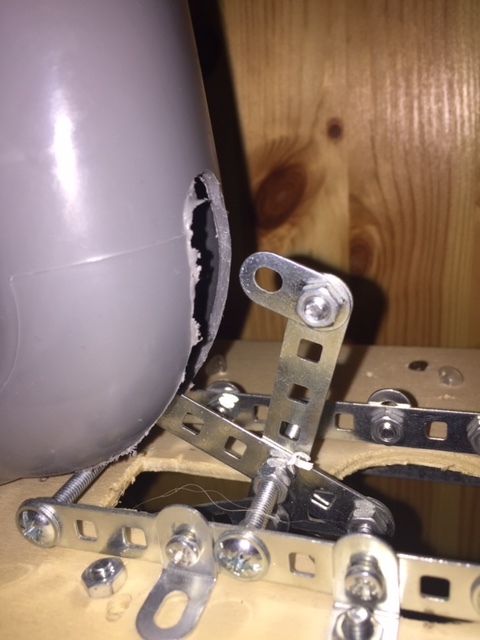
Here the pictures of the ball pushing parts:
Hey, i studied the code very carefully. Now i am very far from a programmer, but i found that the whole autoplacement and drills mechanism doesnt work in the code that we downloaded, is that correct? it simply follows autoplacement function switch case loop that has been kind of hardcoded there. I am thinking of modyfying that switch case function and attaching it to the buttons with if else statements and the whole timing side should still work. I dont really need drills, just want to select 1 or few positions and repeat them. Also my ball loading mechanism is totally different. I am building a ball recycling system with a spiral feed, so ball timing will be controlled by the speed of spiral rotation. I think this way i wont have to sync servo H current position and Shoot. Of course these are still in my head as now i am just playing with a bunch of servos stuck to my desk and all the parts around me. If you are interested in feed mechanism, i will find a youtube vid and drop a link here later. It is an interesting concept but difficult to make robust and should use a stepper for best results although i currently drive it with modified 360 servo and it wont hold long in real use. However, if u have the will and ability i would really appreciate if u shared more about your app mod and code insights as this is where i struggle the most. Thank you
ah, i got it to work as i wanted  got my 5 positions just like it was in early screenshots
im looking for a table tennis robot and found your project. nice.
i read, your latest version is v3.
some questions.
is a 3d printed version for v3 available?
the qr code for your soft dont work, possible to add the android *.apk file?`
is there a complete bom for v3 available?
and a questions about the function: why in the bucket a cross with servos? would it not work with a funnel?
cad: perhaps possible to add you files in thingiverse, like this both projects
You don’t want much do you?
Topics of this type are intended to showcase the things that community members have built, and how Blynk can be used in innovative ways.
Half the fun, certainly in the eyes of the author, is to dream-up the concept and tinker with it until it works, then tinker a bit more to improve it incrementally.
Wouldn’t you rather take the ideas and information shared here and do your own experimentation and tinkering, so you felt that you’d actually achieved something - rather than wanting to be handed a ready-made kit?
Pete.
1 Like
I don’t have a version 3D and BOM to share, the electronic components are basically the same like for the first version.
The QR code worked for other users, maybe you should review how to import it using the Blynk app.
You could try to use a funnel, but I think the tt balls will get stuck…a push helps.
Is the Blynk app for the version 3 or the version with two motors?
and a nother question: what did you use in Version 3 instead of a dual H bridge?
The app is for the first version or lets say one of the >10 versions that I have experimented for the version one (changing widgets, adding features etc). The app is the easiest part of the project; starting from scratch with Blynk you can create the app for a relative complex use case in few hours. I suggest to try to understand how Blynk works instead to try to reuse this app.
For v3 I used brushless Motors A2212 1000KV + ESC.
1 Like
how much energy points needed to get your app?
I think it was about 3000 points
Try to add the project by scanning the QR code. Blynk will say something like “This project requires xxx energy but you only have yyy energy”.
Pete.
Hi Paolo! Great Idea!! and congratulations for the implementation. It looks really nice!. I’m from Buenos Aires Argentina and I’m doing some research on the internet for a robot like this. I will review all the documentation here then I will start doing something.  Thanks!
1 Like
Balls recycling implemented using Nodemcu, L298N, Stepper motor Nema17 and Blynk.
1 Like
Hi Paolo,
This is a really cool project! I’m trying to make something similar. Can you please elaborate on how exactly you are launching the ball with the motors? I can see the two DC motors generating spin in the video, but I am not sure how the ball is actually being propelled out of the tube. Thanks!
Gavin
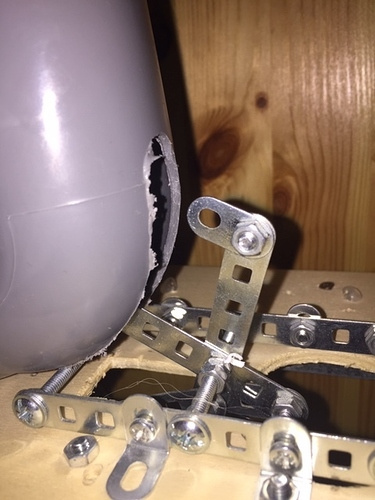
I have just a small servo that give a light push to the ball to reach the wheels, then the ball get accelerated.
Cool, thanks again
appreciate if you could update the bill of materials matching your latest build
Hai sir, i have an study research about ping pong ball launcher. And i think this was a pretty good so i want to make this robot same as you. So, can you make a flowchart diagram for this? thankyou
(sorry for bad english)
A flowchart diagram of what exactly?
Pete.
Hi, all I can provide is up there on Nov 2018, where you can find the diagram of the circuit and the code. About functionalities you could check the youtube video: https://youtu.be/dDkqCXFdHw0
For your study I suggests to take inspiration from the content that you find around, but start to build the robot from scratch; at the end it takes less time and you have more control on what you are doing. As starting point you could try to control a servo motor and a DC motor using a board like nodemcu, then integrate Blynk etc. When the electronics is more o less working you could start to build the mechanics (adding the wheels to spin the balls and a pan/tilt mechanism…). Don’t try to copy exactly what the others did, but adapt to your situation to make something working step by step.
1 Like