This is awesome, I’m amazed!
I’d like to try to make this with your 3D model.
One question, where do I get your app from?
Hi Paolo,
after a long break und some frustation i still need some hints about this mechanism.
A short videosequence with some balls would be nice! Maybe my construction is too high to shovel the balls. And when i attach the servo under the container they will not pass the wheel.


Here the QR code to get the app:

1 Like
Very strange. I scanned the qr code, got your app, but it looks different from your screenshots. There are no buttons for positions, like forehand, backhand etc. Is this old version?
FYI, check the post’s time/date stamps… Those screenshots are about a year and half old… I am sure things change as they are developed. ![]()
yeah, but the old version had all sorts of functions, and the one i got looks incomplete
Have you built the bot and tested it to see if the looks are deceiving? Perhaps many of those options where deemed unnecessary???
Anyhow, all I was doing was bringing your attention to the timeframe between then and now… I personally have no need for a robot that can throw things at me … it might pick something sharper 
I rebuild the App only with the few screenshots, that was not very difficult. You easily can add functions from the old version.
Thank you very much, this helped me a lot!!! Now the ball serving part works as expected.
1 Like
Actually i am in the middle of building my robot and started writing my own code, i have experience with arduino ide, but at much simpler things. So i thought i could modify this code to my needs, also the app. Can someone who got the app on blynk via qr code confirm that indeed you get a simplified version? Or do i need to have the robot ready and working and pushing data into blynk to get ball placement option? I went through the code and couldnt find anything that could induce blynk to magically create new buttons and options. As for recreating the app UI from scratch for the code, i feel i need more info… value ranges, data types and so on… I feel a bit frustrated, i studied the code, it clearly has all the functionality as shown in first screenshots for ball placement, positions, drills and everything but i feel as if there is something wrong with the app, maybe wrong version given here by mistake. Again, i realise this topic is old and almost forgotten, so i want to ask people who built this for their input please or even Mr. Paolo_Furegato perhaps could shed some light onto my request. Thanks guys
My robot is still not finished, but until now i only needed the first tab ‘settings’. The ‘feedback’ tab is only to display the settings and the second one ‘advanced’ i never used until now.
in the settings tab you can easily add the two buttons ‘random drills’ with virtual pin2 and ‘drills sequence’ with v3.
the code will not add magically buttons ![]()
Here my old notes from the code research:
Blockquote
const int servoB_Pin = D0; // PIN–> ball pushing top
const int servoS_Pin = D1; // PIN–> ball pushing bottom
const int servoH_Pin = D2; // PIN–> horizontal rotation
int motor_TOP_Pin = D3; // PIN–> Motor 1
int motor_BOTTOM_Pin = D4; // PIN–> Motor 2
const int servoV1_Pin = D5; // PIN–> vertical movement 1
const int servoV2_Pin = D6; // PIN–> vertical movement 2
int drillsStrategy = 1; // 0-Random 1-Sequence
int drillsLevel = 1; // A-Normal [1] B-Easy [2] C-Difficult [3]
Buttons:
Blynk.virtualWrite(V0, 0); //Power
Blynk.virtualWrite(V1, 0); //Auto placement
Blynk.virtualWrite(V2, 0); //Random
Blynk.virtualWrite(V3, 0); //Sequence
Blynk.virtualWrite(V4, drillsLevel); // 1-3
BLYNK_WRITE(V6) //Level ???
BLYNK_WRITE(V7) //Drill (index: 1-4)
Regler:
Blynk.virtualWrite(V5, elevation); //Elevation
Blynk.virtualWrite(V10, motor_TOP_speed); //Top Spin
Blynk.virtualWrite(V11, motor_BOTTOM_speed); //Back Spin
Blynk.virtualWrite(V15, freq_balls); //Ball frequency
Blynk.virtualWrite(V16, freq_balls); //Ball frequency
Blynk.virtualWrite(V17, freq_drill_change); //Drill change frequency
Blynk.virtualWrite(V18, freq_drill_change); //Drill change frequency
LED:
WidgetLED ledTop(V20);
WidgetLED ledBack(V21);
Menu:
Blynk.setProperty(V7, “labels”, items);
As you see, there are some questionsmarks…
As mentioned by @Gunner, the code and the snapshots belong to different versions…I have posted the code on demand to inspire other users. In my opinion, if you are writing your code, that’s the right way to go instead to copy something that probably will not fit with your hardware. I have removed the placement settings on the “Advanced” tab because the behavior was not consistent from training to training: to get the ball always on the correct placement I had to calibrate and upgrade again and again the code to adjust the values that are controlling the speed of the motors. I preferred to invest that time on training  Empty tabs are there because it was not possible to remove them, as far as I remember. Anyway if you want that “placement feature”, the idea was to have the five buttons to indicate the active placement; e.g. if only one button is on, the ball goes always to the same position, if 3 buttons are on 3 positions and so on.
Hi I’m very new to Arduino but very old to table tennis. What you have done looks stunning.In my place Normal robots cost around 1500$, so we never use those. I am playing in a small club and I would like to create something similar to your model. I searched for many places but your project is the only one that has an active feedback community. I have a few questions to ask if its not too much:
- In your V1 and V2 it is 12V DC motor. But in your V3 it doesn’t look like one. Is it a stepper motor(something like NEMA 17)?.
- Have you read how ball spins while actually playing with humans, is that calculations required for calculating the RPMs of each motor?
- The metal frame looks like a Meccano kit, may I know what it is?
Hi,
- For V3 I used brushless Motors A2212 1000KV.
- I did not calculate, just trying some motors and adjusting the speed.
- For the metal frame I used “Tronico wind turbine kit”.
Hello It’s a greaaat project. How you realize the horizontal and vertical move. I know that on servos, but how it looks like specially. I didn’t saw this in your film 
Thanks a lot.
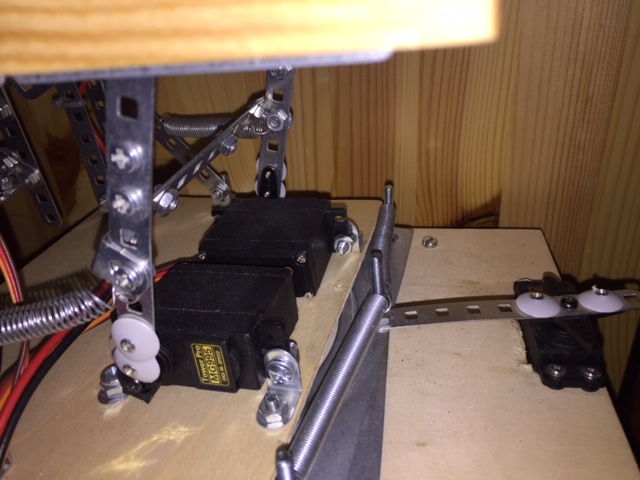
The vertical move is done with 2 servos moving in sync.
The horizontal move is done with one servo moving a “lazy-susan turntable”:
1 Like
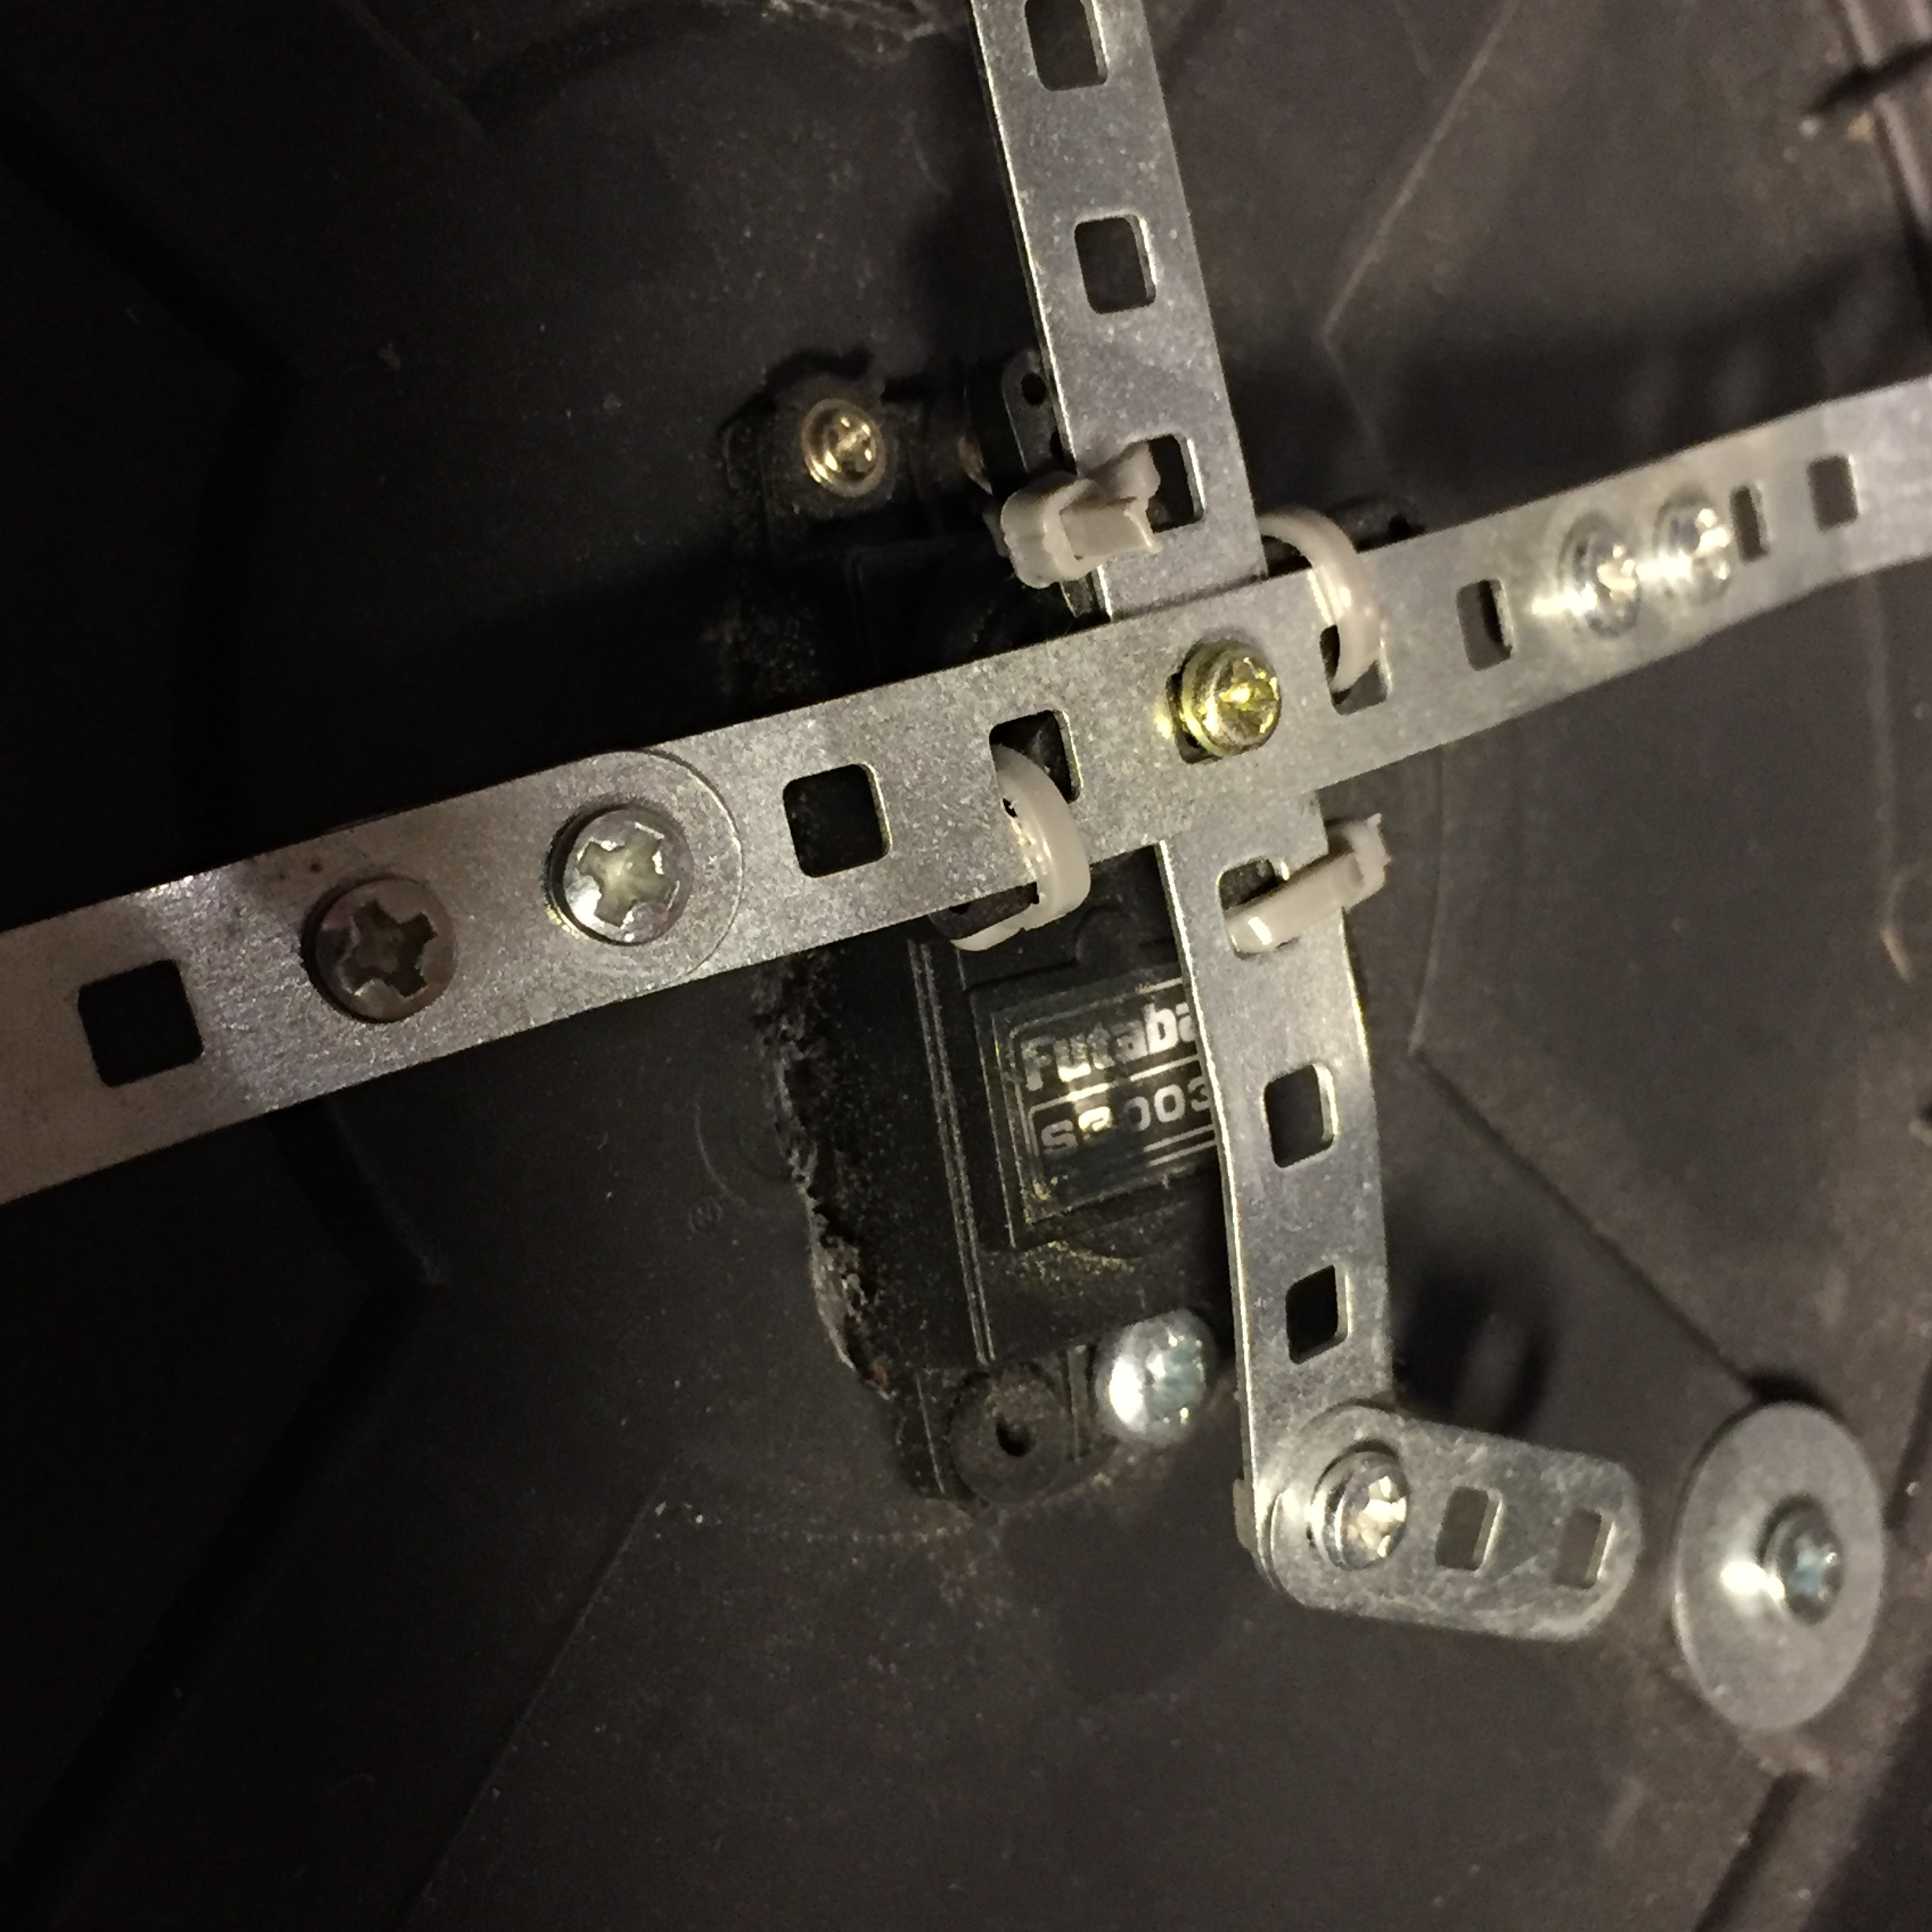
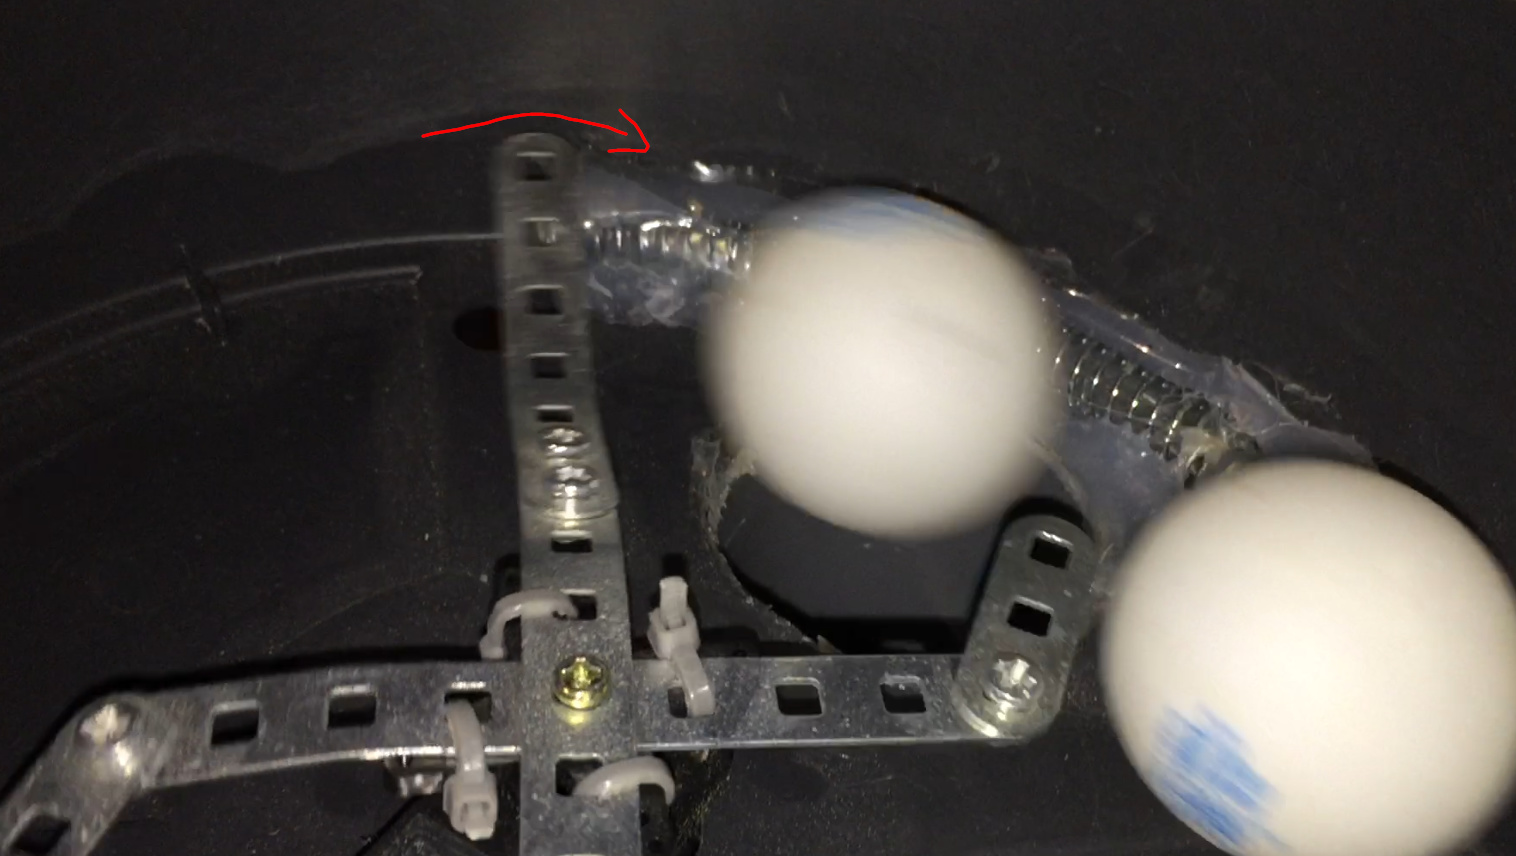
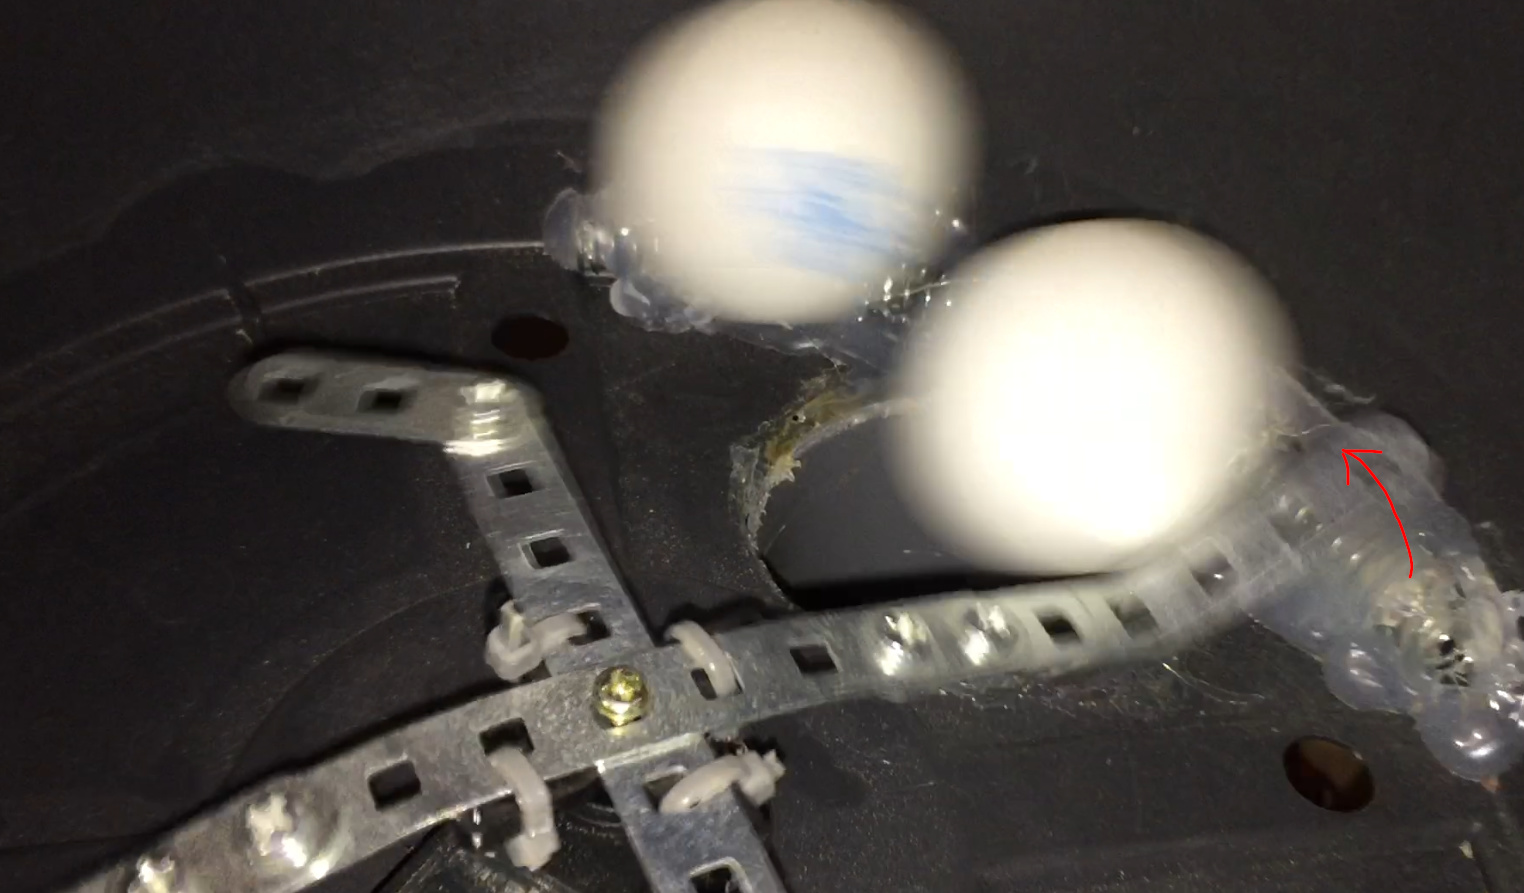
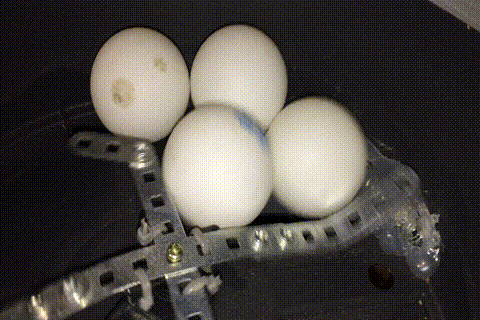
And a picture from the ball pushing mechanism, please!
Mine works, but it has often not enough power. Did you use a spring?
I will also try an electromagnet, but i am interested in your solution.
Thank you for reply!