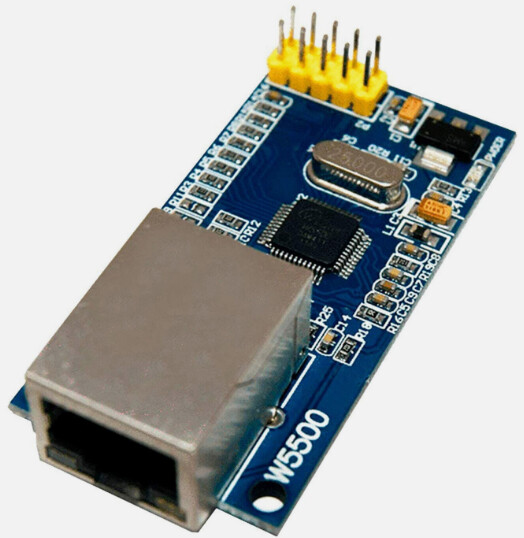
Okay, I had a look in my “bits and pieces box” and came across one of these W5500 Ethernet boards
My first attempts at getting this to work with Blynk.Air were unsuccessful, and I realised it was because the ESP32 HTTPClinet library only has support for WiFi connections, and the Ethernet library only had support for LAN8720 and TLK110 chips and not W5500.
A bit of research revealed that the ETH library that ships with the ESP32 core version 3.x has support for the W5500 chip, and I’ve been able to get that working with Blynk.Air.
Here’s how…
-
Upgrade to the ESP32 Core version 3.x. The only version available at the moment is 3.0.0-aplha3 and to install that you need to change the URL in your IDE preferences file to this:
https://espressif.github.io/arduino-esp32/package_esp32_dev_index.json
then install the 3.0.0-aplha3 in board manager. -
A couple more connections are needed to het the board working. The connections I used are:
    GPIO5  to  SCS (Chip Select)
    GPIO16 to  INT (Interrupt - might be labelled IRQ)
    GPIO17 to  RST (Reset)
    GPIO18 to  SCLK (SPI Clock)
    GPIO19 to  MISO
    GPIO23 to  MOSI
    GND    to  GND
    3v3    to  3.3v
- add your credential to this sketch and upload…
// Template ID, Device Name and Auth Token are provided by the Blynk.Cloud
// See the Device Info tab

#define BLYNK_TEMPLATE_ID "REDACTED"
#define BLYNK_TEMPLATE_NAME "REDACTED"
#define BLYNK_AUTH_TOKEN "REDACTED"

#define BLYNK_FIRMWARE_VERSION        "1.0.1" // For Blynk.Air OTA, Increment with each update

#define BLYNK_PRINT Serial

#include <ETH.h>

// You can use either the SSL or non-SSL library. Stick with SSL unless you have a good reason to change...
//#include <BlynkSimpleEsp32.h>
#include <BlynkSimpleEsp32_SSL.h>

#include <Update.h>   // For Blynk.Air OTA
#include <HTTPClient.h> // For Blynk.Air OTA

// Set this to 1 to enable dual Ethernet support
#define USE_TWO_ETH_PORTS 0

// // Example SPI using ESP-IDF's driver
 #define ETH_PHY_TYPE        ETH_PHY_W5500
 #define ETH_PHY_ADDR         1
 #define ETH_PHY_CS           5
 #define ETH_PHY_IRQ         16
 #define ETH_PHY_RST         17
 #define ETH_PHY_SPI_HOST    SPI2_HOST
 #define ETH_PHY_SPI_SCK     18
 #define ETH_PHY_SPI_MISO    19
 #define ETH_PHY_SPI_MOSI    23

static bool eth_connected = false;

BlynkTimer timer;

void WiFiEvent(WiFiEvent_t event) // Callback that is triggered when an Ethernet event occurs
{
  switch (event)
  {
  case ARDUINO_EVENT_ETH_START:
      Serial.println("ETH Started");
      // set eth hostname here
      ETH.setHostname("esp32-ethernet");
      break;
  case ARDUINO_EVENT_ETH_CONNECTED:
      Serial.println("ETH Connected");
      break;
  case ARDUINO_EVENT_ETH_GOT_IP:
      Serial.print("ETH MAC: ");
      Serial.print(ETH.macAddress());
      Serial.print(", IPv4: ");
      Serial.print(ETH.localIP());
      if (ETH.fullDuplex())
      {
        Serial.print(", FULL_DUPLEX");
      }
      Serial.print(", ");
      Serial.print(ETH.linkSpeed());
      Serial.println("Mbps");
      eth_connected = true;
      break;
  case ARDUINO_EVENT_ETH_DISCONNECTED:
      Serial.println("ETH Disconnected");
      eth_connected = false;
      break;
  case ARDUINO_EVENT_ETH_STOP:
      Serial.println("ETH Stopped");
      eth_connected = false;
      break;
  default:
      break;
  }
}

void setup()
{
  Serial.begin(115200);

  Serial.print("BLYNK_FIRMWARE_VERSION = ");
  Serial.println(BLYNK_FIRMWARE_VERSION);

  WiFi.onEvent(WiFiEvent); // Defines the callback (above) to be called when an Ethernet event occurs

  // Initialise the Ethernet interface...
  pinMode(ETH_PHY_RST, OUTPUT);
  digitalWrite(ETH_PHY_RST, 0);
  delay(200);
  digitalWrite(ETH_PHY_RST, 1);
  delay(200);
  digitalWrite(ETH_PHY_RST, 0);
  delay(200);
  digitalWrite(ETH_PHY_RST, 1);

  // If you want to define a static IP address for your Ethernet device you can do it here using ETH.config()
  // The parameters are: (Device static IP address, Gateway, Subnet mask, DNS server IP)
  // Comment-out the ETH.config command if you want these to be parameters to be assigned by DHCP
  //ETH.config(IPAddress(192, 168, 1, 90), IPAddress(192, 168, 1, 1), IPAddress(255, 255, 255, 0), IPAddress(192, 168, 1, 1));


  ETH.begin(ETH_PHY_TYPE, ETH_PHY_ADDR, ETH_PHY_CS, ETH_PHY_IRQ, ETH_PHY_RST, ETH_PHY_SPI_HOST, ETH_PHY_SPI_SCK, ETH_PHY_SPI_MISO, ETH_PHY_SPI_MOSI);

  delay(5000);

  Blynk.config(BLYNK_AUTH_TOKEN);
  Blynk.connect();

  timer.setInterval(1000L, myTimerEvent);
}

void loop()
{
  if (eth_connected)
  {
      Blynk.run();
  }
  timer.run();
}


void myTimerEvent()
{
  Blynk.virtualWrite(V1, millis() / 1000); // Send uptime in seconds to Blynk datastream V1
}


BLYNK_WRITE(InternalPinOTA) // For Blynk.Air OTA
{
  String overTheAirURL = param.asString();
  HTTPClient http;
  http.begin(overTheAirURL);
  int httpCode = http.GET();
  if (httpCode != HTTP_CODE_OK) {return;}
  int contentLength = http.getSize();
  if (contentLength <= 0) {return; }
  bool canBegin = Update.begin(contentLength);
  if (!canBegin) { return;}
  Client& client = http.getStream();
  int written = Update.writeStream(client);
  if (written != contentLength) {return;}
  if (!Update.end()) {return;}
  if (!Update.isFinished()) {return;}
reboot();
}


void reboot() // For Blynk.Air OTA
{
  ESP.restart();
  for (;;) {} // Wait here until the restart has begun
}
- The sketch writes the current uptime to pin V1, so to utilise this you’ll need to add a V1 datastream preferably of type String, and add a value widget if you want to see this data, but that’s obviously optional.
Blynk.Ait OTA updates now work fine with this setup.
Note that there are some other significant changes in the ESP32 3.x core, including the deprecation of the analogWrite() command, which will break the existing Blynk Edgent examples. More info here…
Pete.