Hi
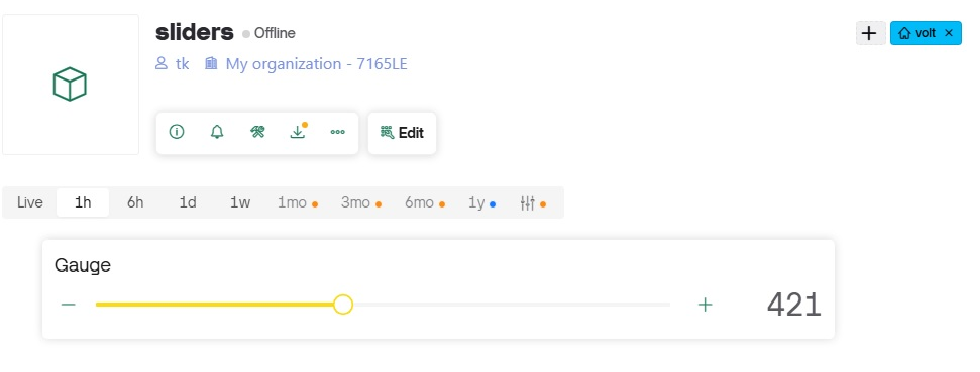
I’m new with Blynk, how to get the code for this slider ?

You need to provide more information about what you’re trying to do, and what you mean by “the code”.
You might want to start by reading this post…
Then updating your post to provide the missing information, and to explain more about what you’re trying to achieve with your project,
Pete.
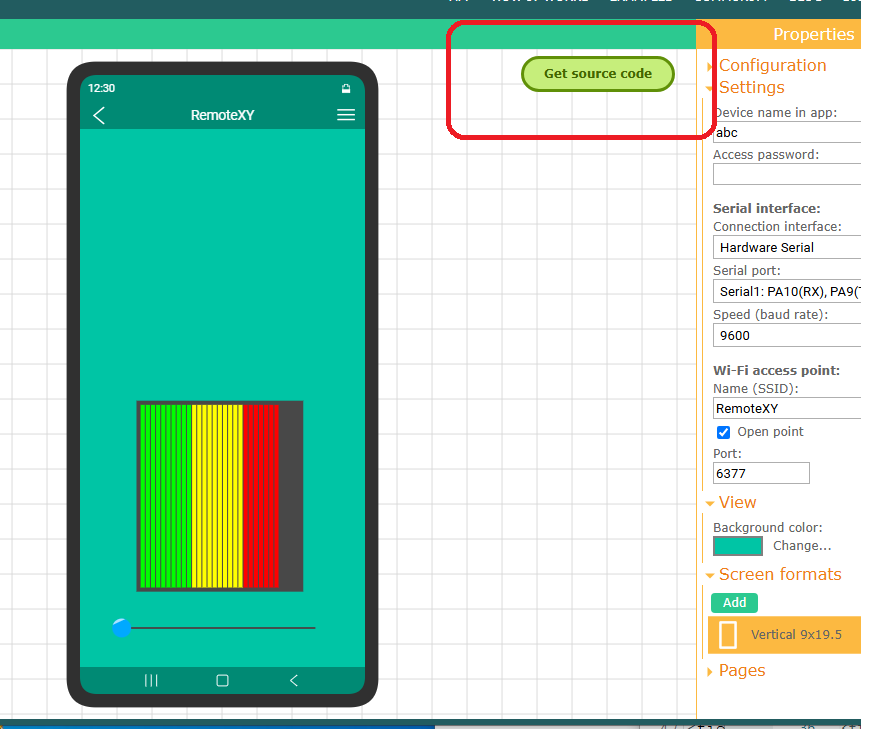
I have code from here
https://randomnerdtutorials.com/esp32-web-server-slider-pwm/
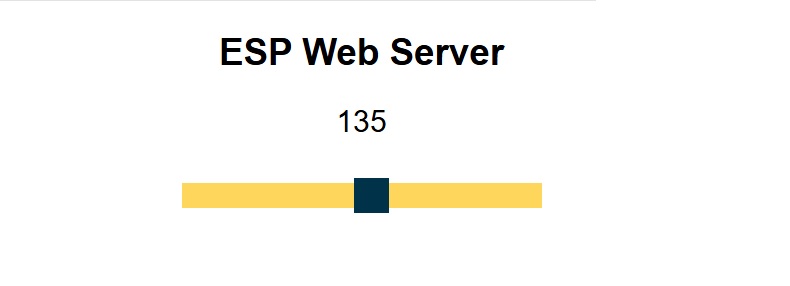
with slider like this
I would like replace it by slider as in post #1
/*********
  Rui Santos & Sara Santos - Random Nerd Tutorials
  Complete project details at https://RandomNerdTutorials.com/esp32-web-server-slider-pwm/

  Permission is hereby granted, free of charge, to any person obtaining a copy of this software and associated documentation files.
  The above copyright notice and this permission notice shall be included in all copies or substantial portions of the Software.
*********/
// Import required libraries
#include <WiFi.h>
#include <AsyncTCP.h>
#include <ESPAsyncWebServer.h>

// Replace with your network credentials
const char* ssid =
const char* password =

const int output = 2;

String sliderValue = "0";

// setting PWM properties
const int freq = 5000;
const int ledChannel = 0;
const int resolution = 8;

const char* PARAM_INPUT = "value";

// Create AsyncWebServer object on port 80
AsyncWebServer server(80);

const char index_html[] PROGMEM = R"rawliteral(
<!DOCTYPE HTML><html>
<head>
  <meta name="viewport" content="width=device-width, initial-scale=1">
  <title>ESP Web Server</title>
  <style>
    html {font-family: Arial; display: inline-block; text-align: center;}
    h2 {font-size: 2.3rem;}
    p {font-size: 1.9rem;}
    body {max-width: 400px; margin:0px auto; padding-bottom: 25px;}
    .slider { -webkit-appearance: none; margin: 14px; width: 360px; height: 25px; background: #FFD65C;
      outline: none; -webkit-transition: .2s; transition: opacity .2s;}
    .slider::-webkit-slider-thumb {-webkit-appearance: none; appearance: none; width: 35px; height: 35px; background: #003249; cursor: pointer;}
    .slider::-moz-range-thumb { width: 35px; height: 35px; background: #003249; cursor: pointer; }
  </style>
</head>
<body>
  <h2>ESP Web Server</h2>
  <p><span id="textSliderValue">%SLIDERVALUE%</span></p>
  <p><input type="range" onchange="updateSliderPWM(this)" id="pwmSlider" min="0" max="255" value="%SLIDERVALUE%" step="1" class="slider"></p>
<script>
function updateSliderPWM(element) {
  var sliderValue = document.getElementById("pwmSlider").value;
  document.getElementById("textSliderValue").innerHTML = sliderValue;
  console.log(sliderValue);
  var xhr = new XMLHttpRequest();
  xhr.open("GET", "/slider?value="+sliderValue, true);
  xhr.send();
}
</script>
</body>
</html>
)rawliteral";

// Replaces placeholder with button section in your web page
String processor(const String& var){
  //Serial.println(var);
  if (var == "SLIDERVALUE"){
    return sliderValue;
  }
  return String();
}

void setup(){
  // Serial port for debugging purposes
  Serial.begin(115200);

  // configure LED PWM functionalitites
  ledcAttachChannel(output, freq, resolution, ledChannel);

  ledcWrite(output, sliderValue.toInt());

  // Connect to Wi-Fi
  WiFi.begin(ssid, password);
  while (WiFi.status() != WL_CONNECTED) {
    delay(1000);
    Serial.println("Connecting to WiFi..");
  }

  // Print ESP Local IP Address
  Serial.println(WiFi.localIP());

  // Route for root / web page
  server.on("/", HTTP_GET, [](AsyncWebServerRequest *request){
    request->send(200, "text/html", index_html, processor);
  });

  // Send a GET request to <ESP_IP>/slider?value=<inputMessage>
  server.on("/slider", HTTP_GET, [] (AsyncWebServerRequest *request) {
    String inputMessage;
    // GET input1 value on <ESP_IP>/slider?value=<inputMessage>
    if (request->hasParam(PARAM_INPUT)) {
      inputMessage = request->getParam(PARAM_INPUT)->value();
      sliderValue = inputMessage;
      ledcWrite(output, sliderValue.toInt());
    }
    else {
      inputMessage = "No message sent";
    }
    Serial.println(inputMessage);
    request->send(200, "text/plain", "OK");
  });

  // Start server
  server.begin();
}

void loop() {

}
I’d suggest you start with this sketch…
and where it says “ // process received value” insert your code that will control your LED.
Pete.
I have a problem with this
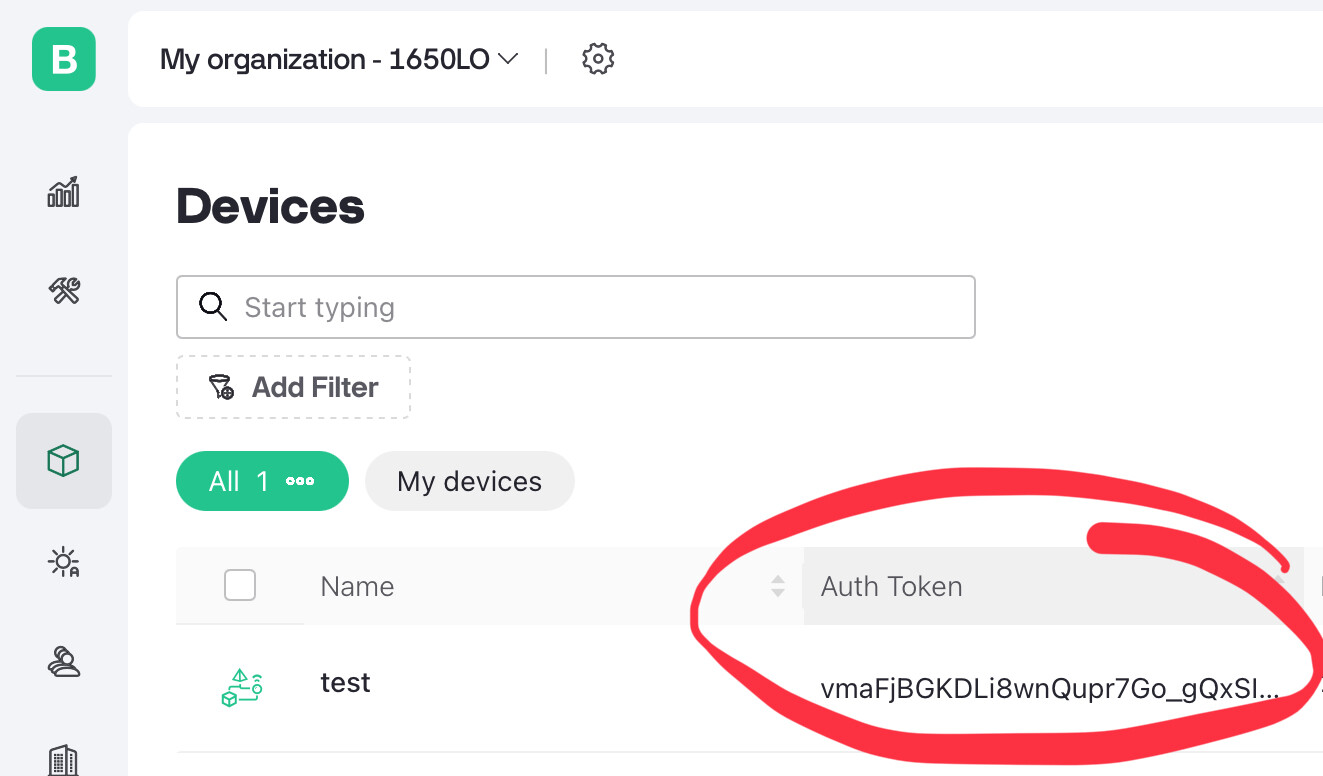
/* Fill-in information from Blynk Device Info here */

#define BLYNK_AUTH_TOKEN            "YourAuthToken"type or paste code here
How to obtain that info ?
Nothing.
I assume that you’ve edited the Blynk.begin command in the example sketch.
Why?
Pete.
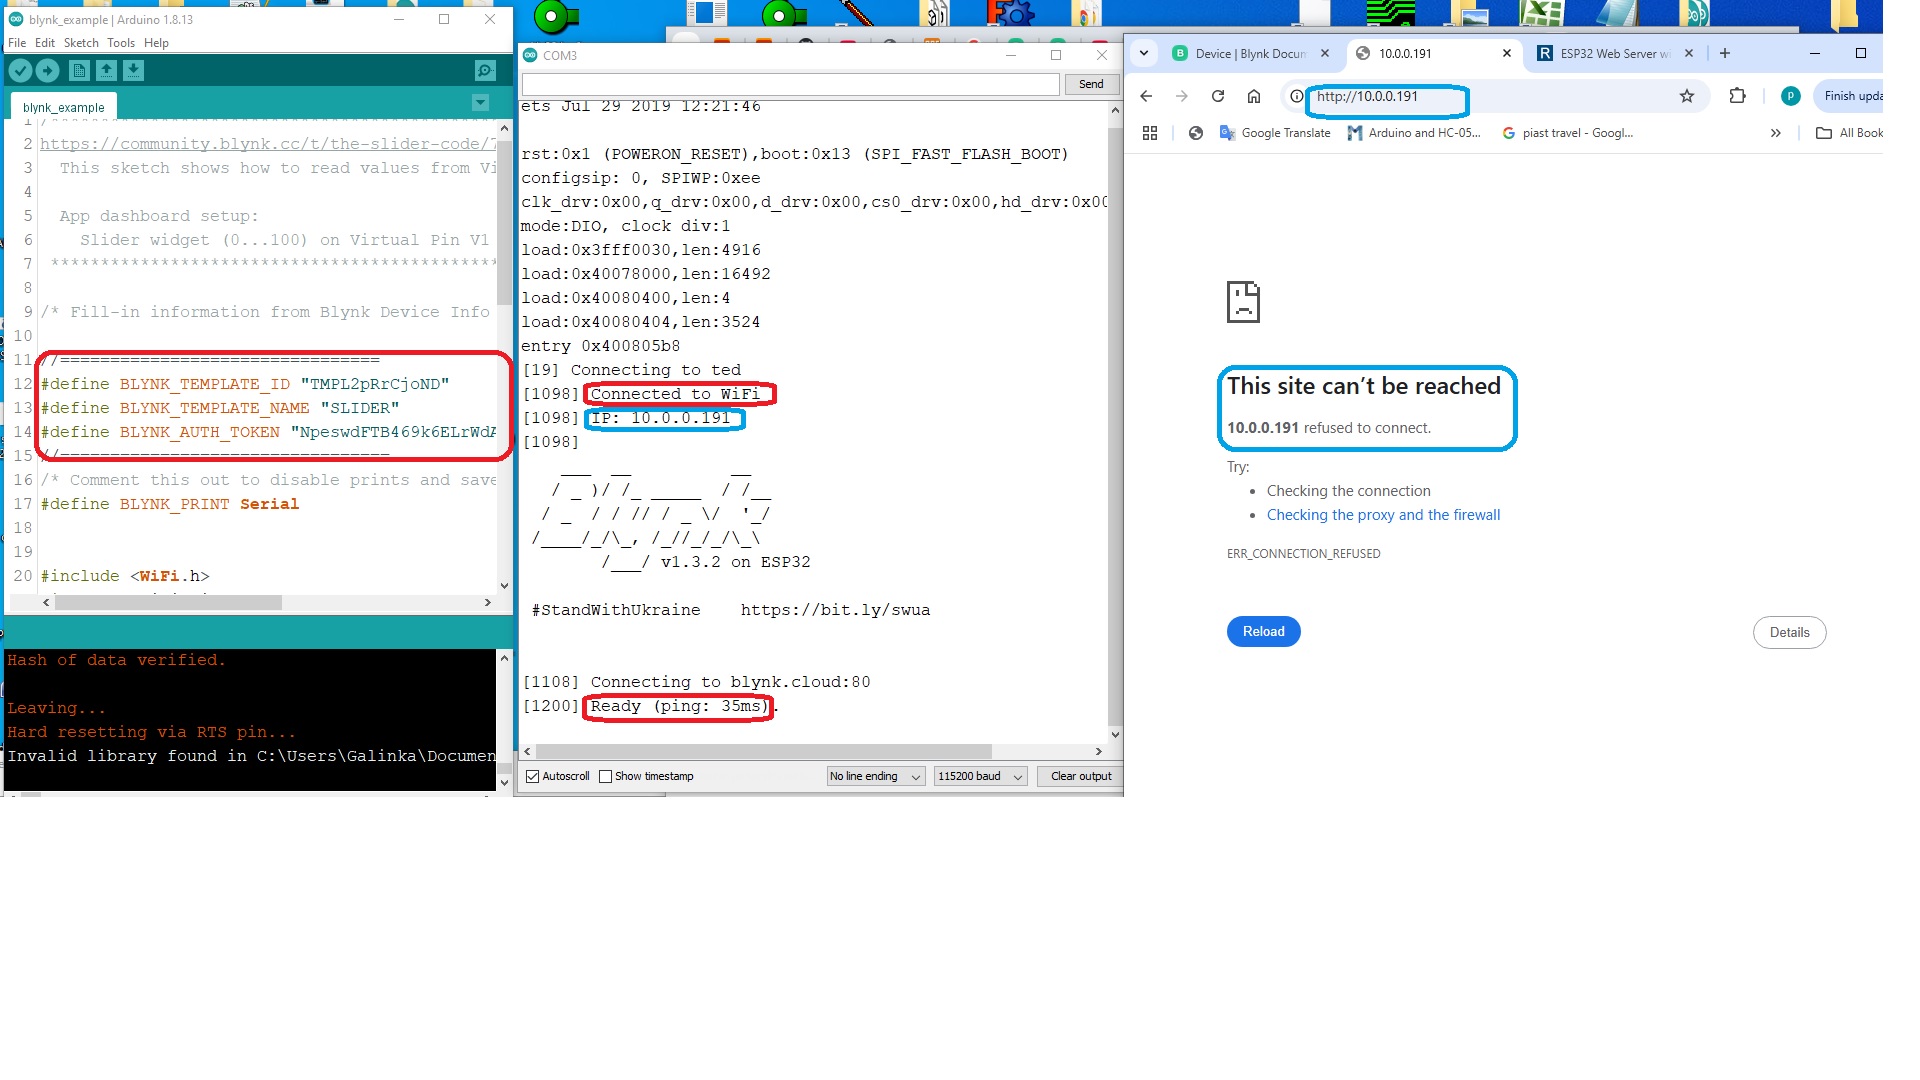
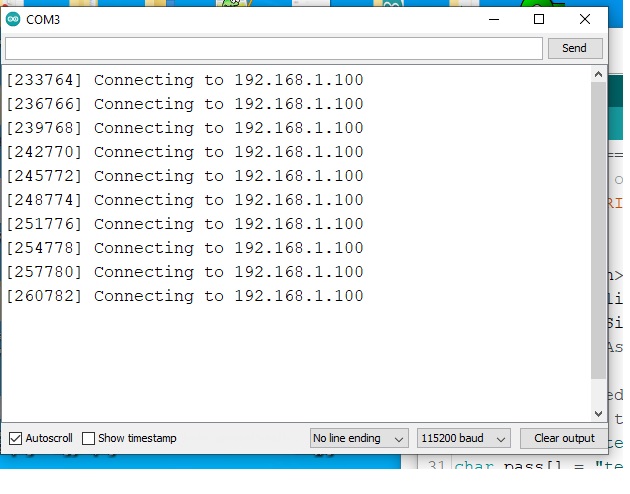
Opening a local IP address in a browser won’t achieve anything - that’s not how Blynk works.
Pete.
problem solved by simple online tutorial