Pete,
YOU solved my whole issue. Thank you so very much. First you were 100% right to say “I’m really struggling to understand what you’re doing” especially since I was struggling to understand what I was doing…
OK. FYI here’s what I did:
a) Deleted device and template from web console. You were spot-on target since THIS WAS THE KEY to get back to ground-zero
b) I then meticulously followed every word of your post. Thank you for taking the TIME to do the step by step in such detail.
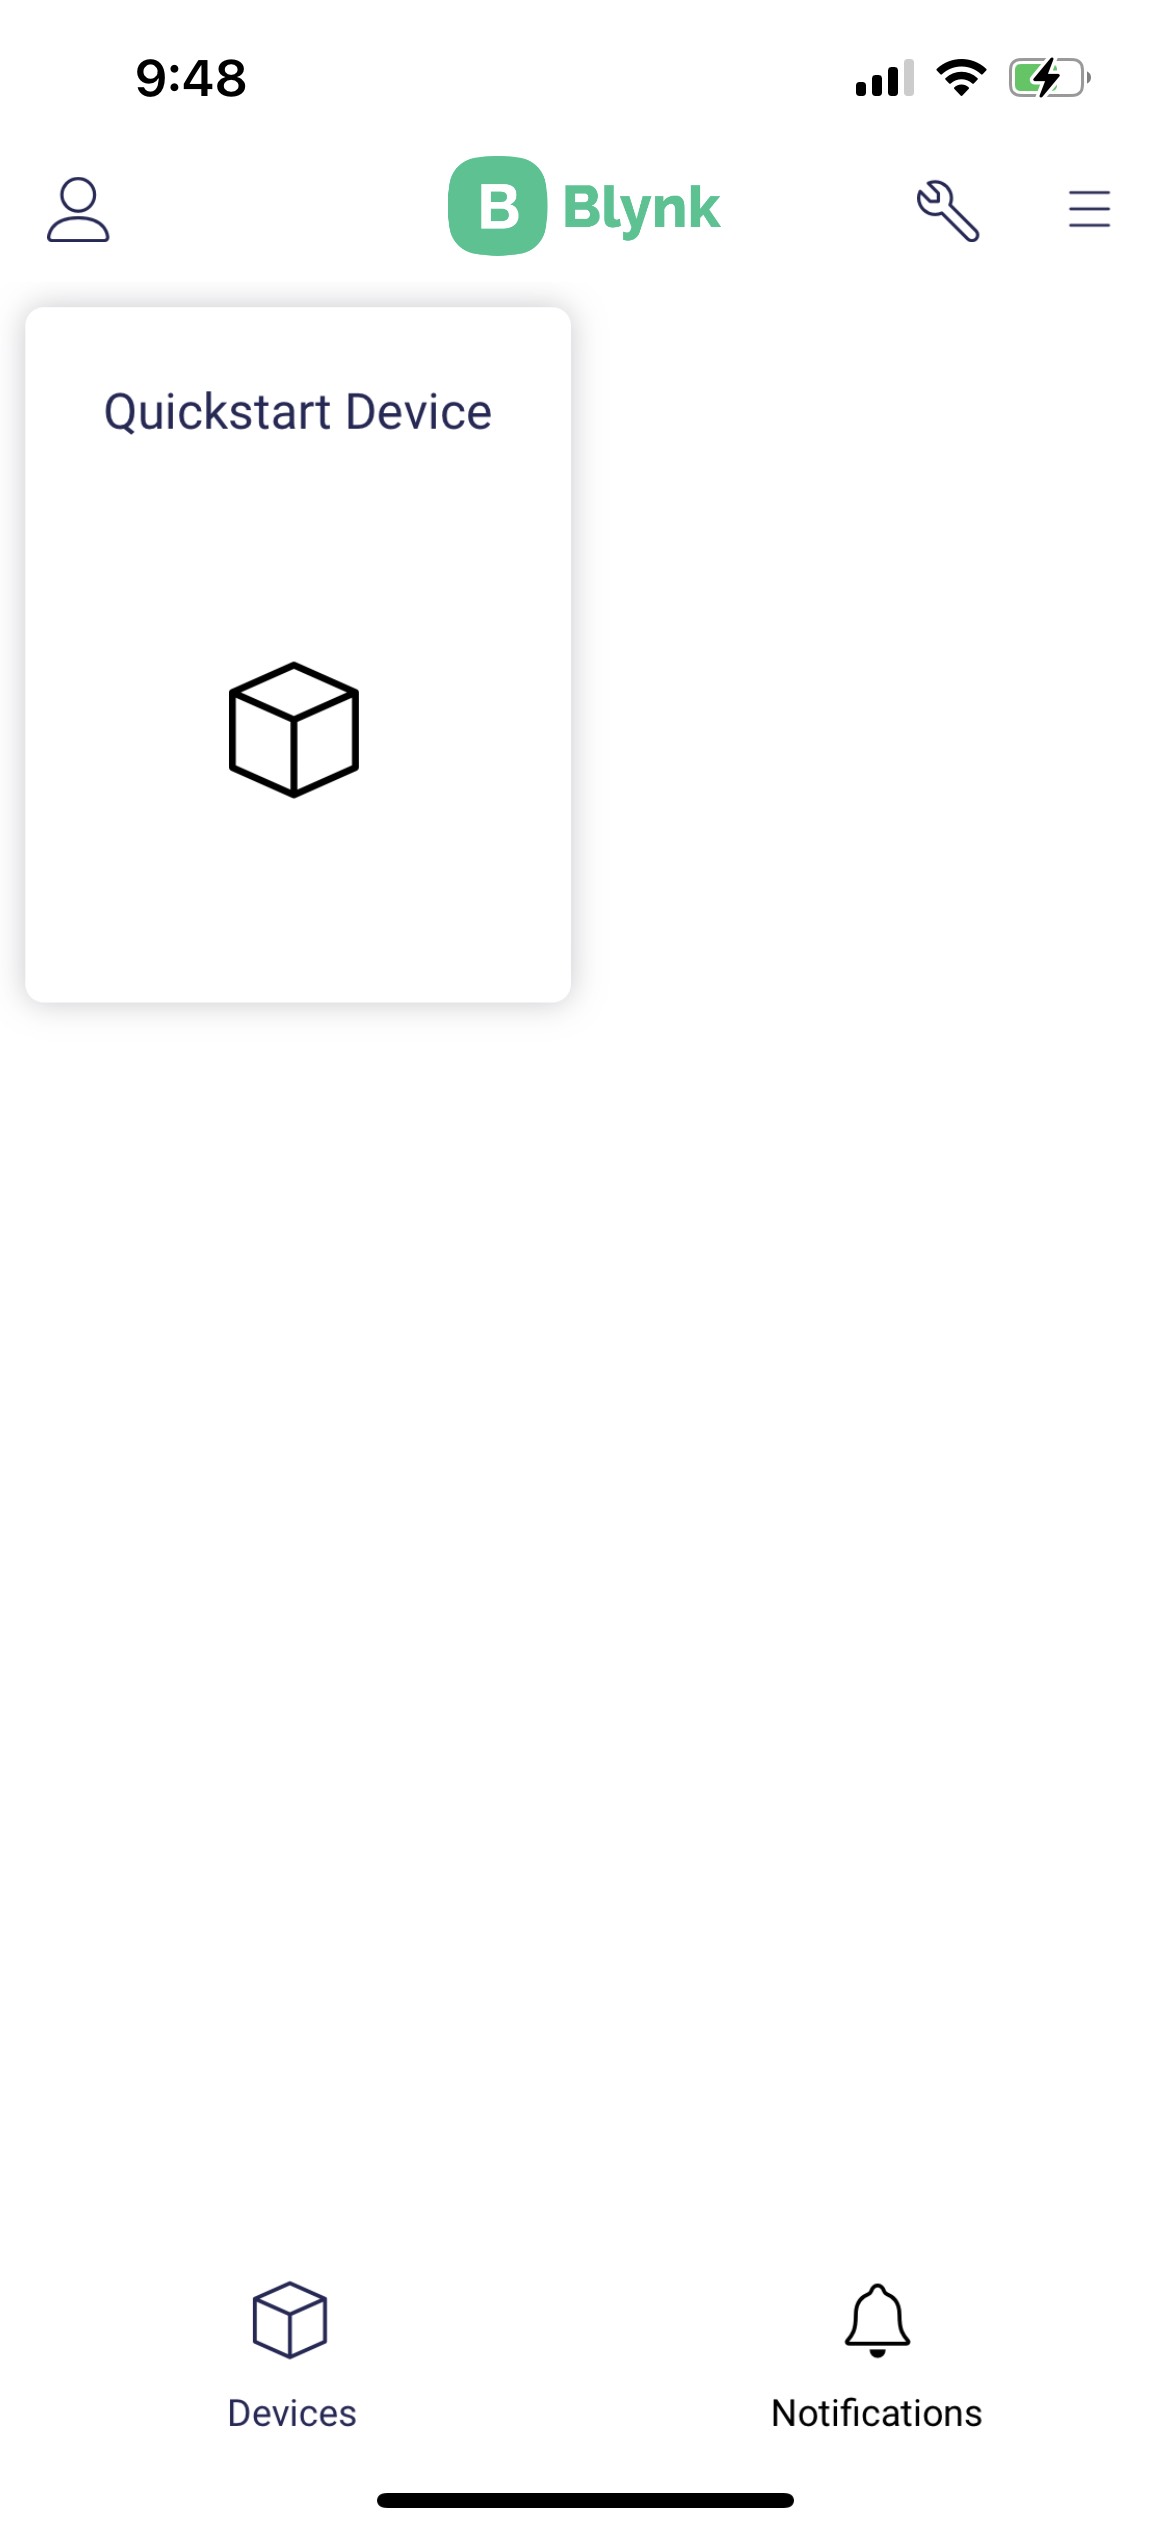
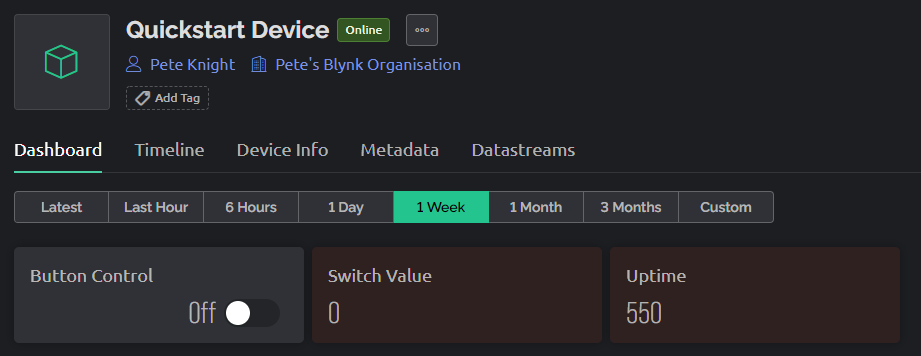
c) I got all the way through to this part of your post “…and when you go to the app you should see a device called “Quickstart Device” on the main screen”
-
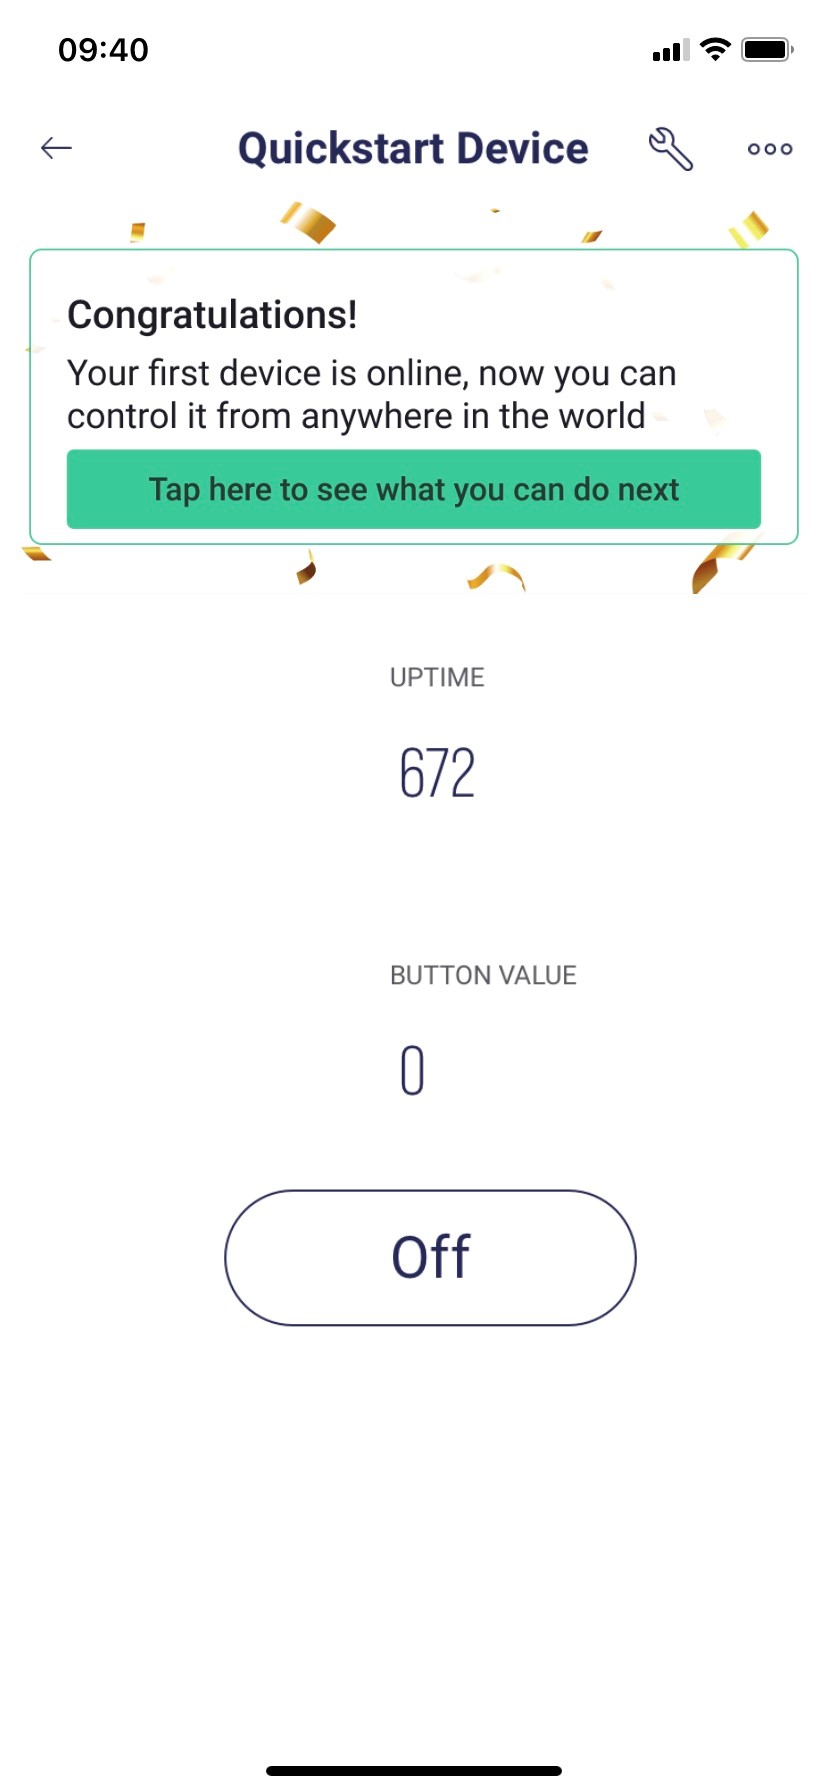
- when I went to the app, it didn’t show any device at all, so I clicked on the tripple dot and it said Add a device…well I knew that would be wrong. Then I clicked on the “wrench” and it gave me the screen with “Quickstart Template”…then clicked on it and the rest fell in place…I could see the button, I could go back to the home page and it showed the Quickstart Device box. All was GOOD
d) And now for even MORE GOOD NEWS, I decided to then do what your post said, namely “…Once you have everything working correctly you can then start to edit the Blynk sketch to change what happens when the On/Off button is pressed”
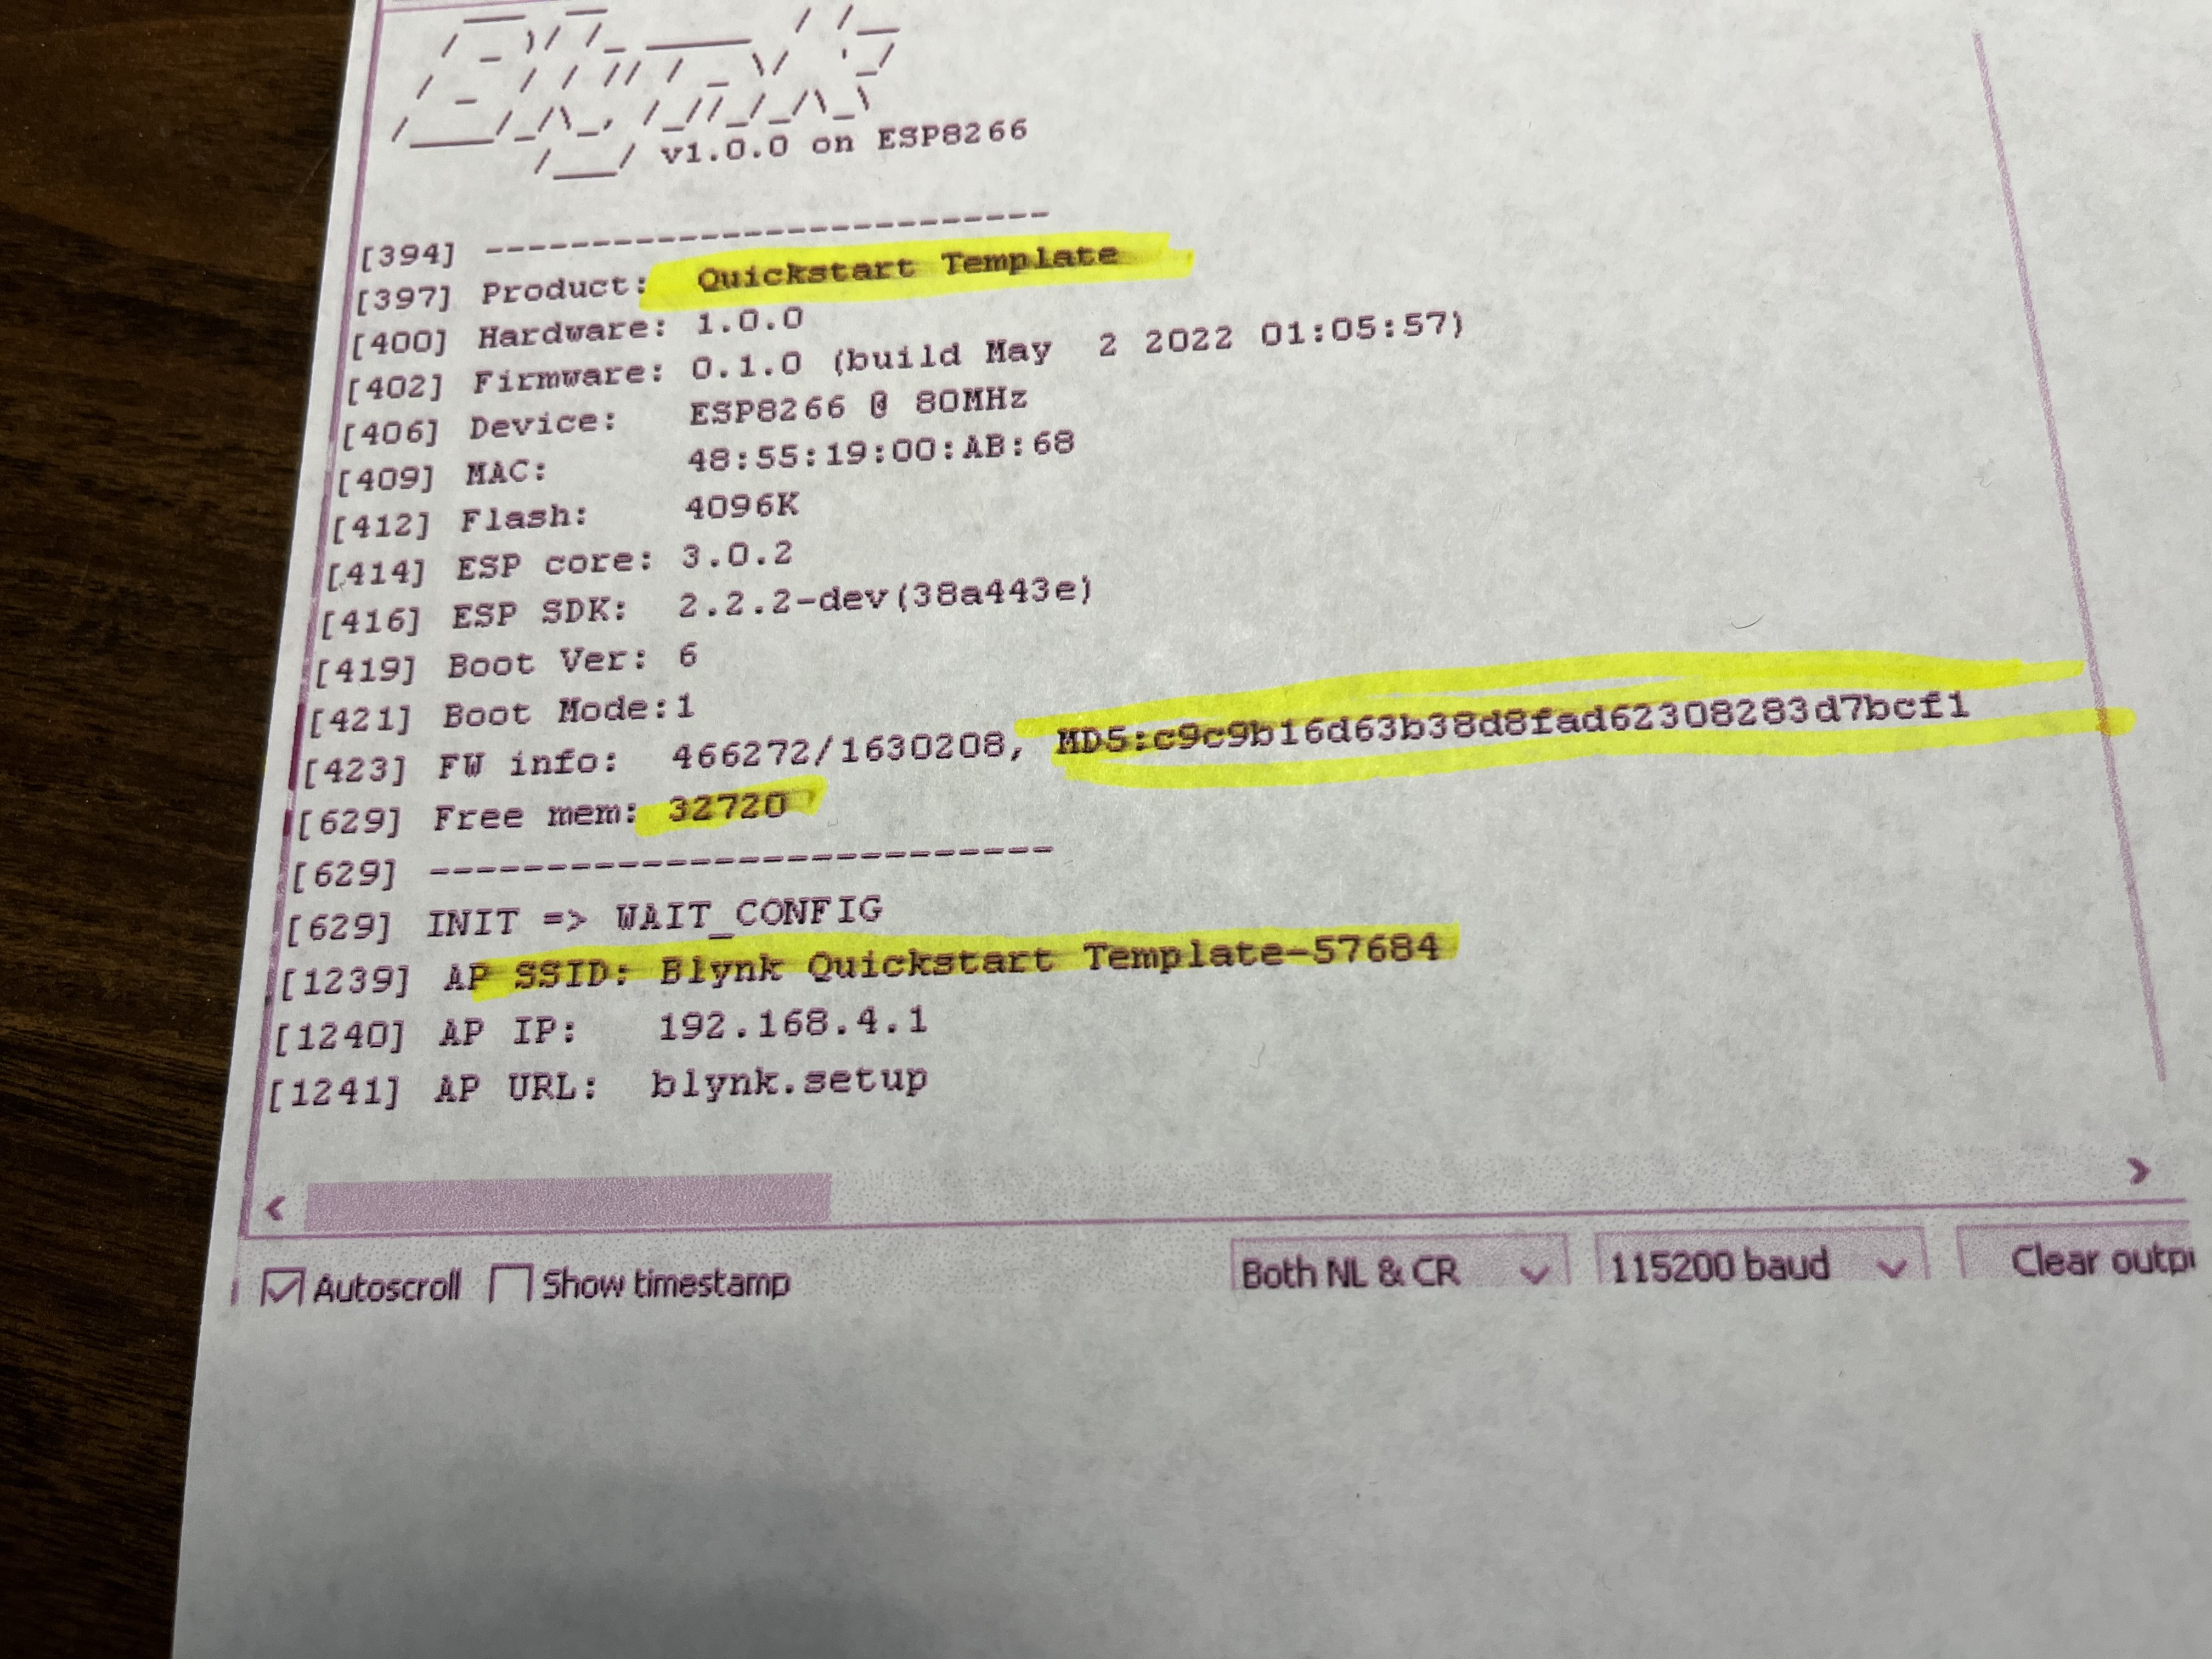
e) I also read your guide about how to use virtual pins, and googled for as much info as I could. I found a webpage and pasted much of it’s code in my sketch; had to add ESP8266 items; bottom line, I finally got the sketch to upload with NO errors, and in the Serial Monitor (pressing reset) I got the Blynk logo and the glad-to-see word “ready”
f) I went to my iphone app and pressed the button and the LED went on/off. And then for the REAL TEST…I went to my iphone settings and SHUT the WiFi. Then went to the Blynk app again…and BINGO…I was able to turn the LED on/off. So this was my very first IoT (truly allowing me to access my wemos board from ANYWHERE in the so-to-speak world…I was thrilled. (ps: I also called my wife from about 3 miles away and then used my iphone to control the led…which she verified)
Sorry for all the details above buy I just wanted to share it all. Also, FYI below is my SKETCH.
One more thing…I noticed a ton of your posts whereby you helped a lot of people who were at an advanced level (or at least appeared to me to be very knowledgeable). That said, thank you for helping a sub-Newbie. I guess at 78, they’re right when they say, you’re never too old to learn (…and I will impress my grandkids with lights going on and off…ha) Thank you, Rich
//// file NAME: FINAL_2_Quickstart_asORIGconfigured_AFTER_addingBlynkButtonCodes
//// got most button codes from: https://www.hackster.io/rocketman27/led-blink-with-blynk-2-0-e86daa
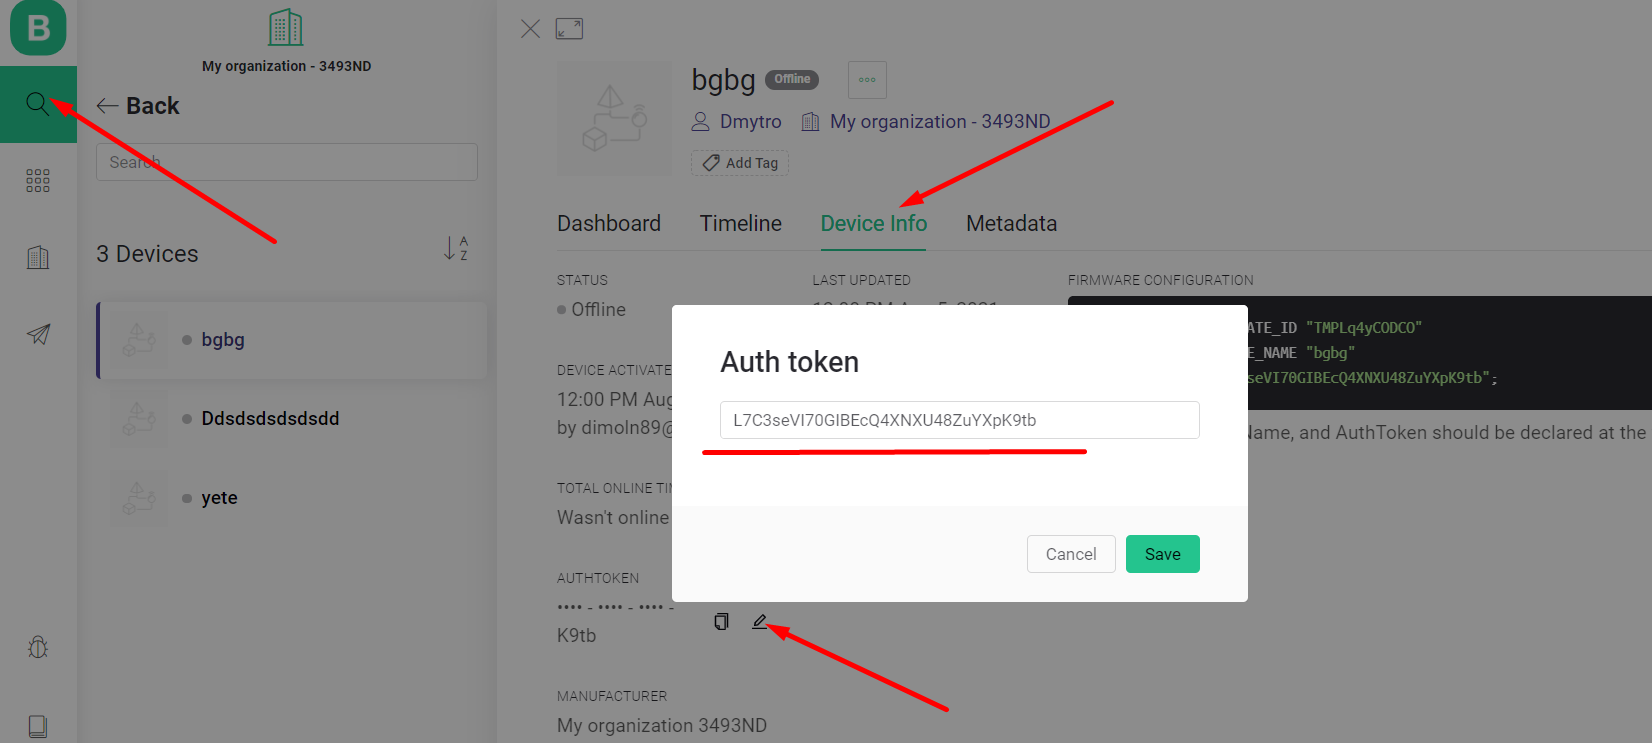
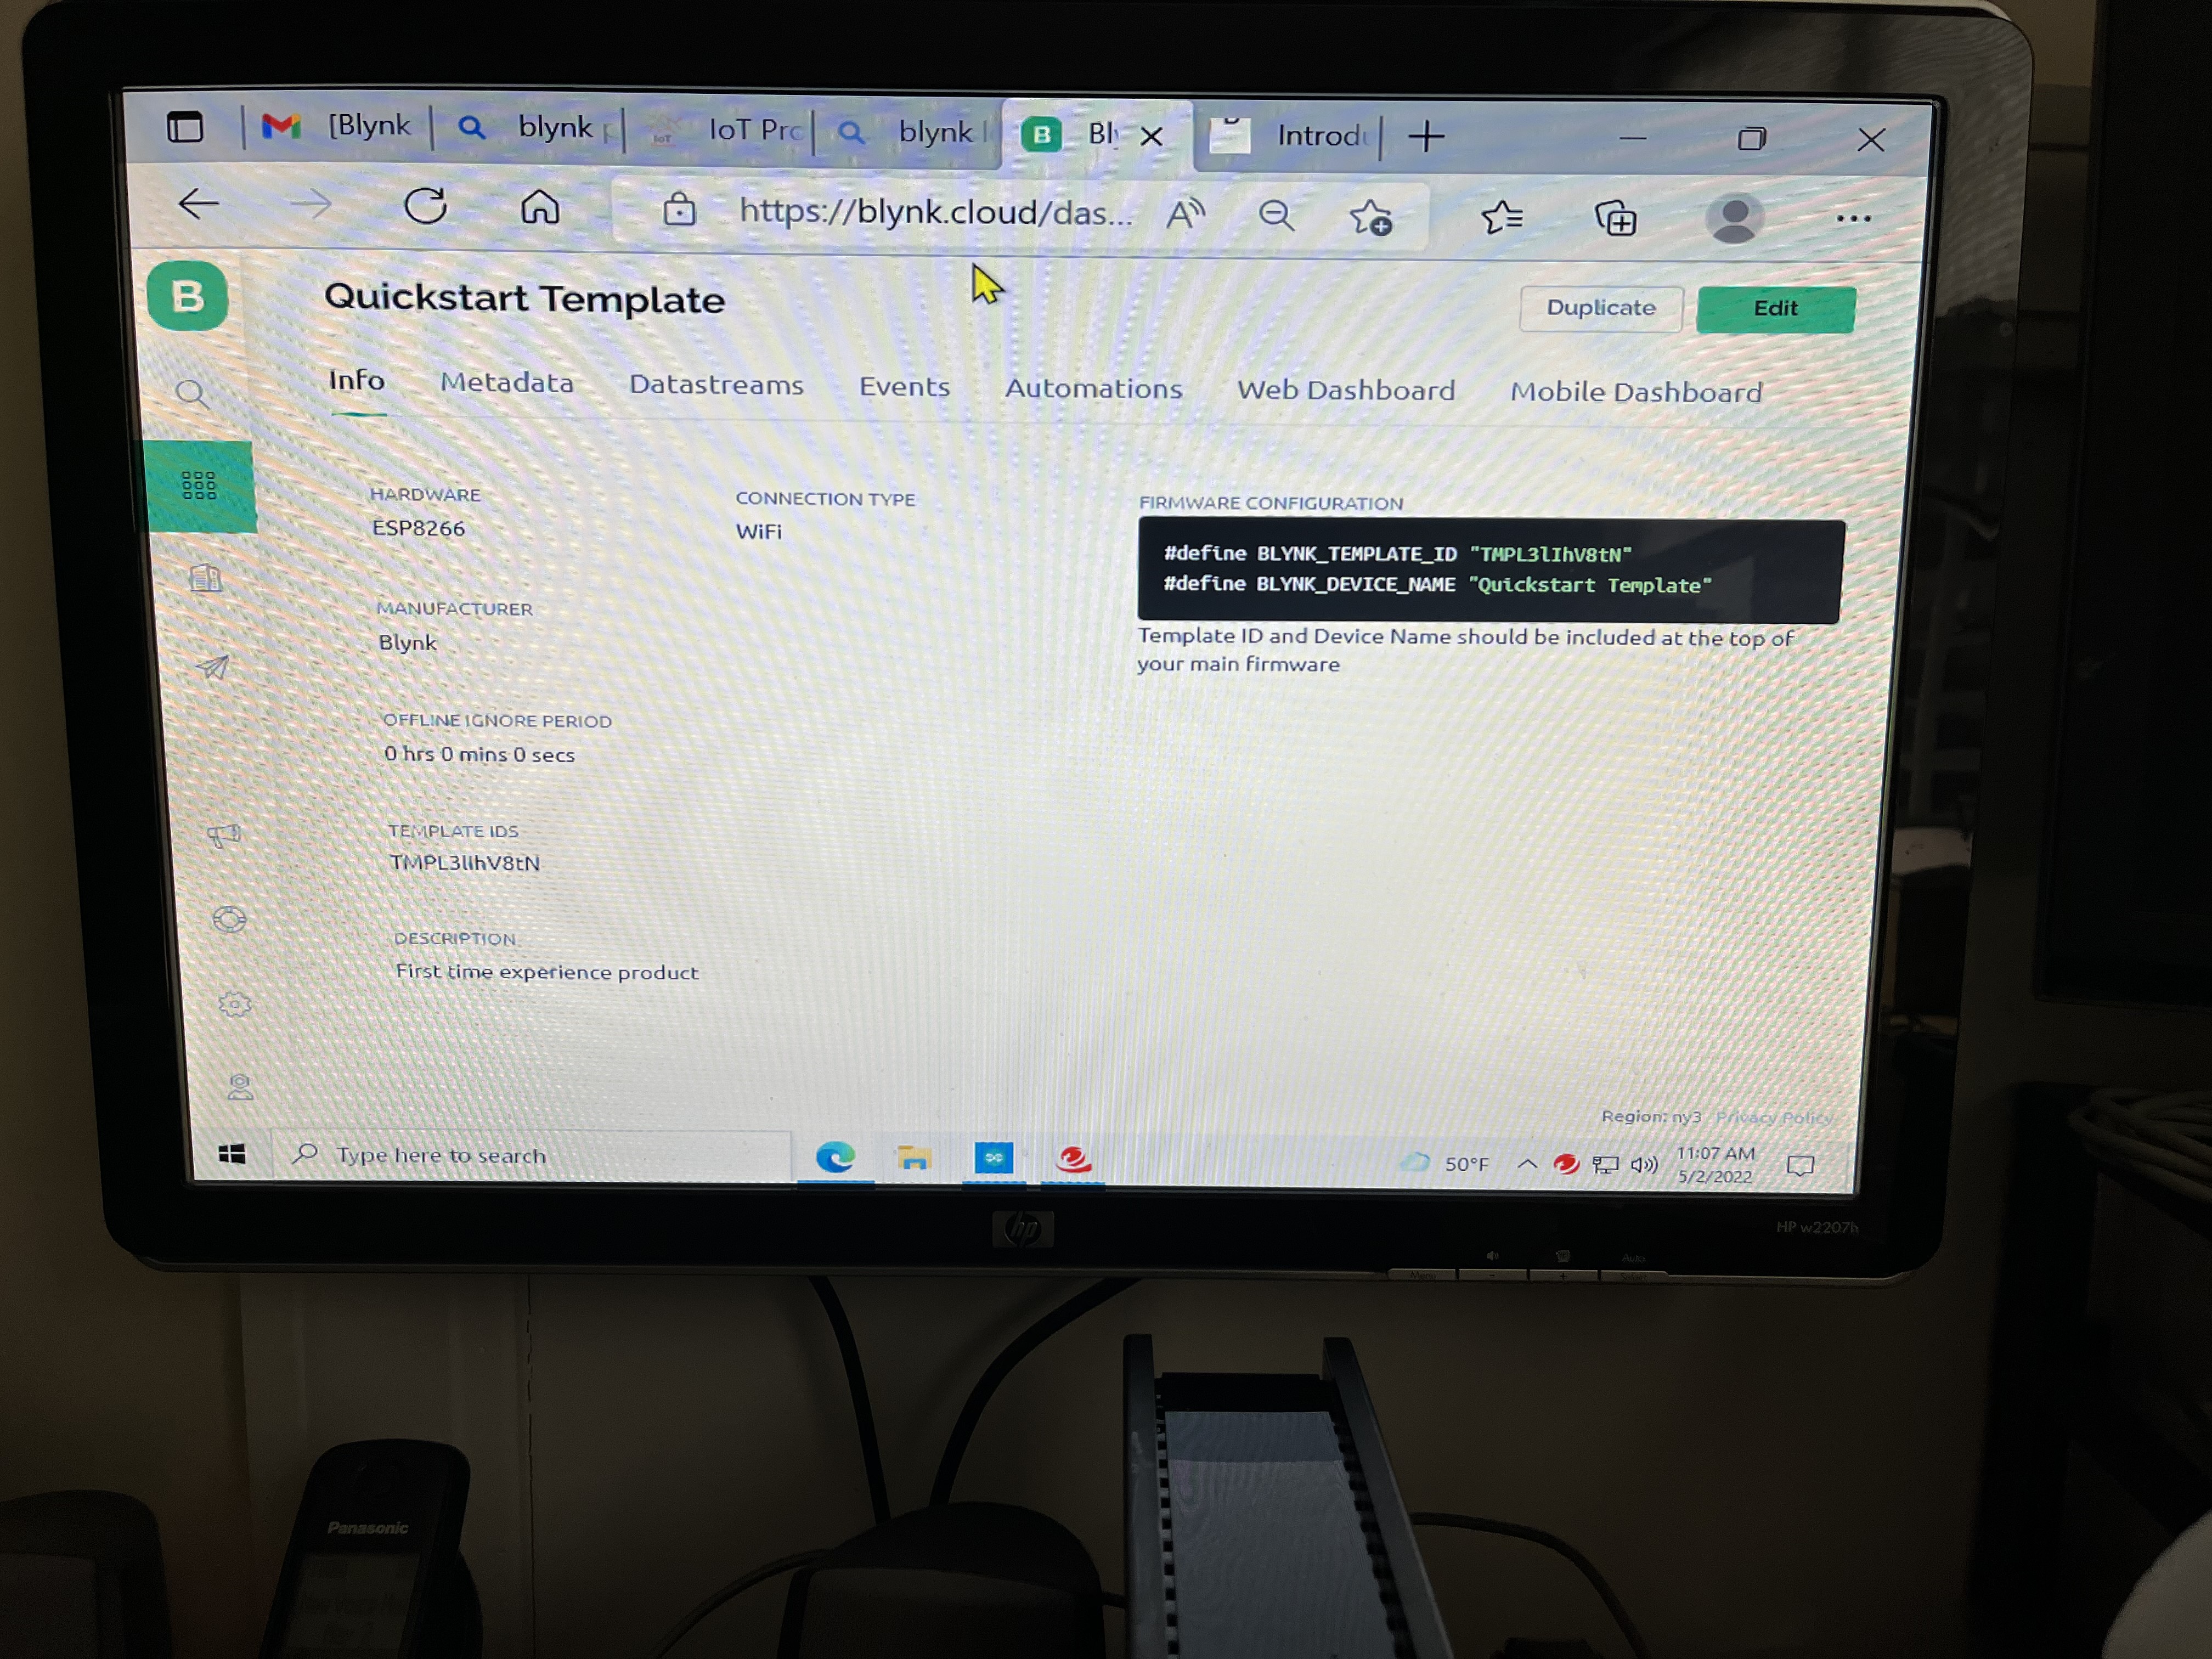
// Template ID, Device Name and Auth Token are provided by the Blynk.Cloud
// See the Device Info tab, or Template settings
#define BLYNK_TEMPLATE_ID "TMPL0DMC7IMm"
#define BLYNK_DEVICE_NAME "Quickstart Device"
#define BLYNK_AUTH_TOKEN "7I8_L1AhIUX3DotowbKFTIWeMWh5FZhU"
// Comment this out to disable prints and save space
#define BLYNK_PRINT Serial
#include <ESP8266WiFi.h> // I ADDED THIS
#include <BlynkSimpleEsp8266.h> // I ADDED THIS
#include <SPI.h>
char auth[] = BLYNK_AUTH_TOKEN;
// Your WiFi credentials.
// Set password to "" for open networks.
char ssid[] = "OCEANVIEW";
char pass[] = "RICHARD88";
BlynkTimer timer;
// This function is called every time the Virtual Pin 0 state changes
BLYNK_WRITE(V0) {
int pinValue = param.asInt();
digitalWrite(D7, pinValue);
}
// This function is called every time the device is connected to the Blynk.Cloud
BLYNK_CONNECTED()
{
// Change Web Link Button message to "Congratulations!"
Blynk.setProperty(V3, "offImageUrl", "https://static-image.nyc3.cdn.digitaloceanspaces.com/general/fte/congratulations.png");
Blynk.setProperty(V3, "onImageUrl", "https://static-image.nyc3.cdn.digitaloceanspaces.com/general/fte/congratulations_pressed.png");
Blynk.setProperty(V3, "url", "https://docs.blynk.io/en/getting-started/what-do-i-need-to-blynk/how-quickstart-device-was-made");
}
// This function sends Arduino's uptime every second to Virtual Pin 2.
void setup()
{
// Debug console
Serial.begin(115200);
Blynk.begin(auth, ssid, pass);
// You can also specify server:
//Blynk.begin(auth, ssid, pass, "blynk.cloud", 80);
//Blynk.begin(auth, ssid, pass, IPAddress(192,168,1,100), 8080);
pinMode(D7, OUTPUT);
// Setup a function to be called every second
}
void loop()
{
Blynk.run();
timer.run();
// You can inject your own code or combine it with other sketches.
// Check other examples on how to communicate with Blynk. Remember
// to avoid delay() function!
}