Congratulations for your platform! I have some issues though.
I use the blink example https://examples.blynk.cc/?board=Arduino%20Uno&shield=ESP8266%20WiFi%20Shield&example=GettingStarted%2FBlynkBlink
in the arduino nano, with the esp8266 esp01 and i have this issue; i upload this code and the arduino connects to my wifi network, but it cannot connect to blynk. is there a solution for that?
the code that i used
/*************************************************************
  Download latest Blynk library here:
    https://github.com/blynkkk/blynk-library/releases/latest

  Blynk is a platform with iOS and Android apps to control
  Arduino, Raspberry Pi and the likes over the Internet.
  You can easily build graphic interfaces for all your
  projects by simply dragging and dropping widgets.

    Downloads, docs, tutorials: http://www.blynk.cc
    Sketch generator:           http://examples.blynk.cc
    Blynk community:            http://community.blynk.cc
    Follow us:                  http://www.fb.com/blynkapp
                                http://twitter.com/blynk_app

  Blynk library is licensed under MIT license
  This example code is in public domain.

 *************************************************************
  WARNING!
    It's rather tricky to get it working, please read this article:
    https://github.com/blynkkk/blynk-library/wiki/ESP8266-with-AT-firmware

  You’ll need:
   - Blynk App (download from AppStore or Google Play)
   - Arduino Uno board
   - Decide how to connect to Blynk
     (USB, Ethernet, Wi-Fi, Bluetooth, ...)

  There is a bunch of great example sketches included to show you how to get
  started. Think of them as LEGO bricks  and combine them as you wish.
  For example, take the Ethernet Shield sketch and combine it with the
  Servo example, or choose a USB sketch and add a code from SendData
  example.
 *************************************************************/

/* Comment this out to disable prints and save space */
#define BLYNK_PRINT Serial


#include <ESP8266_Lib.h>
#include <BlynkSimpleShieldEsp8266.h>

// You should get Auth Token in the Blynk App.
// Go to the Project Settings (nut icon).
char auth[] = "97175df40818441db1431c48dbdde088";

// Your WiFi credentials.
// Set password to "" for open networks.
char ssid[] = "Xaratsi";
char pass[] = "xxxxxxxxxxx";

// Hardware Serial on Mega, Leonardo, Micro...
//#define EspSerial Serial1

// or Software Serial on Uno, Nano...
#include <SoftwareSerial.h>
SoftwareSerial EspSerial(2, 3); // RX, TX

// Your ESP8266 baud rate:
#define ESP8266_BAUD 9600

ESP8266 wifi(&EspSerial);

void setup()
{
  // Debug console
  Serial.begin(9600);

  // Set ESP8266 baud rate
  EspSerial.begin(ESP8266_BAUD);
  delay(10);

  Blynk.begin(auth, wifi, ssid, pass);
  // You can also specify server:
  //Blynk.begin(auth, wifi, ssid, pass, "blynk-cloud.com", 8442);
  //Blynk.begin(auth, wifi, ssid, pass, IPAddress(192,168,1,100), 8442);
}

void loop()
{
  Blynk.run();
  // You can inject your own code or combine it with other sketches.
  // Check other examples on how to communicate with Blynk. Remember
  // to avoid delay() function!
}
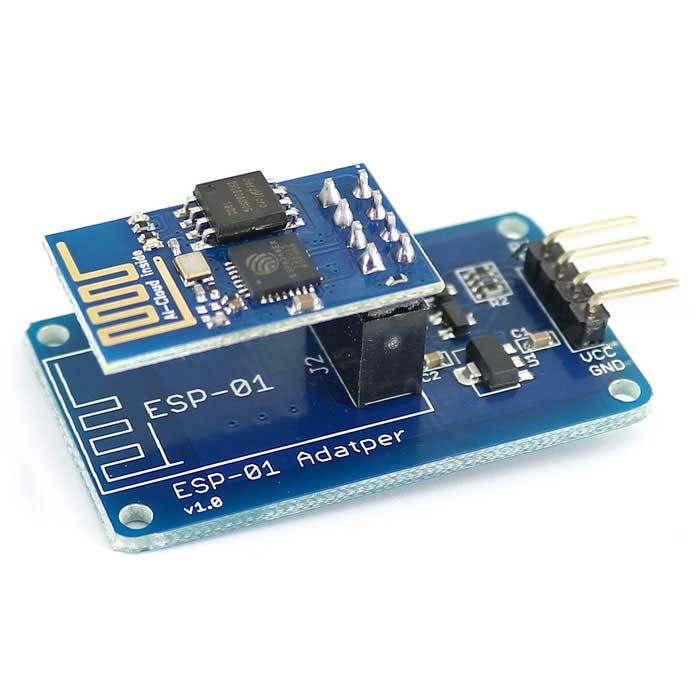
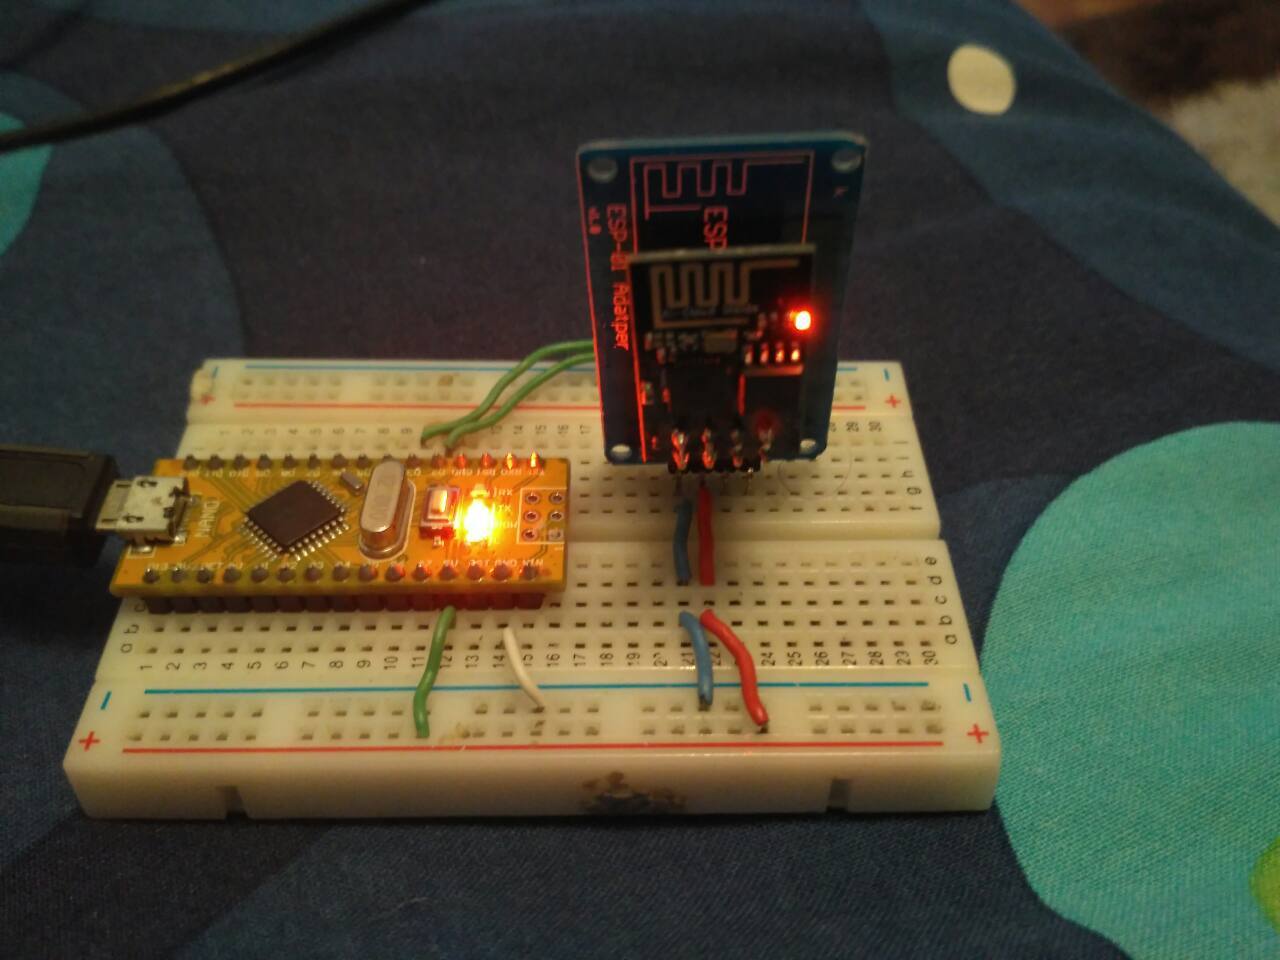
in this photo shows my circuit, the esp01 is fed with 5V and is regulated through the adater that is shon in the picture.
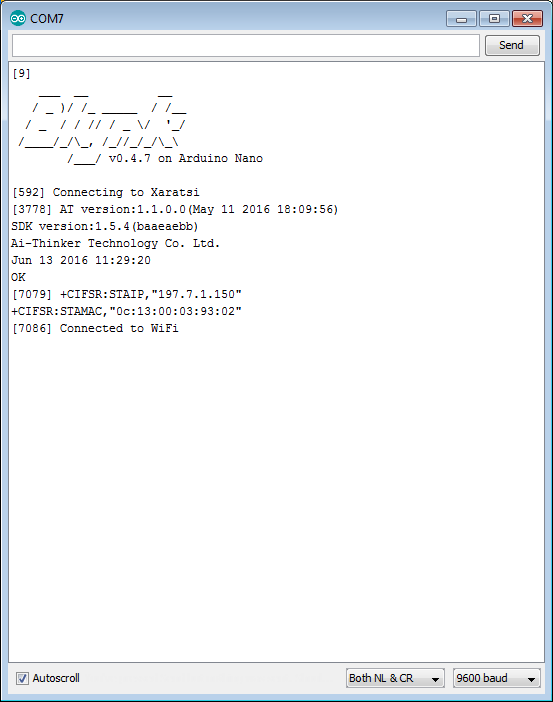
in the serial monitor only this is printed, and it’s seen that it has the flash that refers to the docs.
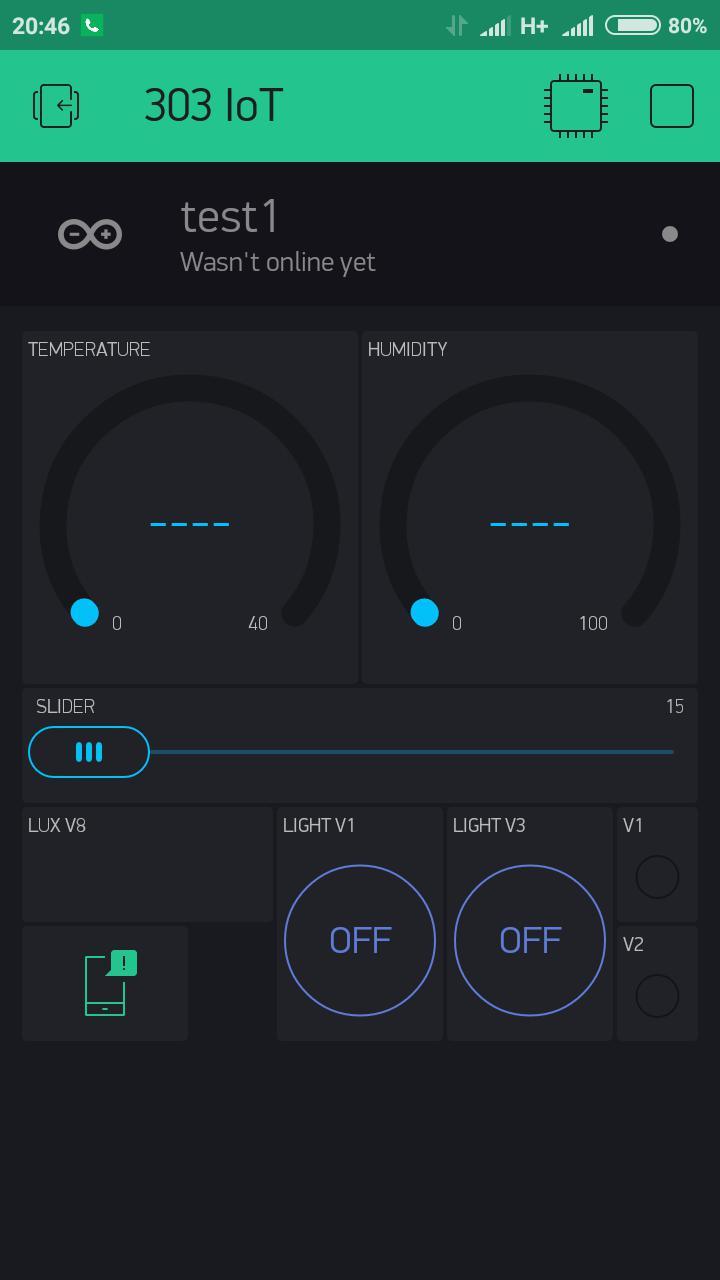
in this picture appears that the circuit is not connected to the blynk , although I use the same authorative.
Thank you in advance