I converted this library from python ( original here, from Matt Hawkins at Instructables )
Now i can use it at blink.read(virutalpin), and set Value Display to read it in cm:
I used the WiringPi libraries, and included the reference to systime library ( #include <sys/time.h> ).
All variables are inside the code, but you are free to set it on whatever you desire.
BLYNK_READ(10)
{
// Define GPIO to use on Pi ( wiringPI numbers )
int GPIO_TRIGGER=4 ;
int GPIO_ECHO=5 ;

//Compensate distance from edge to sensor
int COMP_SENSOR=0 ;

//Variables used by gettimeofday
struct timeval start, stop ;

// Set pins as output and input
wiringPiSetup () ;
  pinMode (GPIO_TRIGGER, OUTPUT) ;
  pinMode (GPIO_ECHO, INPUT) ;

//Set trigger to False (Low)
digitalWrite (GPIO_TRIGGER,  0) ;

//200 ms delay to start
delay (200) ;

//Send 10us pulse to trigger
digitalWrite (GPIO_TRIGGER,  1) ;
delayMicroseconds (10) ;
digitalWrite (GPIO_TRIGGER,  0) ;
gettimeofday(&start, NULL) ;
while (digitalRead (GPIO_ECHO)==0)
{
gettimeofday(&start, NULL) ;
}
while (digitalRead (GPIO_ECHO)==1)
{
gettimeofday(&stop, NULL) ;
}

// Calculate pulse length
float TIME_DELTA, DISTANCE ;
TIME_DELTA=(stop.tv_sec-start.tv_sec) + (stop.tv_usec-start.tv_usec) ;

// Distance pulse travelled in that time is time multiplied by the speed of sound (cm/s)
DISTANCE=TIME_DELTA * 34000 ;

// That was the distance there and back so halve the value
DISTANCE=DISTANCE / 2 ;

// Add compensation
DISTANCE=DISTANCE + COMP_SENSOR ;

// This command writes result to Virtual Pin (10) and convert usec to sec
Blynk.virtualWrite(10, DISTANCE  / 1000000) ;

}
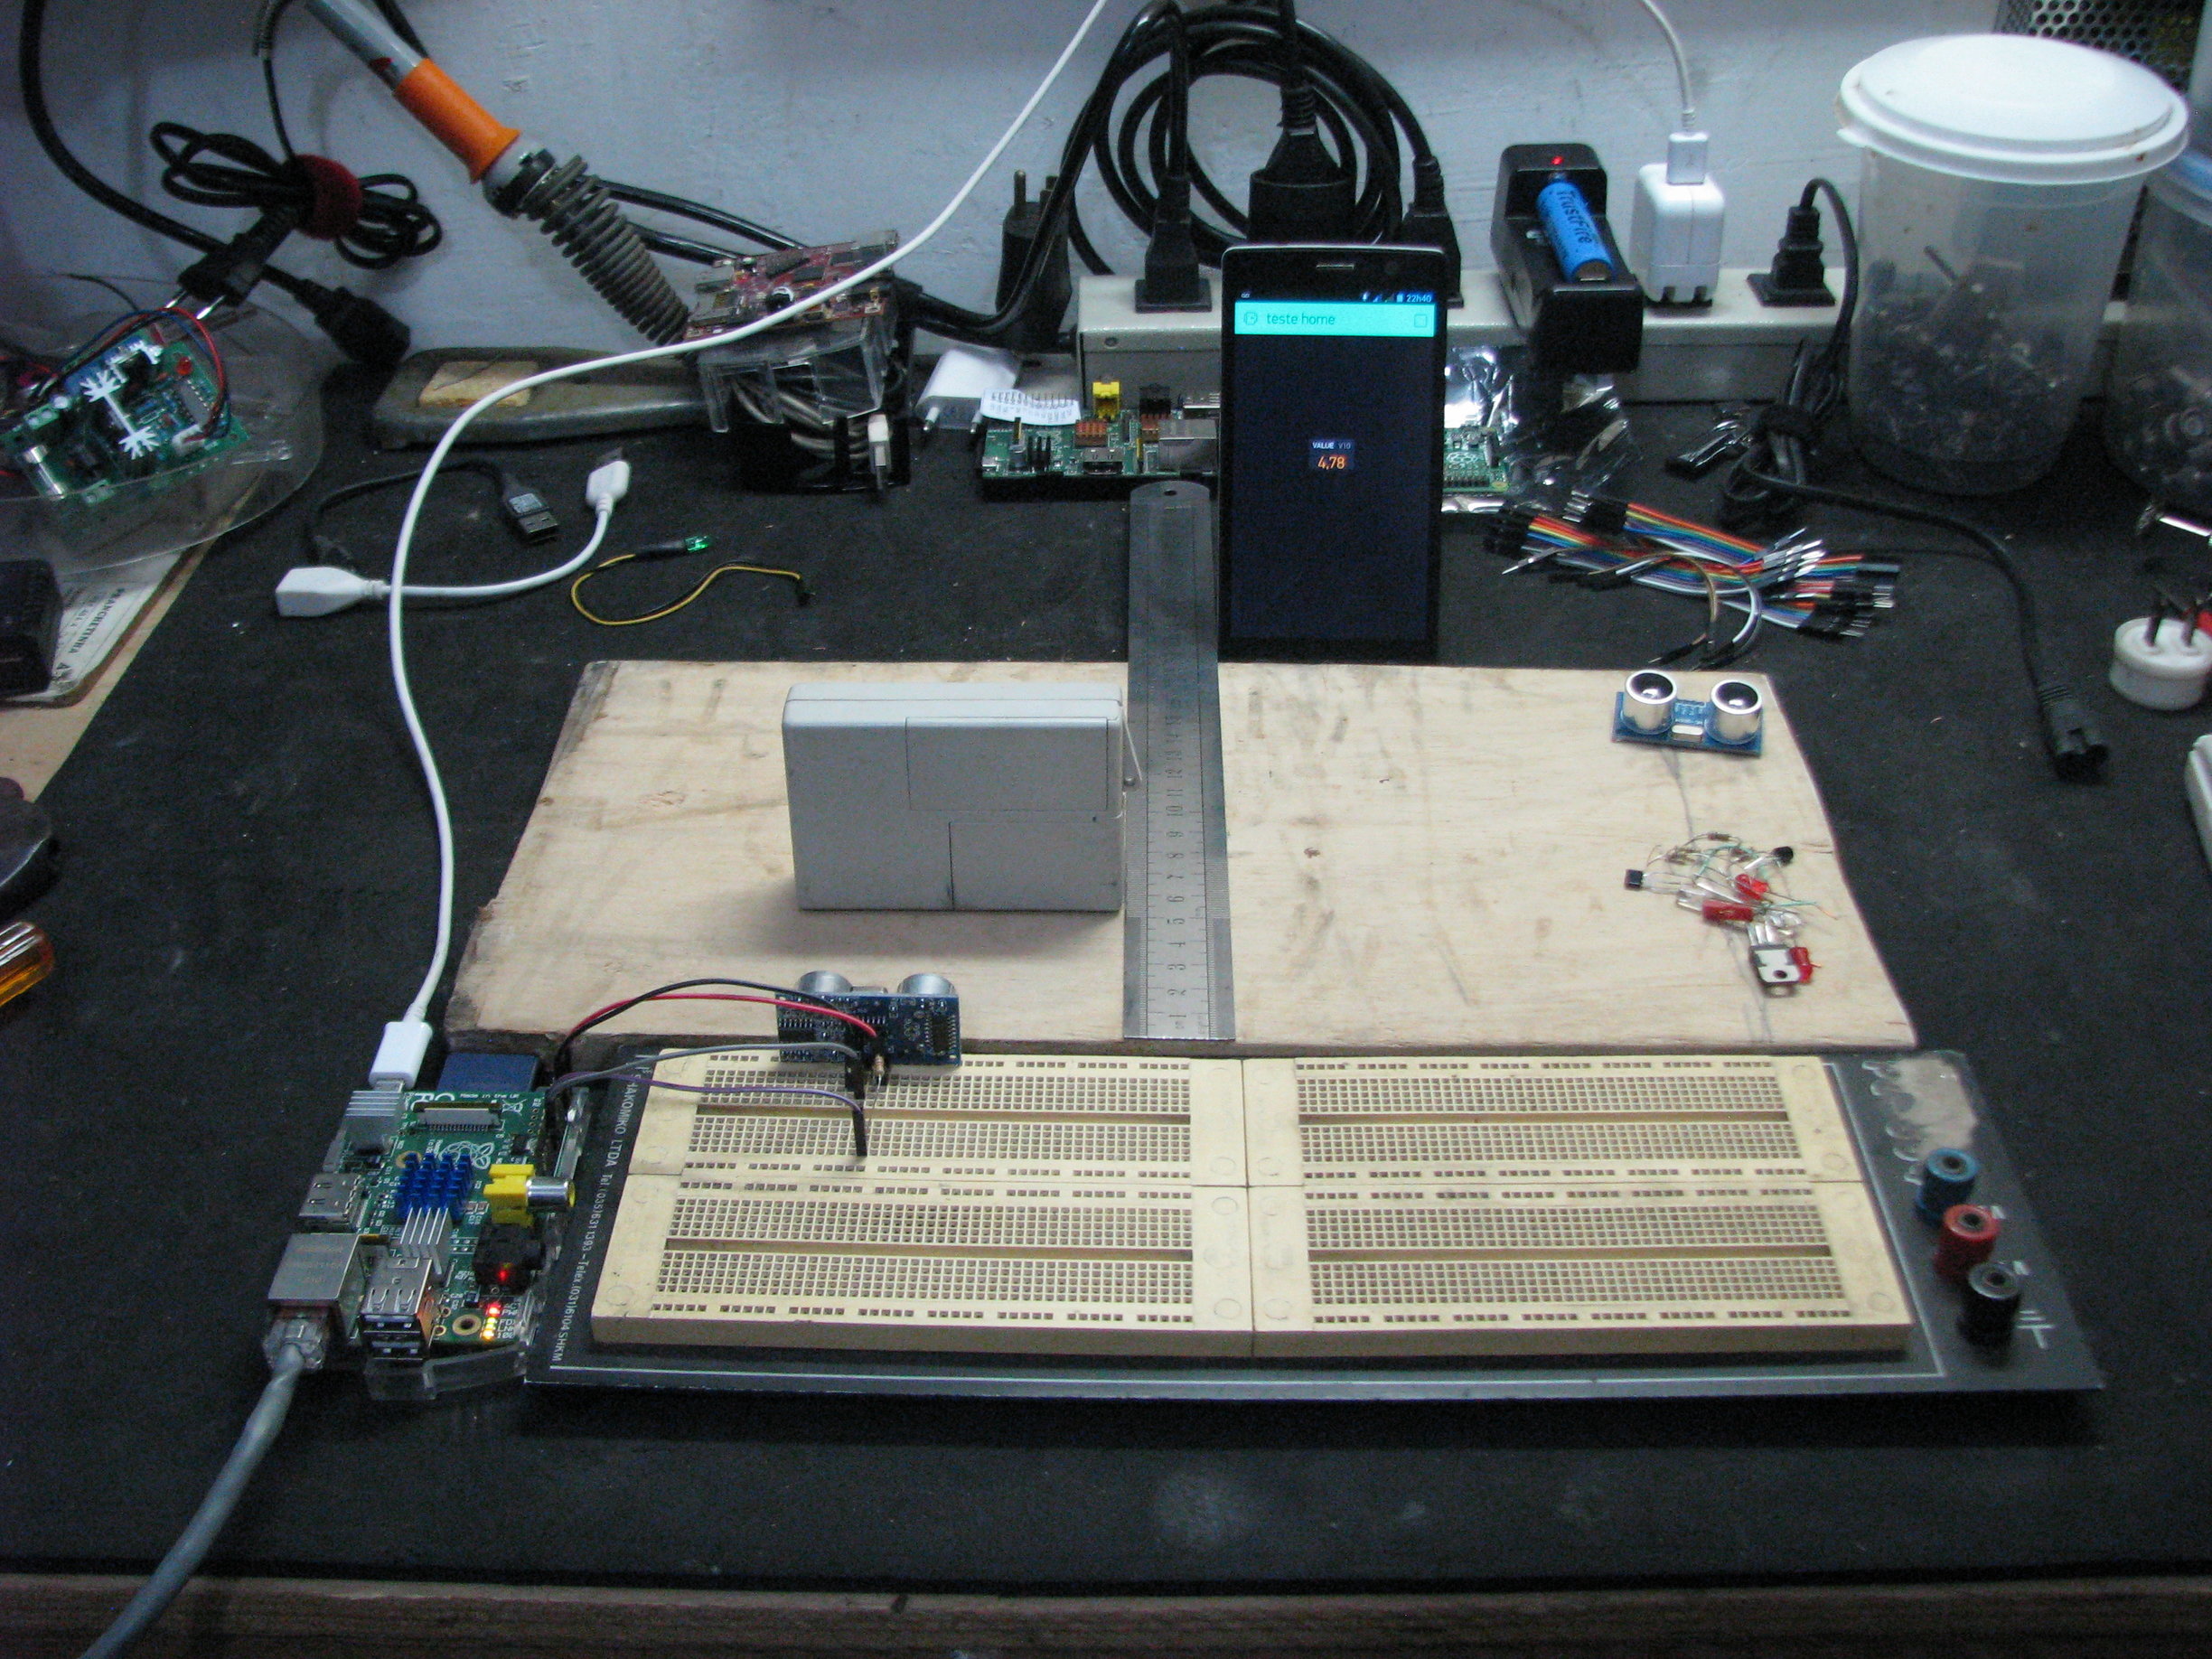
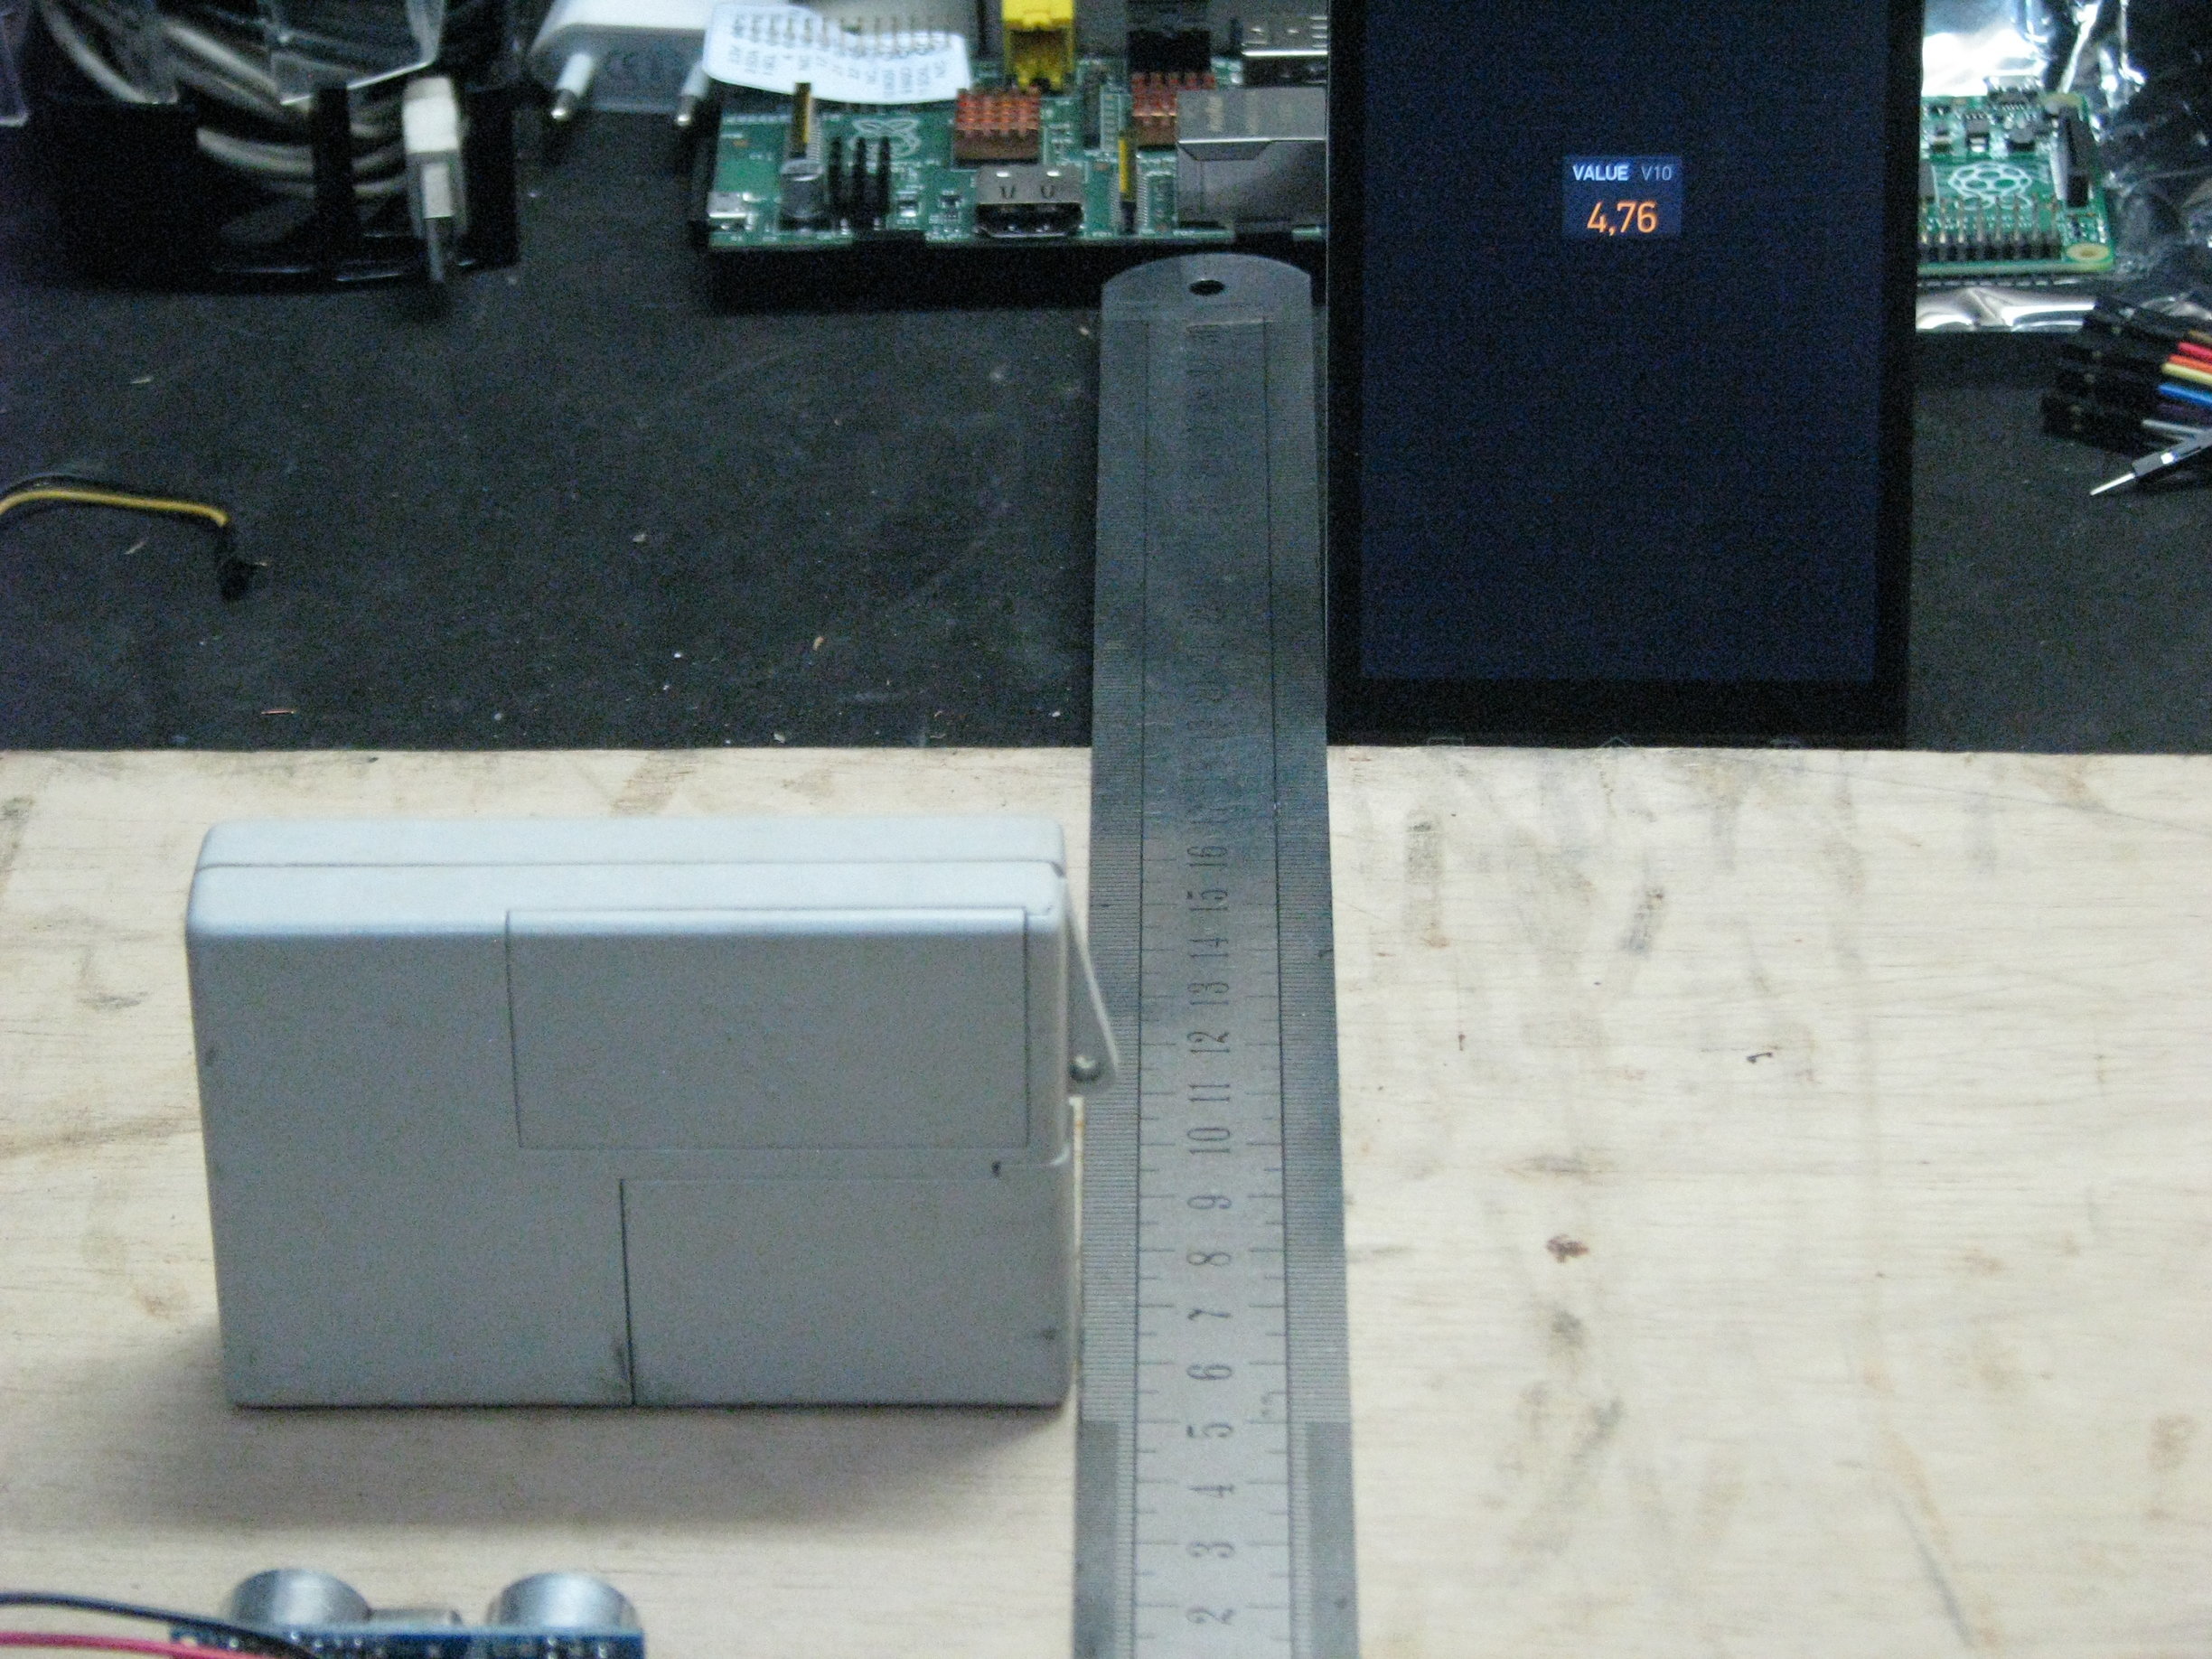
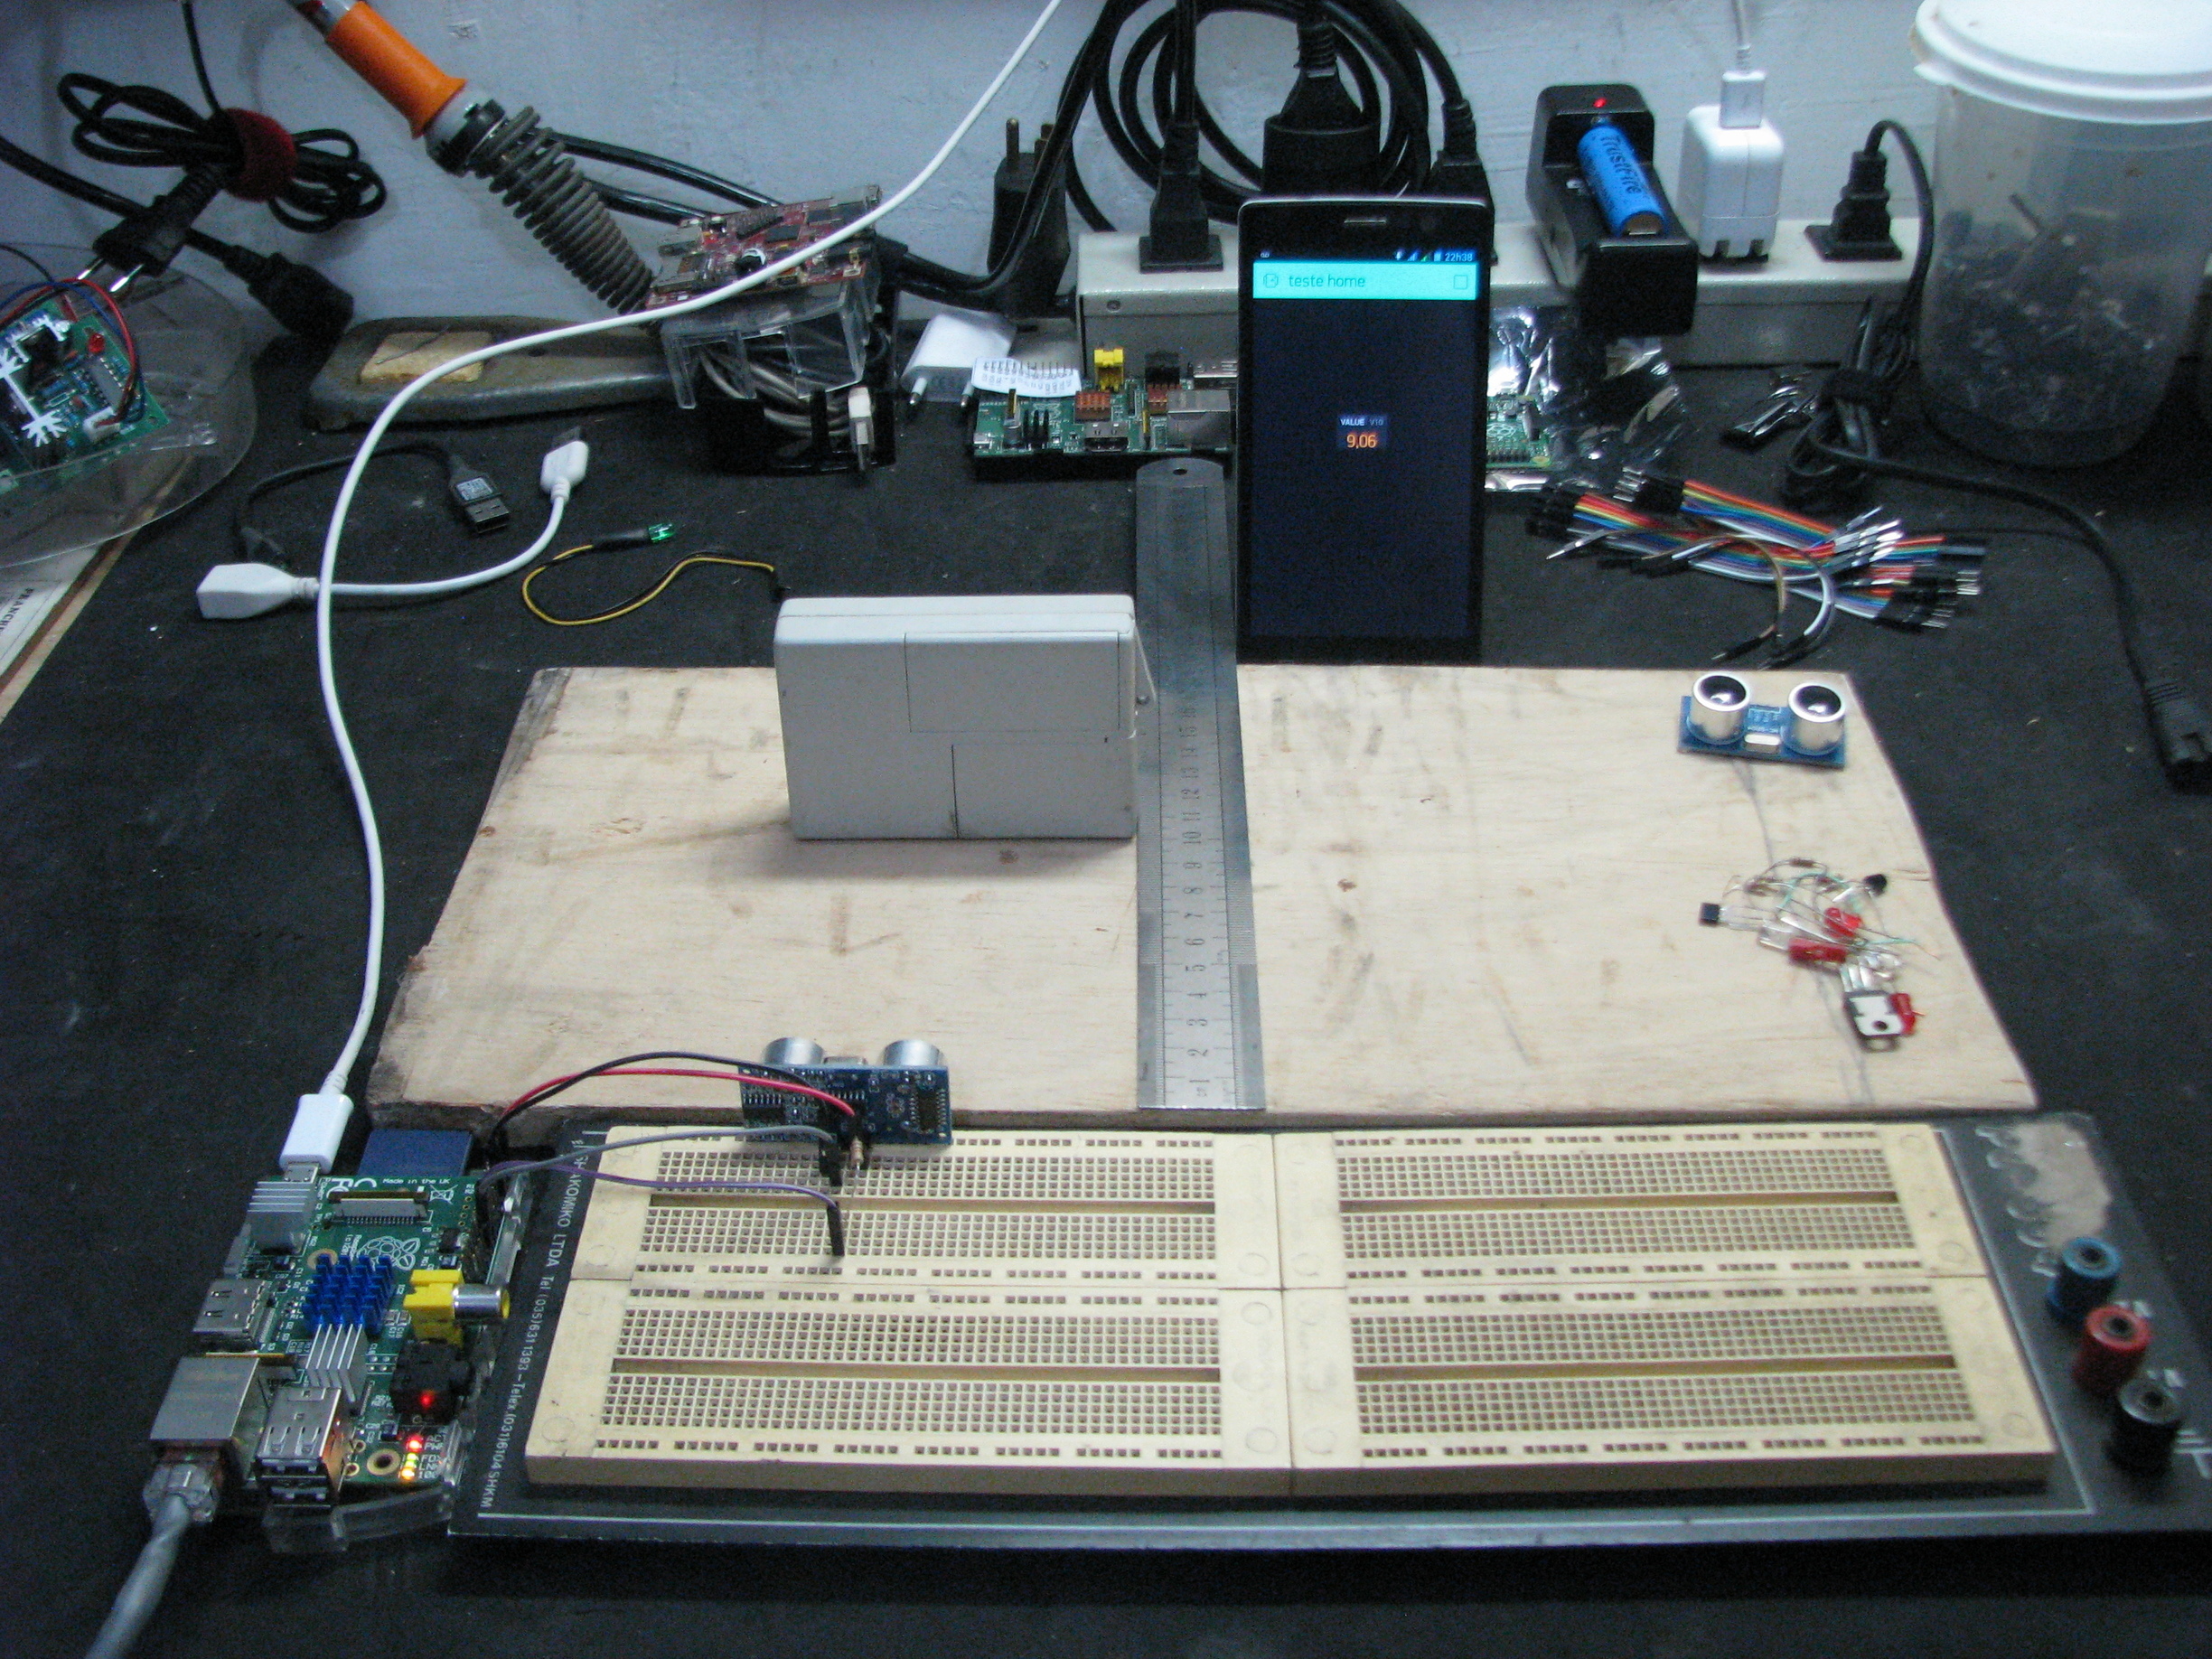
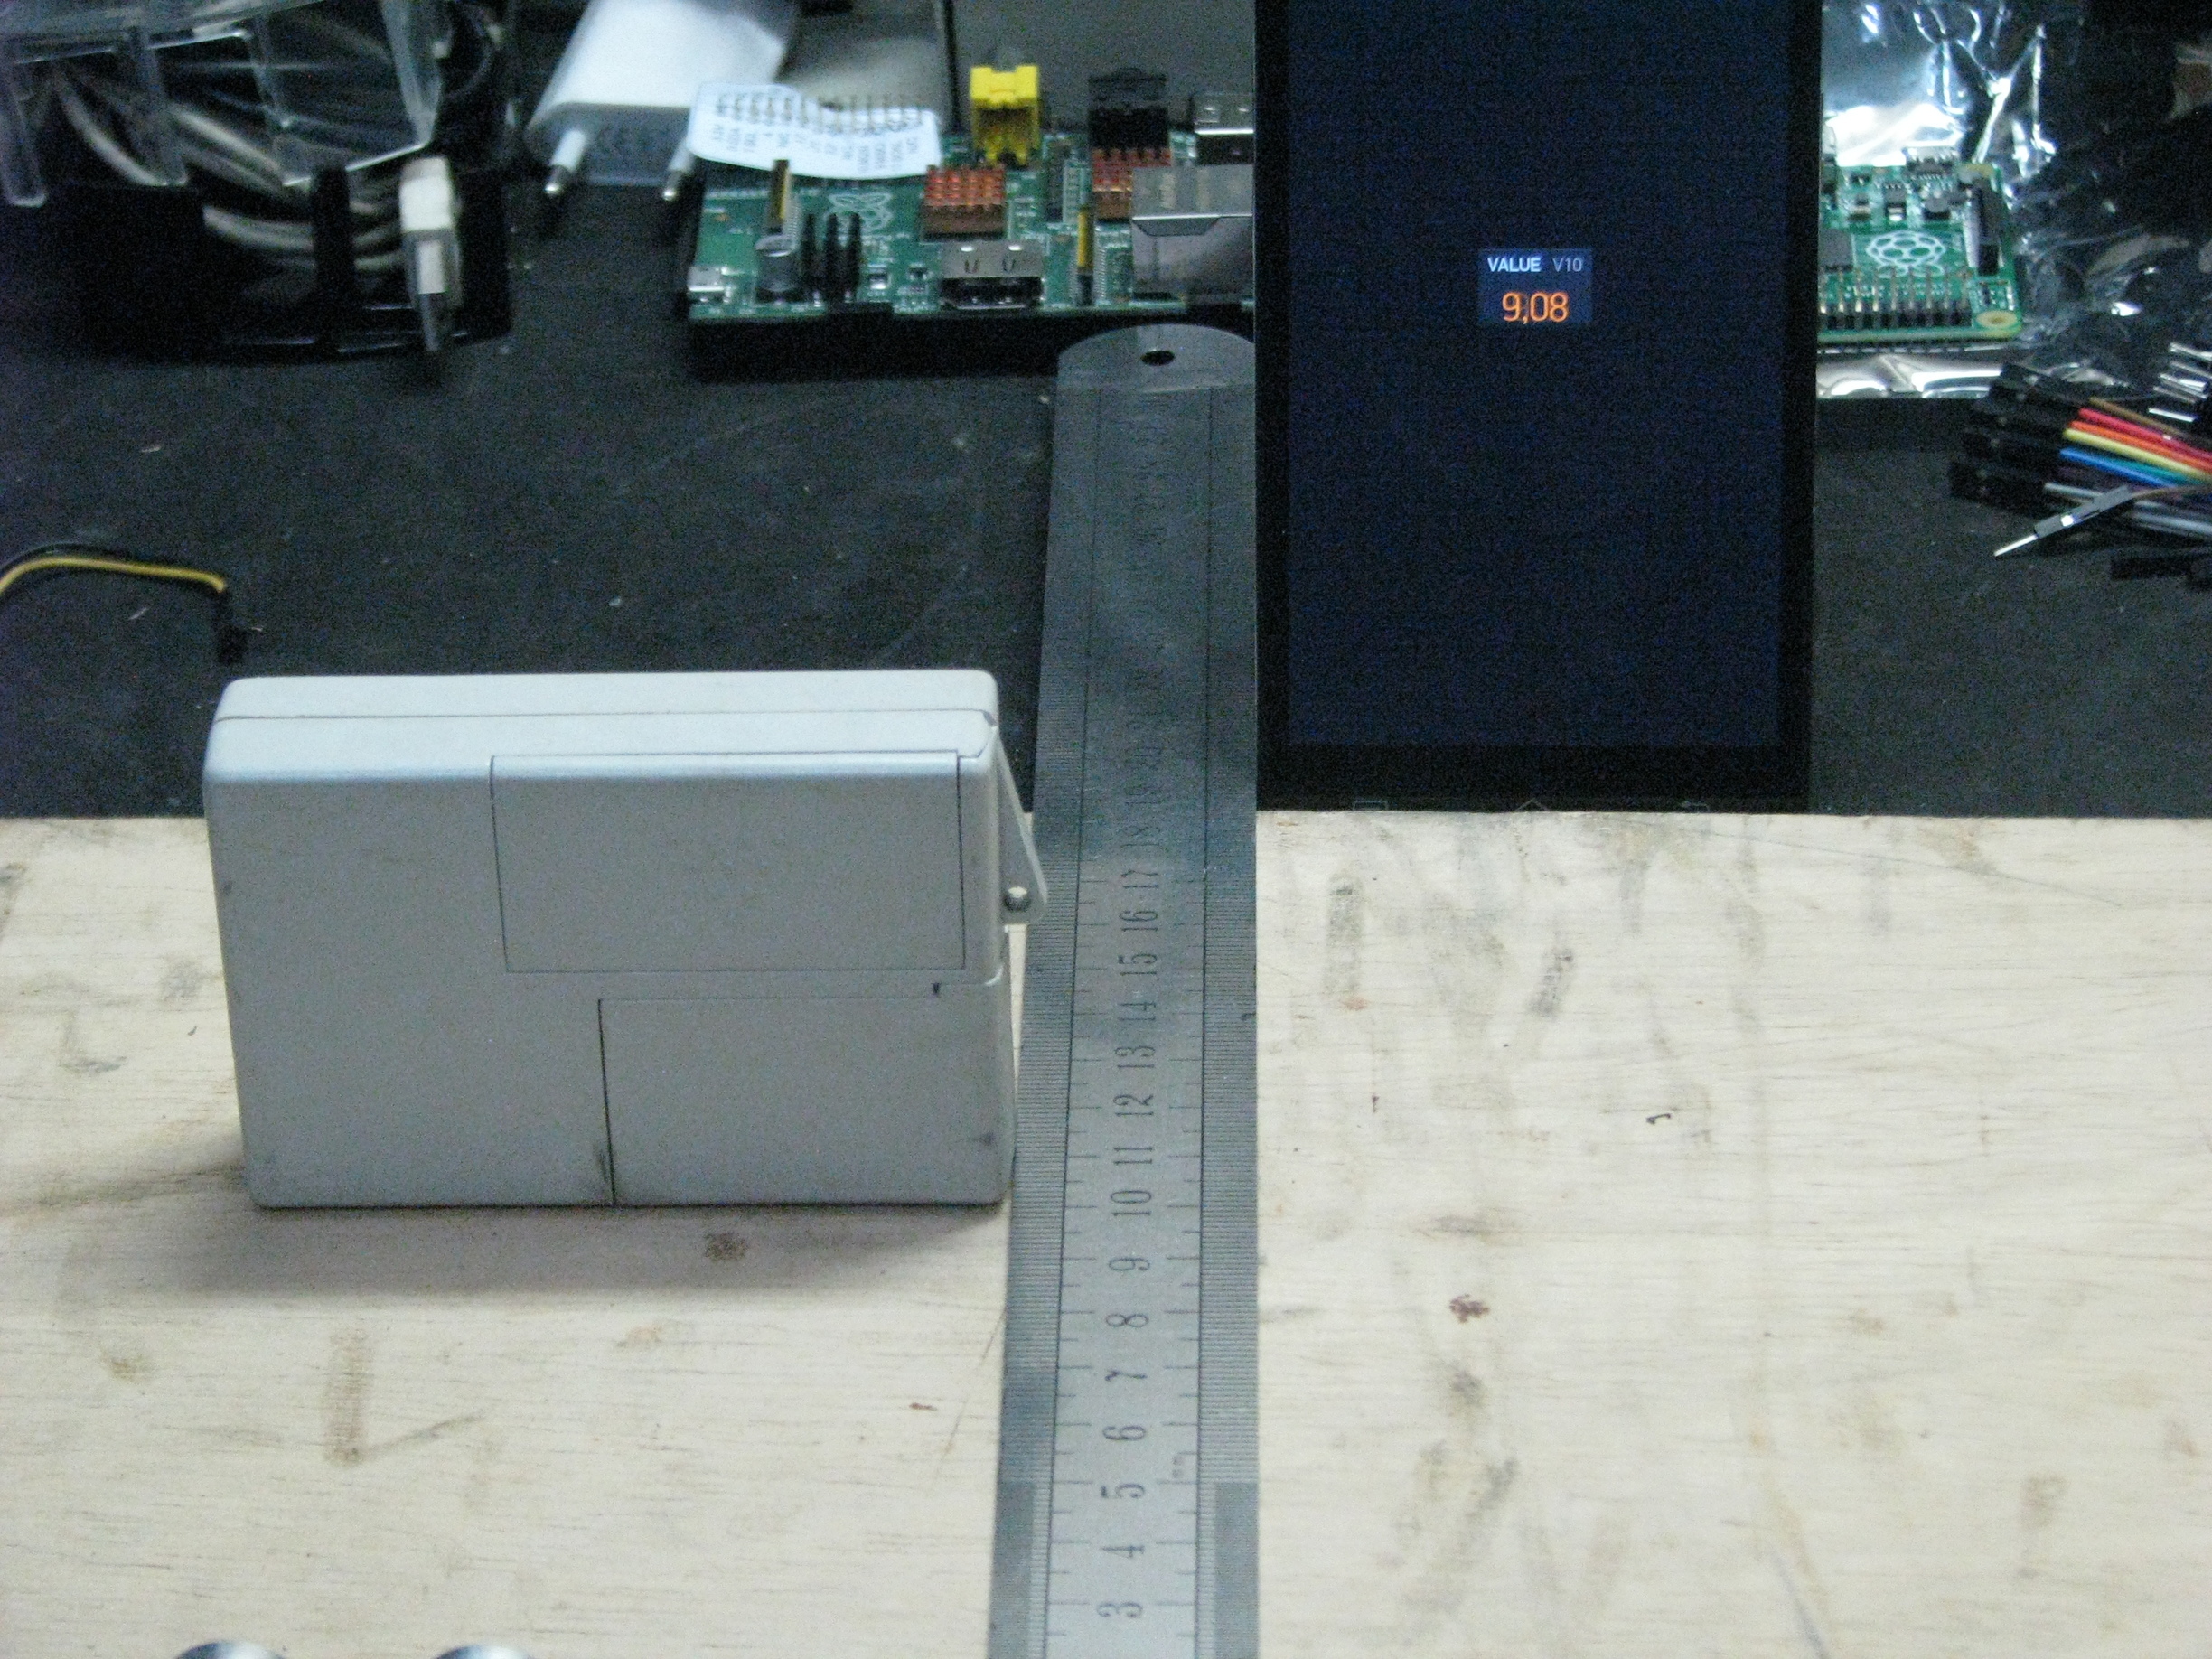
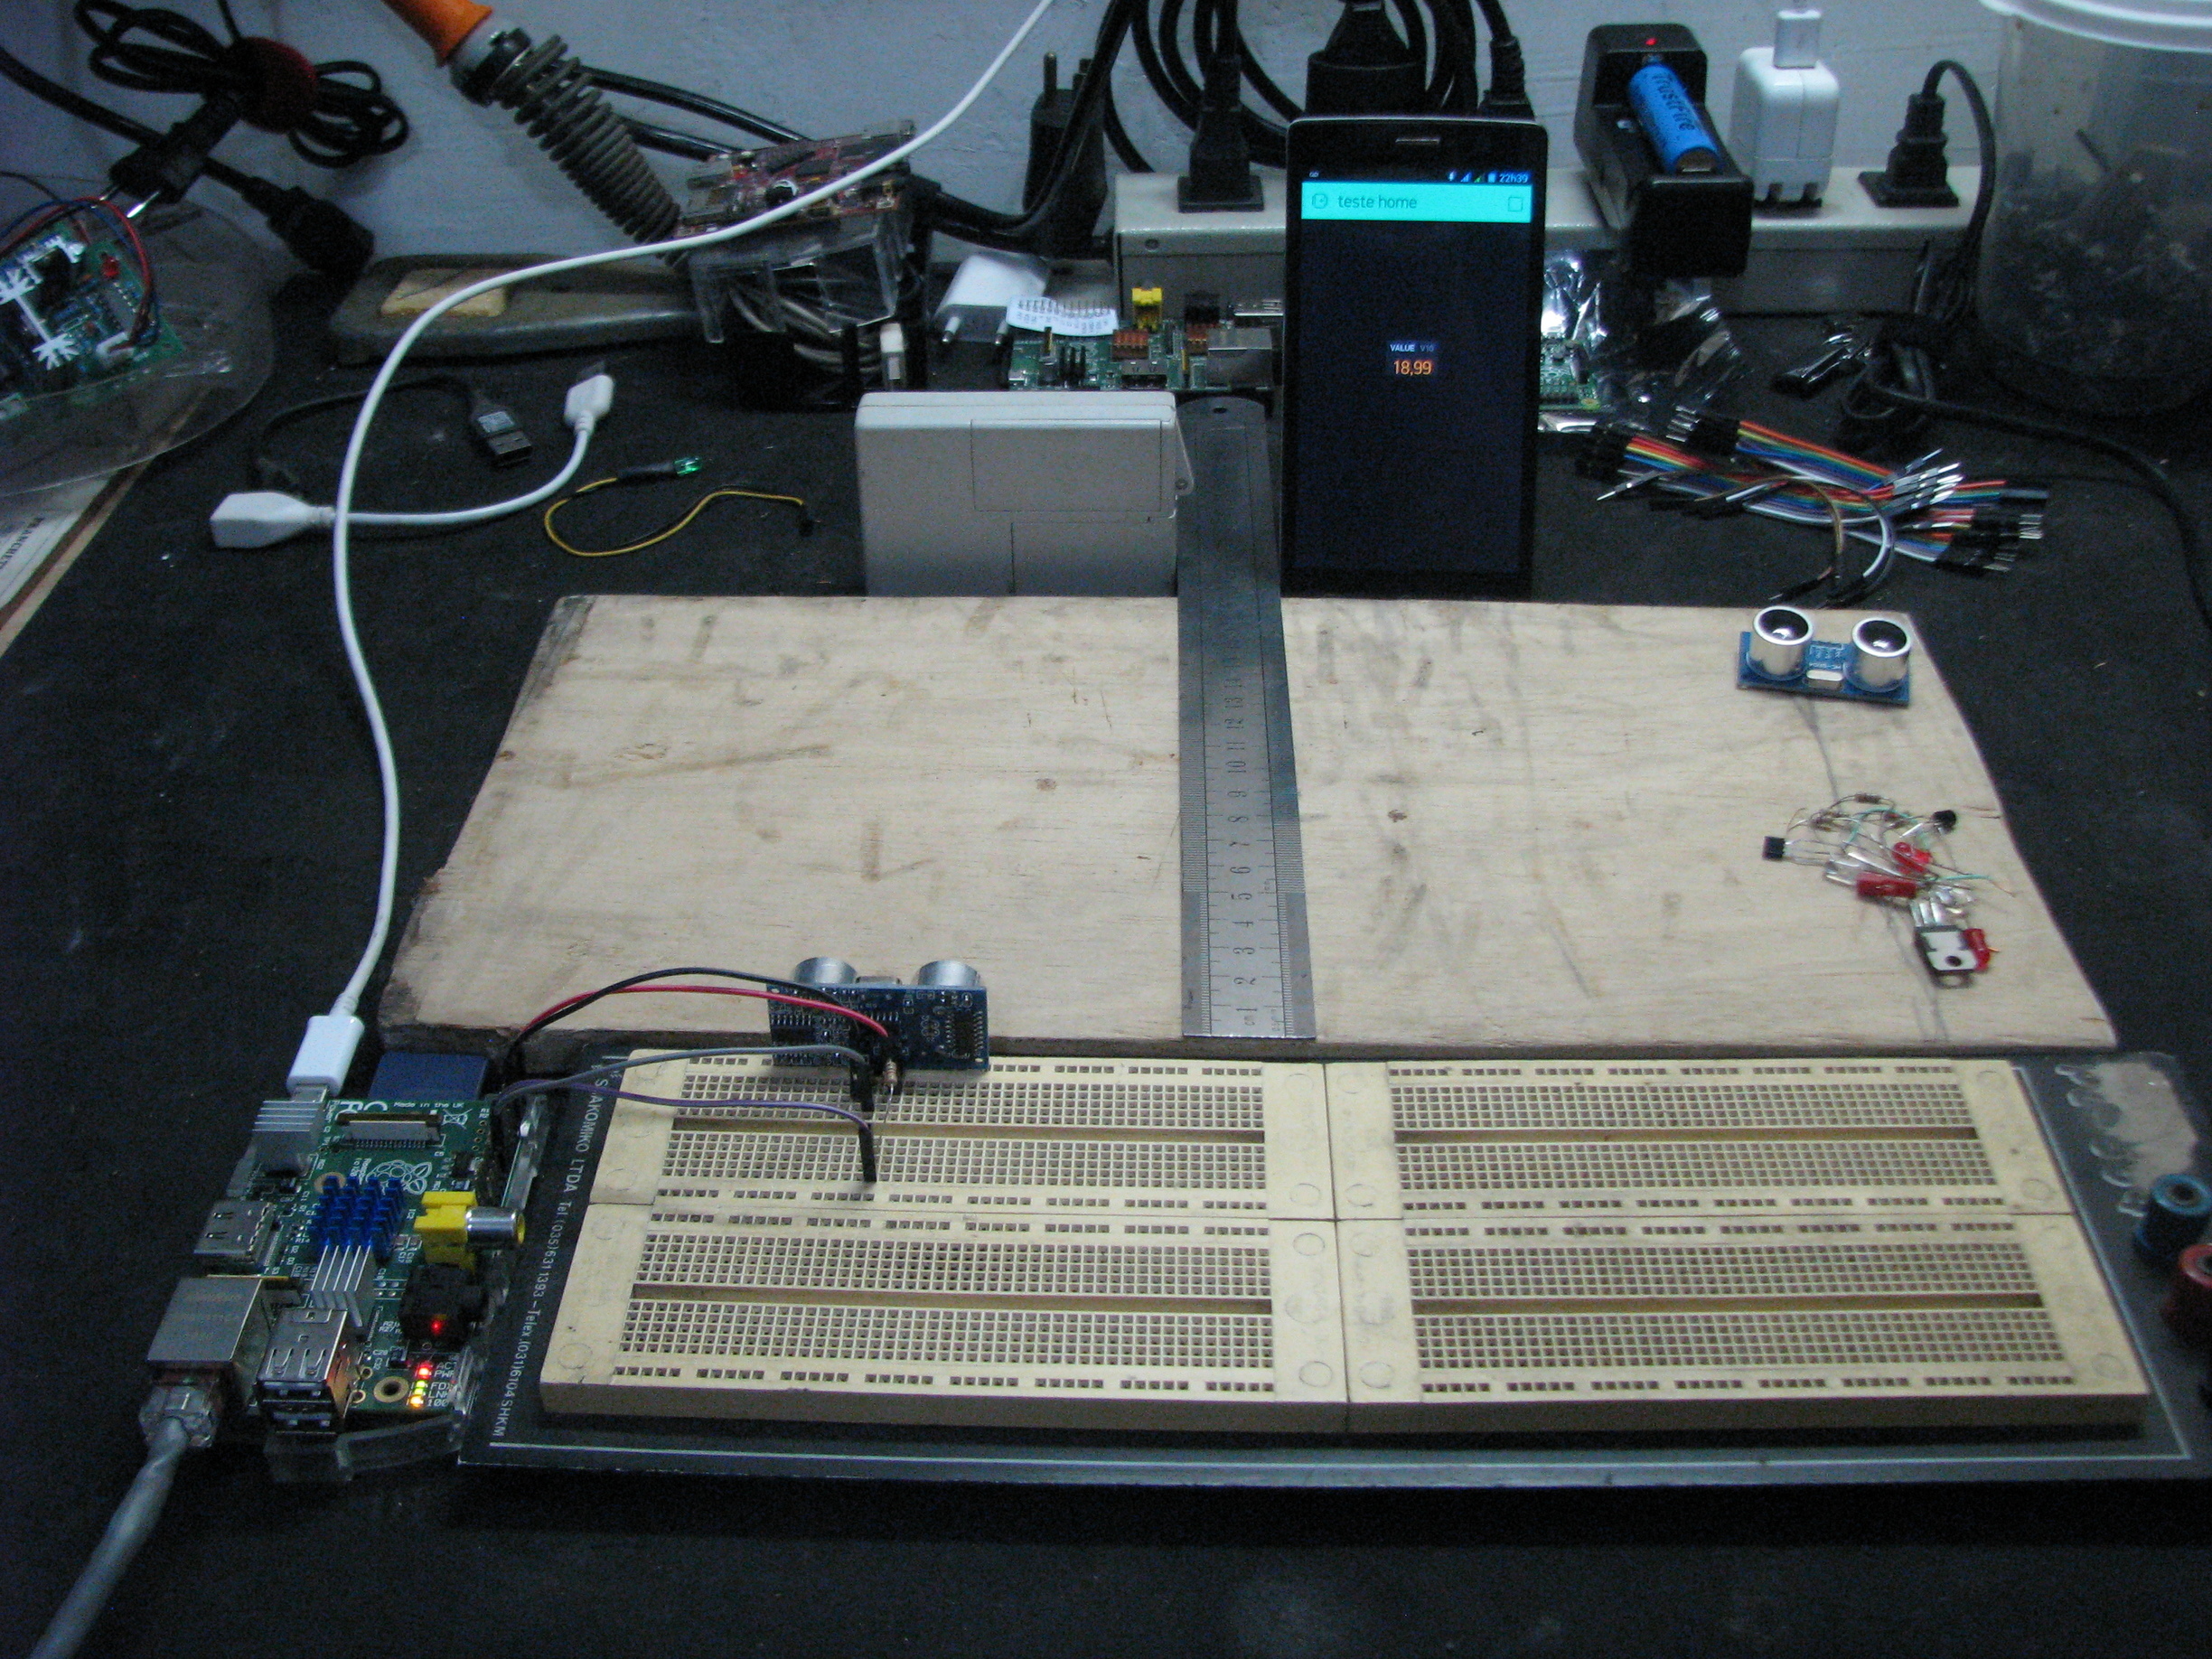
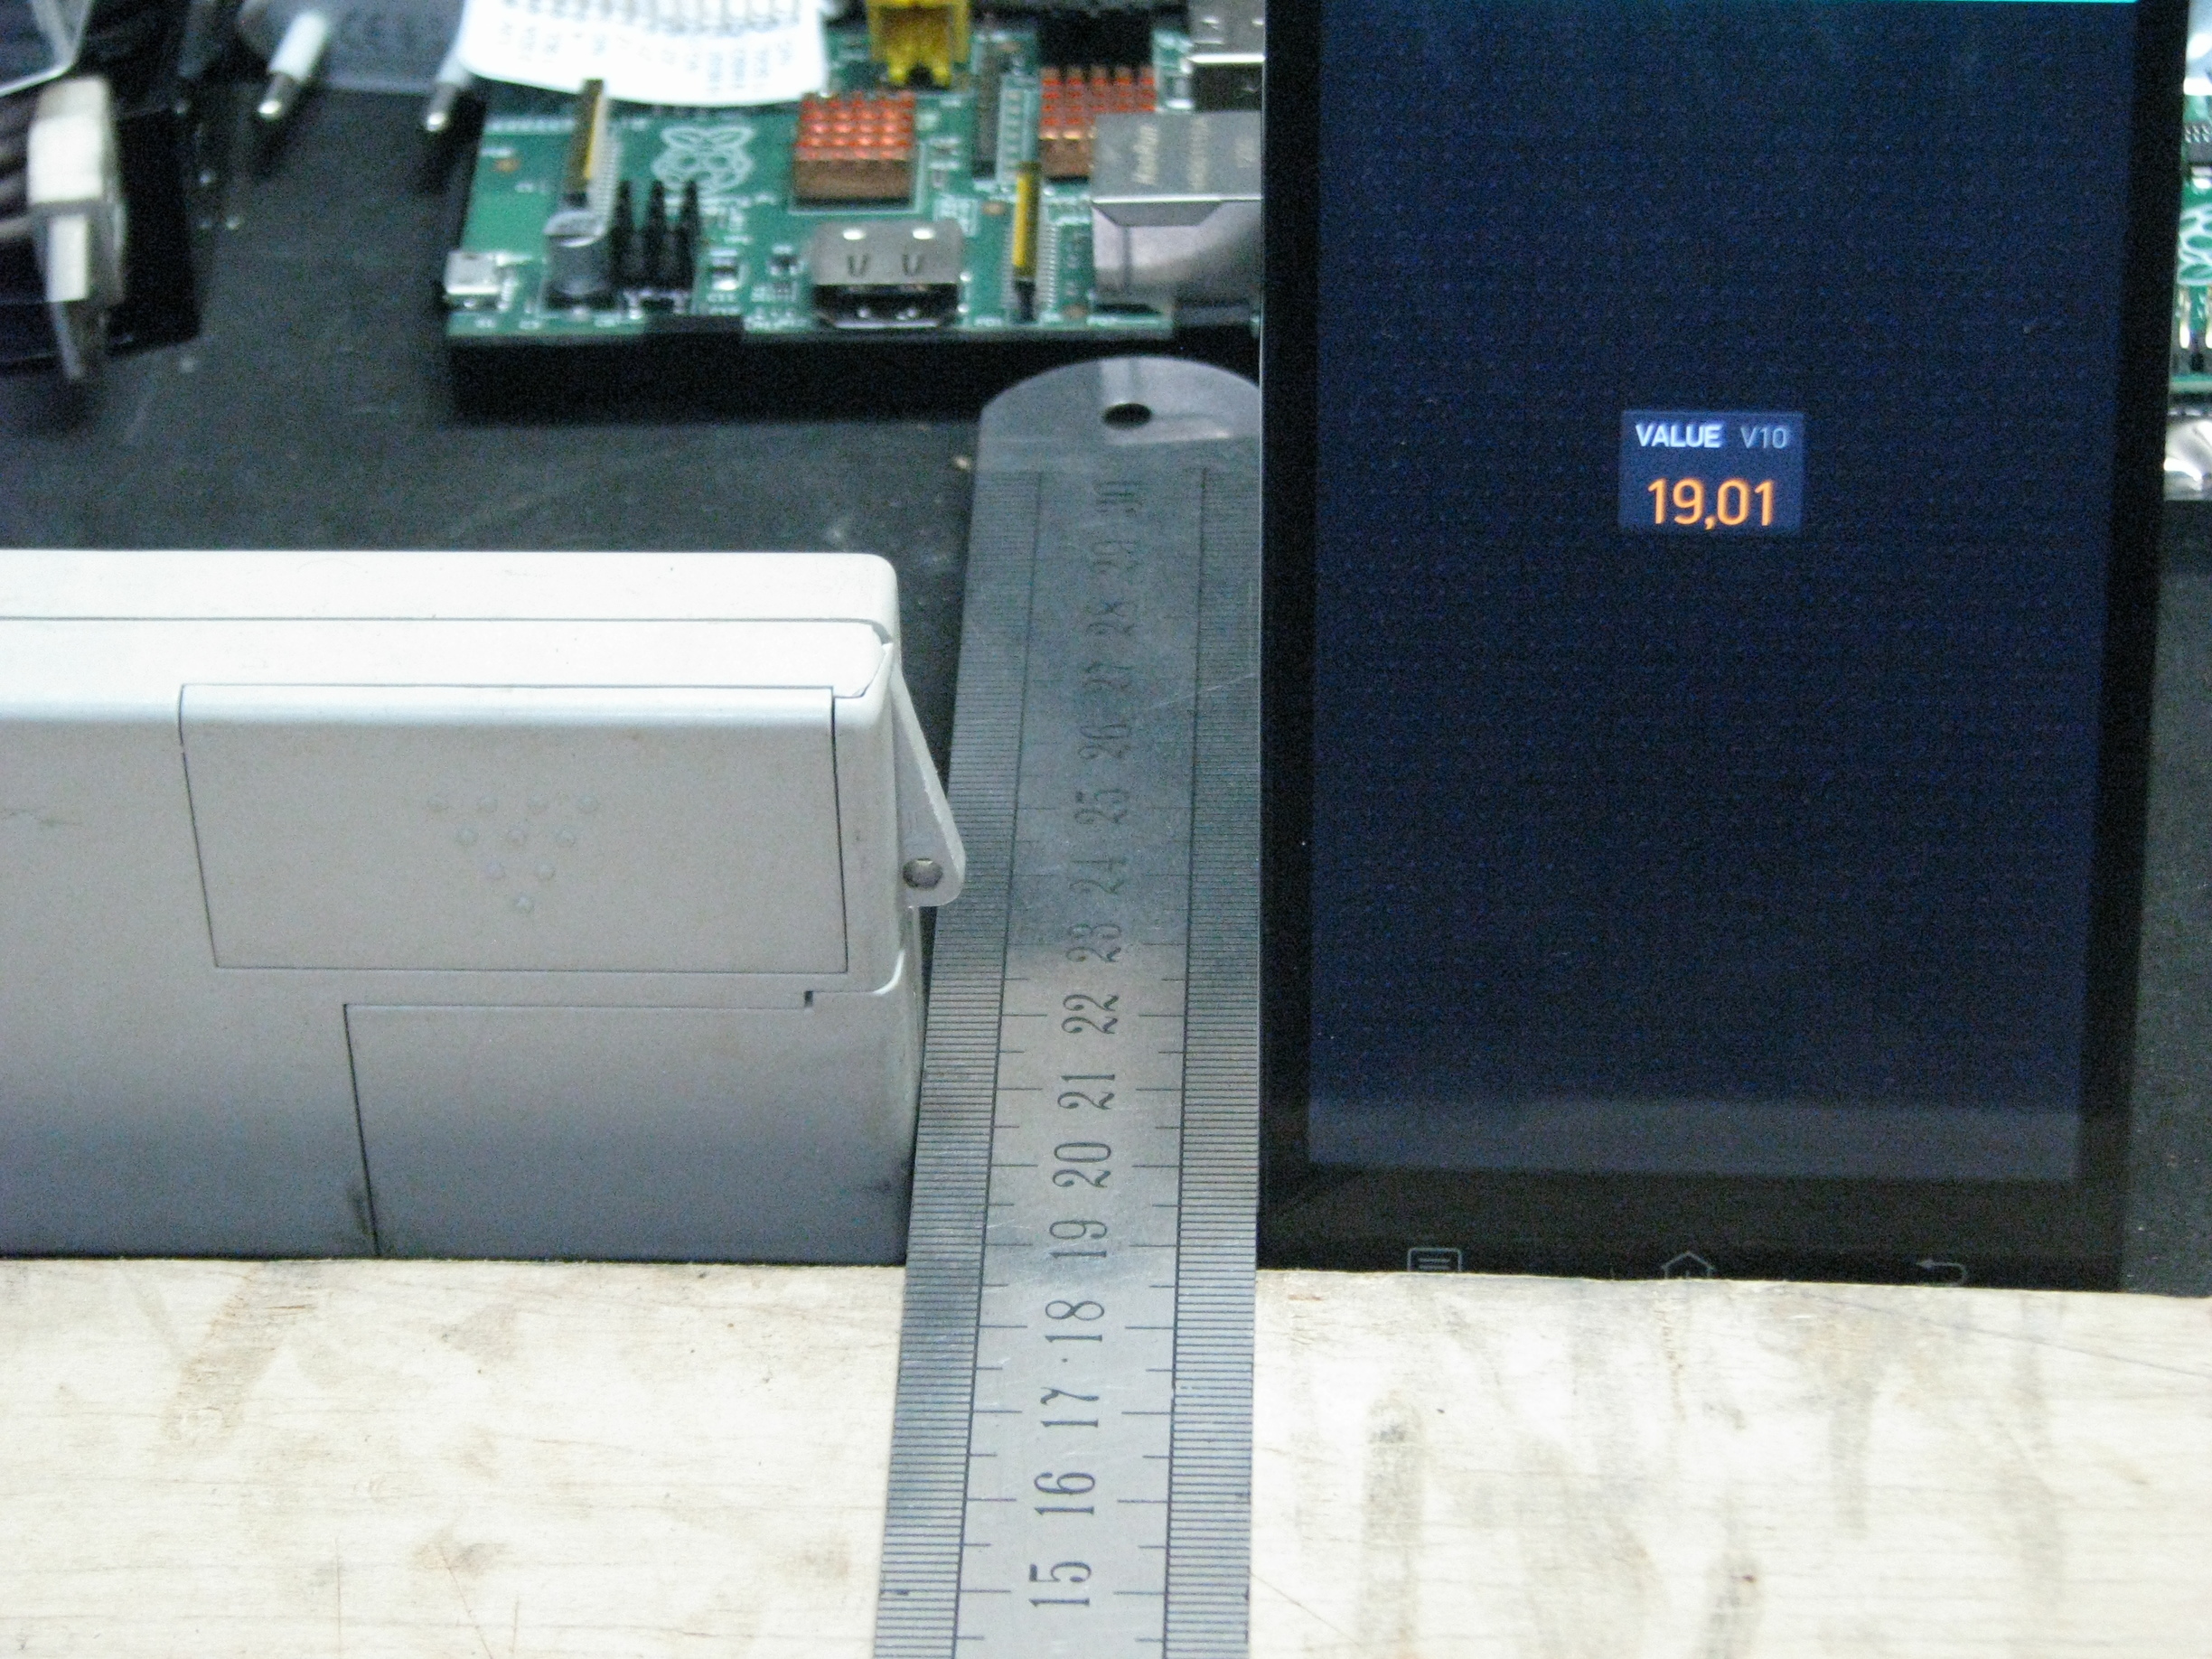
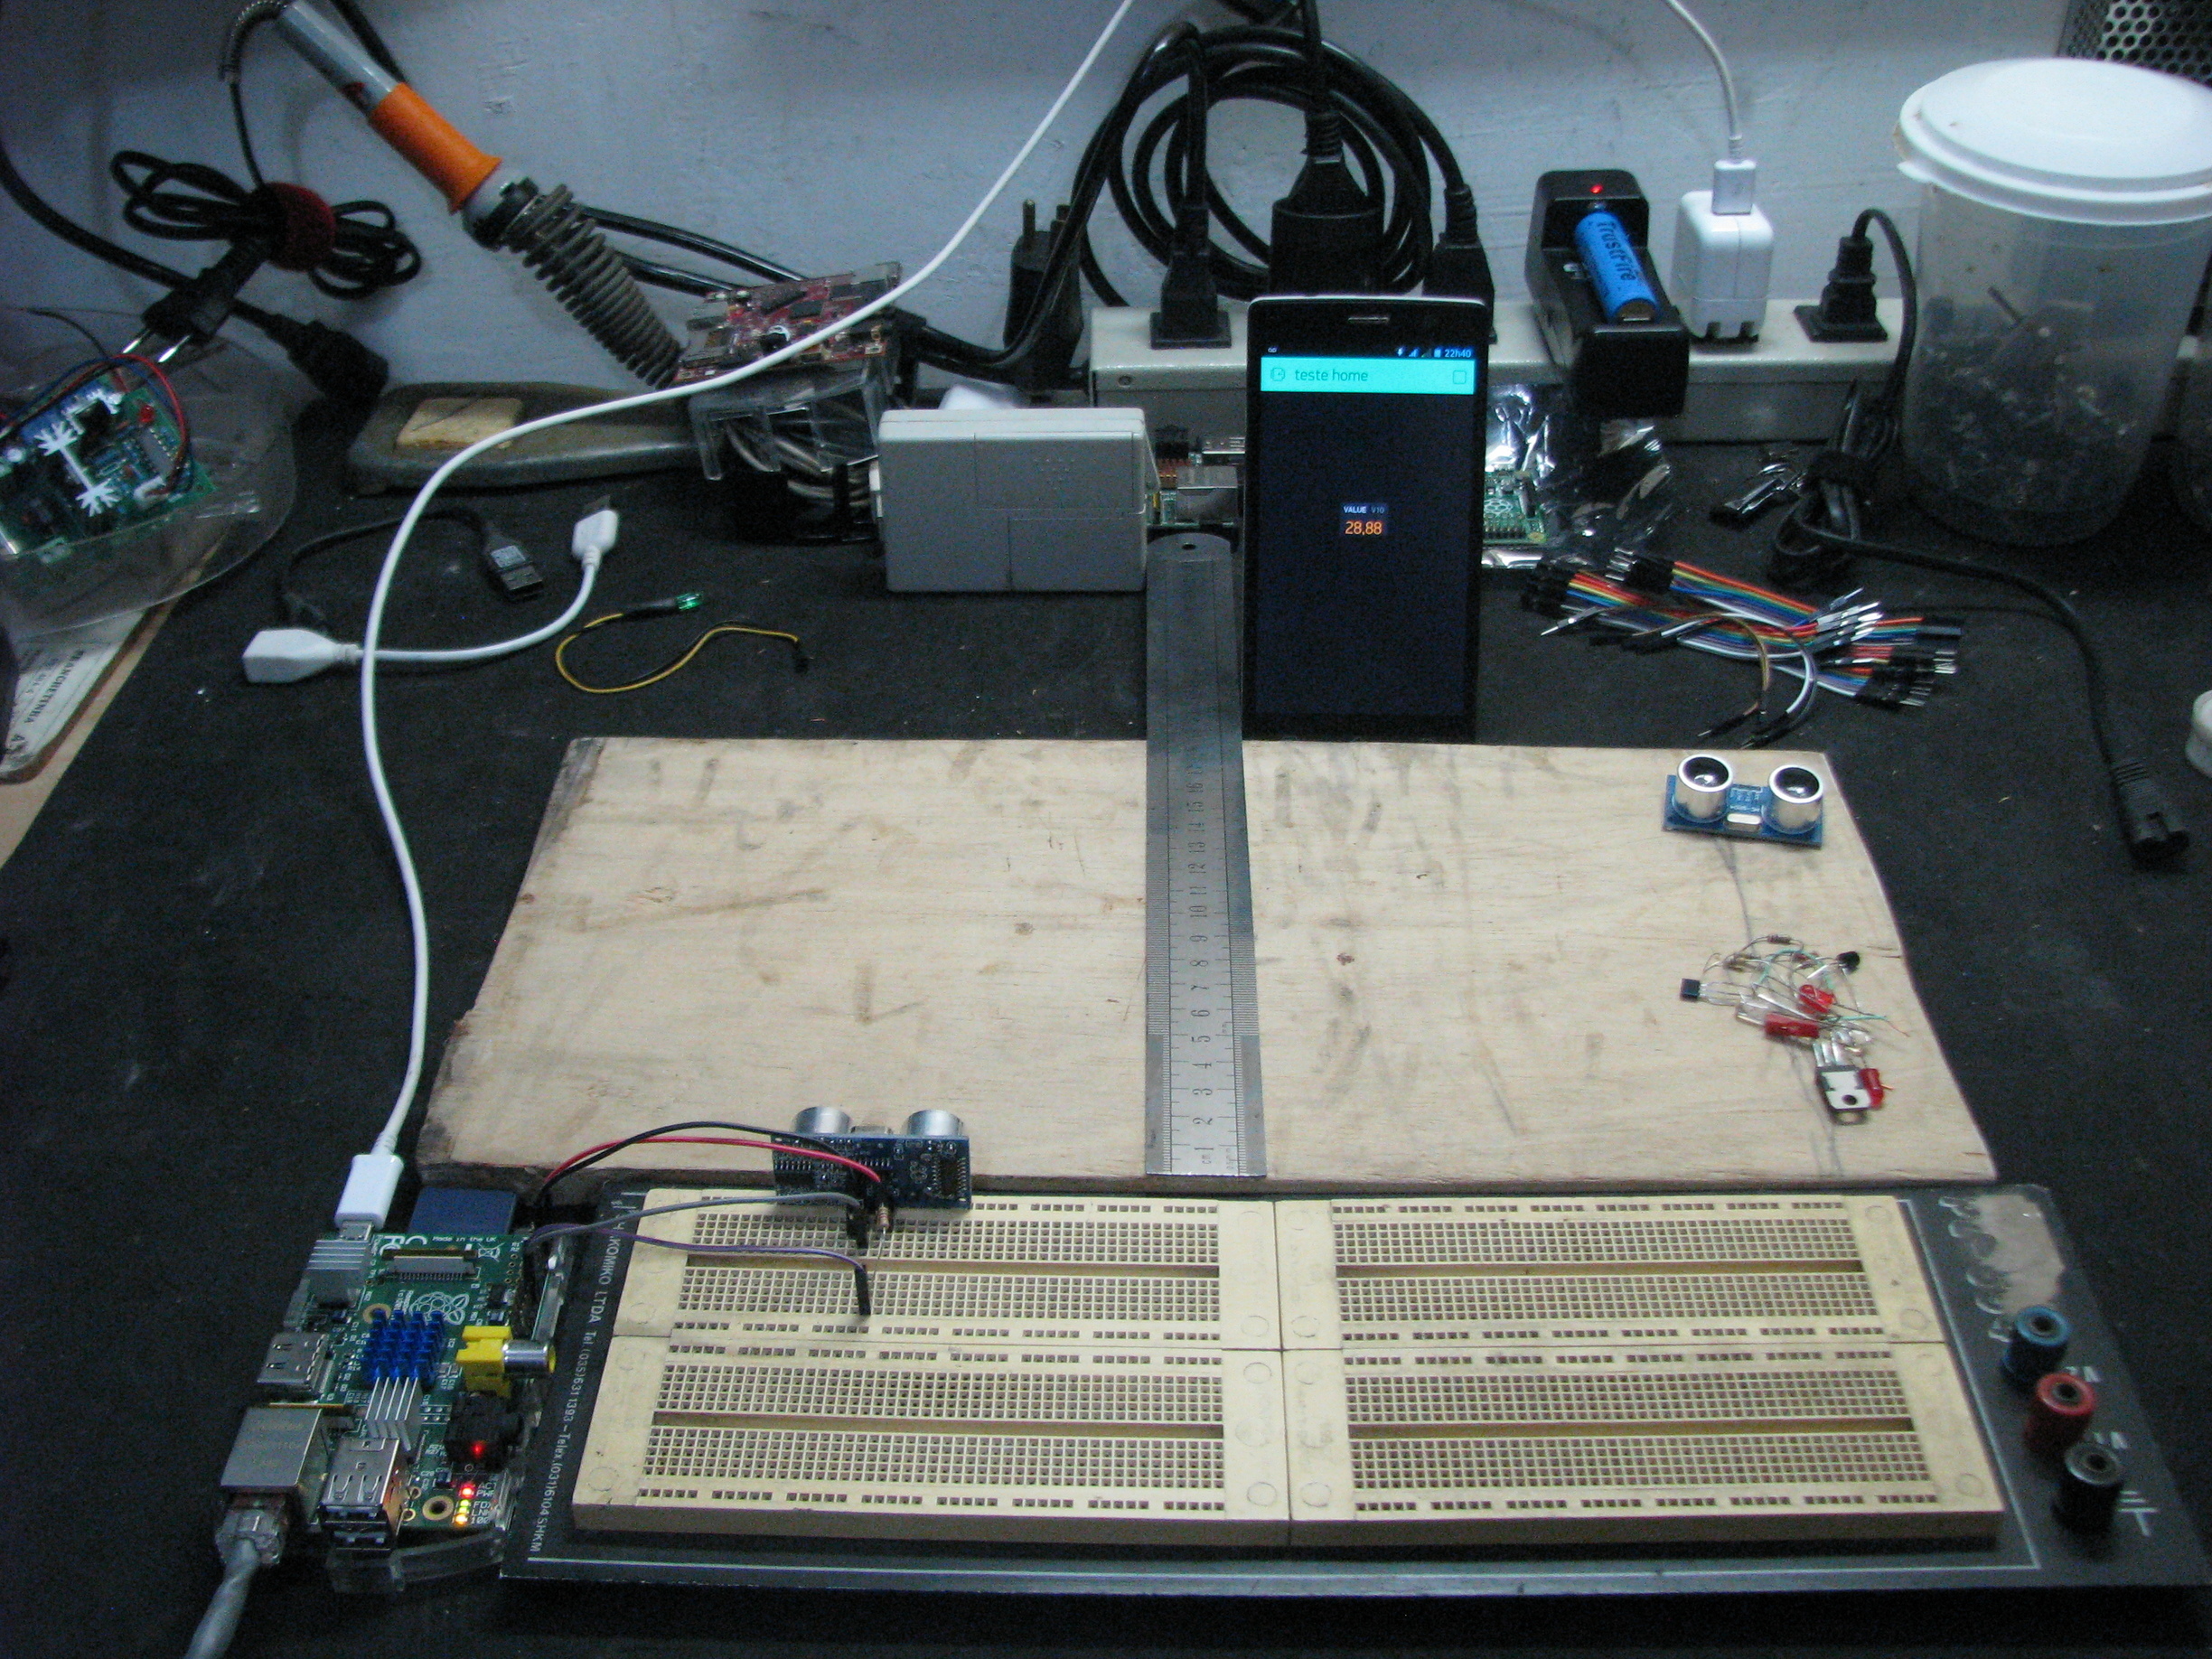
I made 4 tests, with 5, 10, 20 and 30 cm measured with a ruler, and got a good precision ( +/- 1cm ).
I think with some compensation, these sensors can achieve a 0.5 cm precision. To my needs is sufficient. But it was tested on short ranges only. Maybe the precision can vary with long range tests.
I uploaded the pics of each test and a close up from ruler and value reported on blynk app.
Do you use a timer in your sketch? Calling virtualWrite directly in the loop may cause flood error and your connection will be terminated by server. Please check the PushData example in the library. Read the instructions inside carefully.
Yes, i using on water reservoir with low movement, basically a flat surface. To use on liquid with some waves, you can use a solution propose by original instrutables, putting the sensor inside a pvc tube, who have both ends open, measuring the average liquid without waves.
The code is good for 1 measure per sec, but can be optimized to 10 per second easily, and increase the precision by using average. In this case, use a Local blynk server, to avoid flooding and get blocked.
At this time, when i am refining the hardware, i using default 1 sec get of Value display to avoid flood. But its a good point. I will put a timer on my next deployments.
In “production” version, i will use local blynk server on raspberry to avoid flooding.
And thank you for your help. I am a newbie on this and any help by pointing me on right direction can be great.
Since you made some research on this. I’m thinking about building a Smart Bottle, which will count how many liquid I drink during the day and send it to Blynk. Do you think that ultrasonic sensor would be a good solution for it?
Nope, i am not kidding. I like the pvc tube solution, because it can avoid a lot of problems when you need to measure a liquid that have inconstant flows in/out, who can causes undesirable waves, and make measures looks crazy.
Ultrasonic sensors can reflect on a single drop, causing wild reads…
I use ultrasonic park system on my car, and when under heavy rain, it render near useless…
Sorry, was not clear enough. Using the tube makes perfectly sense to me. I was referring to the bottle Pavel mentioned.
@Pavlo Didn’t know about these projects. Is the US sensor water resistant? How about drops on top of the sensor? Just could not imagine this with the standard sensors you get for arduino. I’ll have a look at the videos… And keep us posted with you owe projects using blynk.

