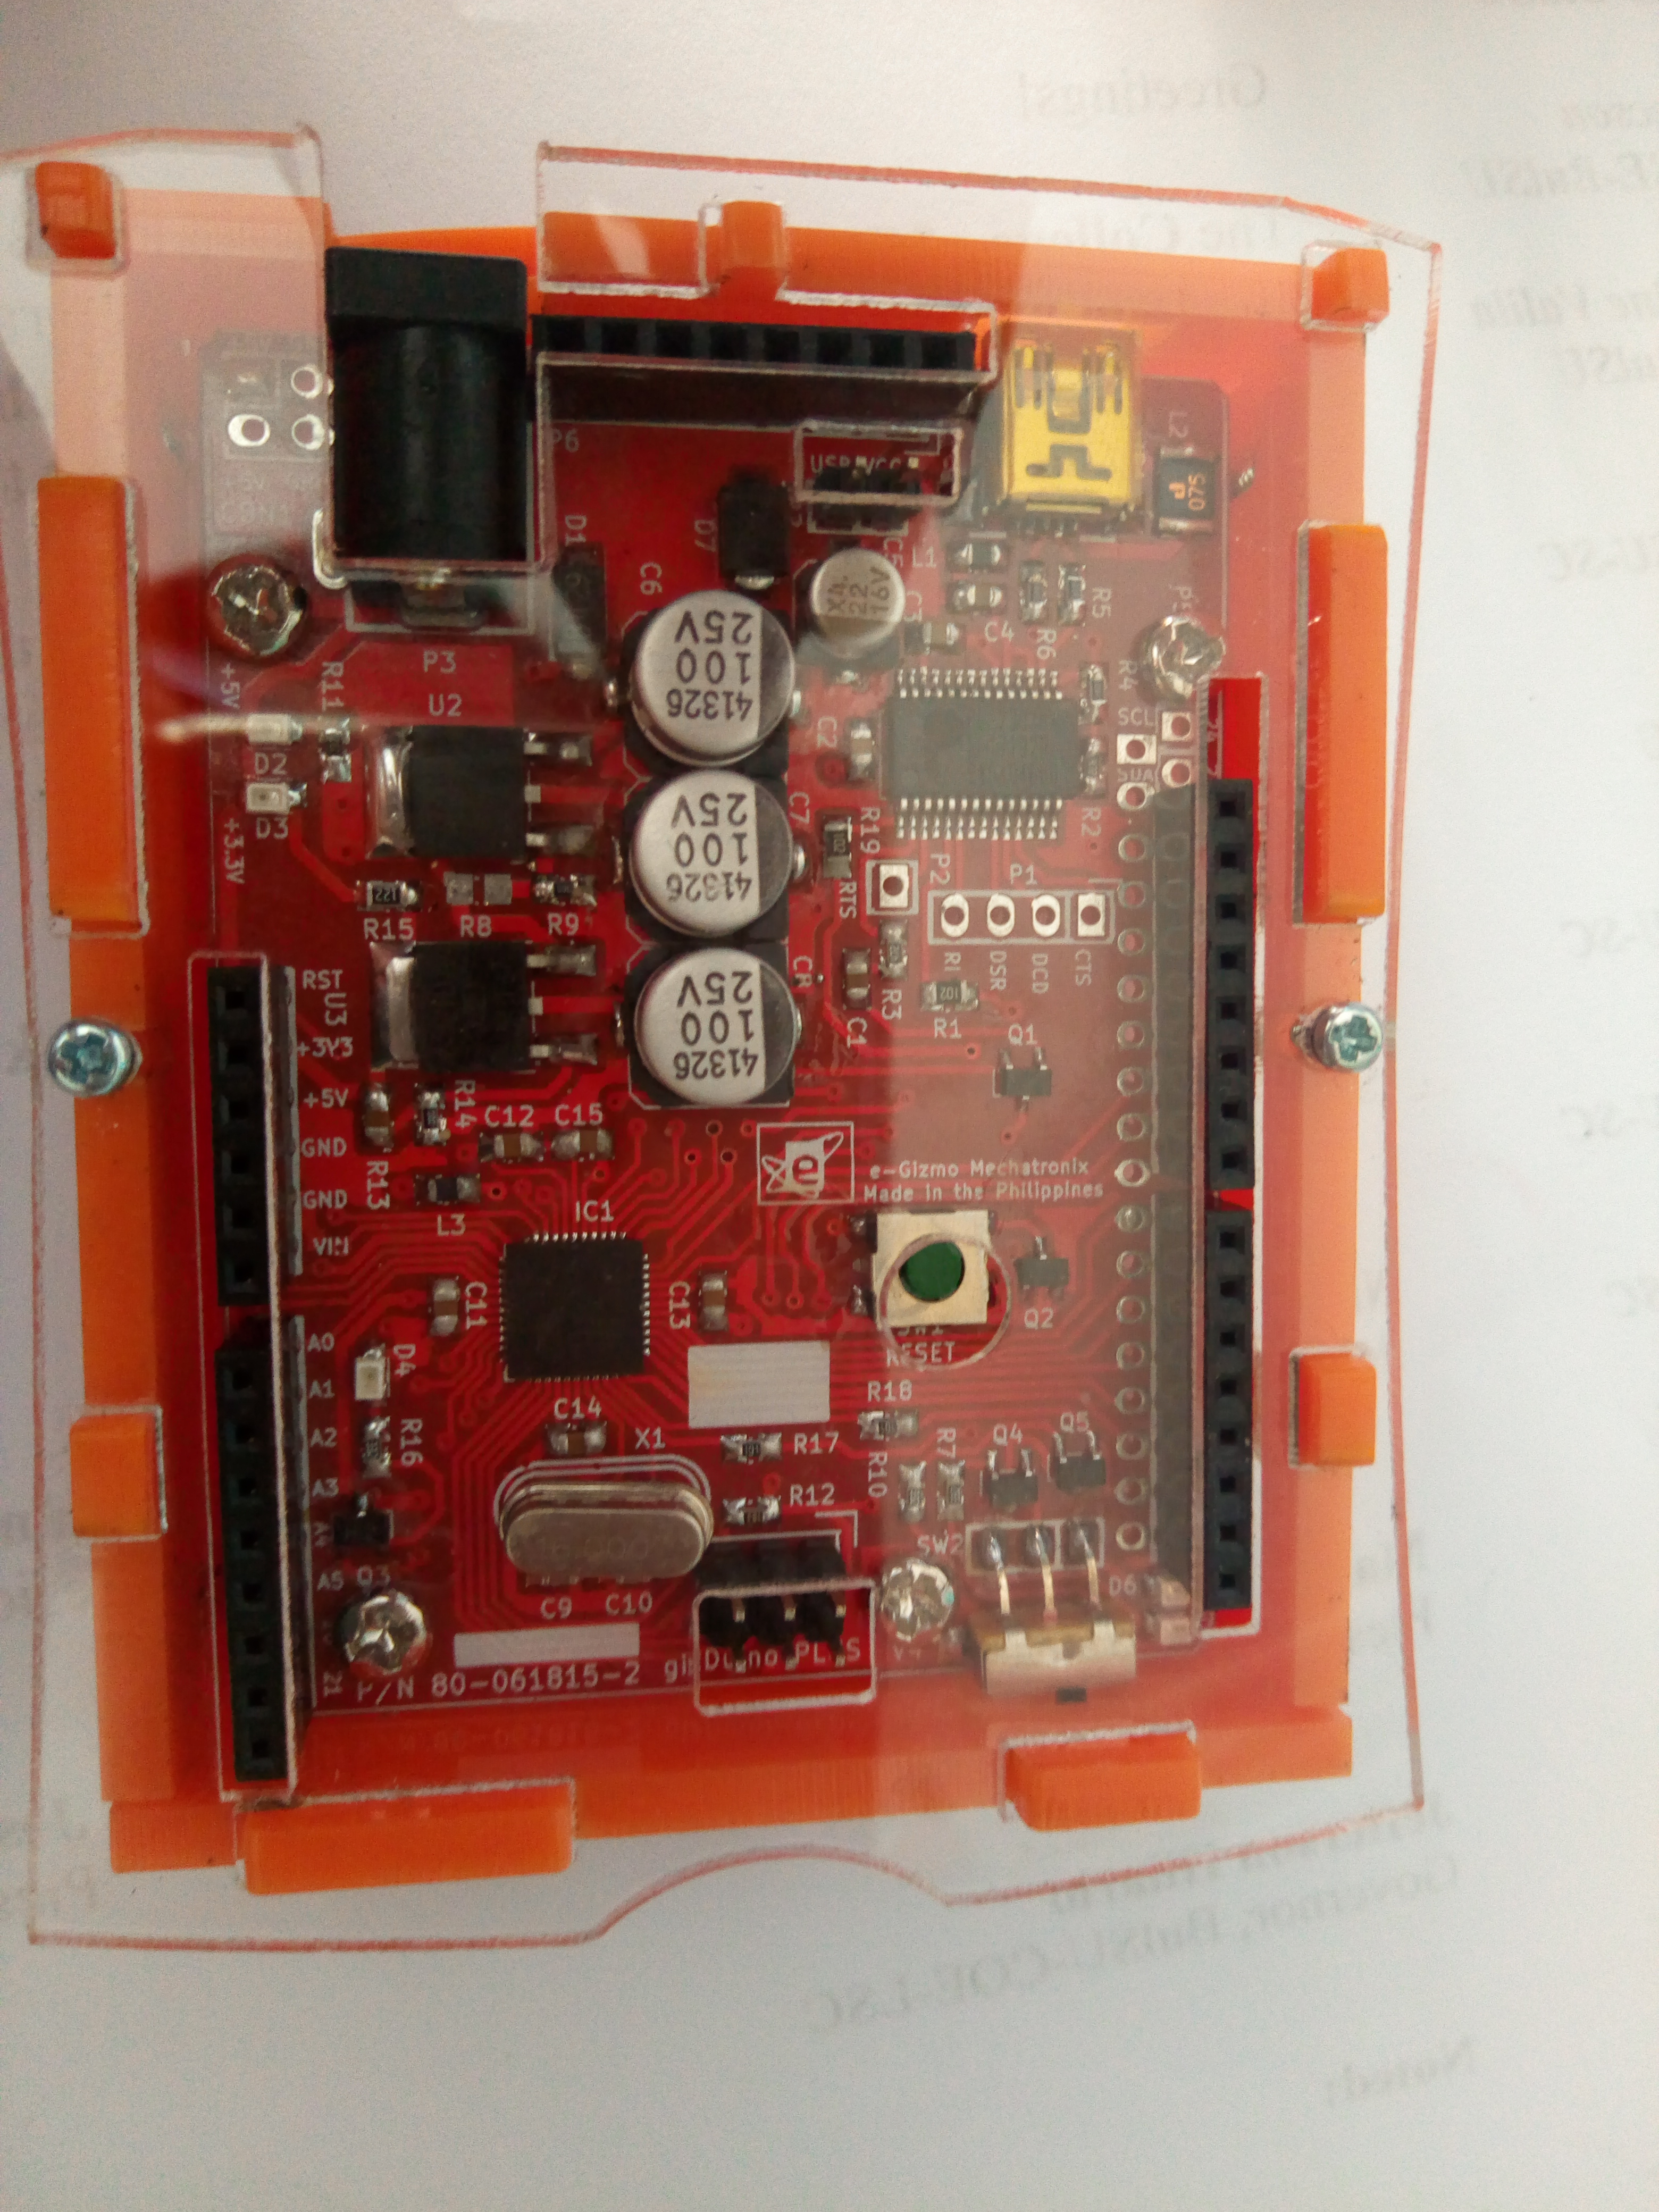
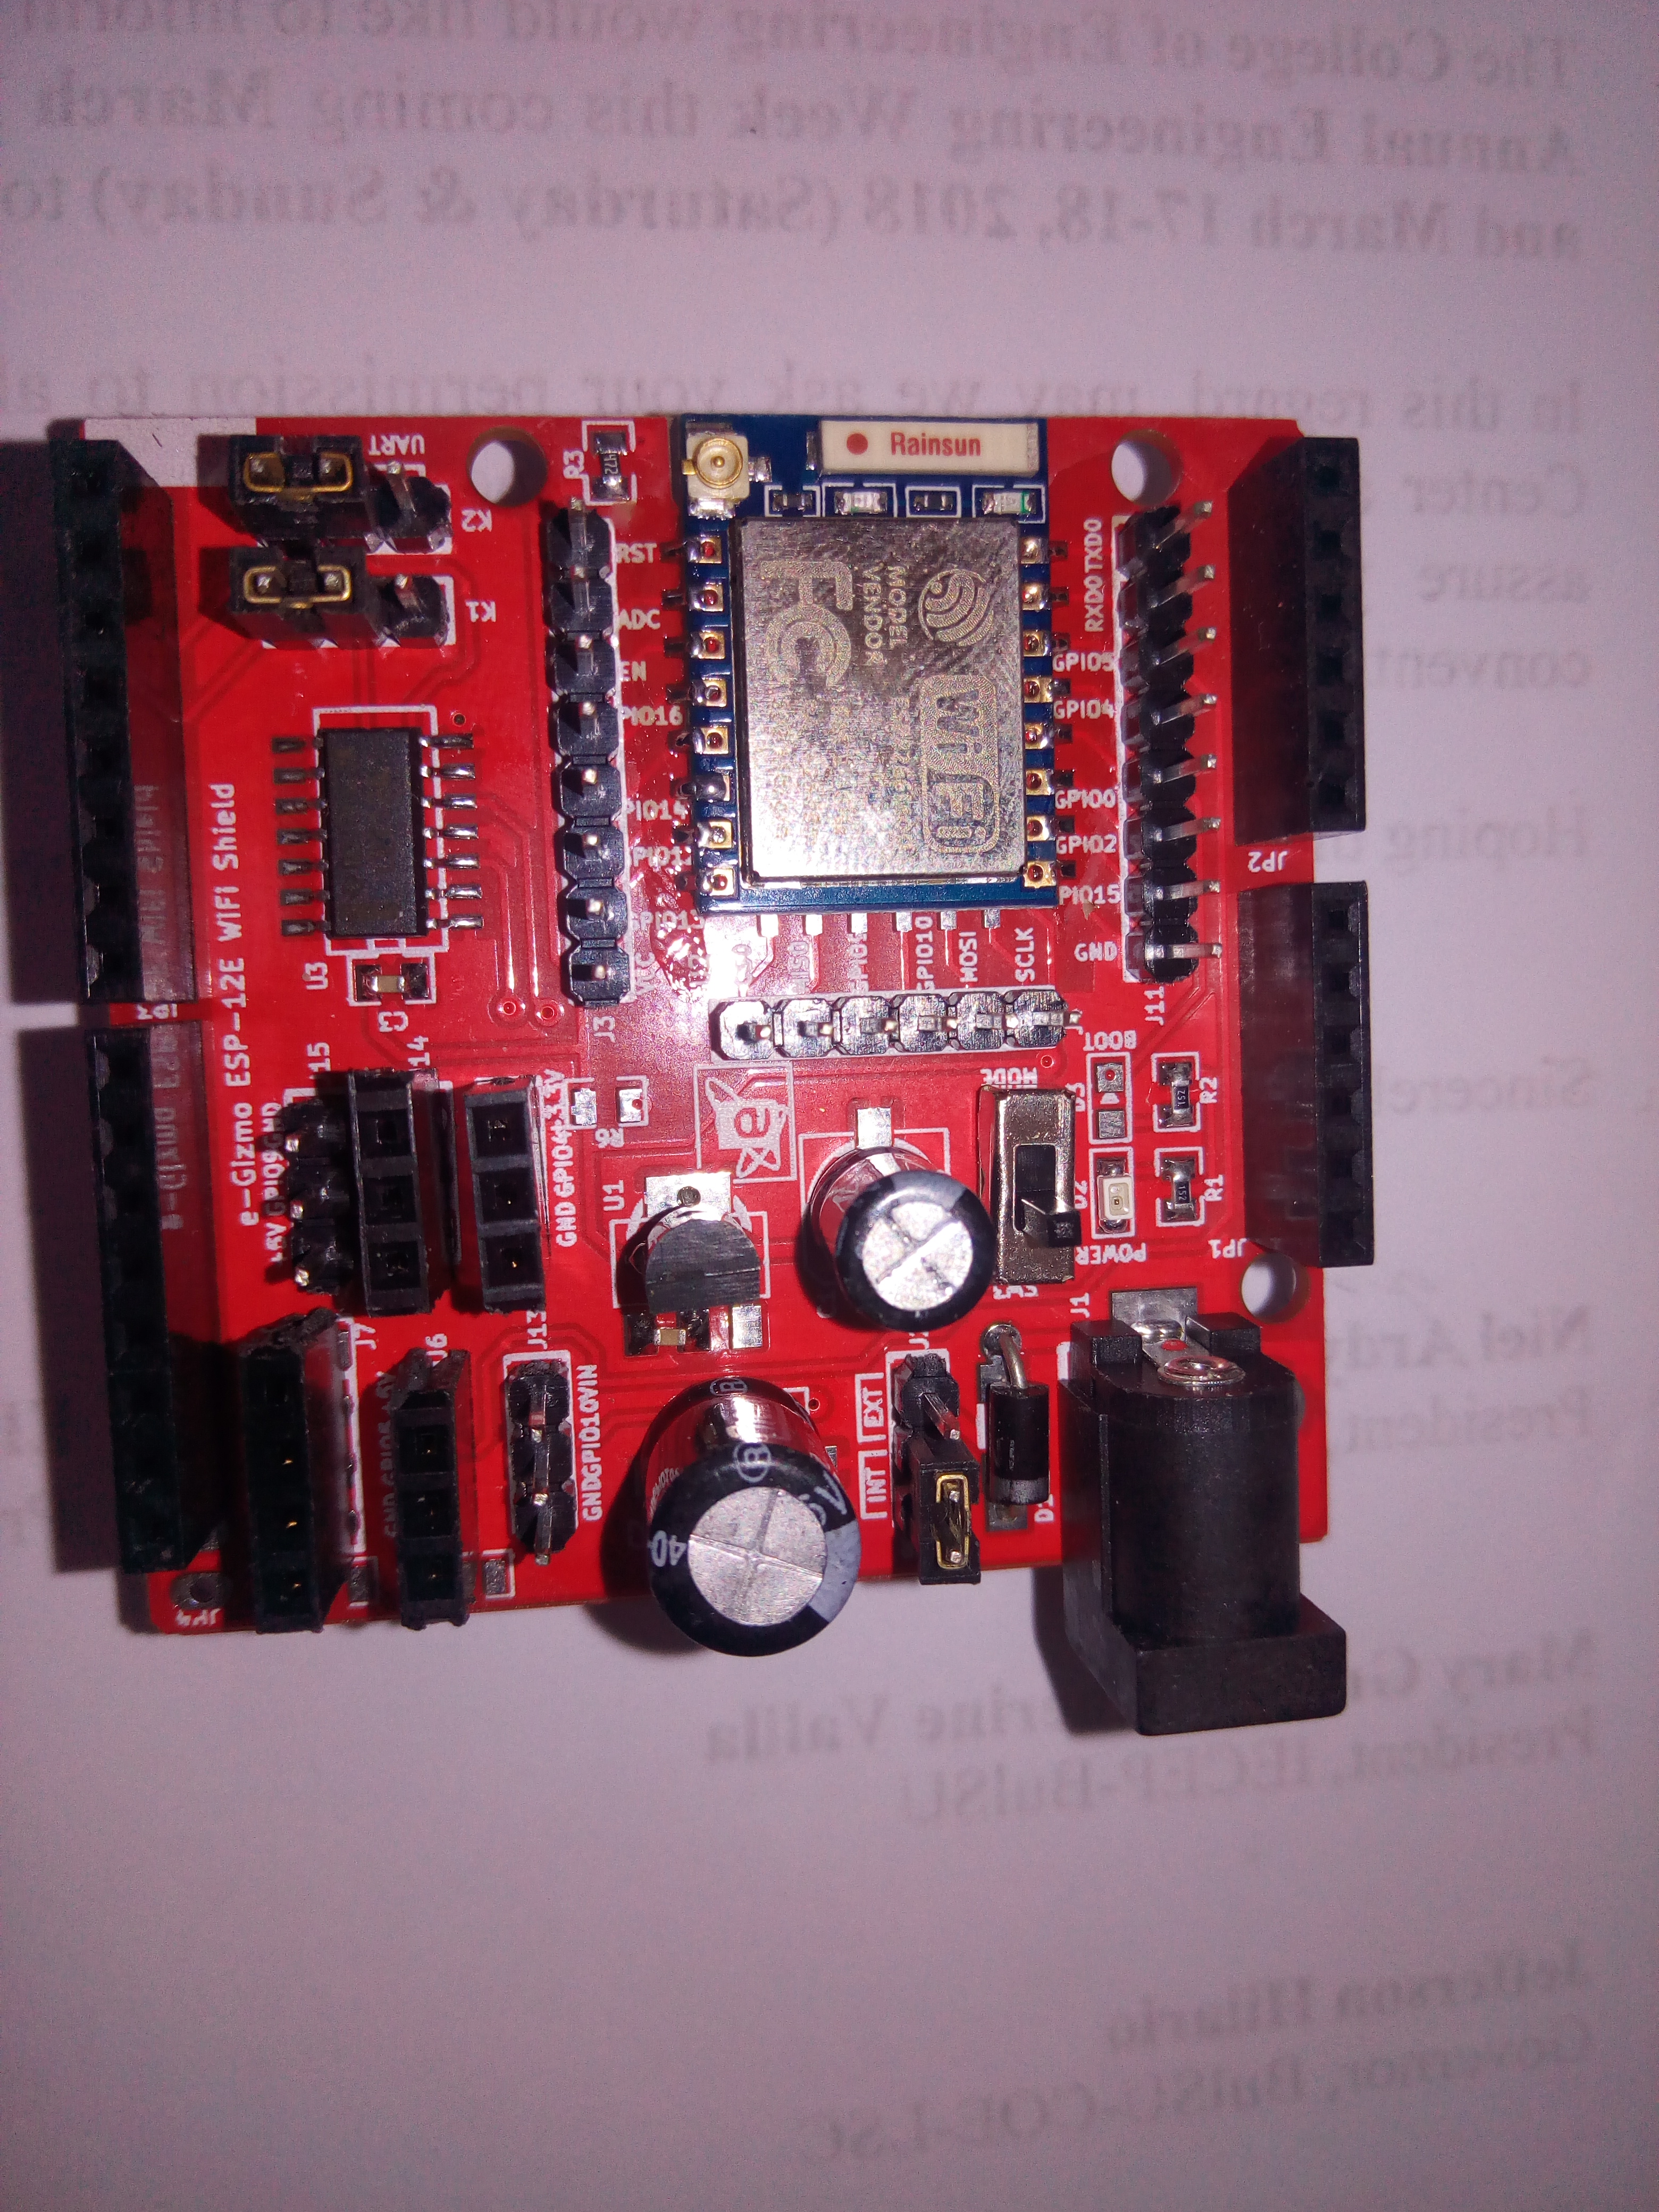
Does the blynk support the gizduino+644 with esp-07 wifi shield? It seems that in the blynk app, there is no gizduino in hardware options.
Pick any Arduino with ESP shield config and tweek the ESP/Arduino pinout to match (dig into the manuals from the manufacturer here) … You will need to use virtual pins in the App as none of the built in digital/analog options are likely to match at all… but that is OK, you get better control over what you are making.
Hey gunner! Thanks for the reply! I’ll try first the arduino uno + esp8266 config because according to some articles, gizduino is arduino’s clone
Based on a quick glance of the schematic, start looking ate using pins 9 & 10 in Softserial config??
The rest of the manuals might shed better info… Perhaps this board recognises Serial1 as a hardware serial link to the ESP chip? If so then treat it more like the MEGA/Micro/Leonardo for the sketch configuration.
@Gunner maybe some hint about this weird error?
The blynk app connects but then disconnects almost instantly. Maybe AT version? SDK Version?
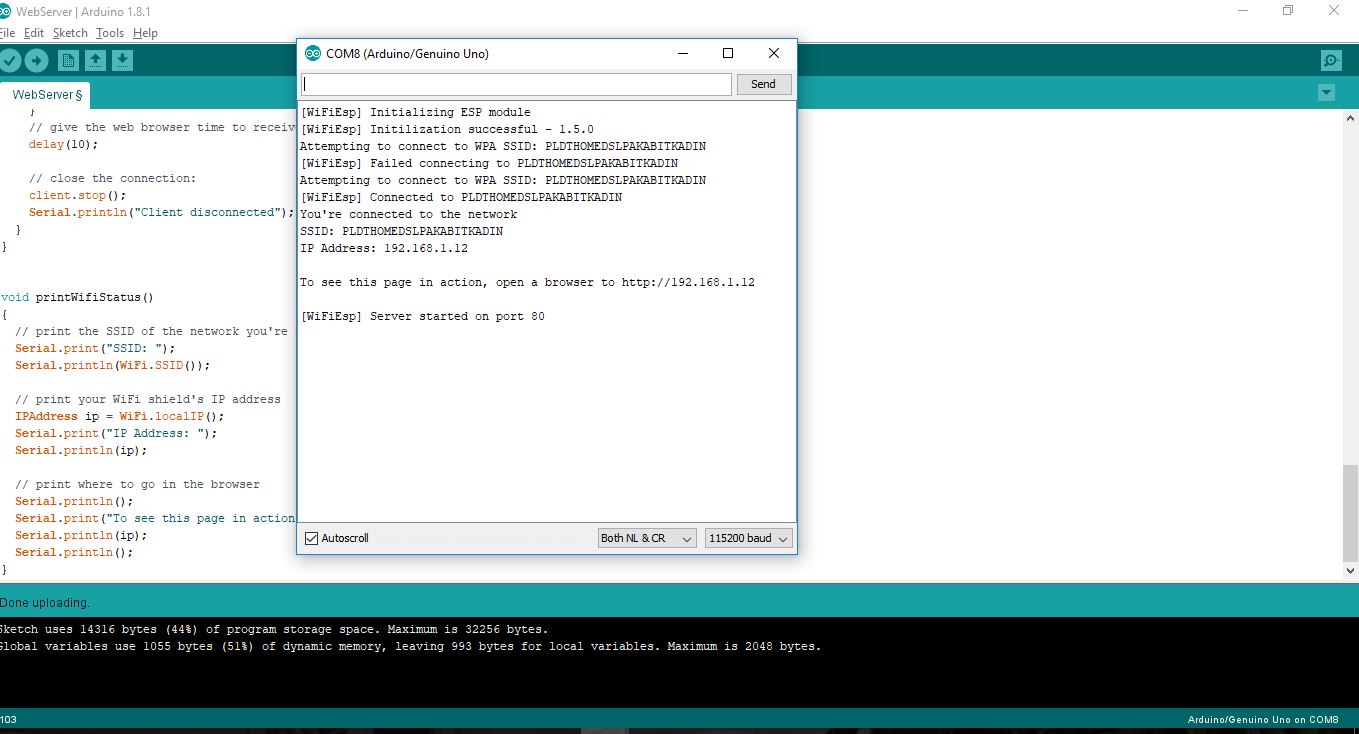
I’m pretty sure that the wifi shield is working based on a sample sketch provided by the manufacture.
#include "WiFiEspClient.h"
#include "WiFiEspServer.h"
#include "WiFiEspUdp.h"


#define BLYNK_PRINT Serial


#include "ESP8266_Lib.h"
#include "BlynkSimpleShieldEsp8266.h"

char auth[] = "593da2307c7249e888786137f0746c9c";
char ssid[] = "PLDTHOMEDSLPAKABITKADIN";
char pass[] = "lunaria112296";

// Hardware Serial on Mega, Leonardo, Micro...
//#define EspSerial Serial1

// or Software Serial on Uno, Nano...
#ifndef HAVE_HWSERIAL1
#include "SoftwareSerial.h"
SoftwareSerial Serial1(2, 3); // RX, TX
#endif
ESP8266 wifi(&Serial1);
void setup()
{
// initialize serial for debugging
  Serial.begin(115200);
  // initialize serial for ESP module
  Serial1.begin(9600);
  // initialize ESP module
  WiFi.init(&Serial1);

  Blynk.begin(auth, wifi, ssid, pass);

}

void loop()
{
  Blynk.run();
}
'''Are you sure these are the correct pins? Or is SoftSerial is even required? I suspect it isn’t, but how the Arduino is supposed to connect is probably hidden in the manual or other examples.
I suspect it uses the Serial1 designation… not SoftwareSerial
The module comes in the shield form so it is just “plug and play” kind of connection, plus here’s a sample code from the manufacturer. I upload this and it connects to the net, so i’m very confused right now on what is wrong.
and it gives me this:
#include "WiFiEsp.h"

// Emulate Serial1 on pins 6/7 if not present
#ifndef HAVE_HWSERIAL1
#include "SoftwareSerial.h"
SoftwareSerial Serial1(2, 3); // RX, TX
#endif

char ssid[] = "PLDTHOMEDSLPAKABITKADIN";            // your network SSID (name)
char pass[] = "lunaria112296";        // your network password
int status = WL_IDLE_STATUS;     // the Wifi radio's status
int reqCount = 0;                // number of requests received

WiFiEspServer server(80);


void setup()
{
  // initialize serial for debugging
  Serial.begin(115200);
  // initialize serial for ESP module
  Serial1.begin(9600);
  // initialize ESP module
  WiFi.init(&Serial1);

  // check for the presence of the shield
  if (WiFi.status() == WL_NO_SHIELD) {
    Serial.println("WiFi shield not present");
    // don't continue
    while (true);
  }

  // attempt to connect to WiFi network
  while ( status != WL_CONNECTED) {
    Serial.print("Attempting to connect to WPA SSID: ");
    Serial.println(ssid);
    // Connect to WPA/WPA2 network
    status = WiFi.begin(ssid, pass);
  }

  Serial.println("You're connected to the network");
  printWifiStatus();

  // start the web server on port 80
  server.begin();
}


void loop()
{
  // listen for incoming clients
  WiFiEspClient client = server.available();
  if (client) {
    Serial.println("New client");
    // an http request ends with a blank line
    boolean currentLineIsBlank = true;
    while (client.connected()) {
      if (client.available()) {
        char c = client.read();
        Serial.write(c);
        // if you've gotten to the end of the line (received a newline
        // character) and the line is blank, the http request has ended,
        // so you can send a reply
        if (c == '\n' && currentLineIsBlank) {
          Serial.println("Sending response");

          // send a standard http response header
          // use \r\n instead of many println statements to speedup data send
          client.print(
            "HTTP/1.1 200 OK\r\n"
            "Content-Type: text/html\r\n"
            "Connection: close\r\n"  // the connection will be closed after completion of the response
            "Refresh: 20\r\n"        // refresh the page automatically every 20 sec
            "\r\n");
          client.print("<!DOCTYPE HTML>\r\n");
          client.print("<html>\r\n");
          client.print("<h1>Hello World!</h1>\r\n");
          client.print("Requests received: ");
          client.print(++reqCount);
          client.print("<br>\r\n");
          client.print("Analog input A0: ");
          client.print(analogRead(0));
          client.print("<br>\r\n");
          client.print("</html>\r\n");
          break;
        }
        if (c == '\n') {
          // you're starting a new line
          currentLineIsBlank = true;
        }
        else if (c != '\r') {
          // you've gotten a character on the current line
          currentLineIsBlank = false;
        }
      }
    }
    // give the web browser time to receive the data
    delay(10);

    // close the connection:
    client.stop();
    Serial.println("Client disconnected");
  }
}


void printWifiStatus()
{
  // print the SSID of the network you're attached to
  Serial.print("SSID: ");
  Serial.println(WiFi.SSID());

  // print your WiFi shield's IP address
  IPAddress ip = WiFi.localIP();
  Serial.print("IP Address: ");
  Serial.println(ip);

  // print where to go in the browser
  Serial.println();
  Serial.print("To see this page in action, open a browser to http://");
  Serial.println(ip);
  Serial.println();
}'''It appears like the built-in firmware (EDIT - nope the sketch you loaded does this), much like some dedicated ESPs (NodeMCU, etc) has a mini web server feature. You power it up and it will start broadcasting it’s own WiFi SSID. You connect to it from a phone or laptop and go the the IP stated, from there you probably get a page that lets you program in your router WiFi credentials and reboot it… from then on it boots up and connects to your router and you can start using it however the manufacturer expects you to.
Now, of course, just like some similar ESP’s you can probably bypass all of that by simply plugging it into the USB of your PC and flashing (uploading) a new Arduino/Blynk sketch… But this is where you want to be sure of the sketch settings, or you will just have an Arduino compatible board, not a Arduino compatible, WiFi connected board 
What do you mean by “sketch settings”? I’m sorry if i’m asking too many questions  BTW i’ll check my sketch later after my class!
This part is a bit confusing… looks like it checks for the Serial1 secondary Hardware UART (the primary Serial one being the one used to connect to a PC, etc.) And if it doesn’t detect that then it emulates one via Softserial… but then the commented pins and the actual ones used are different… and not the same as what I saw on the schematic…
I would start with the assumption that Serial1 might work… and load in a Blynk sketch set for such.
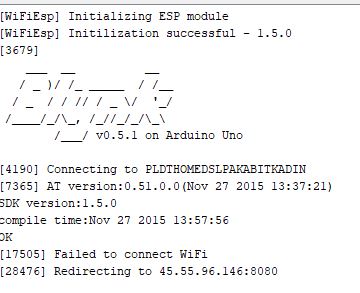
I use the blynk example but with UNO as board and ESP8266 as connection. It uses software serial so i lowered the baud rate to 9600 using at commands. It connects to the wifi now, but I this on my serial monitor.
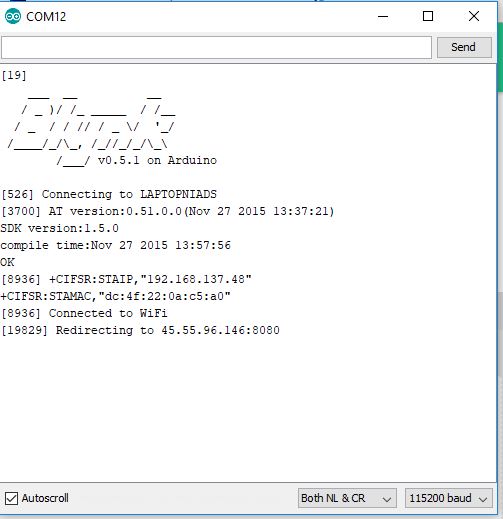
In my blynk app, it will connect but will drop the connection after a second.
#define BLYNK_PRINT Serial


#include <ESP8266_Lib.h>
#include <BlynkSimpleShieldEsp8266.h>

char auth[] = "593da230xxxxxxx786137f0746c9c";
char ssid[] = "LAPTOPNIADS";
char pass[] = "laptopniads";
#include <SoftwareSerial.h>
SoftwareSerial EspSerial(2, 3); // RX, TX

#define ESP8266_BAUD 9600

ESP8266 wifi(&EspSerial);

void setup()
{
  // Debug console
  Serial.begin(115200);

  delay(10);

  // Set ESP8266 baud rate
  EspSerial.begin(ESP8266_BAUD);
  delay(10);

  Blynk.begin(auth, wifi, ssid, pass);
}

void loop()
{
  Blynk.run();
}
Redirecting to 45.55.96.146:8080 is the same last message you saw on your other Mega & ESP-01 issue topic…
Perhaps something with your network?
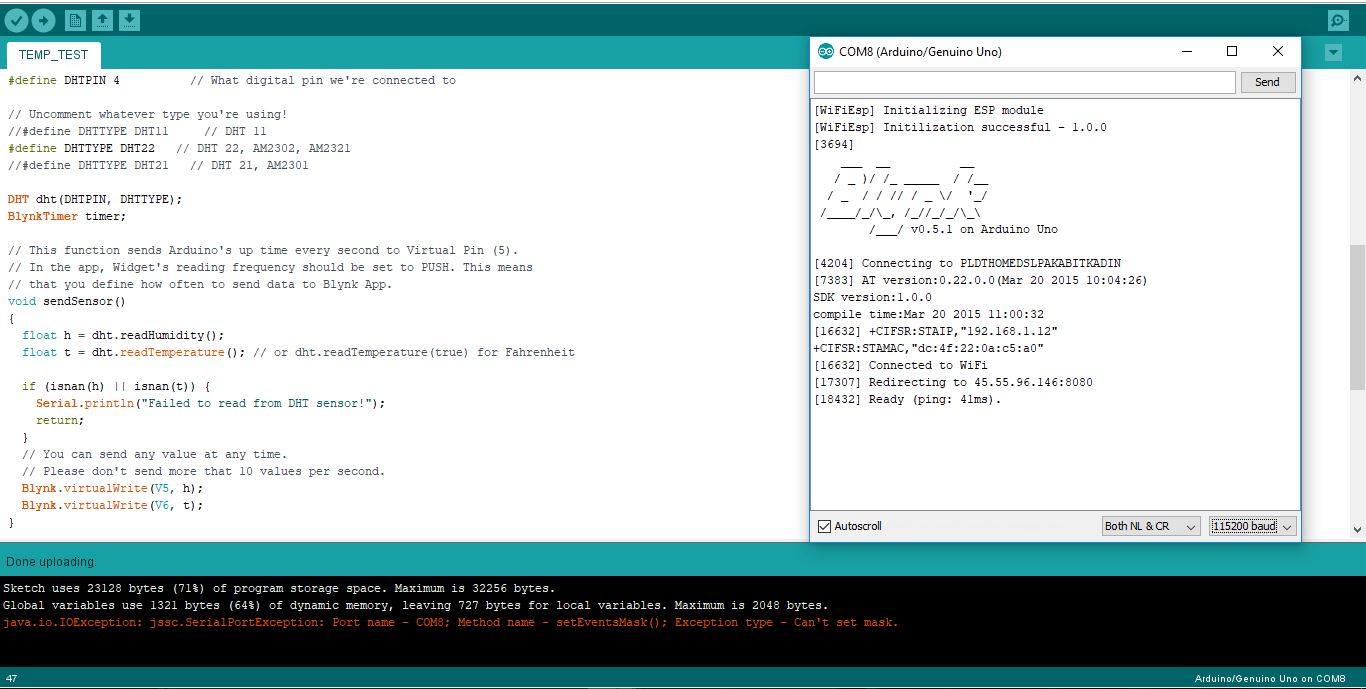
hey @Gunner! Just an update! We made it working by flashing AT22SDK100-2015-03-20-boot1.2.bin to our wifi shield. It solved the connection problem and now our project is connected to the internet!
Here is the link for the AT 0.22 Firmware: https://esp8266.ru/download/esp8266-firmware/AT22SDK100-2015-03-20-boot1.2.bin
I used ESP8266_flasher_V00170901_00_Cloud Update Ready for flashing
1 Like
Great… now you can get started making/controlling things
Thanks for the help!