Hi i’m new at Blynk and i have some problem for me. Sorry if this already asked before, I’m using esp32 with v1.0.0beta3 library and android 11 with arduino droid , i want to set my analog pins to blynk. But in the blynk app there’s no analog pins when i add button. It’s different from the youtube video i watched beacuse i think they used the old blynk app. Should i use some code or something for setting the analog pin ? I wanted to use the GP13 and GP12 pin
Here’s my code
//Xx --
#define BLYNK_TEMPLATE_ID "TMPLxxx"
#define BLYNK_DEVICE_NAME "xxx"

#define BLYNK_PRINT Serial

#include <WiFi.h>
#include <WiFiClient.h>
#include <BlynkSimpleEsp32.h>

// kode yang dikirim aplikasi blynk ke email kalian.
// masukan kode yang sudah kalian copy di bawah.
char auth[] = "xxx";

// Your WiFi credentials.
// Set password to "" for open networks.
char ssid[] = "realxxx; ///NAMA WIFI ATAU HOTSPOT KALIAN
char pass[] = "tvjaqxxx"; ///KATA SANDI WIFI ATAU HOTSPOT KALIAN
void setup()
{
  // Debug console
  Serial.begin(9600);

 //Blynk.begin(auth, ssid, pass);
 Blynk.begin(auth, ssid, pass, "blynk.cloud", 80);
 WiFi.begin(ssid,pass);
 Blynk.config(auth);
}

void loop()
{
  Blynk.run();
}
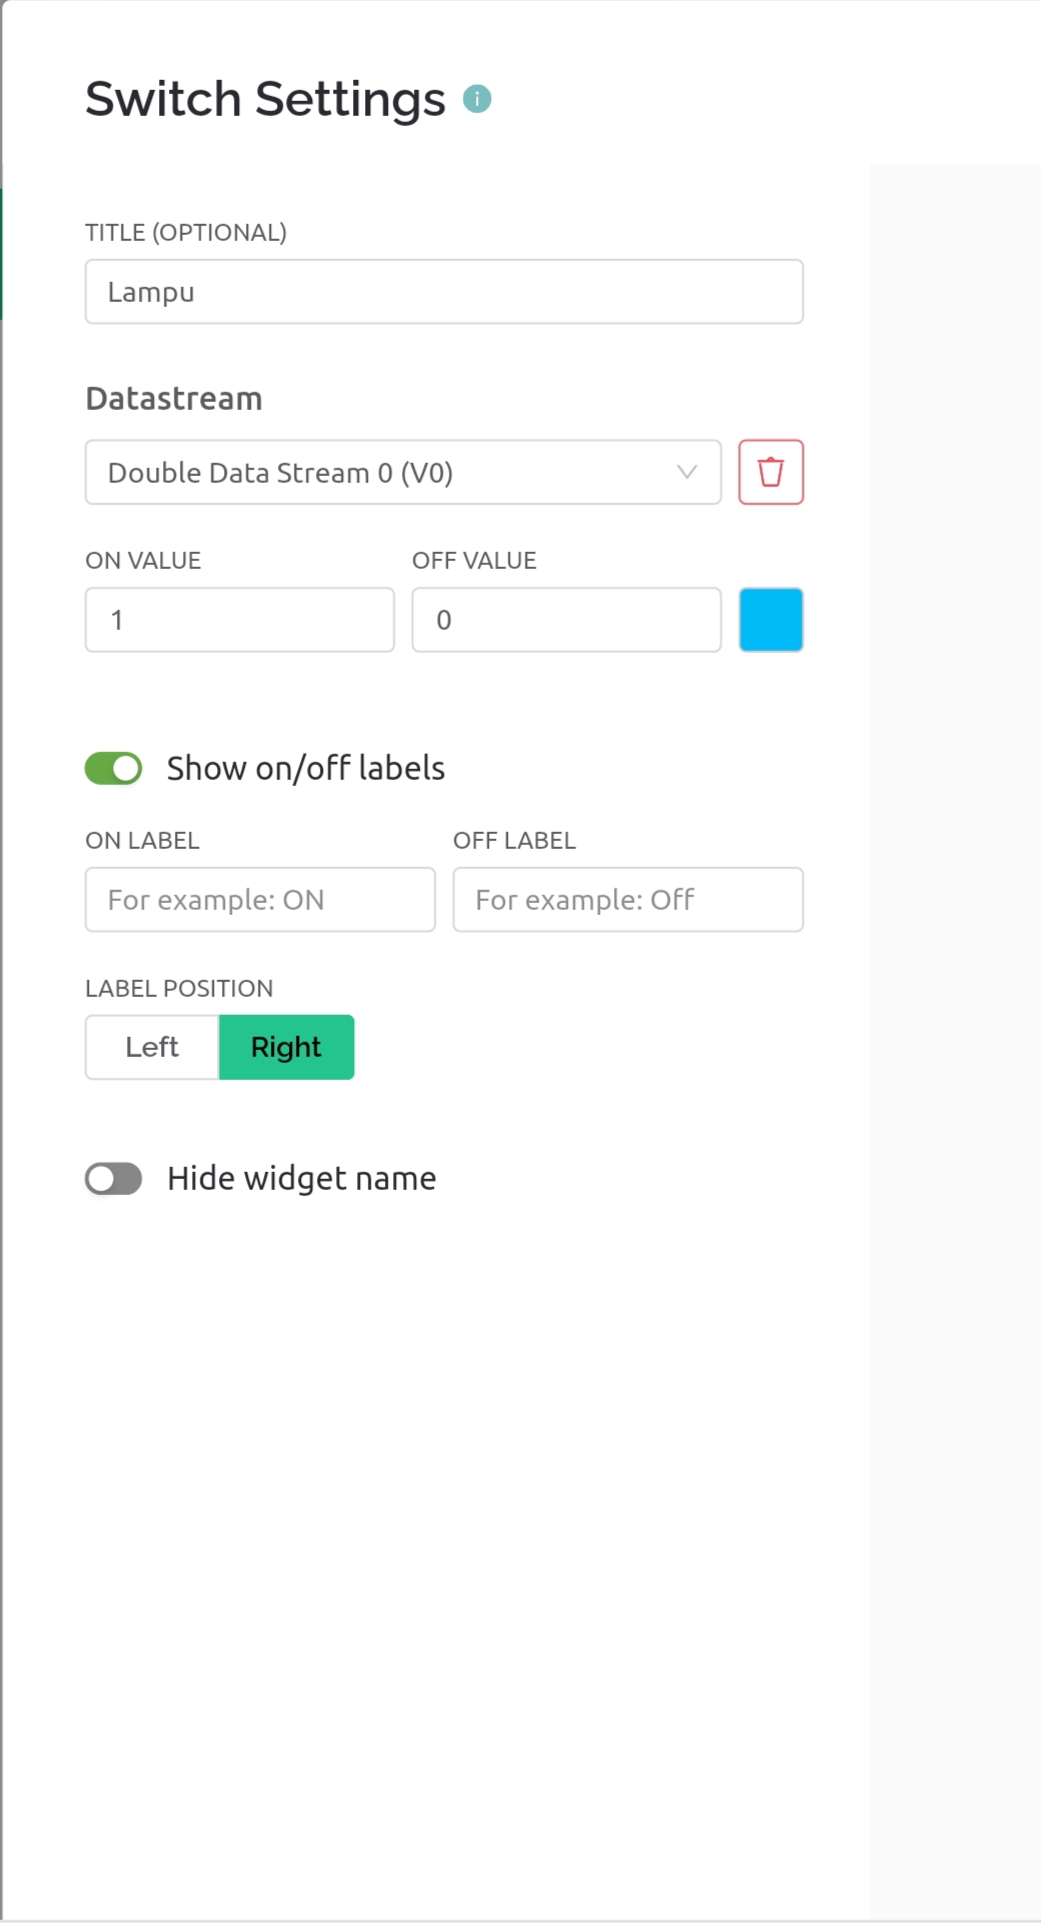
I wanted to make a lamp that could be controlled by a phone, but i’m too confused by the tutorial’s app and the new app now. I’ve seen many of virtual pins code for esp32 but didn’t get it
void setup()
{
  pinMode(23, OUTPUT); // Initialise digital pin 2 as an output pin
}

BLYNK_WRITE(V0) // Executes when the value of virtual pin 0 changes
{
  if(param.asInt() == 1)
  {
    // execute this code if the switch widget is now ON
    digitalWrite(23,HIGH);  // Set digital pin 2 HIGH
  {
  else
  {
    // execute this code if the switch widget is now OFF
    digitalWrite(23,LOW);  // Set digital pin 2 LOW
  }
}
Sorry if asking more , i’m confused with the pinmode after seeing about more explanation of the GPIO. The pin i wanted to use is D13 written on the board but the explanation saya it’s not it
" If you’re working with an Arduino then it’s all quite simple. General Purpose Input/Output (GPIO) pin 2 is labeled “2” or “D2”. However, if you’re using a NodeMCU type of device then the manufacturers decided to make things a little more complicated. The numbers screen printed onto the board are not the GPIO numbers. You have to translate these NodeMCU “D” numbers onto actual GPIOs as follows…
Label GPIO
D1 5 * D2 4
D3 0*
D4 2*
D5 14* *D6 12 * D7 13 D8 15
So which one should i put , sorry this become more complicated
Ohh , then should i just change the pinnumber same as the number that written on the board ? Like i wanted to use D13 means the pinmode ( 13, output); like that ?
I put the code and it says error: a function-definition is not allowed here before ‘{’ token…
//Xx--
#define BLYNK_TEMPLATE_ID "TMPLxx"
#define BLYNK_DEVICE_NAME "xx"

#define BLYNK_PRINT Serial

#include <WiFi.h>
#include <WiFiClient.h>
#include <BlynkSimpleEsp32.h>

// kode yang dikirim aplikasi blynk ke email kalian.
// masukan kode yang sudah kalian copy di bawah.
char auth[] = "ysMxx";

// Your WiFi credentials.
// Set password to "" for open networks.
char ssid[] = "realxx"; ///NAMA WIFI ATAU HOTSPOT KALIAN
char pass[] = "tvjxxx"; ///KATA SANDI WIFI ATAU HOTSPOT KALIAN
void setup()
{
  // Debug console
  Serial.begin(9600);

 //Blynk.begin(auth, ssid, pass);
 Blynk.begin(auth, ssid, pass, "blynk.cloud", 80);
 WiFi.begin(ssid,pass);
 Blynk.config(auth);

    {
pinMode(13, OUTPUT); // Initialise digital pin 2 as an output pin
        }
BLYNK_WRITE(V0) // Executes when the value of virtual pin 0 changes
    {
    if(param.asInt() == 1)
    {
            // execute this code if the switch widget is now ON
         digitalWrite(13,HIGH); // Set digital pin 2 HIGH
        {
          else
             {
                // execute this code if the switch widget is now OFF
                 digitalWrite(13,LOW); // Set digital pin 2 LOW } }
}

void loop()
{
  Blynk.run();
}