Good job!!
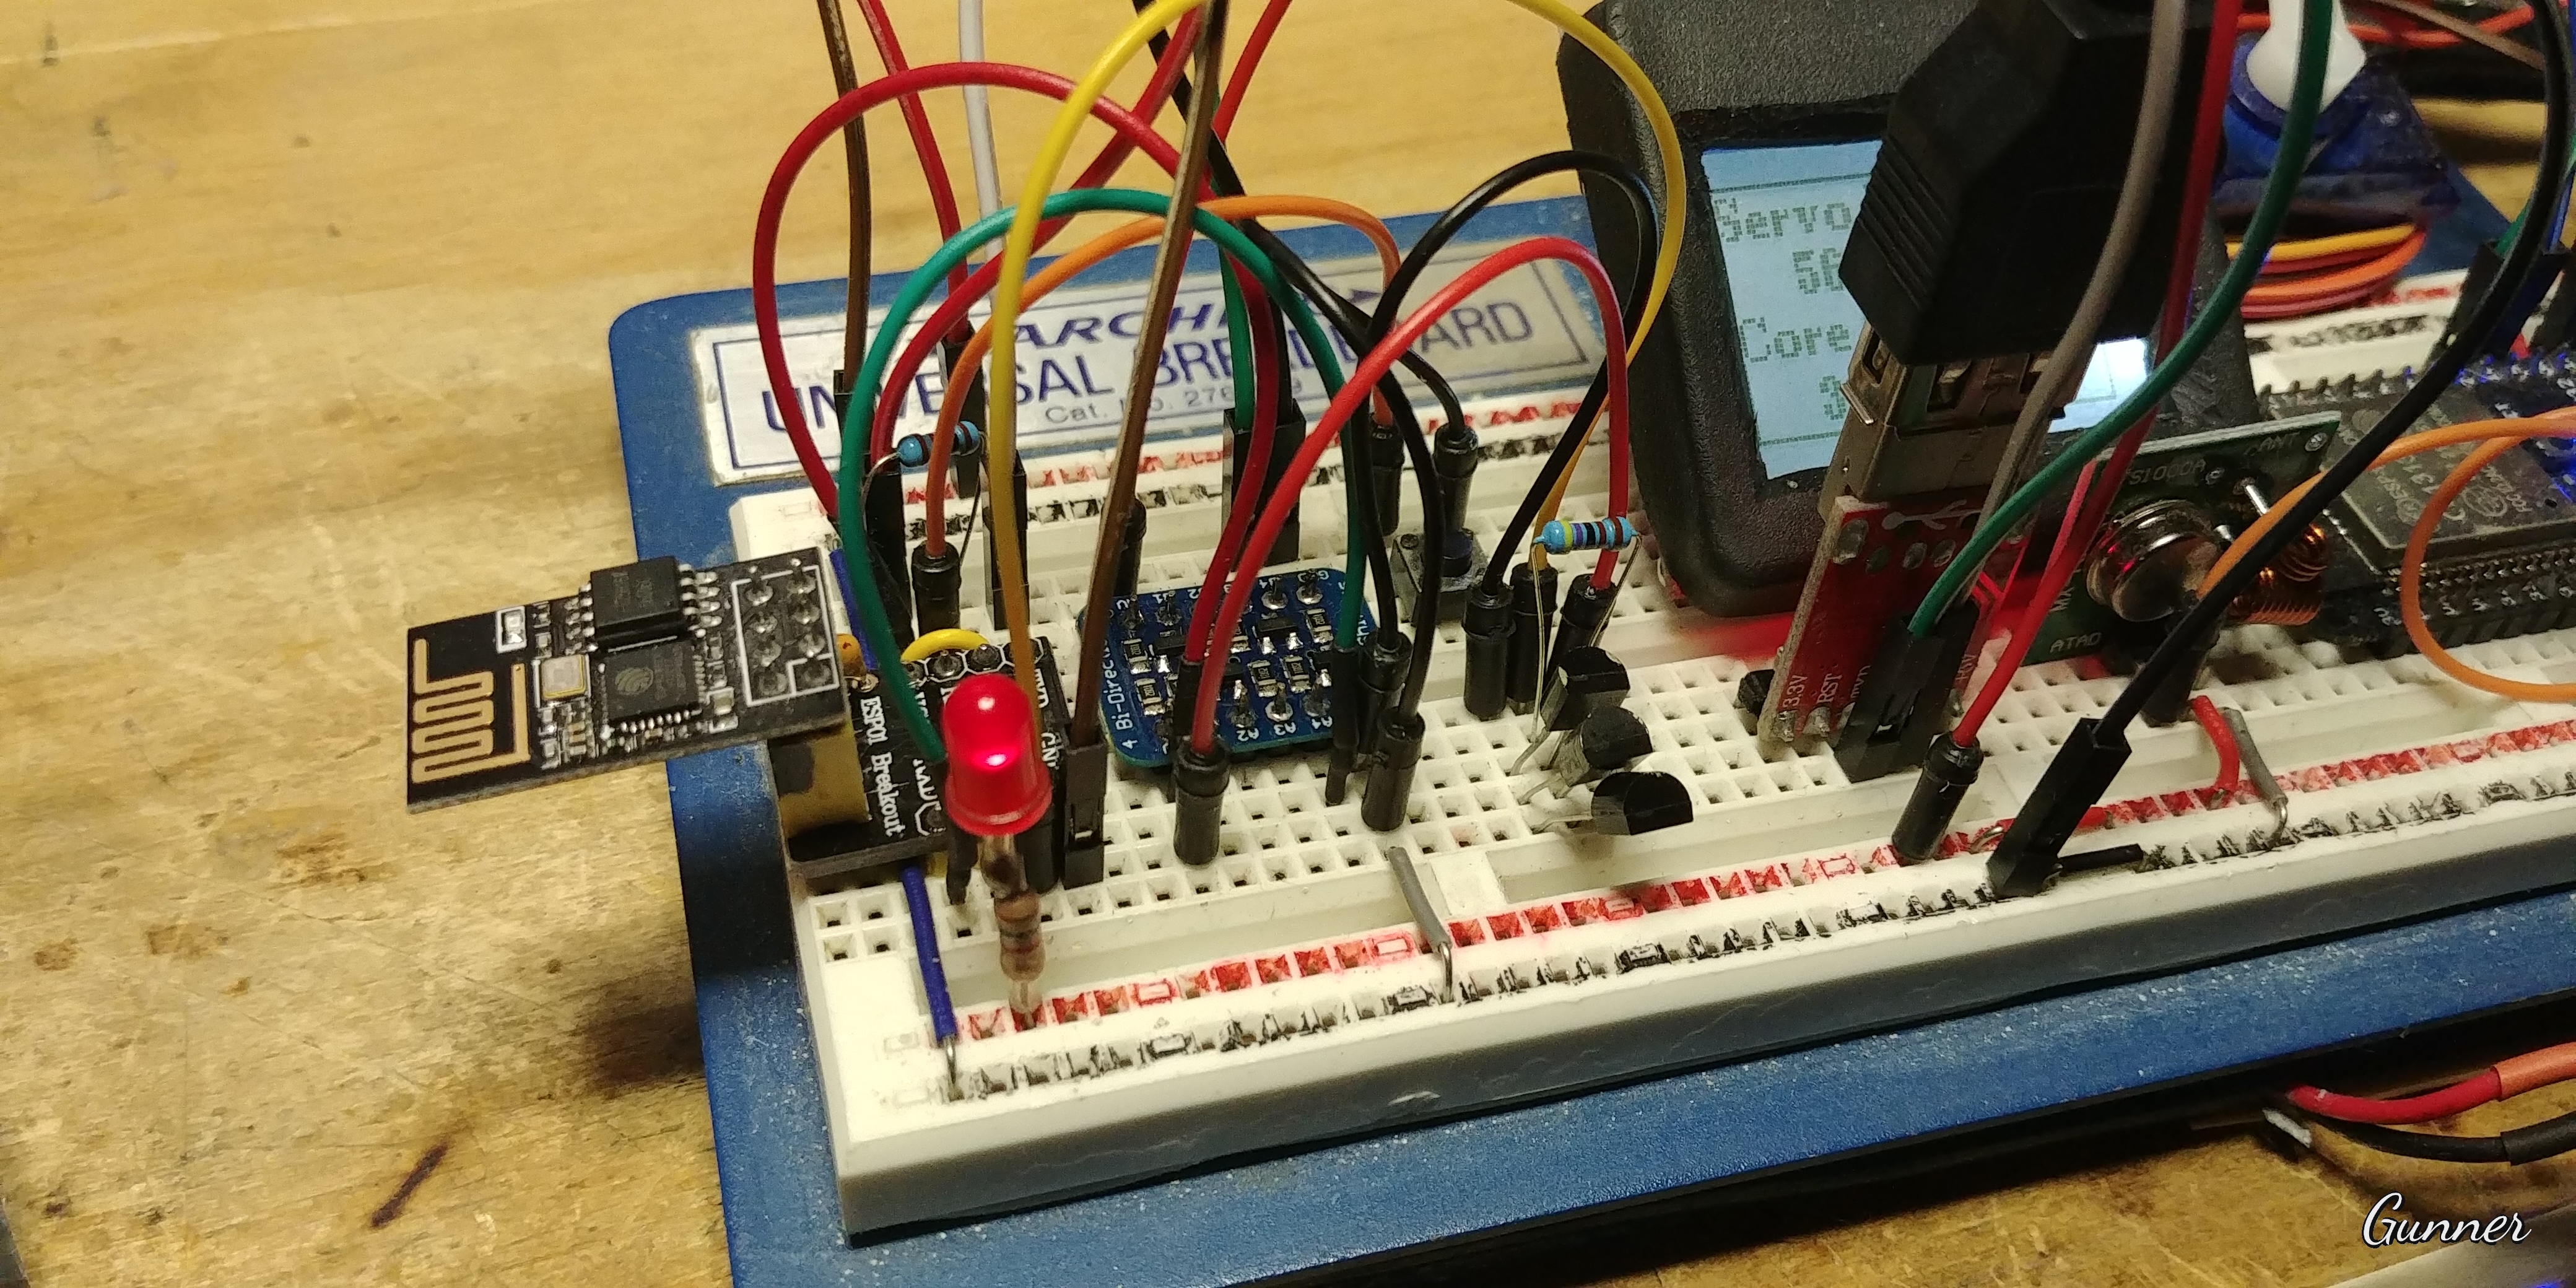
Yes, the ESP-01 can be a pain in the  to program and utilize, but eventually doable.
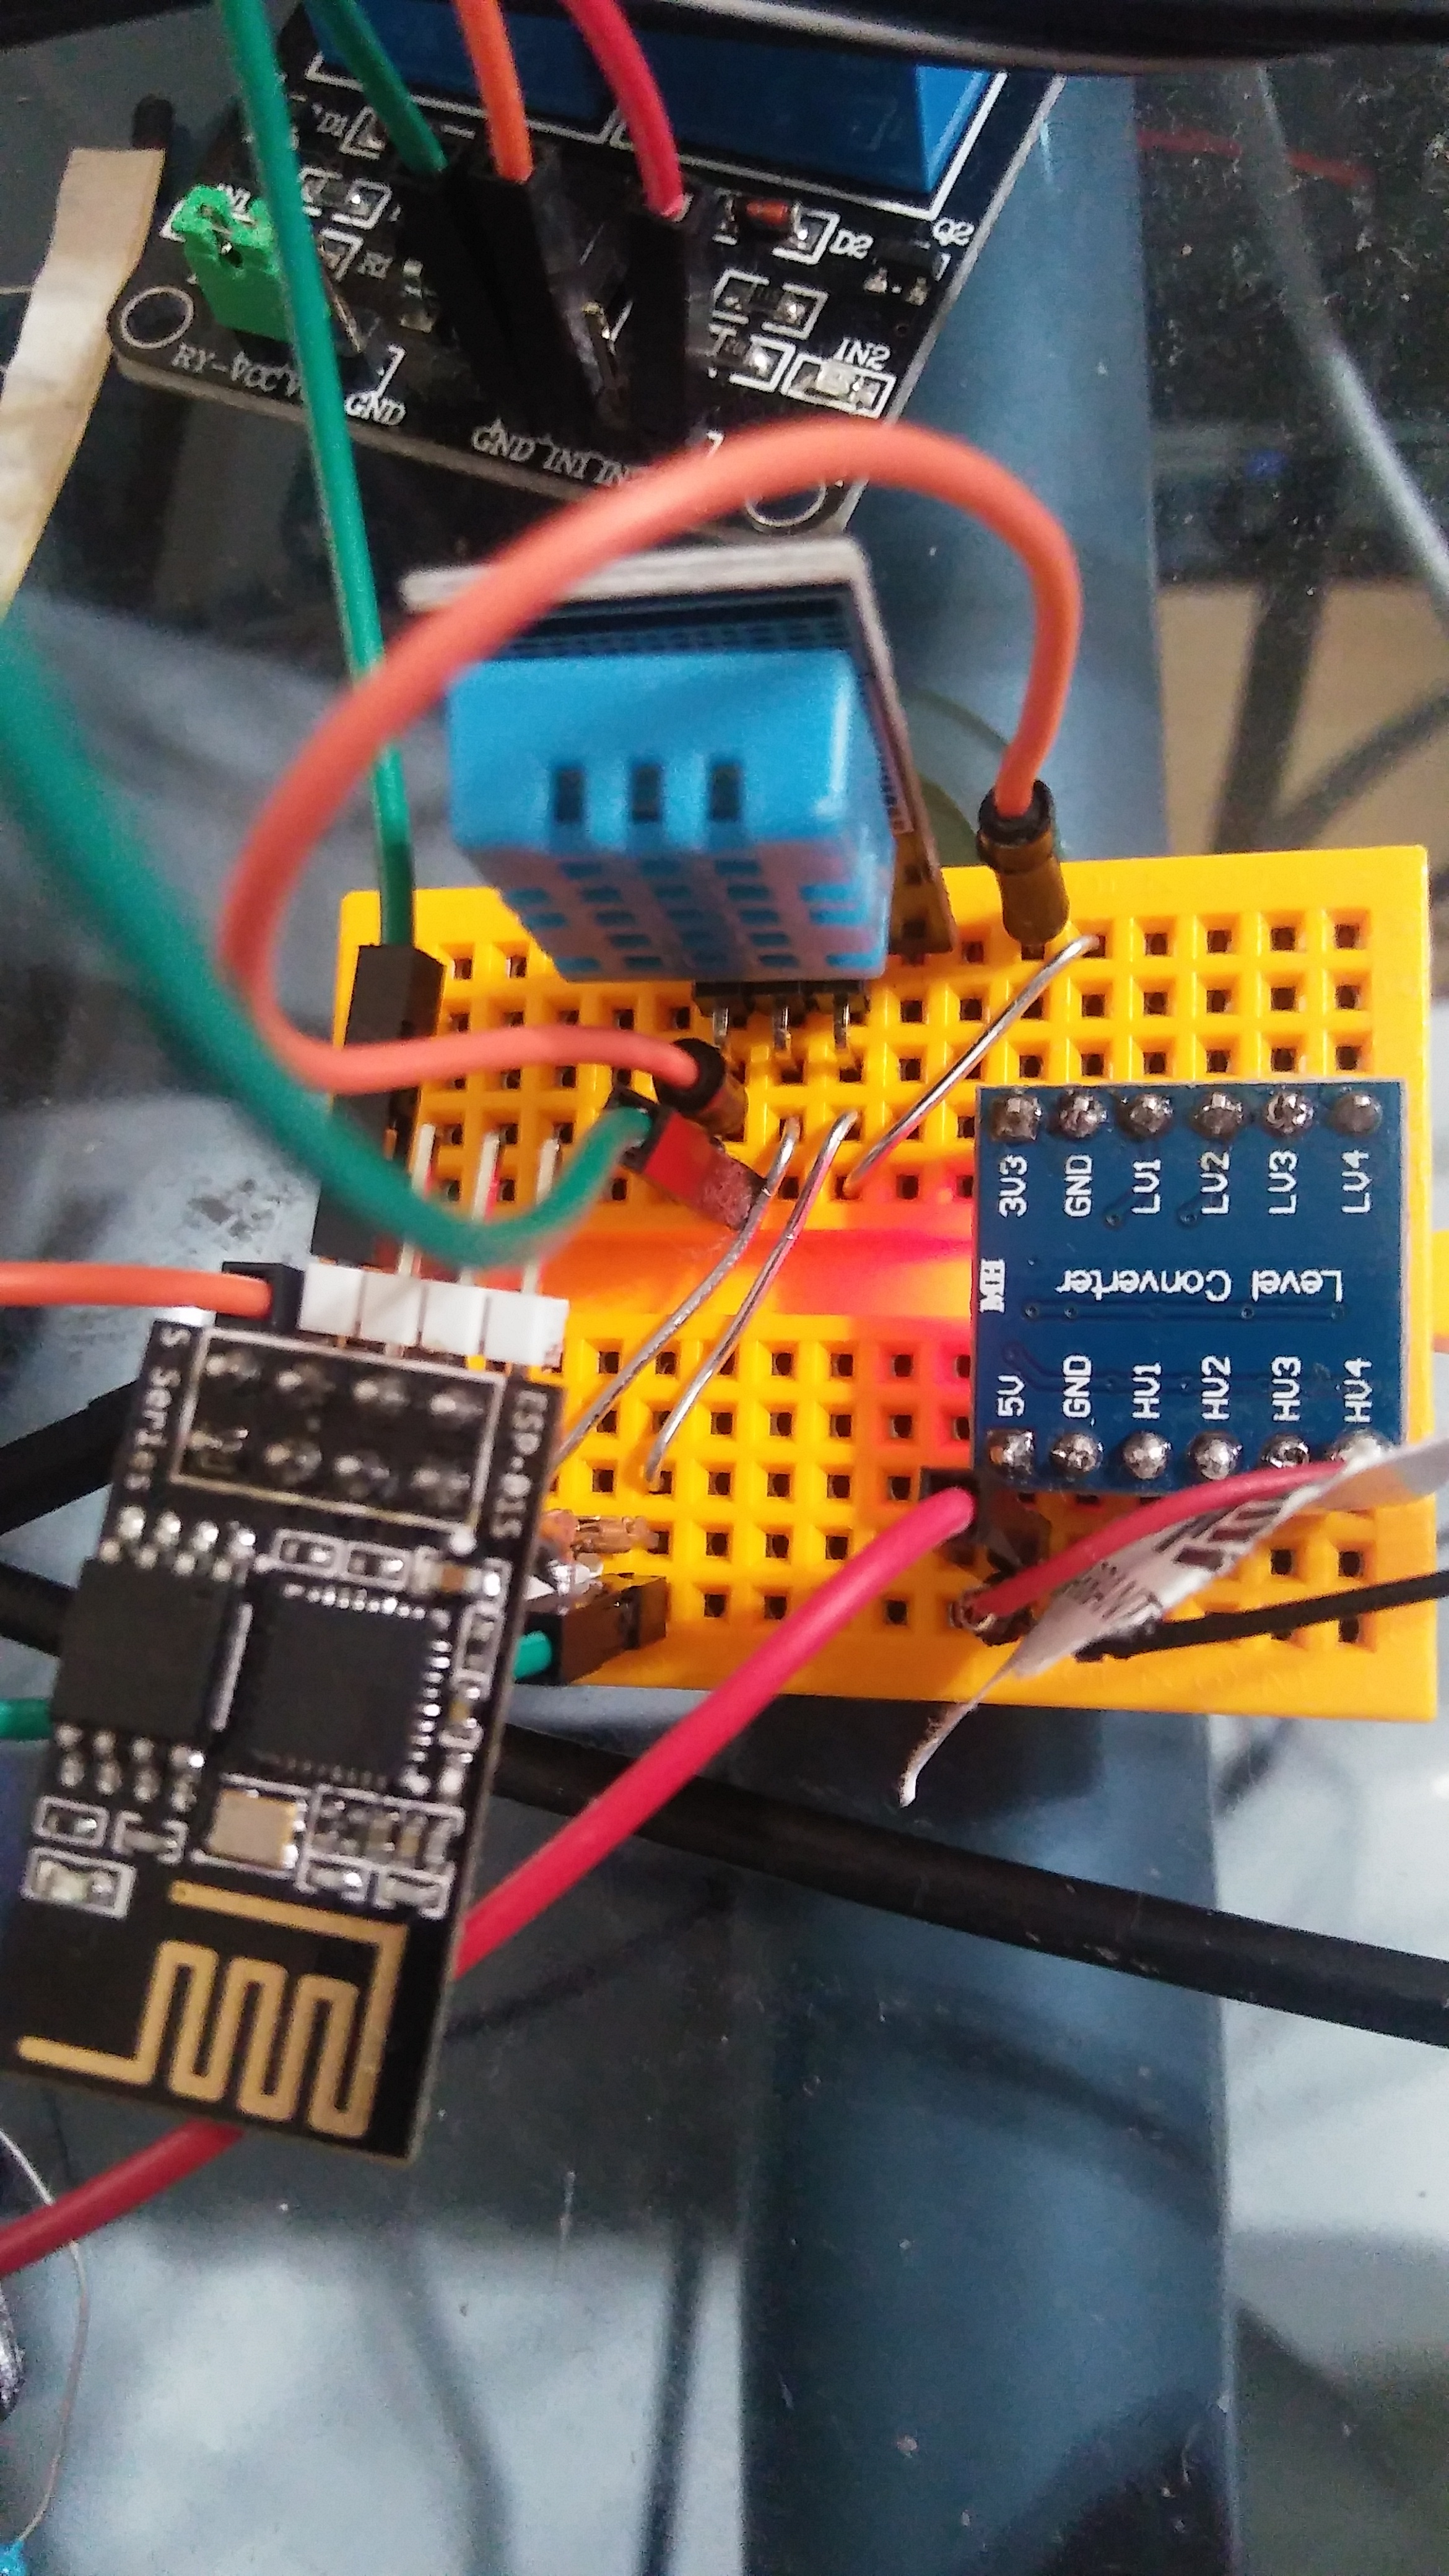
I just got this one working with bunch of DS18B20 Temperature Sensors and OTA programming… even though everything else worked, I could not get the sensors to work at all, until I tried a third 3.3v power source.
Here is some more code for you to work with.
//#define BLYNK_NO_BUILTIN // Disable built-in analog & digital pin operations
#include <ESP8266WiFi.h>
#include <BlynkSimpleEsp8266.h>
#include <ESP8266mDNS.h> // For OTA
#include <WiFiUdp.h> // For OTA
#include <ArduinoOTA.h> // For OTA
char auth[] = "xxxxxxxxxx";
char ssid[] = "xxxxxxxxxx";
char pass[] = "xxxxxxxxxx";
char IP[] = "xxx.xxx.xxx.xxx";
/* DS18B20 Sensor */
#include <OneWire.h>
#define ONE_WIRE_BUS 2
OneWire oneWire(ONE_WIRE_BUS);
#include<DallasTemperature.h>
DallasTemperature DS18B20(&oneWire);
float temp_0;
float temp_1;
float temp_2;
float temp_3;
float temp_4;
DeviceAddress ThermometerOne = { 0x28, 0xFF, 0xDE, 0x10, 0x23, 0x17, 0x04, 0x1F };
DeviceAddress ThermometerTwo = { 0x28, 0xFF, 0x1F, 0x12, 0x23, 0x17, 0x04, 0xF7 };
DeviceAddress ThermometerThree = { 0x28, 0xFF, 0xCD, 0x13, 0x23, 0x17, 0x04, 0xA5 };
DeviceAddress ThermometerFour = { 0x28, 0xFF, 0xD9, 0x12, 0x23, 0x17, 0x04, 0x49 };
DeviceAddress ThermometerFive = { 0x28, 0xFF, 0x4C, 0xD9, 0x22, 0x17, 0x04, 0x2A };
BlynkTimer timer;
void setup()
{
//pinMode(2, INPUT);
// Start up the library
DS18B20.begin();
// set the resolution to 10 bit (good enough?)
DS18B20.setResolution(ThermometerOne, 10);
DS18B20.setResolution(ThermometerTwo, 10);
DS18B20.setResolution(ThermometerThree, 10);
DS18B20.setResolution(ThermometerFour, 10);
DS18B20.setResolution(ThermometerFive, 10);
DS18B20.setWaitForConversion(false);
//Serial.begin(115200);
Blynk.begin(auth, ssid, pass, IP, 8442);
Blynk.virtualWrite(V1, 0);
Blynk.virtualWrite(V2, 0);
Blynk.virtualWrite(V3, 0);
Blynk.virtualWrite(V4, 0);
Blynk.virtualWrite(V5, 0);
timer.setInterval(1000L, UpTime);
timer.setInterval(30000L, getTempData);
ArduinoOTA.setHostname("ESP-01 Test"); // For OTA
ArduinoOTA.begin(); // For OTA
}
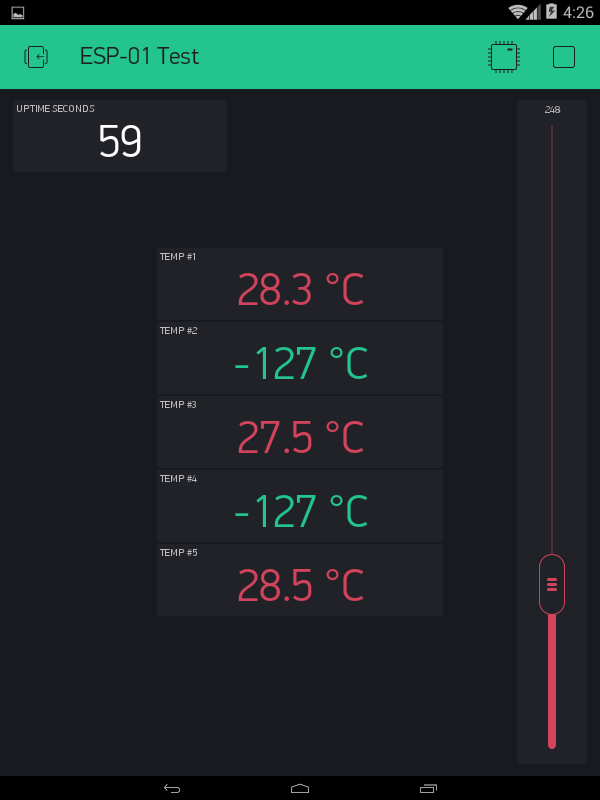
void getTempData()
{
DS18B20.requestTemperatures();
delay(250);
temp_0 = DS18B20.getTempC(ThermometerOne);
temp_1 = DS18B20.getTempC(ThermometerTwo);
temp_2 = DS18B20.getTempC(ThermometerThree);
temp_3 = DS18B20.getTempC(ThermometerFour);
temp_4 = DS18B20.getTempC(ThermometerFive);
Blynk.virtualWrite(V1, temp_0);
Blynk.virtualWrite(V2, temp_1);
Blynk.virtualWrite(V3, temp_2);
Blynk.virtualWrite(V4, temp_3);
Blynk.virtualWrite(V5, temp_4);
}
void UpTime()
{
Blynk.virtualWrite(V0, millis() / 1000);
//digitalWrite(LED_BUILTIN, !digitalRead(LED_BUILTIN));
}
void loop()
{
Blynk.run();
timer.run();
ArduinoOTA.handle(); // For OTA
}