I am using USB connection with Arduino Mega 2560.
I copied the DHT11 example code from the site as below, but the V5 and V6 inputs did not work, so I switched to A1 and A2, and the results appeared, but they are wrong … is showing for example 600 ° C wtf? kkk Can anyone help me?
*************************************************************


 This example shows how value can be pushed from Arduino to
 the Blynk App.


 App project setup:
   Value Display widget attached to V5
   Value Display widget attached to V6
*************************************************************/

/* Comment this out to disable prints and save space */
#define BLYNK_PRINT Serial1


#include <BlynkSimpleStream.h>
#include <DHT.h>

// You should get Auth Token in the Blynk App.
// Go to the Project Settings (nut icon).
char auth[] = "token";

#define DHTPIN 2          // What digital pin we're connected to

// Uncomment whatever type you're using!
#define DHTTYPE DHT11     // DHT 11
//#define DHTTYPE DHT22   // DHT 22, AM2302, AM2321
//#define DHTTYPE DHT21   // DHT 21, AM2301

DHT dht(DHTPIN, DHTTYPE);
BlynkTimer timer;

// This function sends Arduino's up time every second to Virtual Pin (5).
// In the app, Widget's reading frequency should be set to PUSH. This means
// that you define how often to send data to Blynk App.
void sendSensor()
{
 float h = dht.readHumidity();
 float t = dht.readTemperature(); // or dht.readTemperature(true) for Fahrenheit

 if (isnan(h) || isnan(t)) {
   Serial1.println("Failed to read from DHT sensor!");
   return;
 }
 // You can send any value at any time.
 // Please don't send more that 10 values per second.
 Blynk.virtualWrite(V5, h);
 Blynk.virtualWrite(V6, t);
}

void setup()
{
 // Debug console
 Serial1.begin(9600);

 // Blynk will work through Serial
 // Do not read or write this serial manually in your sketch
 Serial.begin(9600);
 Blynk.begin(Serial, auth);

 dht.begin();

 // Setup a function to be called every second
 timer.setInterval(1000L, sendSensor);
}

void loop()
{
 Blynk.run();
 timer.run();
}
As per the pinned Welcome to Blynk Community Topic… Don’t forget to format any pasted code for proper viewing, thank you. (I have edited you last post for you).
I don’t understand you logic on this … those Virtual pins were linked to display widgets in the App, not directly to the sensor… and the DHT11 uses a single Digital pin NOT Analog for communication to the hardware.
I think you need to reconfirm how you have it connected and tested with a normal Arduino sketch before trying to get it to work with Blynk.
hmmm ok Thank you! I put it in the V5 and V6, as it is in the code itself, and I put the Date pin of the DHT11 in the Digital input of my arduino, but still, nothing appears … I did a test for my sketch and it only appears my token, not reading the temperature.
My DHT11 is so connected on the Arduino
VCC > 5v
DATA > D46
GND > GND
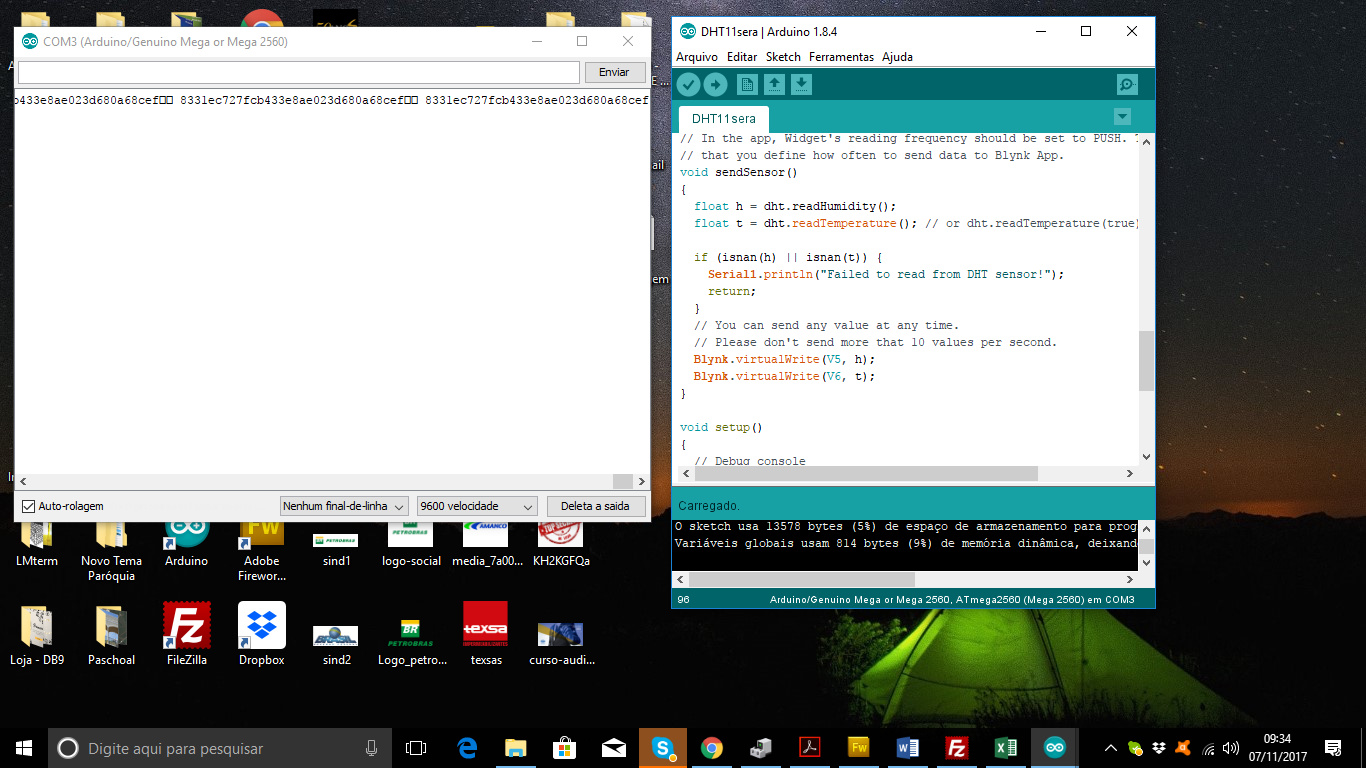
When using the USB link, it is important that you follow a few guidelines. First, you cannot use the IDE serial monitor at the same time as the USB script… as the IDE monitor uses the primary UART (Serial)… the same one your Mega is communicating to the Blynk Server over.
That is the repeating Auth code you see as it keeps broadcasting that until it is recognised and the connection links up.
In fact you shouldn’t even be able to open the IDE monitor when the USB script is running (and it MUST be running in order to connect).
If you need serial output, then you need a TTL-USB adapter, hooked up to Serial1 on the Mega (pins 18 & 19) and another terminal program for viewing on the PC. I use Termite.
Then, once you are properly connected, and if your sensor is wired correctly, you should see the proper values in the App.
I would also recommend changing this line…
timer.setInterval(1000L, sendSensor);
to this
timer.setInterval(3000L, sendSensor); // Run sendSensor() function every three seconds
to give that sensor enough time (3 seconds) to process between reads… it is really slow.