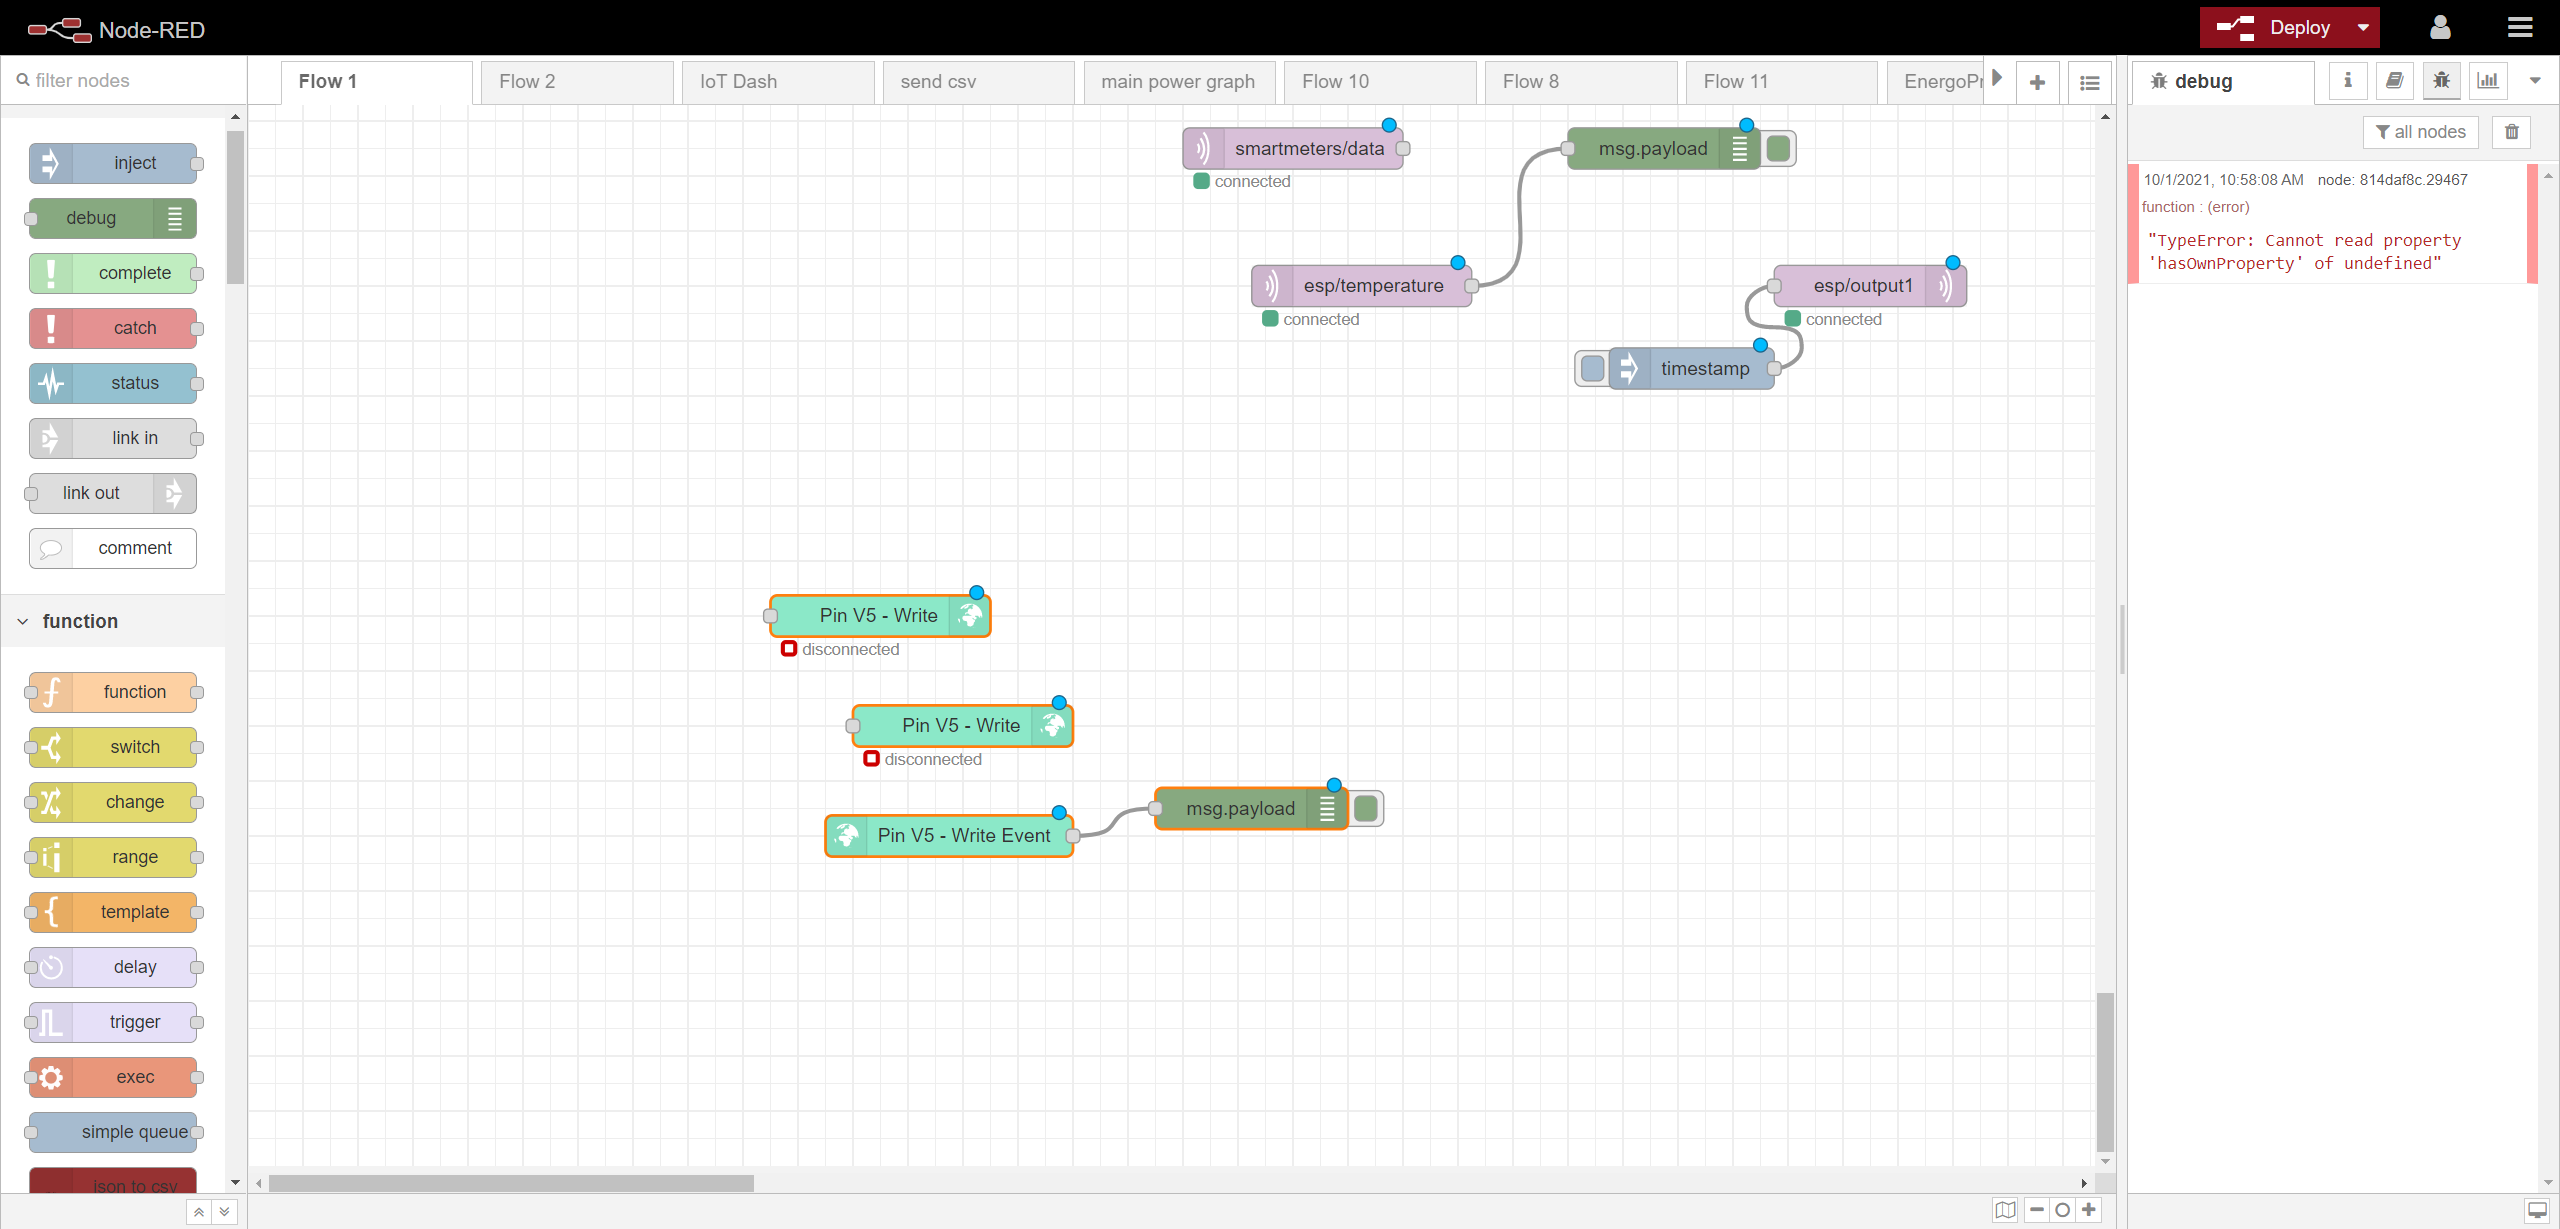
Hi, i am using ESP32 TT CALL SIM 800 and not be able to make it work with mqtt and blynk together.
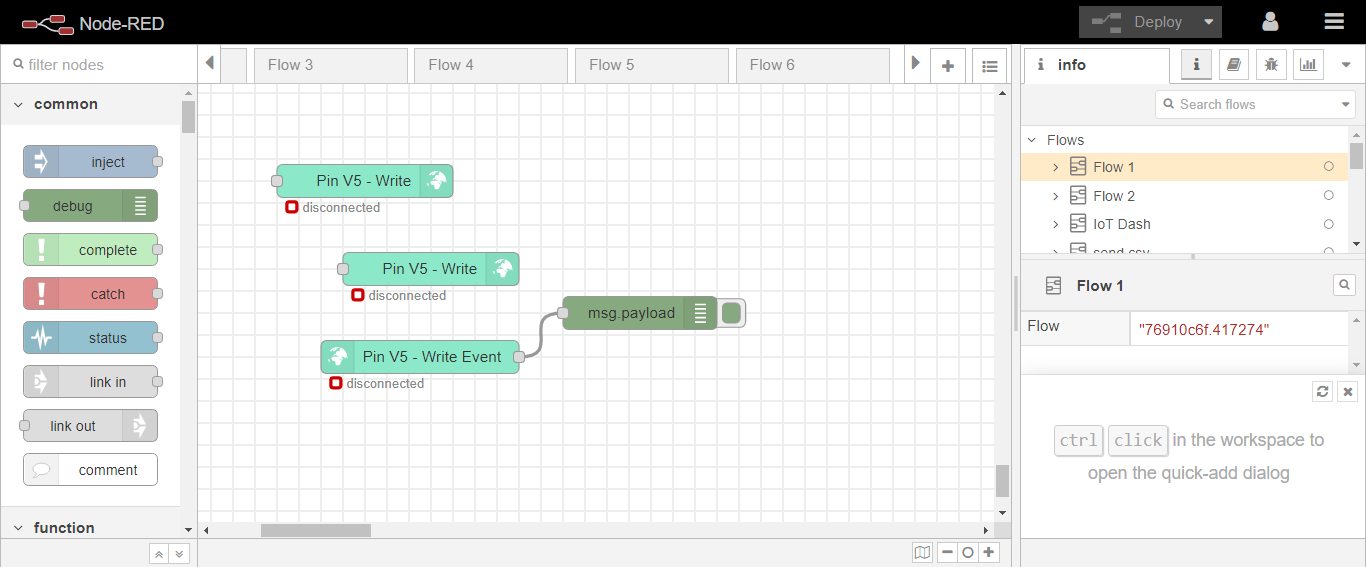
The MQTT doesn’t connect. If I comment out the Blynk.begin() and Blynk.run() The MQTT is connected without any problems.
This is my code:
#define BLYNK_PRINT Serial
/* Fill-in your Template ID (only if using Blynk.Cloud) */
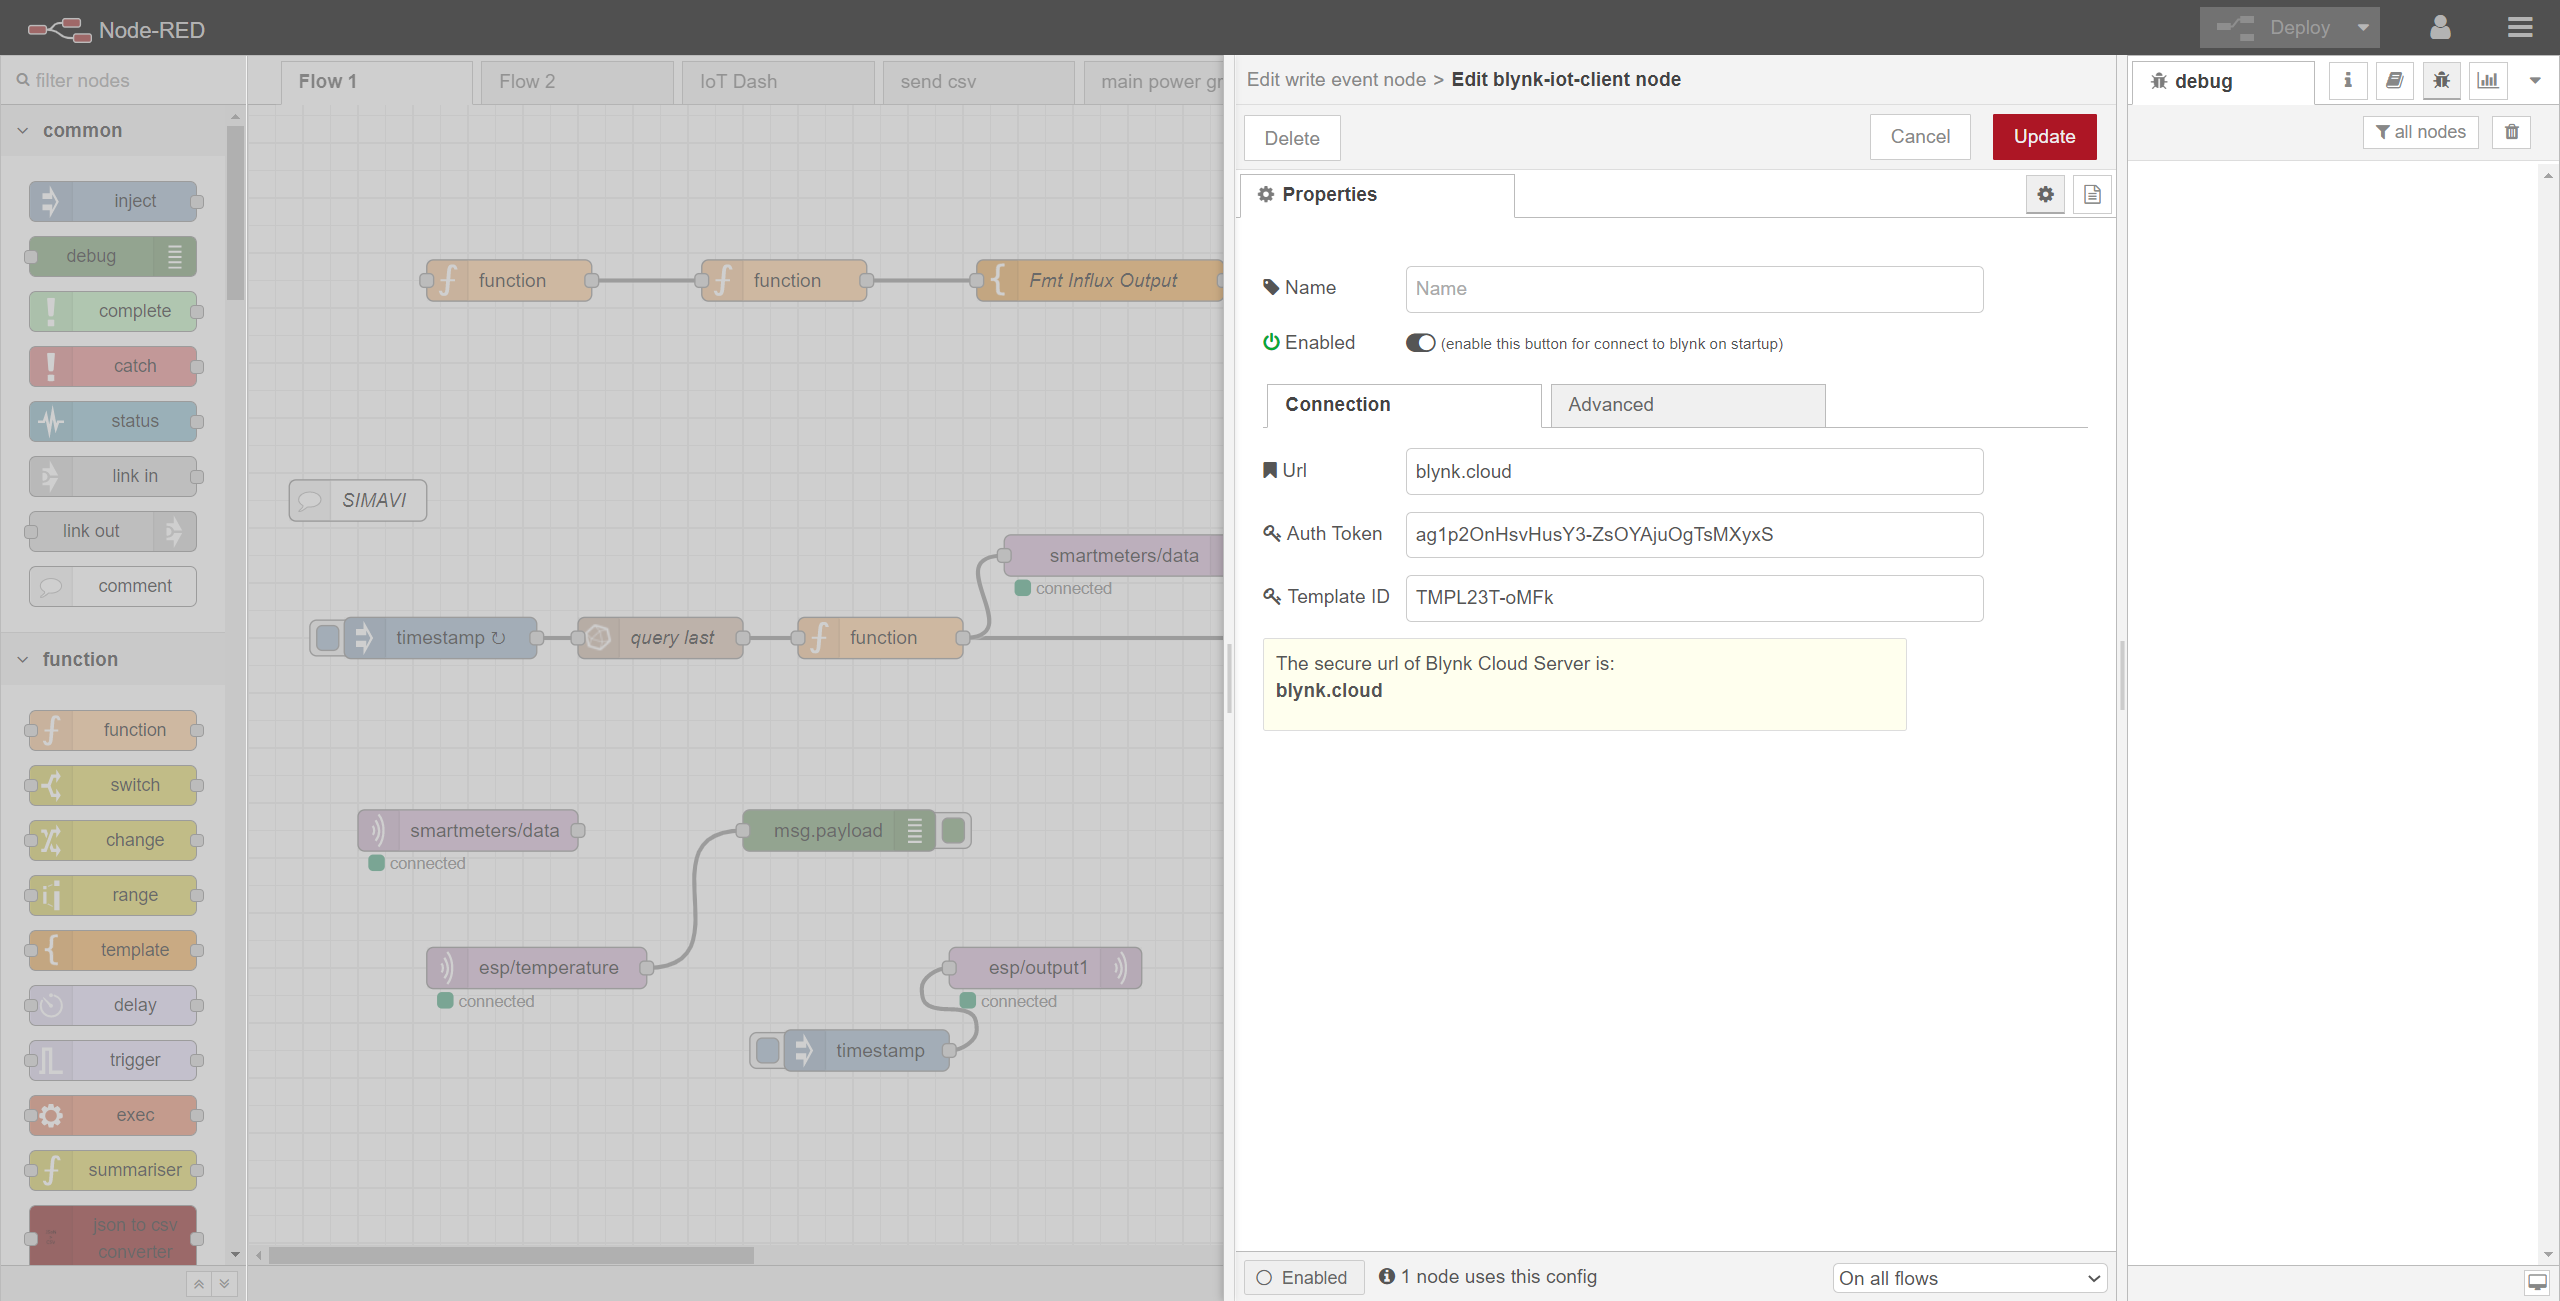
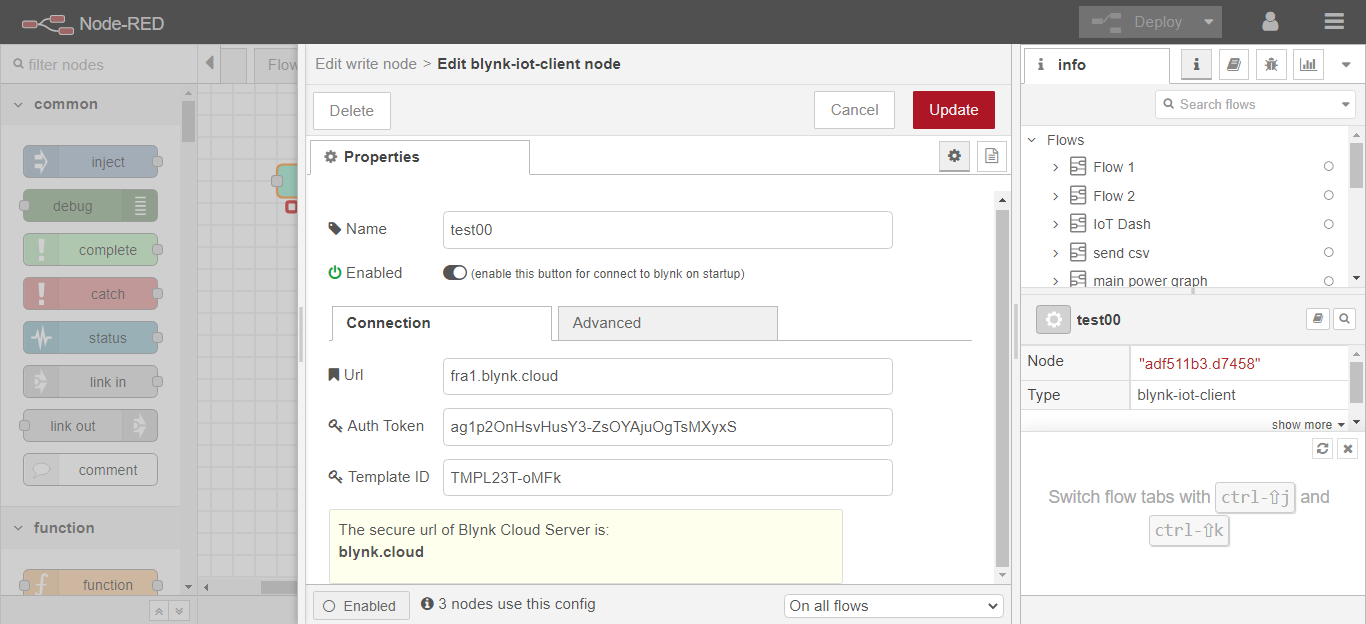
#define BLYNK_TEMPLATE_ID "TMPL23T-oMFk"
#define BLYNK_DEVICE_NAME "Entra Energy"
#define BLYNK_AUTH_TOKEN "ag1p2OnHsvHusY3-ZsOYAjuOgTsMXyxS";
#define SIM800L_IP5306_VERSION_20190610
// Select your modem:
#define TINY_GSM_MODEM_SIM800 // Modem is SIM800L
// Set serial for debug console (to the Serial Monitor, default speed 115200)
#define SerialMon Serial
// Set serial for AT commands
#define SerialAT Serial1
// Define the serial console for debug prints, if needed
#define TINY_GSM_DEBUG SerialMon
// set GSM PIN, if any
#define GSM_PIN ""
char auth[] = "ag1p2OnHsvHusY3-ZsOYAjuOgTsMXyxS";
// Your GPRS credentials, if any
const char apn[] = "internet.vivacom.bg"; // APN (example: internet.vodafone.pt) use https://wiki.apnchanger.org
const char gprsUser[] = "";
const char gprsPass[] = "";
// SIM card PIN (leave empty, if not defined)
const char simPIN[] = "";
// MQTT details
const char* broker = "xxx.xx.xxx.xxx"; // Public IP address or domain name
const char* mqttUsername = ""; // MQTT username
const char* mqttPassword = ""; // MQTT password
const char* topicOutput1 = "esp/output1";
const char* topicOutput2 = "esp/output2";
const char* topicTemperature = "esp/temperature";
const char* topicHumidity = "esp/humidity";
// Define the serial console for debug prints, if needed
//#define DUMP_AT_COMMANDS
#include <Wire.h>
#include <TinyGsmClient.h>
#include <BlynkSimpleTinyGSM.h>
#ifdef DUMP_AT_COMMANDS
#include <StreamDebugger.h>
StreamDebugger debugger(SerialAT, SerialMon);
TinyGsm modem(debugger);
#else
TinyGsm modem(SerialAT);
#endif
#include <PubSubClient.h>
TinyGsmClient client(modem);
PubSubClient mqtt(client);
// TTGO T-Call pins
#define MODEM_RST 5
#define MODEM_PWKEY 4
#define MODEM_POWER_ON 23
#define MODEM_TX 27
#define MODEM_RX 26
#define I2C_SDA 21
#define I2C_SCL 22
#define OUTPUT_1 2
#define OUTPUT_2 15
uint32_t lastReconnectAttempt = 0;
// I2C for SIM800 (to keep it running when powered from battery)
TwoWire I2CPower = TwoWire(0);
TwoWire I2CBME = TwoWire(1);
#define IP5306_ADDR 0x75
#define IP5306_REG_SYS_CTL0 0x00
float temperature = 0;
float humidity = 0;
long lastMsg = 0;
bool setPowerBoostKeepOn(int en){
I2CPower.beginTransmission(IP5306_ADDR);
I2CPower.write(IP5306_REG_SYS_CTL0);
if (en) {
I2CPower.write(0x37); // Set bit1: 1 enable 0 disable boost keep on
} else {
I2CPower.write(0x35); // 0x37 is default reg value
}
return I2CPower.endTransmission() == 0;
}
void mqttCallback(char* topic, byte* message, unsigned int len) {
Serial.print("Message arrived on topic: ");
Serial.print(topic);
Serial.print(". Message: ");
String messageTemp;
for (int i = 0; i < len; i++) {
Serial.print((char)message[i]);
messageTemp += (char)message[i];
}
Serial.println();
// Feel free to add more if statements to control more GPIOs with MQTT
// If a message is received on the topic esp/output1, you check if the message is either "true" or "false".
// Changes the output state according to the message
if (String(topic) == "esp/output1") {
Serial.print("Changing output to ");
if(messageTemp == "true"){
Serial.println("true");
digitalWrite(OUTPUT_1, HIGH);
}
else if(messageTemp == "false"){
Serial.println("false");
digitalWrite(OUTPUT_1, LOW);
}
}
else if (String(topic) == "esp/output2") {
Serial.print("Changing output to ");
if(messageTemp == "true"){
Serial.println("true");
digitalWrite(OUTPUT_2, HIGH);
}
else if(messageTemp == "false"){
Serial.println("false");
digitalWrite(OUTPUT_2, LOW);
}
}
}
boolean mqttConnect() {
SerialMon.print("Connecting to ");
SerialMon.print(broker);
// Connect to MQTT Broker without username and password
boolean status = mqtt.connect("GsmClientN");
if (status == false) {
SerialMon.println(" fail");
ESP.restart();
return false;
}
SerialMon.println(" success");
mqtt.subscribe(topicOutput1);
mqtt.subscribe(topicOutput2);
return mqtt.connected();
}
void setup() {
// Set console baud rate
SerialMon.begin(115200);
delay(10);
// Keep power when running from battery
bool isOk = setPowerBoostKeepOn(1);
SerialMon.println(String("IP5306 KeepOn ") + (isOk ? "OK" : "FAIL"));
// Set modem reset, enable, power pins
pinMode(MODEM_PWKEY, OUTPUT);
pinMode(MODEM_RST, OUTPUT);
pinMode(MODEM_POWER_ON, OUTPUT);
digitalWrite(MODEM_PWKEY, LOW);
digitalWrite(MODEM_RST, HIGH);
digitalWrite(MODEM_POWER_ON, HIGH);
pinMode(OUTPUT_1, OUTPUT);
pinMode(OUTPUT_2, OUTPUT);
SerialMon.println("Wait...");
// Set GSM module baud rate and UART pins
SerialAT.begin(115200, SERIAL_8N1, MODEM_RX, MODEM_TX);
delay(6000);
// Restart takes quite some time
// To skip it, call init() instead of restart()
SerialMon.println("Initializing modem...");
modem.restart();
// modem.init();
String modemInfo = modem.getModemInfo();
SerialMon.print("Modem Info: ");
SerialMon.println(modemInfo);
// Unlock your SIM card with a PIN if needed
if ( GSM_PIN && modem.getSimStatus() != 3 ) {
modem.simUnlock(GSM_PIN);
}
SerialMon.print("Connecting to APN: ");
SerialMon.print(apn);
if (!modem.gprsConnect(apn, gprsUser, gprsPass)) {
SerialMon.println(" fail");
ESP.restart();
}
else {
SerialMon.println(" OK");
}
if (modem.isGprsConnected()) {
SerialMon.println("GPRS connected");
}
// MQTT Broker setup
mqtt.setServer(broker, 1883);
mqtt.setCallback(mqttCallback);
Blynk.begin(auth, modem, apn, gprsUser, gprsUser);
}
void loop() {
if (!mqtt.connected()) {
SerialMon.println("=== MQTT NOT CONNECTED ===");
// Reconnect every 10 seconds
uint32_t t = millis();
if (t - lastReconnectAttempt > 10000L) {
lastReconnectAttempt = t;
if (mqttConnect()) {
lastReconnectAttempt = 0;
}
}
delay(100);
return;
}
long now = millis();
if (now - lastMsg > 30000) {
lastMsg = now;
// Temperature in Celsius
temperature = 10;
// Uncomment the next line to set temperature in Fahrenheit
// (and comment the previous temperature line)
//temperature = 1.8 * bme.readTemperature() + 32; // Temperature in Fahrenheit
// Convert the value to a char array
char tempString[8];
dtostrf(temperature, 1, 2, tempString);
Serial.print("Temperature: ");
Serial.println(tempString);
mqtt.publish(topicTemperature, tempString);
humidity = 20;
// Convert the value to a char array
char humString[8];
dtostrf(humidity, 1, 2, humString);
Serial.print("Humidity: ");
Serial.println(humString);
mqtt.publish(topicHumidity, humString);
}
mqtt.loop();
Blynk.run();
}
Thank you in advance!