Thanks to @vshymanskyy and Blynk’s latest guide on Node.js installation for Linux: http://help.blynk.cc/hardware-and-libraries/node-js/how-to-install-nodejs-library-on-linux
Since my RPi is older, like me  I did have to use the Manual Node.js installation method.
I was finally able to make some headway into utilising Blynk (Node.js method) on my RPi B ver2. But I did run into a few obstacles with regards to the use of my Local Server, so here are some additional pointers for others.
First off… For unknown reasons, I am unable to run Blynk… er, globally I guess… as the following Cloud based startup just instantly kicks me back to the CLI without error or Blynk satisfaction.

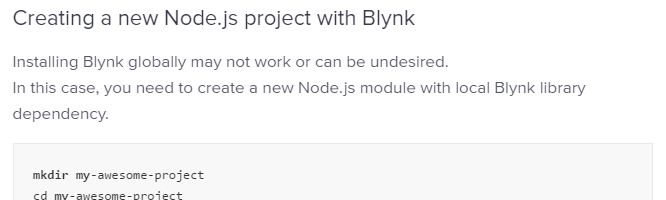
So, onto the alternative method: Creating a new Node.js module with local Blynk library dependency… as documented mid-way through the guide:
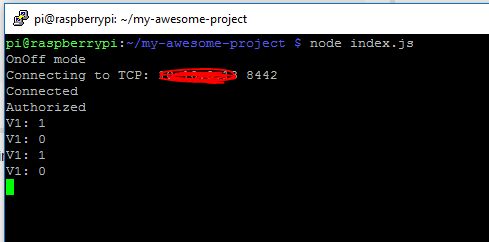
This works just fine with Cloud Server… However, I want to utilise my Local Server. So here is the modifications needed to both link to the correct server IP but also in TCP mode, as there is some issue with the default SSL connection, as shown in this typical error:
Connecting to: XXX.XXX.XXX.XXX 8442
SSL authorization...
SSL not authorized
So after digging thru the forums and github, here is what appears to be the full and correct syntax to place within your main script file index.js (and in case you are new to Linux, that means using an editor to create this file and place your code into it. I use nano for my RPi file editing pleasures).
var blynk = new Blynk.Blynk(AUTH, options = { connector : new Blynk.TcpClient( options = { addr:"xxx.xxx.xxx.xxx", port:8442 } ) });

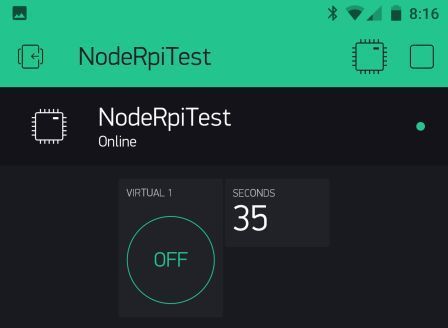
Then after creating a project in my app with a Button on V1 and a Display on V9 and pasting the generated AUTH into my above shown script, I have reached a minor level of success with Blynk, Node.js, my aged RPi and Local Server