I was looking to use +/- for step button and I was not able to do it. I also found it difficult to work with 1.0 /-1.0 values.
@rotarucosminleonard, i do not understand what you mean, please elaborate.
also, the “widget ideas” is not the proper category, so i changed it to “need help with my project”.
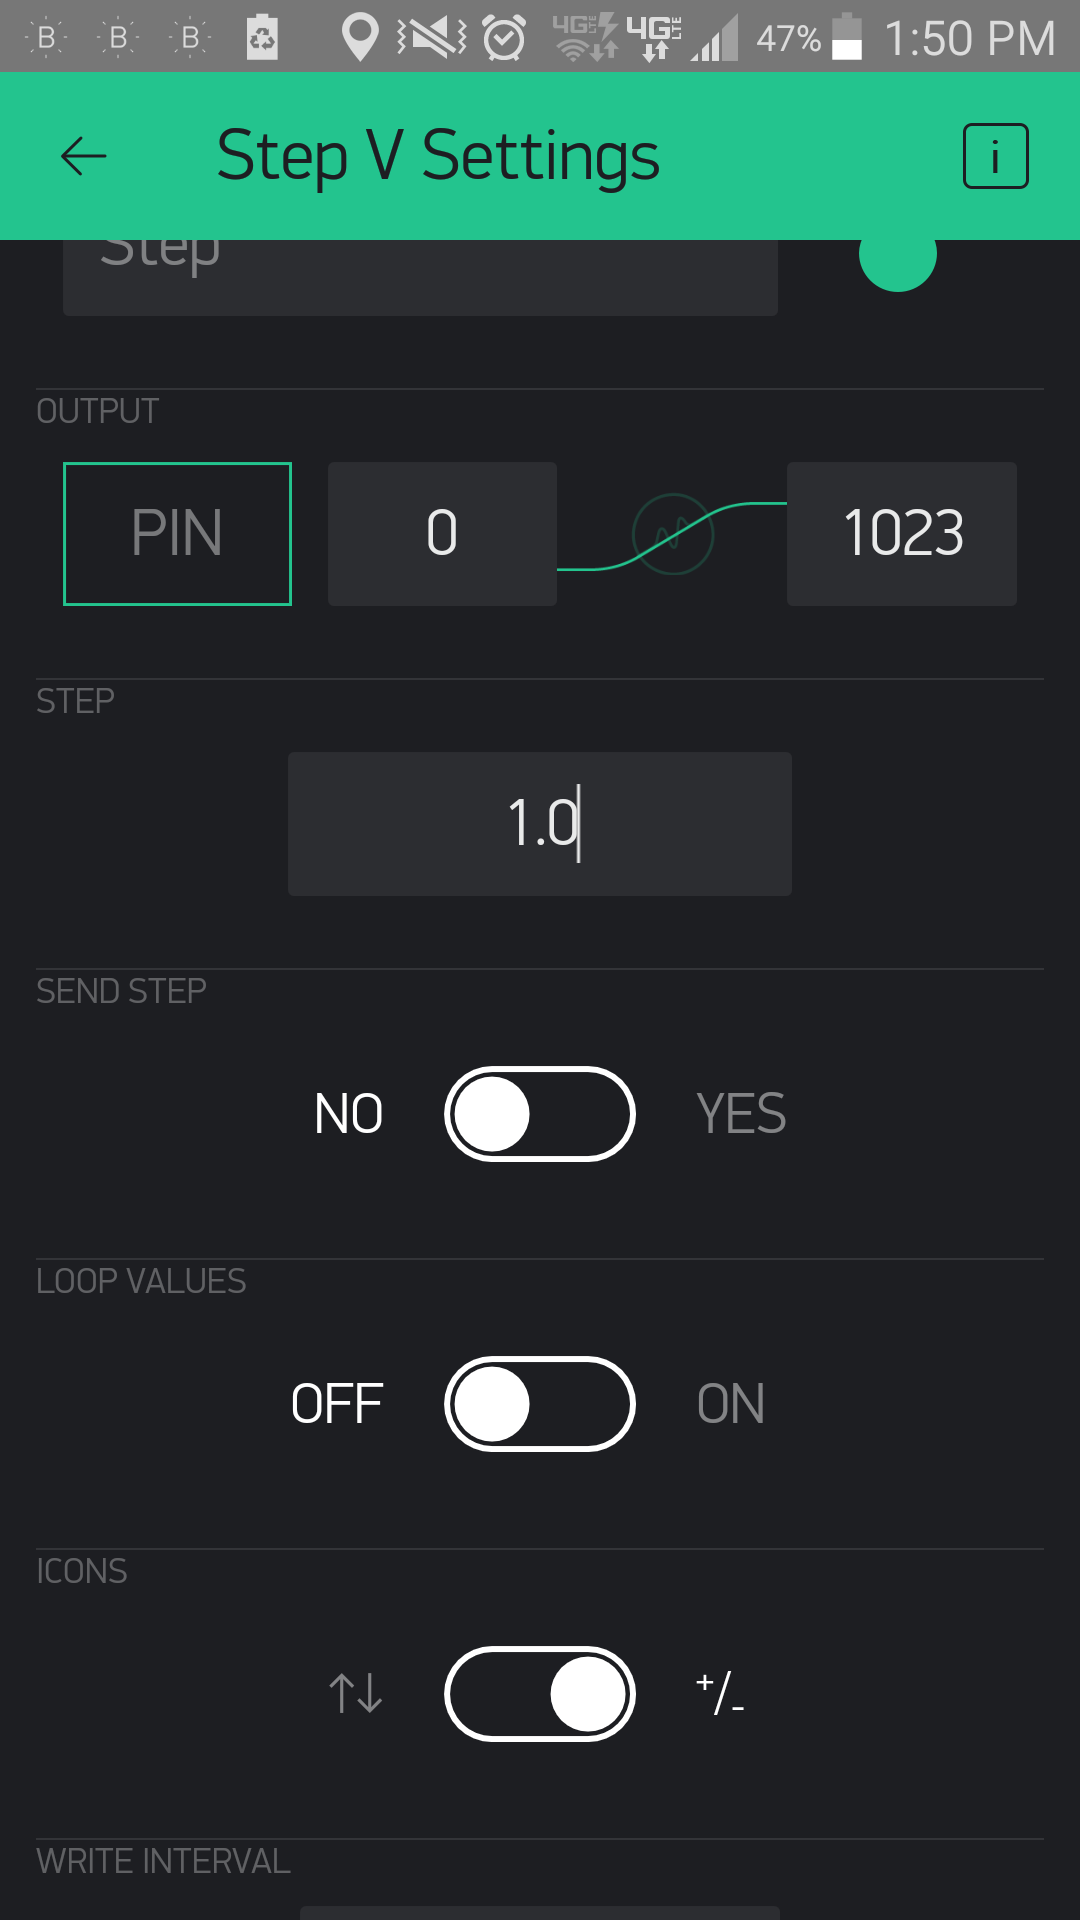
The +/- option is already available.
You can also adjust the amount it steps.
On Android platform at least.
instead of sending steps like 1.0 and -1.0 to change a value, it might be usefull to have just characters like + for increasing and - for decreasing. Also, is there any way to send the value without decimal part.
that’s only for the label, not for the data sent. same thing for simple button.
Hmm, so you are saying you want to send a + or - to your hardware, not a numerical value? Not sure I see a reason for this. I would think you could manipulate your code to handle the numerical values easier then symbols.
Maybe I am missing something here, or not quite understanding what you are trying to accomplish.
int stepperValue = param.asInt();
if (stepperValue == ‘1’)
{
tempset++;
Serial.print(tempset);
}
else if (stepperValue == ‘-1’)
{
tempset–;
Serial.print(tempset);
}
you’re right, but i’m missing something here.
It does not match any of the values received. stepperValue takes the right value, but it does not match with the expected one for comparision
not really, because than you should hardcode the values for + and - on hw side. thus, every time one would like to edit the steps, it should upload new firmware.
i do not see the reason why the decimals are bothering you? in the code you can convert the data to what ever variable you want: parameter as int or parameter as float, or parameter as string, etc. study the docs and the code examples for step widget.
sure, because you have stepper value as int and you try to compare with a string! remove the quotes from the numbers!
also, the logic you try to use is not good, because the step widget will send the actual value you will see on the widget. so, there is no need for the if else conditions at all. you just have to write:
tempset = param.asInt();
thats all you need. and of course, declare tempset as global, otherwise no use for it.
thank you so much! it worked with if/else perfectly.
then I tried the simple way as you said and I failed ![]() .
.
it crashes when i’m putting : Blynk.syncVirtual(V13); in the setup .
BLYNK_CONNECTED(){
Blynk.syncVirtual(V15);
}BLYNK_WRITE(V15) // ajust tempset by app buttons
{
int stepperValue = param.asInt();
if (stepperValue == 1)
{
tempset++;
Blynk.virtualWrite(V13, tempset);
Serial.println(tempset);
displayData();
}
else if (stepperValue == -1)
{
tempset–;
Blynk.virtualWrite(V13, tempset);
Serial.println(tempset);
displayData();
}
// process received value
// Blynk.virtualWrite(V13, tempset);
Serial.println(param.asInt());
Serial.println(stepperValue);
}
@rotarucosminleonard There are many ways to use the Step Value Widget…
1) As a direct value (SEND STEP NO) determined by your settings in the STEP field. Here you can use decimals, if you want, for very high precision. e.g. 0.001 or just simple steps of say 10 each button press.
You can also adjust the MIN-MAX range and go into negative numbers or whatever you want.

BLYNK_WRITE(V0) {  // STEP widget - Direct value based on range and step setting
  Blynk.virtualWrite(59, param.asInt());
}

2) As SEND STEP YES setting to give increment and decrement steps of 1 & -1 (or + - whatever STEP value you use) then your code can take that and do something with it.

BLYNK_WRITE(V60) {  // STEP widget - Increment/decrement value in step mode
  tempValue = tempValue + param.asInt();
  Blynk.virtualWrite(61, tempValue);
}

3) Also as SEND STEP YES but using different code type to translate the 1 & -1 into separate command functions of your choice.

BLYNK_WRITE(V62) {  // STEP widget - chose action based on step mode direction
  switch (param.asInt()) {
    case -1:
      // Use code to move your Robot left
      Blynk.virtualWrite(63, "Left");
      break;
    case 1:
      // Use code to move your Robot right
      Blynk.virtualWrite(63, "Right");
      break;
    default:
      // Do nothing
  }
}

1 Like
well, i never said that put blynk.syncvirtual in setup… but i already said in my earlier posts to read / understand the docs and study the example sketches, which you didn’t, apparently.