/**************************************************************
* Blynk is a platform with iOS and Android apps to control
* Arduino, Raspberry Pi and the likes over the Internet.
* You can easily build graphic interfaces for all your
* projects by simply dragging and dropping widgets.
*
* Downloads, docs, tutorials: http://www.blynk.cc
* Blynk community: http://community.blynk.cc
* Social networks: http://www.fb.com/blynkapp
* http://twitter.com/blynk_app
*
* Blynk library is licensed under MIT license
* This example code is in public domain.
*
**************************************************************
*
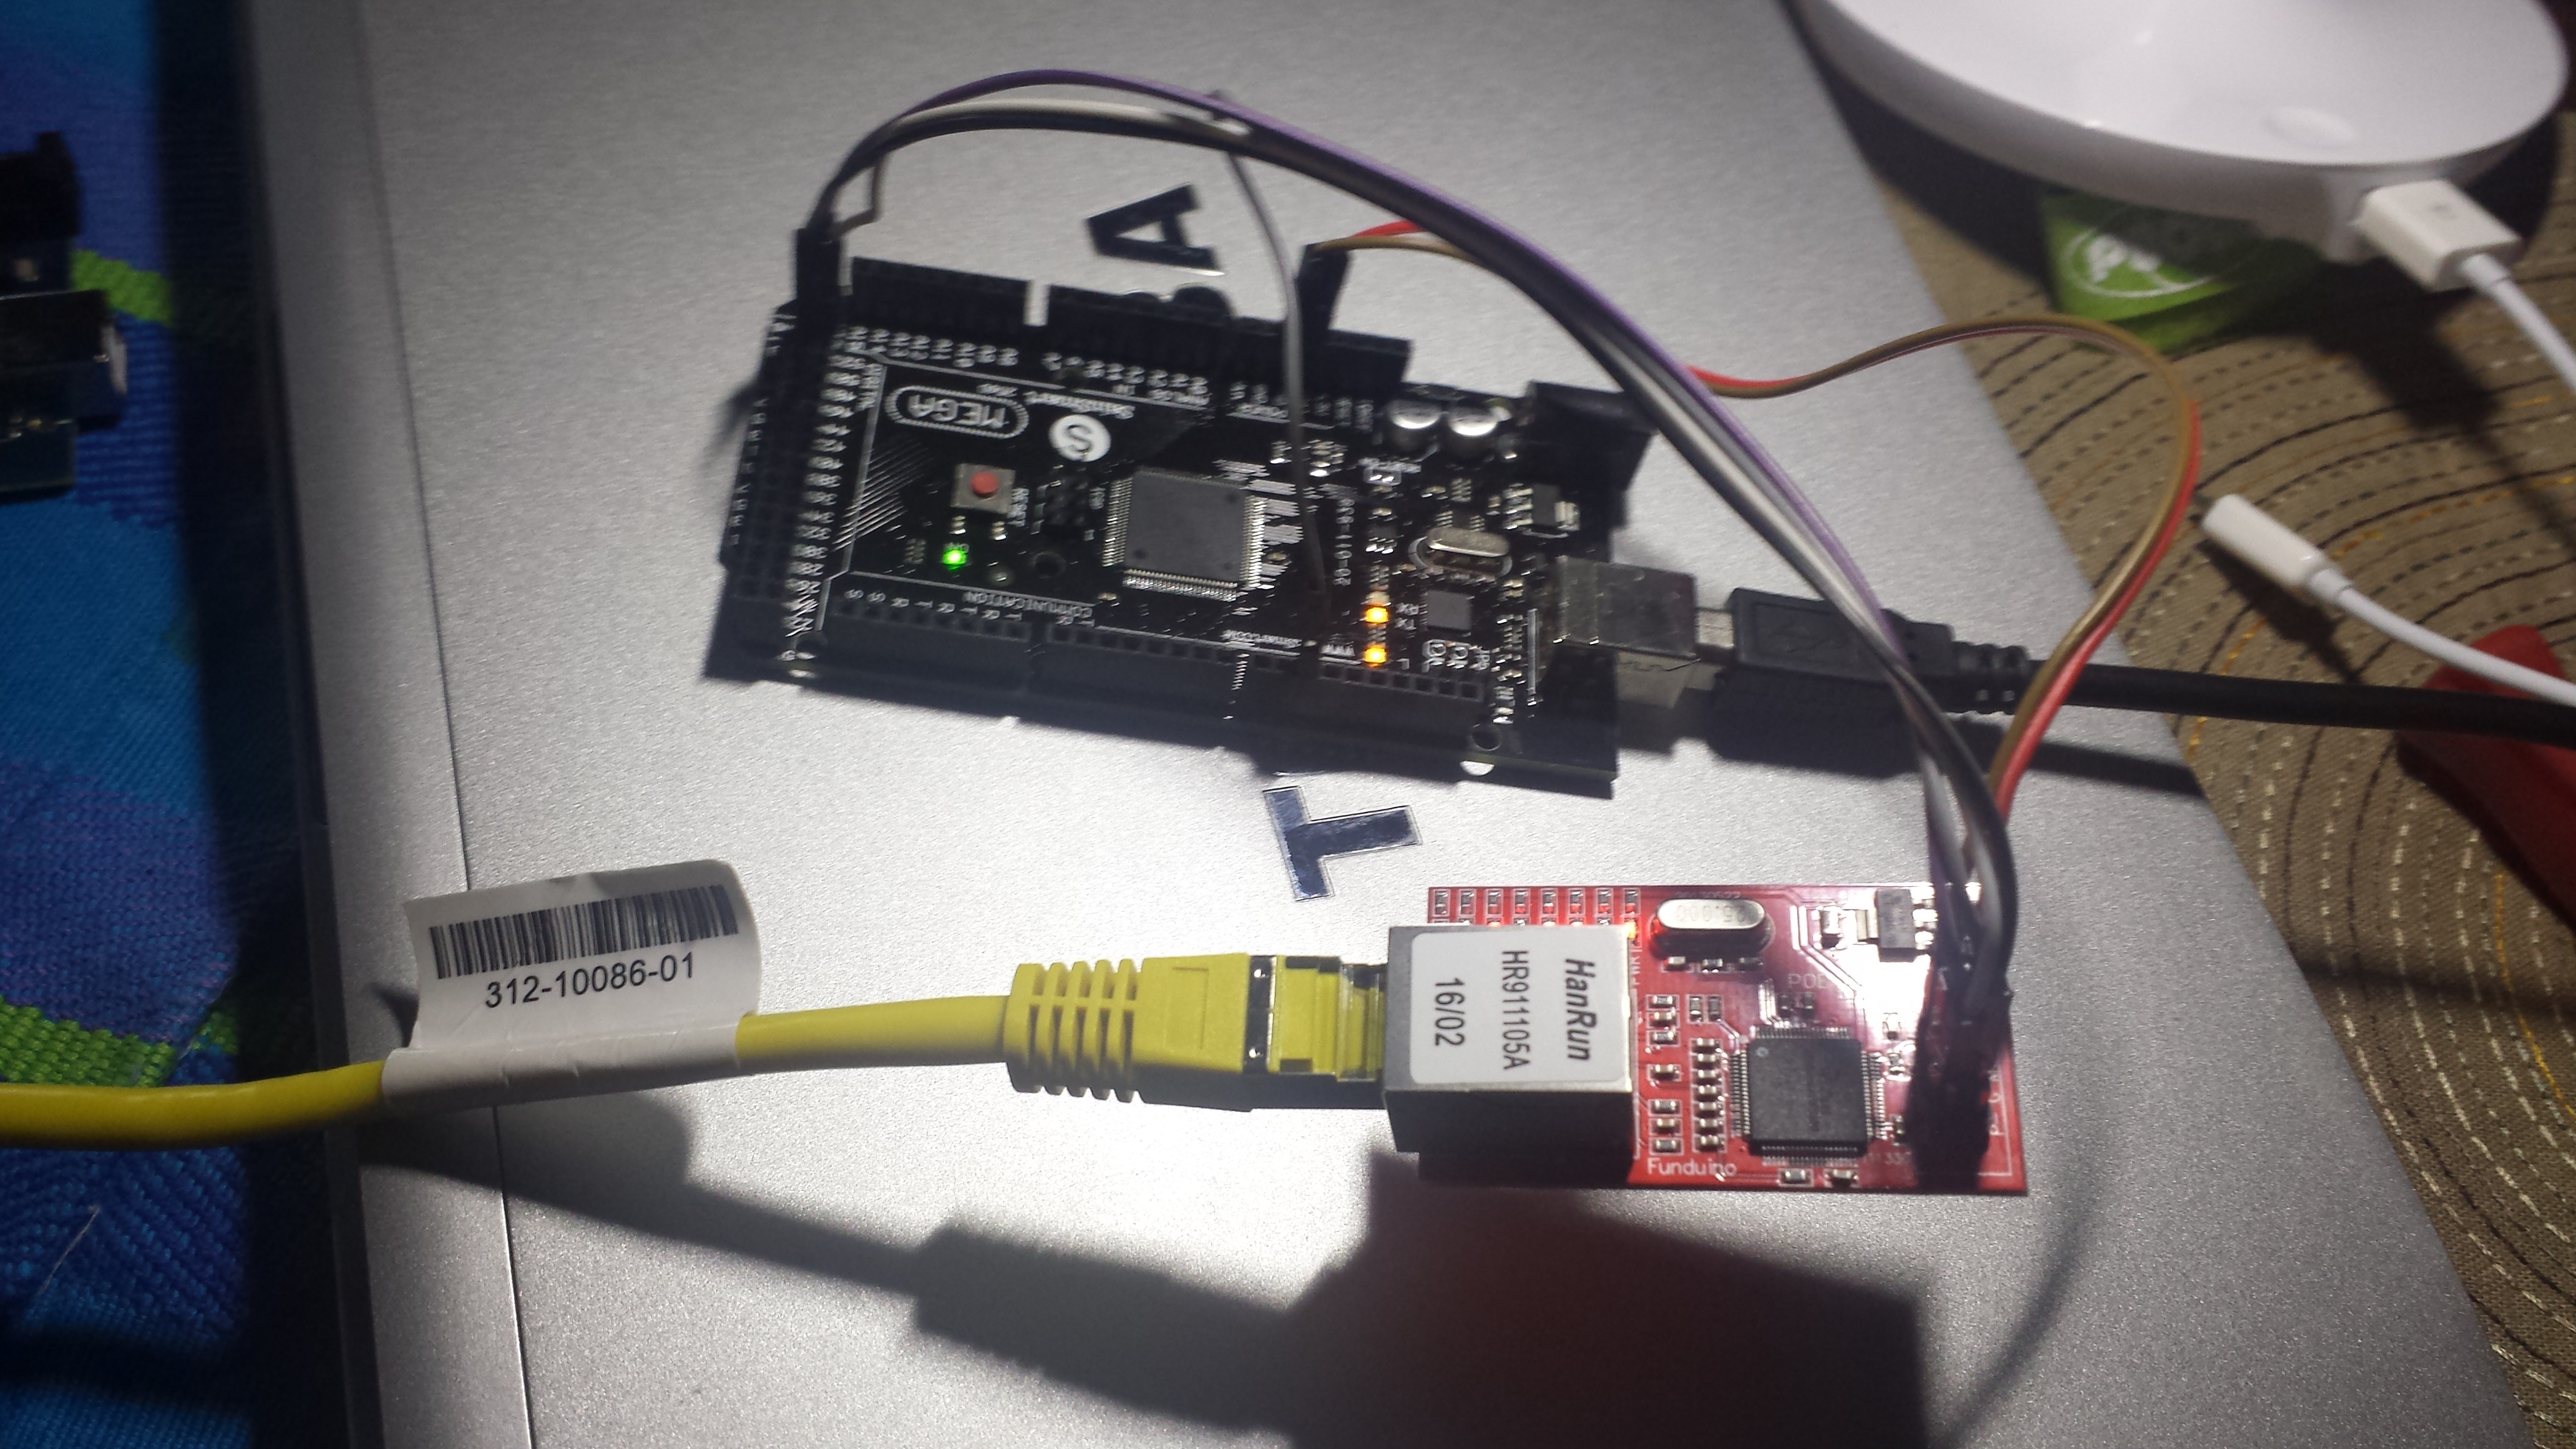
* This example shows how to use Arduino Ethernet shield (W5100)
* to connect your project to Blynk.
* Feel free to apply it to any other example. It's simple!
*
* NOTE: Pins 10, 11, 12 and 13 are reserved for Ethernet module.
* DON'T use them in your sketch directly!
*
**************************************************************/
#define BLYNK_DEBUG
#define BLYNK_PRINT Serial // Comment this out to disable prints and save space
#include <SPI.h>
#include <Ethernet.h>
#include <BlynkSimpleEthernet.h>
// You should get Auth Token in the Blynk App.
// Go to the Project Settings (nut icon).
char auth[] = "xxx";
void setup()
{
Serial.begin(9600);
//Blynk.begin(auth);
// You can also specify server.
// For more options, see BoardsAndShields/Arduino_Ethernet_Manual example
//Blynk.begin(auth, "your_server.com", 8442);
Blynk.begin(auth, IPAddress(192,168,0,177), 8442);
}
void loop()
{
Blynk.run();
}
and
/**************************************************************
 * Blynk is a platform with iOS and Android apps to control
 * Arduino, Raspberry Pi and the likes over the Internet.
 * You can easily build graphic interfaces for all your
 * projects by simply dragging and dropping widgets.
 *
 *   Downloads, docs, tutorials: http://www.blynk.cc
 *   Blynk community:            http://community.blynk.cc
 *   Social networks:            http://www.fb.com/blynkapp
 *                               http://twitter.com/blynk_app
 *
 * Blynk library is licensed under MIT license
 * This example code is in public domain.
 *
 **************************************************************
 * This example shows how to configure static IP with Ethernet.
 * Be sure to check ordinary Ethernet example first!!!
 *
 * NOTE: Pins 10, 11, 12 and 13 are reserved for Ethernet module.
 *       DON'T use them in your sketch directly!
 *
 **************************************************************/

#define BLYNK_PRINT Serial    // Comment this out to disable prints and save space
#include <SPI.h>
#include <Ethernet.h>
#include <BlynkSimpleEthernet.h>

// You should get Auth Token in the Blynk App.
// Go to the Project Settings (nut icon).
char auth[] = "xxx";

IPAddress server_ip (192, 168, 0, 1);

// Mac address should be different for each device in your LAN
byte arduino_mac[] = { 0xDE, 0xED, 0xBA, 0xFE, 0xFE, 0xED };
IPAddress arduino_ip (192, 168, 0, 177);
IPAddress dns_ip     (192, 168, 0, 1);
IPAddress gateway_ip (192, 168, 0, 1);
IPAddress subnet_mask(255, 255, 255,   0);

void setup()
{
  Serial.begin(9600);
  Blynk.begin(auth, server_ip, 8442, arduino_ip, dns_ip, gateway_ip, subnet_mask, arduino_mac);
  // Or like this:
  //Blynk.begin(auth, "blynk-cloud.com", 8442, arduino_ip, dns_ip, gateway_ip, subnet_mask, arduino_mac);
}

void loop()
{
  Blynk.run();
}


