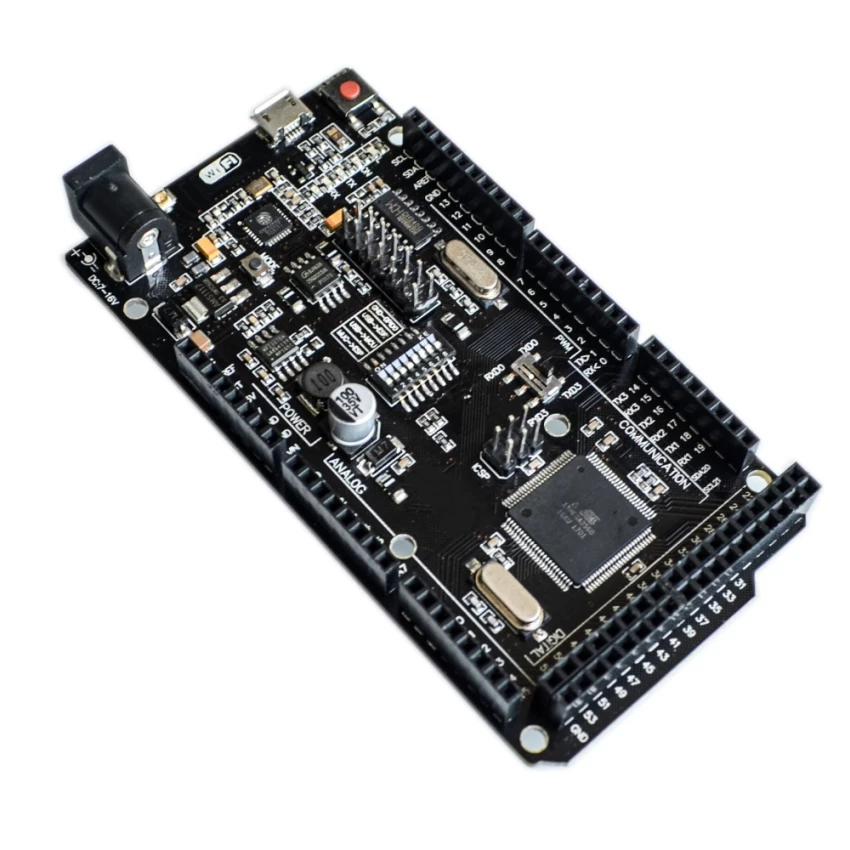
I’m a bit lost, I have the board Robotdyn Mega +WiFi R3 ATmega2560+ESP8266, and I can not even do the basics that would light the led 13 through the Blynk ios application.
I’ve seen these topics, but it was not much help WEMOS Mega +WiFi R3 ATmega2560+ESP8266
I also looked at these tests and worked perfectly all of them, testing the Arduino Mega 2560, ESP8266, and the two together. http://www.sysengineering.ru/blog/электроника-контроллер-arduino-mega-с-esp8266/
I have already put the Blynk example code of ESP8266_Standalone. Uploading to ESP only. (This Code)
#define BLYNK_PRINT Serial


#include <ESP8266WiFi.h>
#include <BlynkSimpleEsp8266.h>

char auth[] = "YourAuthToken";

char ssid[] = "YourNetworkName";
char pass[] = "YourPassword";

void setup()
{
  Serial.begin(9600);

  Blynk.begin(auth, ssid, pass);
}

void loop()
{
  Blynk.run();
}
And the result of the serial monitor was:
⸮EO⸮v⸮$rz⸮4C(r⸮[76] Connecting to Juninho
[3080] Connected to WiFi
[3080] IP: 192.168.0.24
[3080]
    ___  __          __
   / _ )/ /_ _____  / /__
  / _  / / // / _ \/  '_/
 /____/_/\_, /_//_/_/\_\
        /___/ v0.5.2 on Arduino

[3150] Connecting to blynk-cloud.com:80
[8150] Connecting to blynk-cloud.com:80
[8419] Ready (ping: 133ms).
But as I’m kinda lost I do not know what code to put in the Arduino Mega because what I put:
#define BLYNK_PRINT Serial


#include <ESP8266_Lib.h>
#include <BlynkSimpleShieldEsp8266.h>

// You should get Auth Token in the Blynk App.
// Go to the Project Settings (nut icon).
char auth[] = "YourAuthToken";

// Your WiFi credentials.
// Set password to "" for open networks.
char ssid[] = "YourNetworkName";
char pass[] = "YourPassword";

// Hardware Serial on Mega, Leonardo, Micro...
#define EspSerial Serial3

// or Software Serial on Uno, Nano...
//#include <SoftwareSerial.h>
//SoftwareSerial EspSerial(2, 3); // RX, TX

// Your ESP8266 baud rate:
#define ESP8266_BAUD 9600

ESP8266 wifi(&EspSerial);

void setup()
{
  // Debug console
  Serial.begin(9600);

  // Set ESP8266 baud rate
  EspSerial.begin(ESP8266_BAUD);
  delay(10);

  Blynk.begin(auth, wifi, ssid, pass);
  // You can also specify server:
  //Blynk.begin(auth, wifi, ssid, pass, "blynk-cloud.com", 8442);
  //Blynk.begin(auth, wifi, ssid, pass, IPAddress(192,168,1,100), 8442);
}

void loop()
{
  Blynk.run();
  // You can inject your own code or combine it with other sketches.
  // Check other examples on how to communicate with Blynk. Remember
  // to avoid delay() function!
}
Modifying only the line #define EspSerial Serial1 to #define EspSerial Serial3 in the two options Serial1 or Serial3, the result is the same on the serial monitor:
[9]
    ___  __          __
   / _ )/ /_ _____  / /__
  / _  / / // / _ \/  '_/
 /____/_/\_, /_//_/_/\_\
        /___/ v0.5.2 on Arduino Mega

[592] Connecting to Juninho
[1602] ESP is not responding
As I did not know what to try until I tried to update Firmware ESP8266, I do not know if this is related but every time I give the AT command I would receive this:
Ai-Thinker Technology Co. Ltd.

ready
AT

ERROR
AT+GMR

ERROR
Note: Even though I received this error in the AT command everything that was previously described is valid, because I have re-built all of these tests again to see if it gave the same result.
If anyone has any idea what I’m doing wrong or suggest some tuturial for me to follow. I appreciate it.

