Hi All,
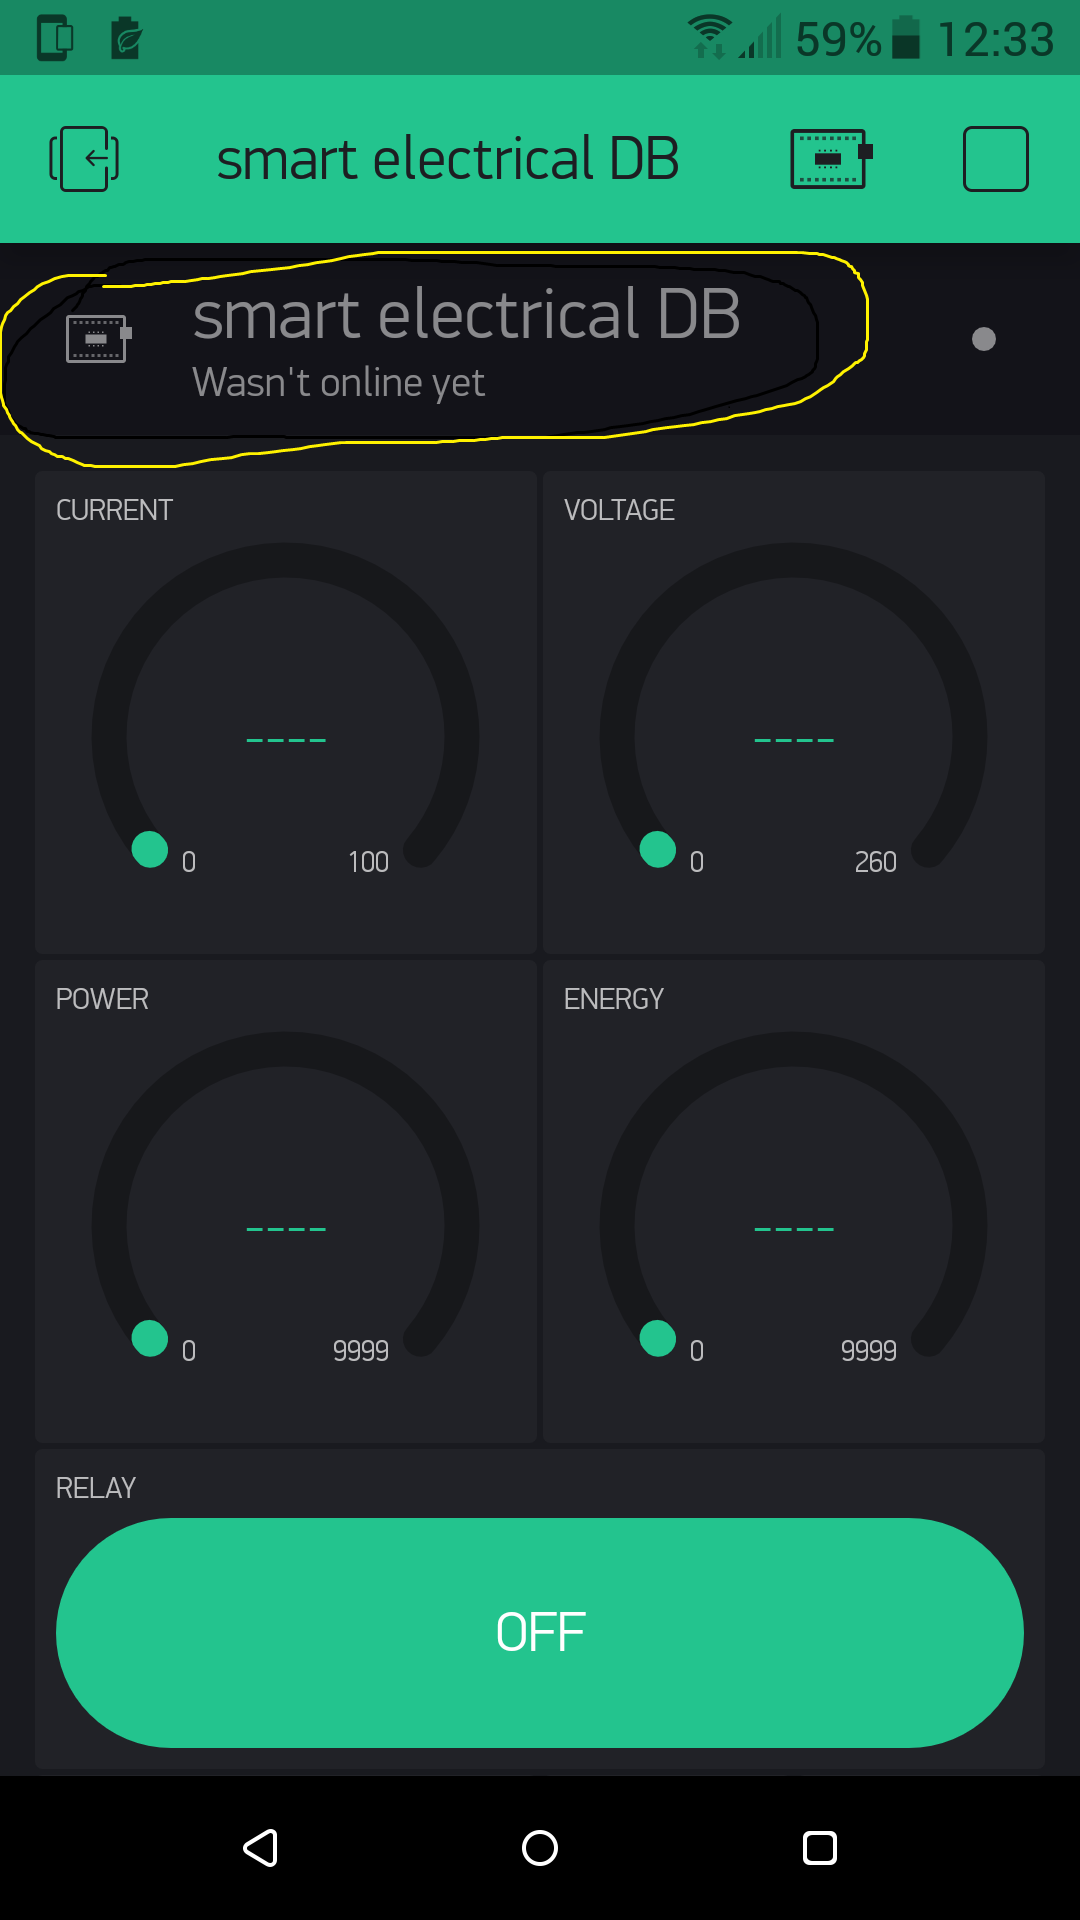
I’m a new member here. I need help to online my application. my application wasn’t online yet
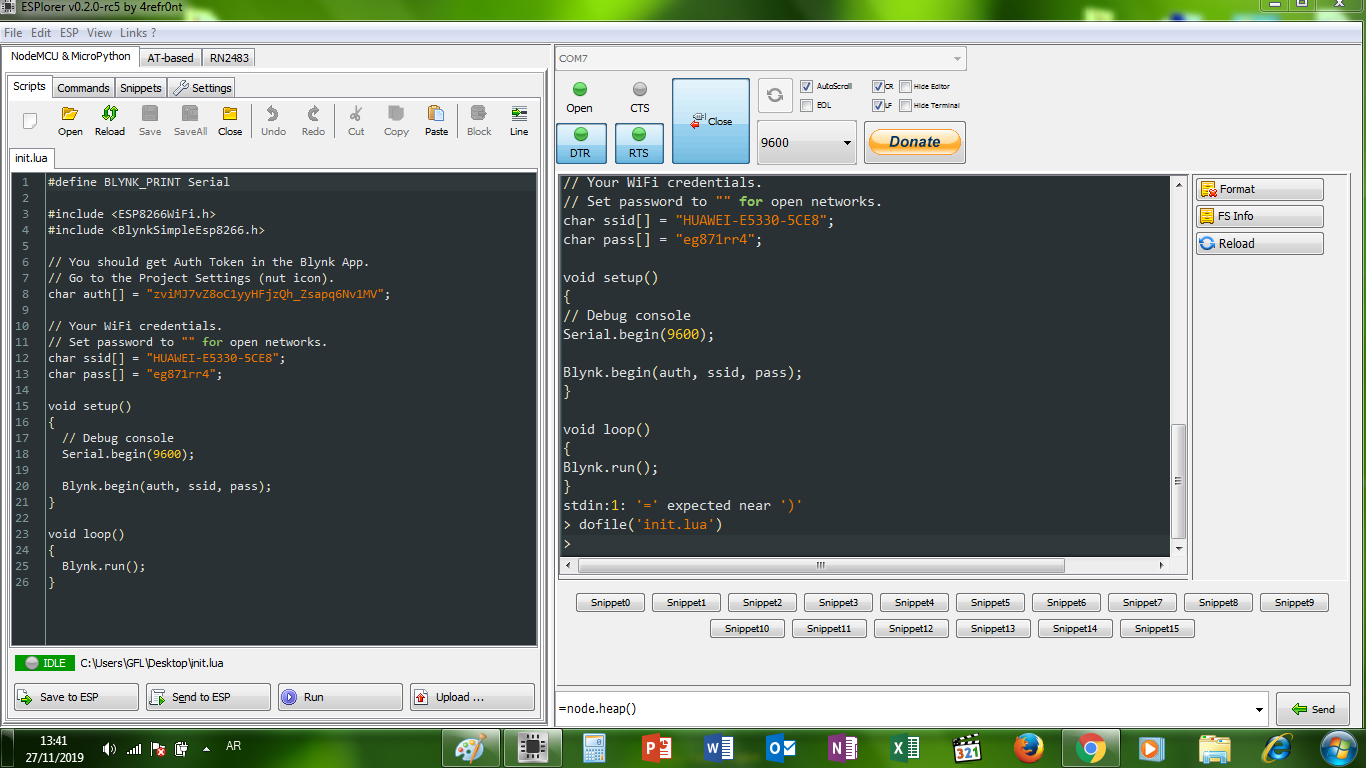
I used NodeMCU ESP 8266 and code as: #define BLYNK_PRINT Serial
#include <ESP8266WiFi.h>
#include <BlynkSimpleEsp8266.h>

// You should get Auth Token in the Blynk App.
// Go to the Project Settings (nut icon).
char auth[] = "zviMJ7vZ8oC1yyHFjzQh_Zsapq6Nv1MV";

// Your WiFi credentials.
// Set password to "" for open networks.
char ssid[] = "HUAWEI-E5330-5CE8";
char pass[] = "eg871rr4";

void setup()
{
  // Debug console
  Serial.begin(9600);

  Blynk.begin(auth, ssid, pass);
}

void loop()
{
  Blynk.run();
}
@MAZIN2020 please edit your post, using the pencil icon at the bottom of the post, and add triple backticks at the beginning and end of your code so that it displays correctly.
Triple backticks look like this:
```
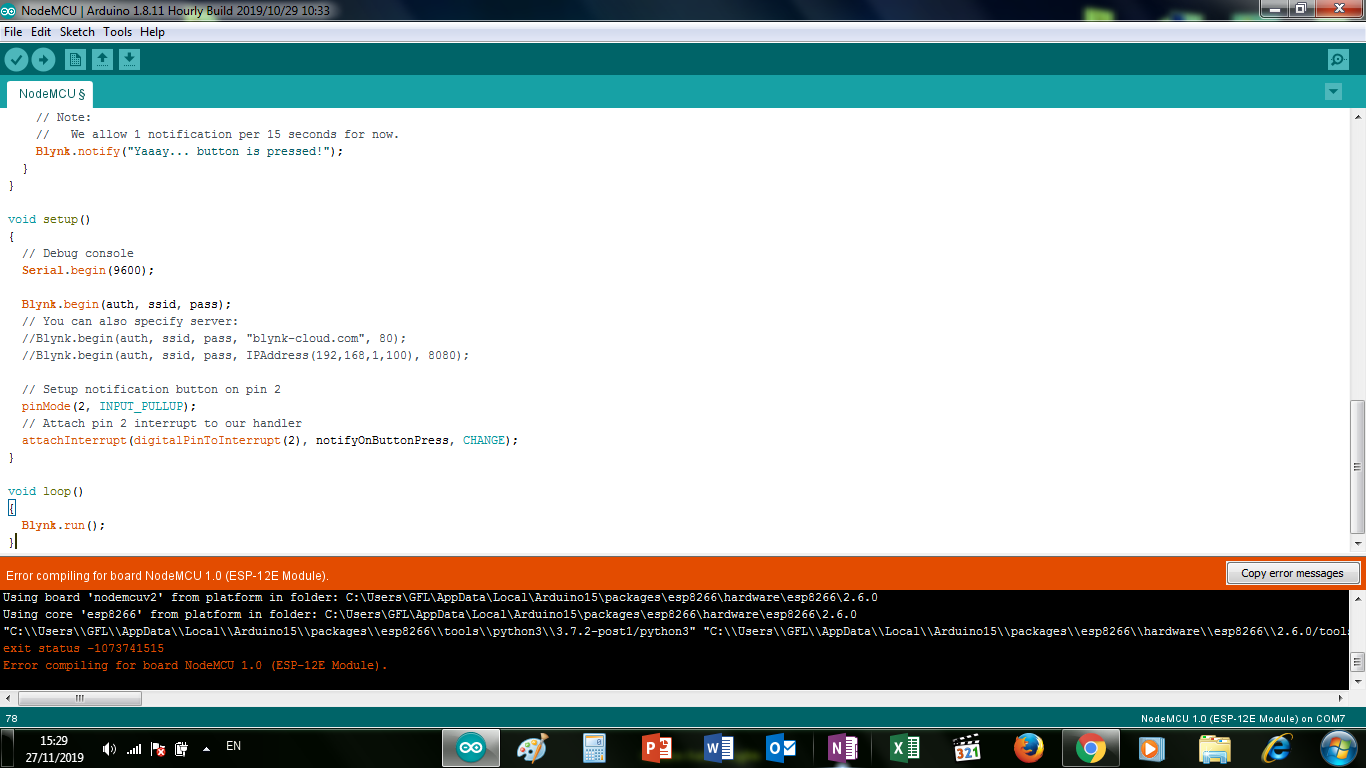
I have no idea what these screenshots are supposed to be showing.
I’d suggest that you install the latest version of the Arduino IDE, Blynk libraries and ESP core.
When you finally figure-out what a serial monitor is then copy and paste the results (with triple backticks at the beginning and end) rather than using screenshots.
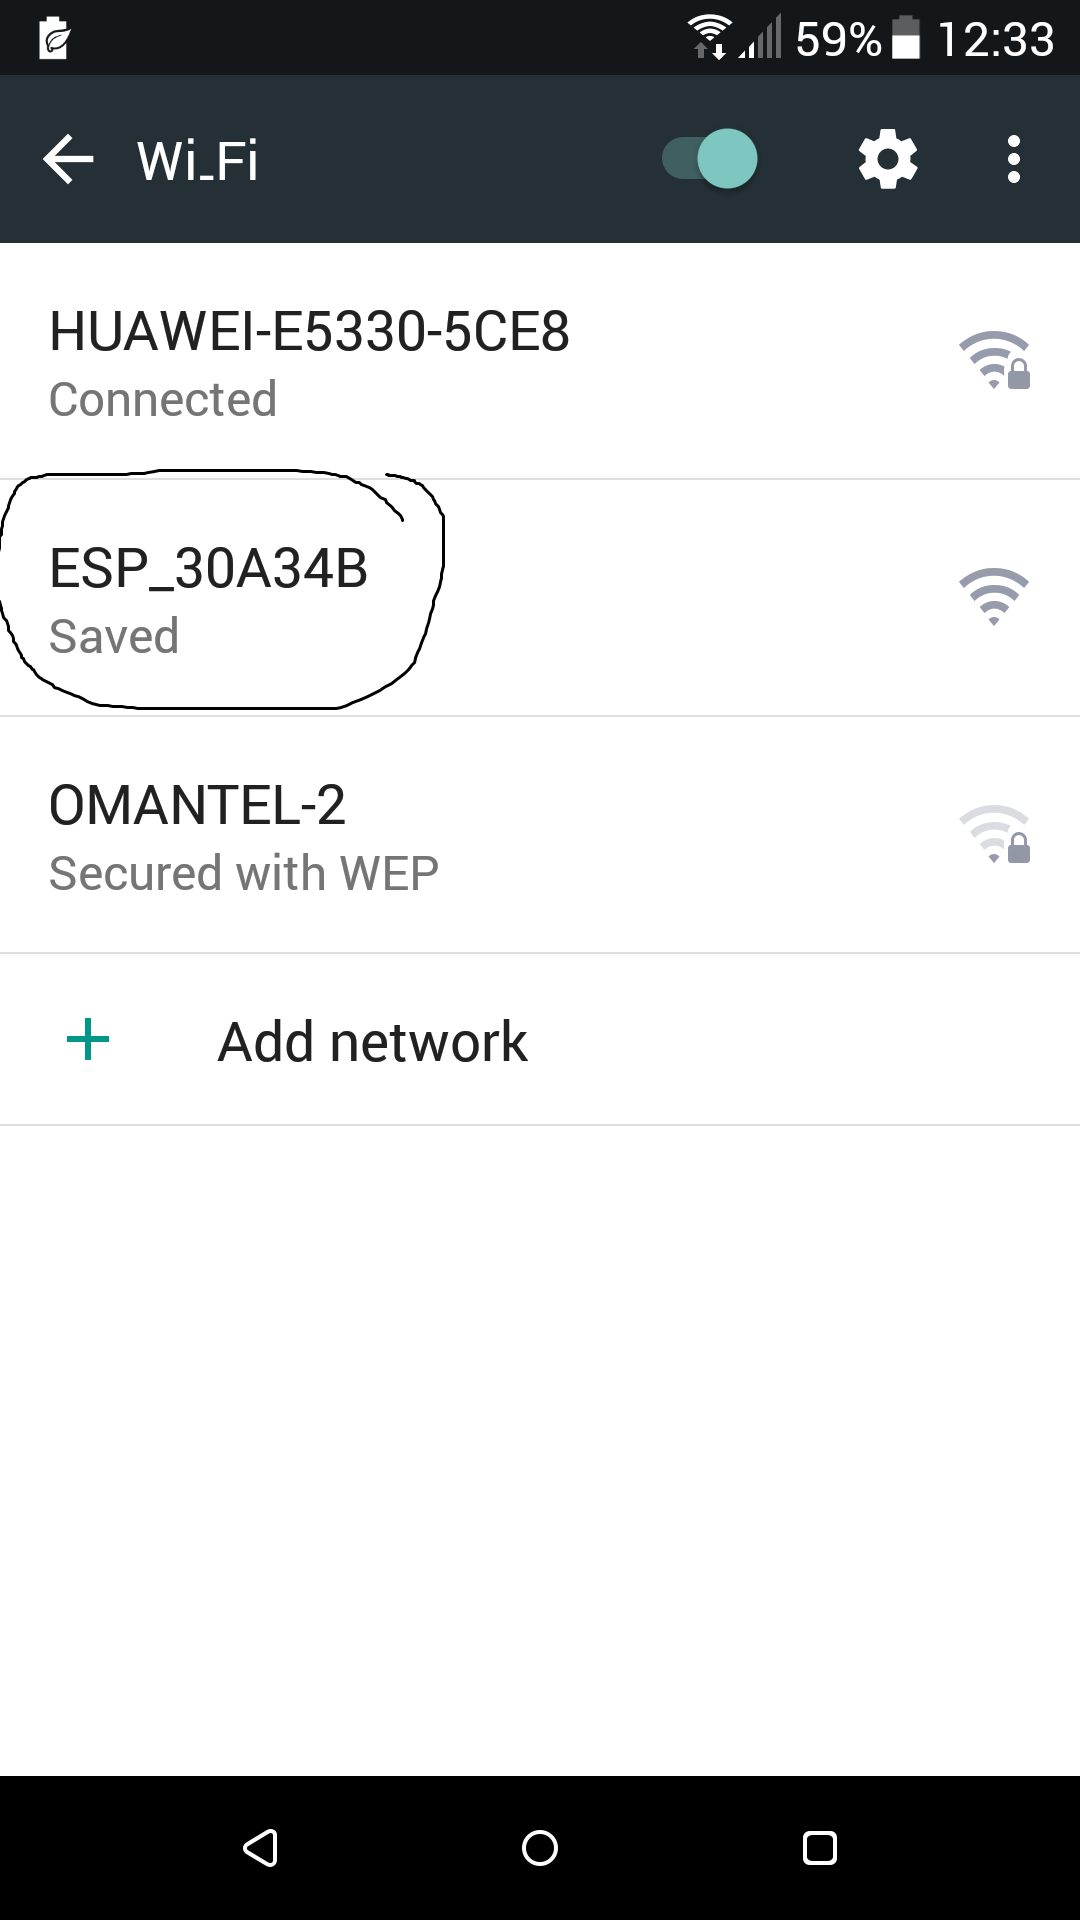
my problem, The NodeMCU is not connecting to my wifi router and show for my hard resetting via RTS pin
Download latest Blynk library here:
https://github.com/blynkkk/blynk-library/releases/latest
Blynk is a platform with iOS and Android apps to control
Arduino, Raspberry Pi and the likes over the Internet.
You can easily build graphic interfaces for all your
projects by simply dragging and dropping widgets.
Downloads, docs, tutorials: http://www.blynk.cc
Sketch generator: http://examples.blynk.cc
Blynk community: http://community.blynk.cc
Follow us: http://www.fb.com/blynkapp
http://twitter.com/blynk_app
Blynk library is licensed under MIT license
This example code is in public domain.
*************************************************************
This example runs directly on ESP8266 chip.
Note: This requires ESP8266 support package:
https://github.com/esp8266/Arduino
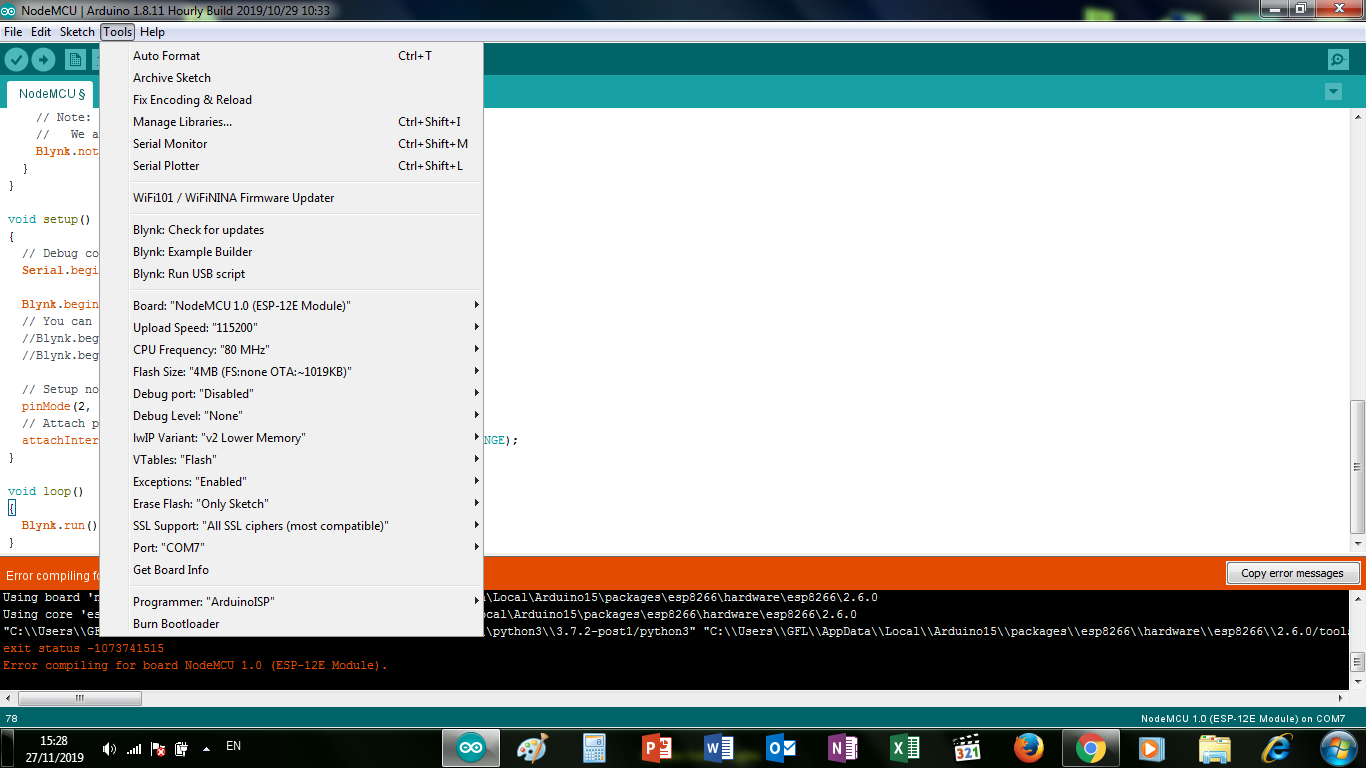
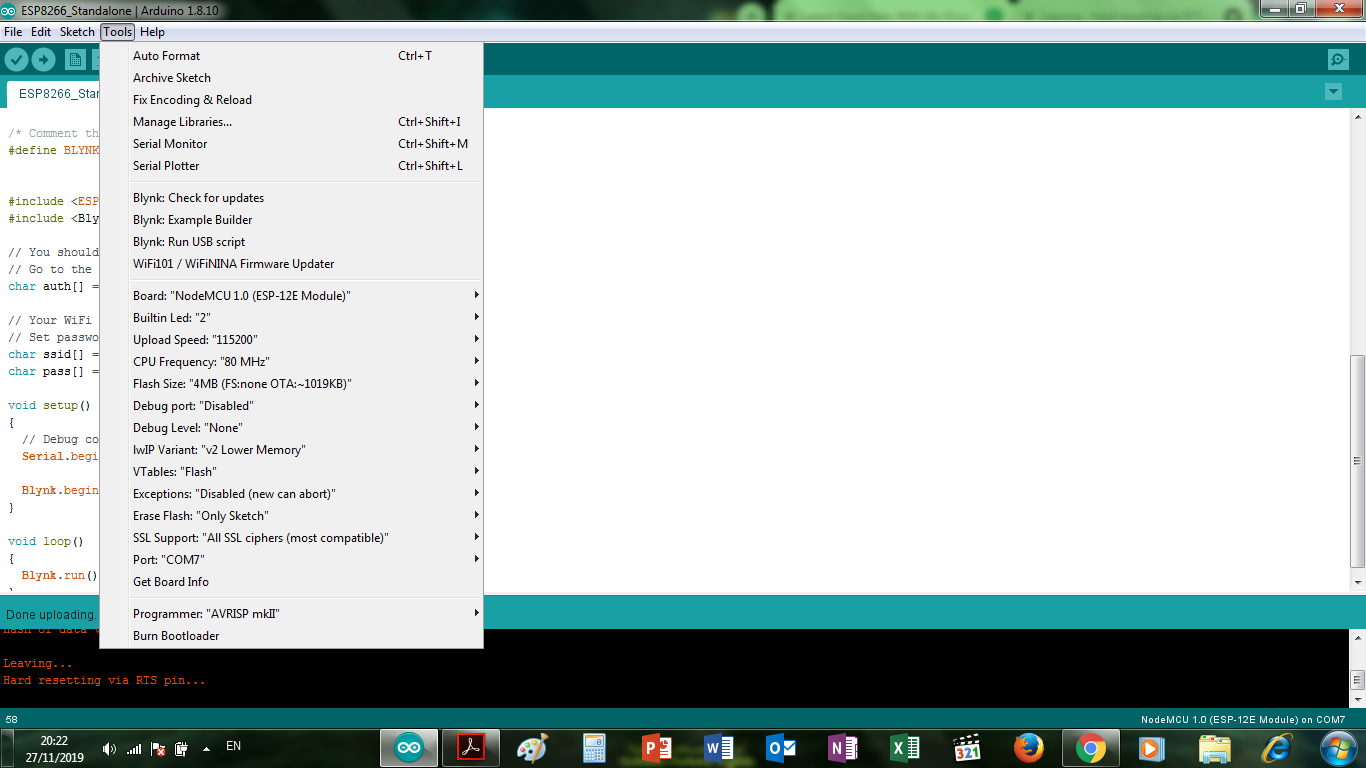
Please be sure to select the right ESP8266 module
in the Tools -> Board menu!
Change WiFi ssid, pass, and Blynk auth token to run :)
Feel free to apply it to any other example. It's simple!
*************************************************************/
/* Comment this out to disable prints and save space */
#define BLYNK_PRINT Serial
#include <ESP8266WiFi.h>
#include <BlynkSimpleEsp8266.h>
// You should get Auth Token in the Blynk App.
// Go to the Project Settings (nut icon).
char auth[] = "zviMJ7vZ8oC1yyHFjzQh_Zsapq6Nv1MV";
// Your WiFi credentials.
// Set password to "" for open networks.
char ssid[] = "HUAWEI-E5330-5CE8";
char pass[] = "eg871rr4";
void setup()
{
// Debug console
Serial.begin(115200);
Blynk.begin(auth, ssid, pass);
}
void loop()
{
Blynk.run();
}```
---------------------------------------------------------------------------------------------------------------------------
Executable segment sizes:
IROM : 247340 - code in flash (default or ICACHE_FLASH_ATTR)
IRAM : 27736 / 32768 - code in IRAM (ICACHE_RAM_ATTR, ISRs...)
DATA : 1308 ) - initialized variables (global, static) in RAM/HEAP
RODATA : 3068 ) / 81920 - constants (global, static) in RAM/HEAP
BSS : 25560 ) - zeroed variables (global, static) in RAM/HEAP
Sketch uses 279452 bytes (26%) of program storage space. Maximum is 1044464 bytes.
Global variables use 29936 bytes (36%) of dynamic memory, leaving 51984 bytes for local variables. Maximum is 81920 bytes.
esptool.py v2.8
Serial port COM7
Connecting....
Chip is ESP8266EX
Features: WiFi
Crystal is 26MHz
MAC: bc:dd:c2:30:a3:4b
Uploading stub...
Running stub...
Stub running...
Configuring flash size...
Auto-detected Flash size: 4MB
Compressed 283600 bytes to 205209...
Writing at 0x00000000... (7 %)
Writing at 0x00004000... (15 %)
Writing at 0x00008000... (23 %)
Writing at 0x0000c000... (30 %)
Writing at 0x00010000... (38 %)
Writing at 0x00014000... (46 %)
Writing at 0x00018000... (53 %)
Writing at 0x0001c000... (61 %)
Writing at 0x00020000... (69 %)
Writing at 0x00024000... (76 %)
Writing at 0x00028000... (84 %)
Writing at 0x0002c000... (92 %)
Writing at 0x00030000... (100 %)
Wrote 283600 bytes (205209 compressed) at 0x00000000 in 18.5 seconds (effective 122.4 kbit/s)...
Hash of data verified.
Leaving...
Hard resetting via RTS pin...
The best baud rate to use for your serial debugging is the native speed of the board. This will be either 74880 or 115200.
Choosing one of these speeds will show the board’s boot message when you press the reset button on the board.
Once you’ve established the native baud rate then change your serial.begin statement to the same rate and re-upload the code.
You’ll then be able to see both the board’s messages and the debug messages in the same serial monitor screen.
i selected speed for both 115200, shown in serial monitor
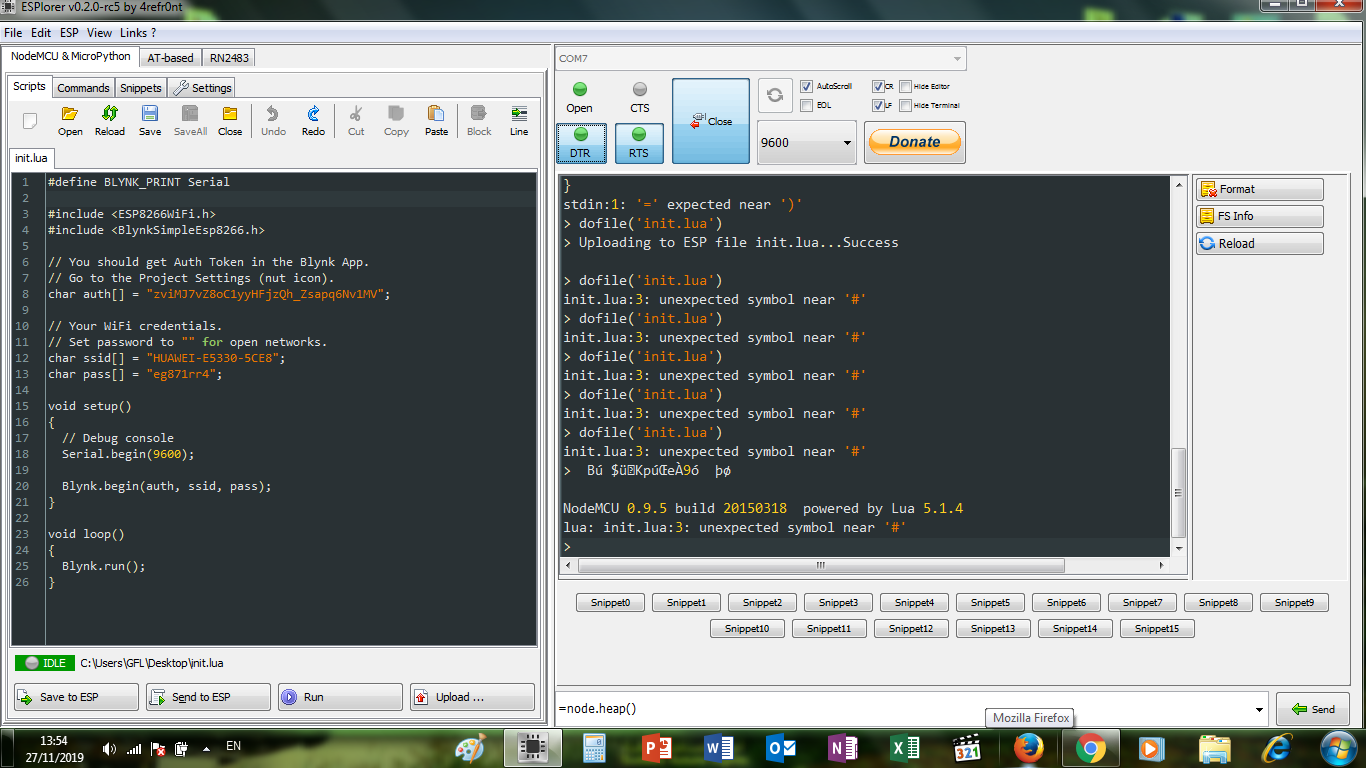
‘’’{⸮⸮⸮b⸮$܂⸮d⸮p⸮l⸮rl⸮⸮n⸮⸮B$`{⸮ndph[63] Connecting to HUAWEI-E5330-5CE8
‘’’
but unconnect to application.
So the unreadable characters at the beginning are your board’s boot message, but they don’t make sense because you’re using the wrong baud rate. Try 74880 instead, as I explained earlier.
If this is the full message that you’re getting then it seems that you aren’t managing to connect to your Wi-Fi.
SSID and password are both case sensitive and the NodeMCU only operates on the 2.4GHz band.
Keep changing serial monitor speeds (you don’t need to ch age the code until you find the correct speed) and press the reset button on the board. When you have the correct speed you’ll see the boot message from the board, instead of:
Once you have the speed that shows this in plain English then change the code to match that speed.