You have to put those files where the server.jar file, but yes, WinSCP or Filezilla will do that.
1 Like
One more question, in the bottom of server.properties is the following block. Should I change the default email and PW to my created project credentials, or will the Pi merely look in the mail.properties file for that info?
# default admin name and password. that will be created on initial server start
admin.email=admin@blynk.cc
admin.pass=admin
Edit - I used THIS VIDEO TUTORIAL to connect to the Pi with WinSCP and am linking it for the next reader’s benefit. I only mention that because I didn’t know the Pi was to remain powered and connected to access the directories.
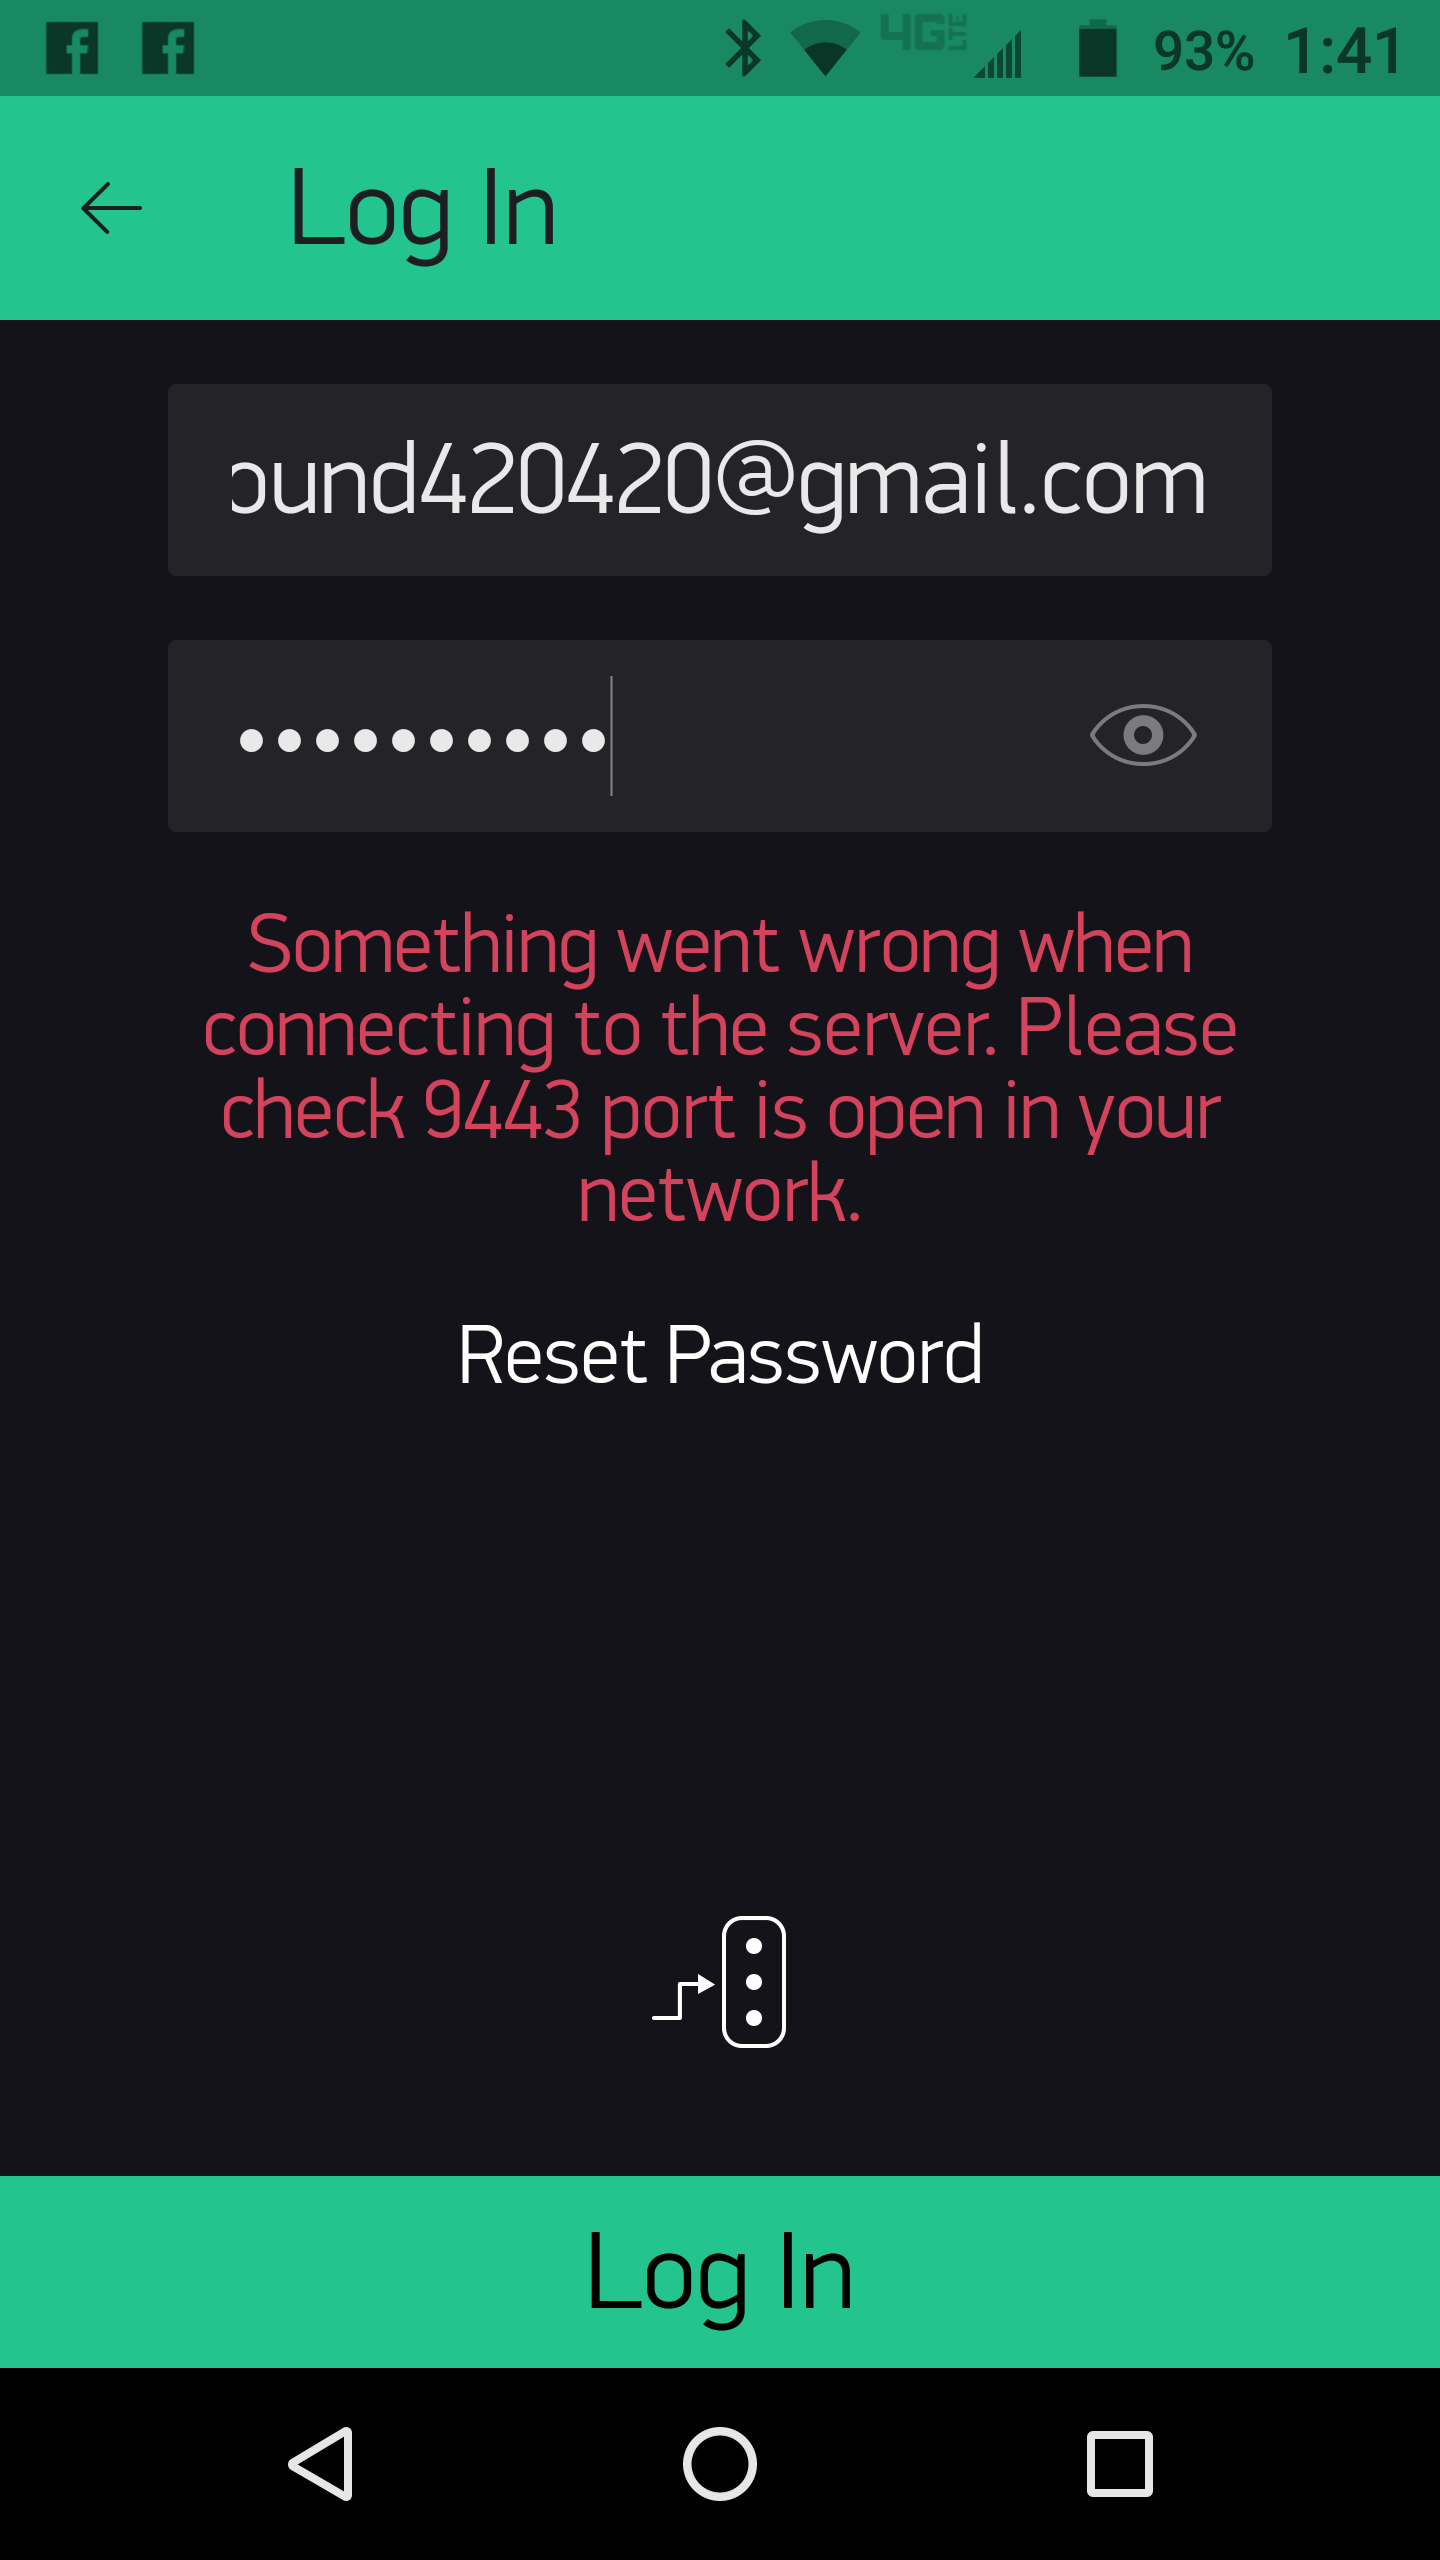
I’m still not able to login to the app with the credentials that are used in the mail.properties file.
First, have you created that user account … through the App. May not explain the connection error, but first things first ![]()
The server properties files are not how you create a user account, only for setting up an administrator account and email service.
No, I created the account from my PC to take advantage of the physical keyboard. Is it a prerequisite to create the account “through” the app? If yes, I presume I’ll need to alter the credentials is the mail.properties file?
Yes… since you could theoretically have thousands of different accounts on your one server.
Whatever credentials you put there are the servers “administrative” email service… that sends all those theoretical thousands of user accounts the emails with their requested Auth tokens, CSV files, etc.
Generally for a single home user, it would be the same email address used for both ![]()
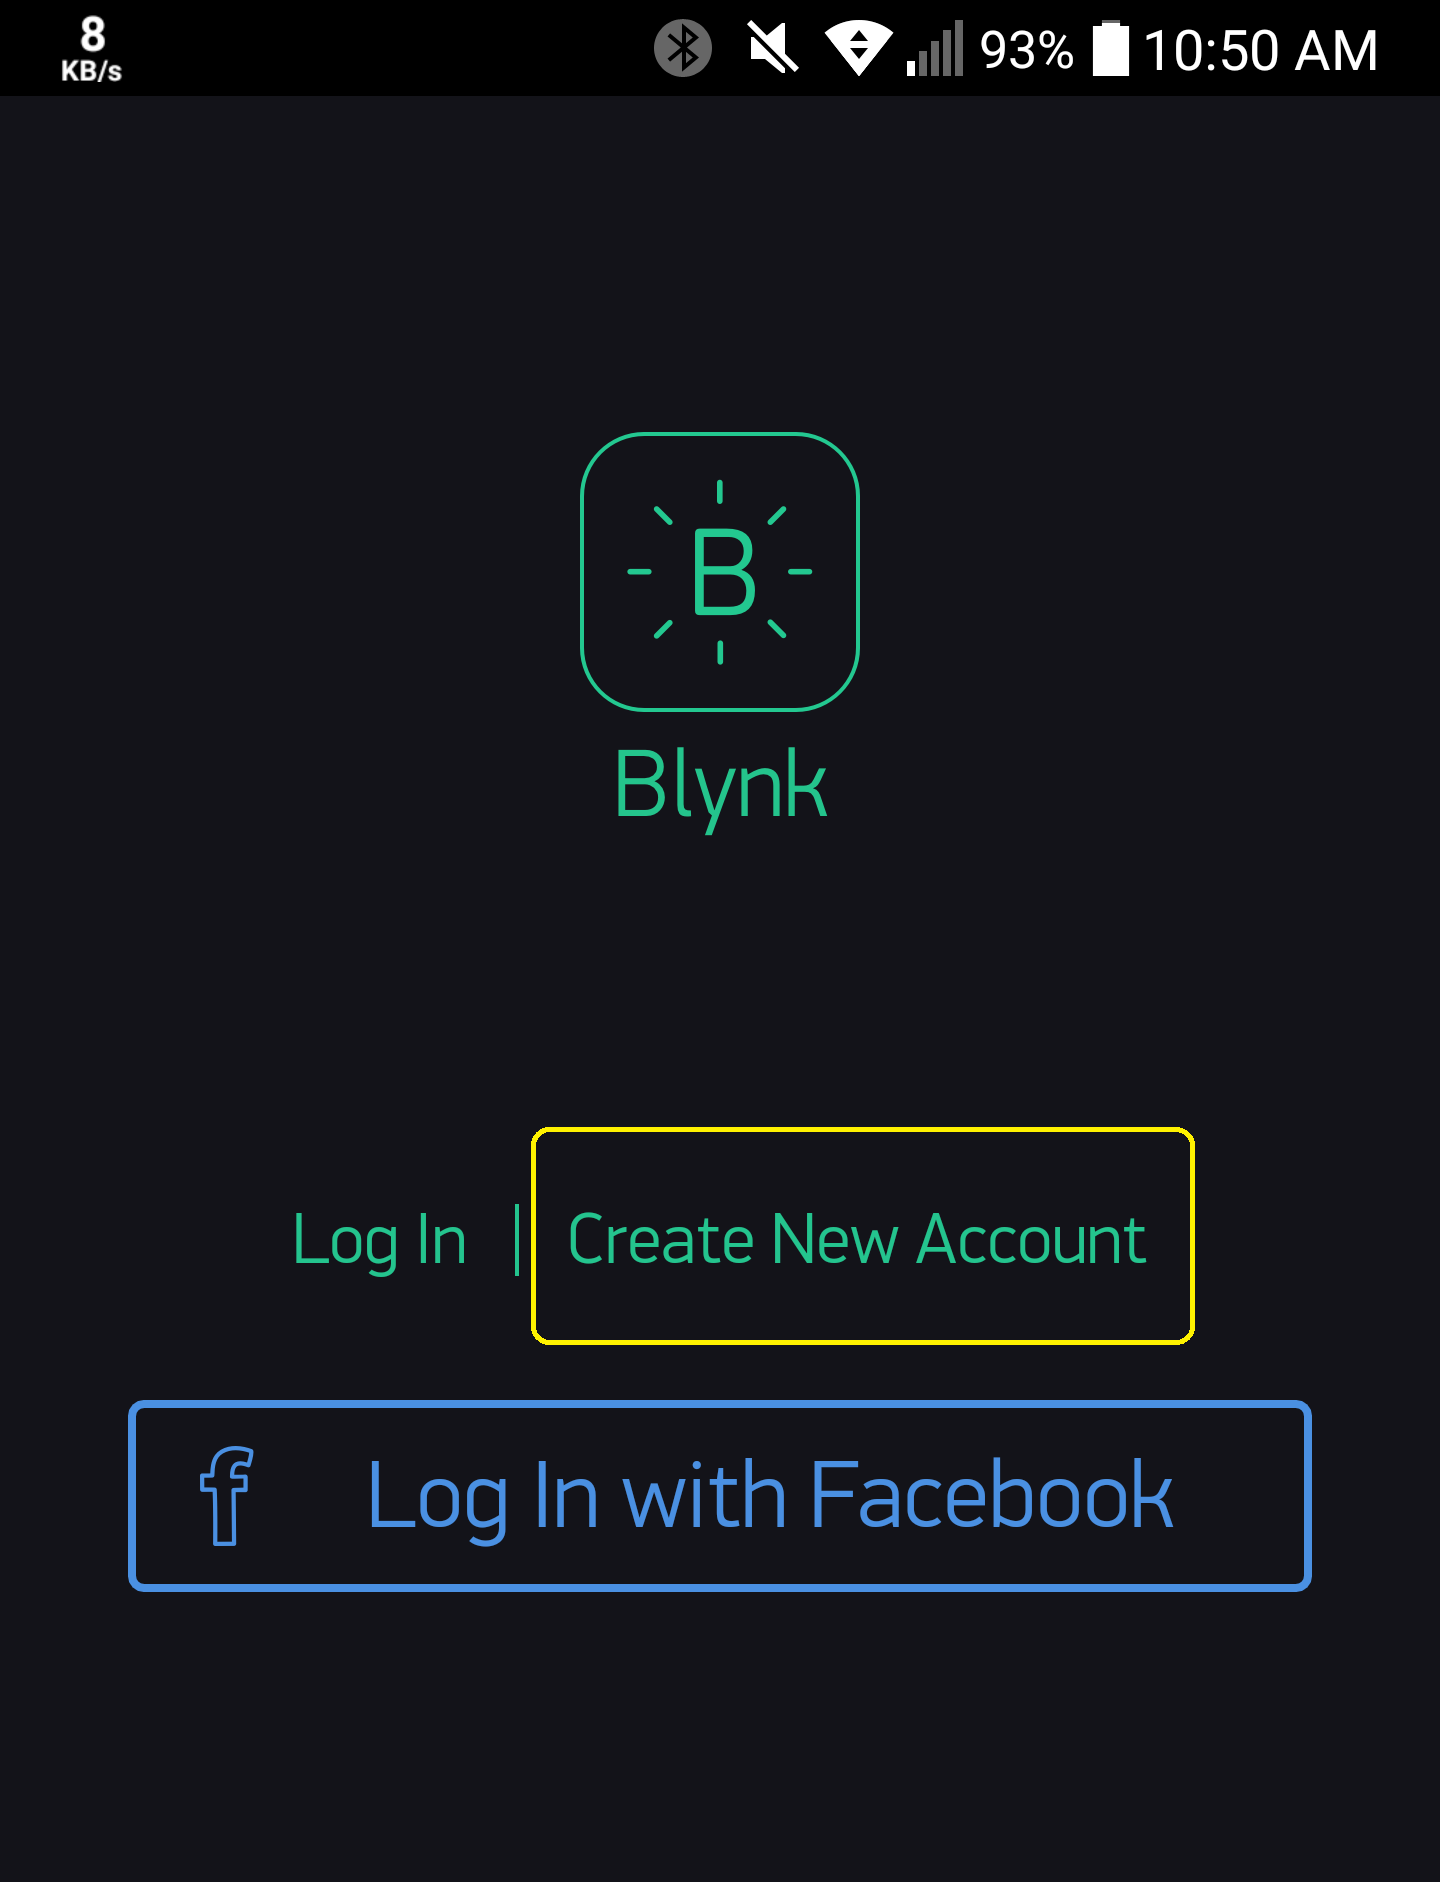
It still won’t login with new credentials. Also, I’d like to point out that you can’t actually create a new account with Blynk app. The best you can do is login with a previously created email address. I know that sounds like a play in semantics, but it’s not meant as such. Still, I tried to login with one of my other email addresses that is not registered to blynk.cc and still the app won’t connect to the pi server on the staticIP/9443.
You most certainly can!!… That is the whole purpose of that “Create New Account” option in the App ![]() Works the same with Cloud or Local Servers
Works the same with Cloud or Local Servers
Whatever your issues are, are related to something messed up in your setup of your Local Server.
1 Like
Each and every server is completely isolated from all other servers… so any credentials you do or don’t have in Cloud Server is irrelevant in your Local Server… even if you use the same info. They are separate accounts and must first be created, via the App that is connected to that server, before you can log in and start using it.
I’m in finally, thanks @Gunner, @Lichtsignaal, @Costas. I was using an outdated jar and also I forgot to launch it, duuhhh! Still, I need to update my Auto Start script so it launches after powering up. At any rate, thanks for all the help!
2 Likes
Wupps… yes, that does seem to be a requirement… ![]()
That is Mr. Master  Sir!
Sir! 
I’m almost there. Server is running, my app connects to it and everything, but my hardware it seems only makes a momentary connection as the Online Status icon shows the Device Offline since (time of upload) which suggests to me that it connected, if only for a moment. Here is my basic sketch for an ESP8266 and a DHT22 sensor. If I uncomment the CLOUD credentials, it connects to my other account and displays the sensor readings as coded for, but my LOCAL credentials aren’t functioning properly. Does my sketch have any noticeable errors? If no, can anybody think of something I should look into? Everything has been updated to current, app/library/server.jar.
//#define BLYNK_PRINT Serial    // Comment this out to     disable prints and save space
#include <ESP8266WiFi.h>
#include <BlynkSimpleEsp8266.h>
//char auth[] = "CLOUD_KEY";   // Cloud Server
char auth[] = "LOCAL_KEY"; // Local Server
char ssid[] = "NETWORK_NAME";
char pass[] = "PASSWORD";
byte arduino_mac[] = { 0xDE, 0xAD, 0xBE, 0xEF, 0xFE, 0xED };
IPAddress device_ip ( 10,   0,   0,  80);
IPAddress server_ip ( 10, 0, 0, 130 );      //IP of machine server runs on
IPAddress gateway_ip ( 10,   0,   0,   1);
IPAddress subnet_mask(255, 255, 255, 0);

#include <DHT.h>
#define DHTPIN 2 //pin gpio 12 in sensor
#define DHTTYPE DHT22
DHT dht(DHTPIN, DHTTYPE);
BlynkTimer timer;

void readSensor()
{
  float h = dht.readHumidity();
  float t = dht.readTemperature(true);

  Blynk.virtualWrite(V0, t); // virtual pin
  Blynk.virtualWrite(V1, h); // virtual pin
}

void setup()
{
  Serial.begin(115200);
  //Blynk.begin(auth, ssid, pass, "blynk-cloud.com", 8442); // Cloud Server
  Blynk.begin(auth, ssid, pass, server_ip, 8442); // Local Server

    // Setup WiFi network
  WiFi.config(device_ip, gateway_ip, subnet_mask);
  WiFi.begin(ssid, pass);

  // Setup Blynk
  Blynk.config(auth);
  while (Blynk.connect() == false) {
  }
  dht.begin();
  timer.setInterval(3000, readSensor);     //Read every 3 secs
}

void loop() {
  Blynk.run();
  timer.run();
}
I am sure it has been discussed earlier… but I don’t see the reason for most of this with an ESP (except the server IP)… the router should take care of it and any static IP settings you need.
Both Blynk.begin() and Blynk.config() with WiFi.config() in the middle for good measure… your poor device probably doesn’t know what to do ![]()
And this is totally unnecessary… as well as being a potentialy locked loop
3 Likes
Thanks again @Gunner! I commented the WiFi.config() and the while loop and it connected immediately. Thanks again sir!
When trying to add the script to rc.local via SSH
sudo nano /etc/rc.local
I paste in the auto start script, then Ctrl/X, then Y, I get this screen and I don’t know how to proceed. In a previous attempt I tried to add the instruction to “append”, but this just created another file below the original titled rc.local.save. Can someone advise how to proceed to be able to execute the server auto start after booting?
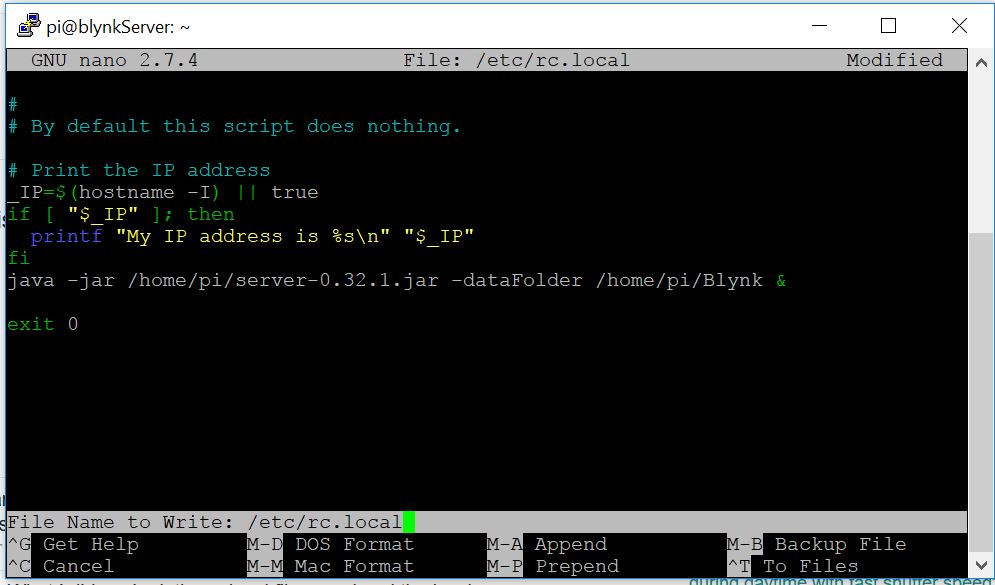
CTRL-O to save (or rename if needed), then enter <-- you are at this stage already… so just hit enter.
Followed by
CTRL-X to exit
Then simply type sudo /etc/rc.local to manually start it, or sudo reboot to reboot the system and test if it automatically starts
1 Like
As always Gunner, thank you!!