Hello, I’m using a Arduino nano to control my 3 relays I have added an switch which should turn all relays on when switched on. I’m hosting my own blynk server and I need help with making a sketch. I have only a little bit of experienced with coding for the Arduino.
wiring schematics:
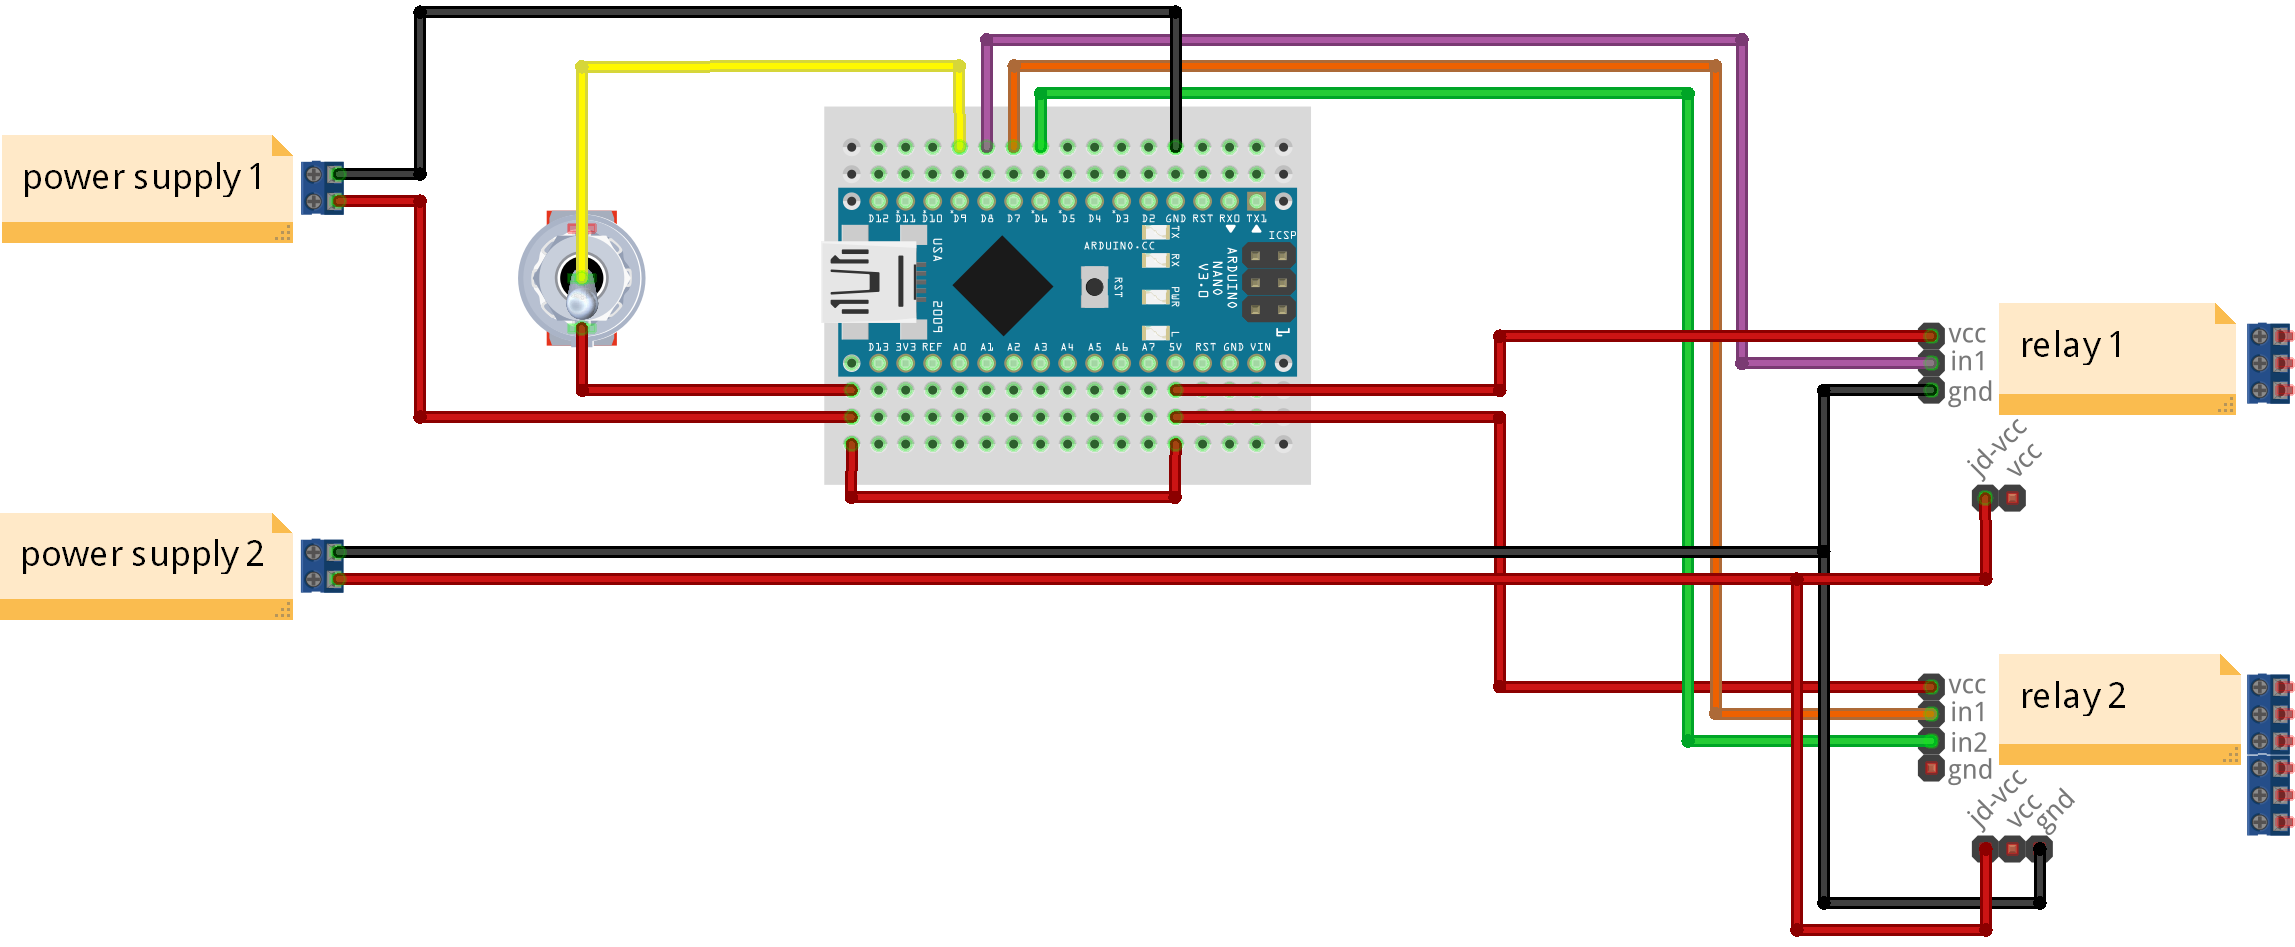
parts:
- Arduino nano
- ENC28J60 Ethernet shield
- 2x 5v power supplies
- 1x 1 channel relay
- 1x 2 channel relay
- 1x toggle switch
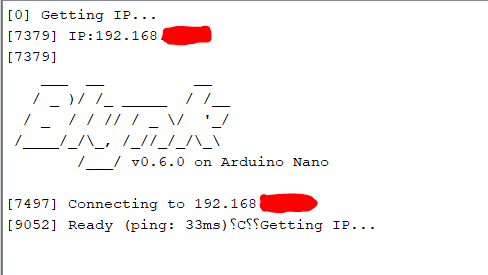
I’m currently using the example sketch for enc28j60
/*************************************************************
  Download latest Blynk library here:
    https://github.com/blynkkk/blynk-library/releases/latest

  Blynk is a platform with iOS and Android apps to control
  Arduino, Raspberry Pi and the likes over the Internet.
  You can easily build graphic interfaces for all your
  projects by simply dragging and dropping widgets.

    Downloads, docs, tutorials: http://www.blynk.cc
    Sketch generator:           http://examples.blynk.cc
    Blynk community:            http://community.blynk.cc
    Social networks:            http://www.fb.com/blynkapp
                                http://twitter.com/blynk_app

  Blynk library is licensed under MIT license
  This example code is in public domain.

 *************************************************************
  For this example you need UIPEthernet library:
    https://github.com/UIPEthernet/UIPEthernet

  Typical wiring would be:
   VCC -- 5V
   GND -- GND
   CS  -- D10
   SI  -- D11
   SCK -- D13
   SO  -- D12
   INT -- D2

  Feel free to apply it to any other example. It's simple!
 *************************************************************/

/* Comment this out to disable prints and save space */
#define BLYNK_PRINT Serial


#include <UIPEthernet.h>
#include <BlynkSimpleUIPEthernet.h>

// You should get Auth Token in the Blynk App.
// Go to the Project Settings (nut icon).
char auth[] = "YourAuthToken";


void setup()
{
  // Debug console
  Serial.begin(9600);

  Blynk.begin(auth);
  // You can also specify server:
  //Blynk.begin(auth, "blynk-cloud.com", 80);
  //Blynk.begin(auth, IPAddress(192,168,1,100), 8080);
}

void loop()
{
  Blynk.run();
}
please help thanks!