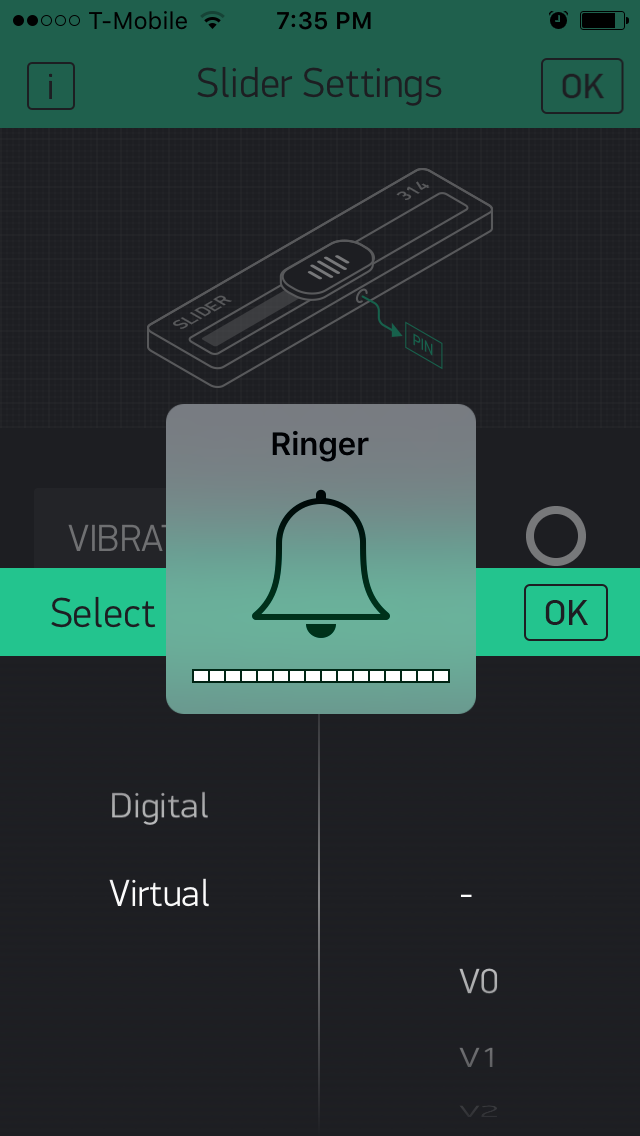
I have an app I have been using that has a slider.
I used to be able to set Analog pins as analog write with the slider, but now blynk only lets me choose Digital or Virtual Pins. I need to set A4 as a slider. Whats up with that?
I have an app I have been using that has a slider.
I used to be able to set Analog pins as analog write with the slider, but now blynk only lets me choose Digital or Virtual Pins. I need to set A4 as a slider. Whats up with that?
The App’s shown type and availability of pins is determined by device type in your App settings… Did you make any changes? Also, sliders are outputs (typically for PWM digital output pins) and analog pins are inputs… so normally they would not be available as a slider option in the first place.
EDIT - OK, I did some research on the Photon and realised that some pins can have dual uses… I created a “test project” on my app (v.2.14.0). All looks good.
What version is your App and do you have a Local Server? if so make sure it is also updated.
Meanwhile… you can of course just use the virtual pins to do what you want with much more diversity and control.
Something like this should work… you may have to also set your pinMode() in setup.
BLYNK_WRITE(V0)  // Slider set for V0 and MIN-MAX range of 0-1023 (or whatever your digital pin range is)
  int slideValue = param.asInt();  // Get the slider value value.
  analogWrite(A4, slideValue);  // Write PWM value to Photon's A4 pin
}
Gunner thanks for the quick response. I am trying to control a motor via an H-Bridge with the slider.
When I am using the Particle Tinker app, It is configured thusly:
A4 - Analog Write (slider control)
A5 - Digital Write (Hi Lo)
WKP - Digital Write (Hi Lo)
I can reverse the direction of the motor by switch Hi/Lo on the two Digital Write pins. (In other words, if A5 is hi and WKP is low, reverse the motor by setting A5 to Low and WKP to High. I have realized for a while that with Virtual pins I could just have a REVERSE button in my interface to reverse directions, but I have never been able to figure out how to program that.
But I am certain that I used to be able to set the motor pwm by selecting A4 as my pin in the photon, but now I don’t see that option. I will try it with the code you gave me and see how it goes.
(I really need to grok Virtual Pins).
Thanks for your help and I will let you know how it goes.
The H-Brid
Check my edit in the preceding post.
So I finally figured out Virtual Pins! And I used your code to set V0 to A4, Plus I set the motor directional pins in the loopo and it worked perfectly. That 3 line snippet of code is all I needed to get going. Thanks!!
Here’s the code
//Code for Particle Photon to control an H-Bridge  motor
#define BLYNK_PRINT Serial  // Set serial output for debug prints
//#define BLYNK_DEBUG       // Uncomment this to see detailed prints

#include "blynk/blynk.h"

// You should get Auth Token in the Blynk App.
// Go to the Project Settings (nut icon).
char auth[] = "GET AUTH CODE FROM PROJECT IN BLYNK APP";

int motorDirPin1 = A5;      // pin used to copntrol direction of motor
int motorDirPin2 = WKP;      // pin used to copntrol direction of motor
int motorPin = A4;

BLYNK_WRITE(V0)  // Slider set for V0 and MIN-MAX range of 0-1023 (or whatever your digital pin range is)
{
  int slideValue = param.asInt();  // Get the slider value value.
  analogWrite(motorPin, slideValue);  // Write PWM value to Photon's A4 pin
}

void setup()
{
  pinMode(motorDirPin1, OUTPUT);      // sets the Motor direction pin 1 pin as output
  pinMode(motorDirPin2, OUTPUT);      // sets the Motor Directional Pin2 as output
  pinMode(motorPin, OUTPUT);     //seets A4 as the motor pwm pin

  Serial.begin(9600);
  delay(5000); // Allow board to settle
  Blynk.begin(auth);
}

void loop()
{
  digitalWrite(motorDirPin1, HIGH);   // sets the motorDirPin1  on
  digitalWrite(motorDirPin2, LOW);    // sets the motorDirPin2  off
  Blynk.run();
}What do you think your loop() is trying to do at a thousand times a second?
Costas,
Thanks for pointing that out. I want the program to set those pins to low and high and just keep them that way.
How would I change the code to accomplish that without looping it a thousand times a second? If I were to venture a guess, it would be to move this exact code into setup(), But I don’t really know.
Scott
Yes if you only want to go high and low once, on MCU reboot then setup() is fine.
If you want to do it over and over again check out the use of Blynk Timer (taken from Arduino’s Simple Timer) in the PUSH DATA example in Sketch Builder.
Edit: actually I think you have your own timers called something like “sparkpolltimer”.
This seems like a bug in current iOS version. Thanks for reporting.
Costas,
So I changed the code to set the pins in setup, but that doesn’t seem to be working.
I have added the SparkCorePolledTimer Library to my project and will be looking into that.
In the meantime, here is my current code that’s not working. Maybe I did something wrong.
// This #include statement was automatically added by the Particle IDE.

#include <SparkCorePolledTimer.h>
 /**************************************************************
 * WARNING: It is recommended to use SparkCorePolledTimer library
 *          to make periodic actions (similar to SimpleTimer on Arduino).
 *
 **************************************************************/

#define BLYNK_PRINT Serial  // Set serial output for debug prints
//#define BLYNK_DEBUG       // Uncomment this to see detailed prints

#include <blynk.h>

// You should get Auth Token in the Blynk App.
// Go to the Project Settings (nut icon).
char auth[] = "<MyAuthToken>";

int motorDirPin1 = A5;      // pin used to copntrol direction of motor
int motorDirPin2 = WKP;      // pin used to copntrol direction of motor
int motorPin = A4;

BLYNK_WRITE(V0)  // Slider set for V0 and MIN-MAX range of 0-1023 (or whatever your digital pin range is)
{
  int slideValue = param.asInt();  // Get the slider value value.
  analogWrite(motorPin, slideValue);  // Write PWM value to Photon's A4 pin
}

void setup()
{
  pinMode(motorDirPin1, OUTPUT);      // sets the digital pin as output
  pinMode(motorDirPin2, OUTPUT);      // sets the digital pin as output
  pinMode(motorPin, OUTPUT);

  Serial.begin(9600);
  delay(5000); // Allow board to settle

  Blynk.begin(auth);

  digitalWrite(motorDirPin1, HIGH);   // sets the motorPin1  on
  digitalWrite(motorDirPin2, LOW);    // sets the motorPin2  off
}


void loop()
{

  Blynk.run();
}Need to be more descriptive than, not working and remember there is currently a bug in the iOS version for Analogue pins.
Costas,
The code above (with the digitalwrite for the pins in the setup section) successfully compiles and flashes to the photon, but when my tester tries to use the motor with the slider, it doesn’t work or respond at all. That’s as descriptive as I can get.
However, I have been researching the SparkCorePolledTimer library and have updated the code as seen below.
I will let you know how it goes.
Scott.
#include "SparkCorePolledTimer/SparkCorePolledTimer.h"

/**************************************************************
 *
 * WARNING: It is recommended to use SparkCorePolledTimer library
 *          to make periodic actions (similar to SimpleTimer on Arduino).
 *
 **************************************************************/

#define BLYNK_PRINT Serial  // Set serial output for debug prints
//#define BLYNK_DEBUG       // Uncomment this to see detailed prints

#include <blynk.h>

SparkCorePolledTimer updateTimer(10000);
void OnTimer(void);

// You should get Auth Token in the Blynk App.
// Go to the Project Settings (nut icon).
char auth[] = "MyAuthToken";

int motorDirPin1 = A5;      // pin used to control direction of motor
int motorDirPin2 = WKP;      // pin used to control direction of motor
int motorPin = A4;

BLYNK_WRITE(V0)  // Slider set for V0 and MIN-MAX range of 0-1023 (or whatever your digital pin range is)
{
  int slideValue = param.asInt();  // Get the slider value value.
  analogWrite(motorPin, slideValue);  // Write PWM value to Photon's A4 pin
}

void setup()
{
  pinMode(motorDirPin1, OUTPUT);      // sets the digital pin as output
  pinMode(motorDirPin2, OUTPUT);      // sets the digital pin as output
  pinMode(motorPin, OUTPUT);

  Serial.begin(9600);
  delay(5000); // Allow board to settle
  //updateTimer.SetCallback(OnTimer);

  Blynk.begin(auth);
}


void loop()
{
  Blynk.run();
  digitalWrite(motorDirPin1, HIGH);   // sets the motorDirPin1  on
  digitalWrite(motorDirPin2, LOW);    // sets the motorDirPin2  off
  updateTimer.Update();
}