I’m trying to connect my Arduino uno with Blynk app over cloud. I’m using USB for communication and not wireless. It’s always showing connecting and then login timeout. I’m stuck. My auth token is also correct. Any help would be greatly appreciated.
Here’s the example code (Blynk Blink) I’m using to check if device is online or not.
#define BLYNK_TEMPLATE_ID           "TMPL3Bt2eQwTW"
#define BLYNK_TEMPLATE_NAME         "Quickstart Device"
#define BLYNK_AUTH_TOKEN            "WEA0QfHi7VOYuBGGDCTO1quPU0imdxs-"

/* Comment this out to disable prints and save space */
#define BLYNK_PRINT Serial


#include <BlynkSimpleStream.h>
#include <SoftwareSerial.h>

SoftwareSerial SwSerial(0, 1); // RX, TX

void setup()
{
  // Debug console
  Serial.begin(9600);

  // Blynk will work through SoftwareSerial
  // Do not read or write this serial manually in your sketch
  SwSerial.begin(9600);
  Blynk.begin(SwSerial, BLYNK_AUTH_TOKEN);
}

void loop()
{
  Blynk.run();
  // You can inject your own code or combine it with other sketches.
  // Check other examples on how to communicate with Blynk. Remember
  // to avoid delay() function!
}
@TreeBoy you’ve tagged this in the category of Blynk Local Server.
Are you really running your own Blynk local server?
Please edit your post, using the pencil icon at the bottom of the post’ and remove the photograph of your computer monitor and replace it with the actual code (the text, copied and pasted, not screenshotted).
Place triple backticks on a separate line above and below you code so that it displays correctly.
Triple backticks look like this:
```
If you can’t find the correct symbol on your keyboard please copy and past the one I’ve provided above.
You use the USB connection you need to be running the USB connection script.
Please explain the exact steps you are following, and post the information that is shown in the terminal window that opens when you start the USB script (once again, no screenshots, and use triple backticks).
You can’t use the serial monitor if you’re using the USB connection method.
The Arduino is using serial communication with the PC, and the script running on your PC needs full control over that serial port for it to work.
I suspect that you aren’t running the Blynk script on your PC, but as you haven’t done this…
If I’m typing following in my terminal with COM6 (where my arduino uno is plugged in), then terminal is displaying:
Microsoft Windows [Version 10.0.22000.2538]
(c) Microsoft Corporation. All rights reserved.

C:\Users\Lenovo>cd "Documents\Arduino\libraries\Blynk\scripts"

C:\Users\Lenovo\Documents\Arduino\libraries\Blynk\scripts>blynk-ser.bat -c COM5
Connecting device at COM5 to blynk.cloud:80...
OpenC0C("\\.\COM5", baud=9600, data=8, parity=no, stop=1) - OK
Connect("blynk.cloud", "80") - OK
InOut() START
DSR is OFF
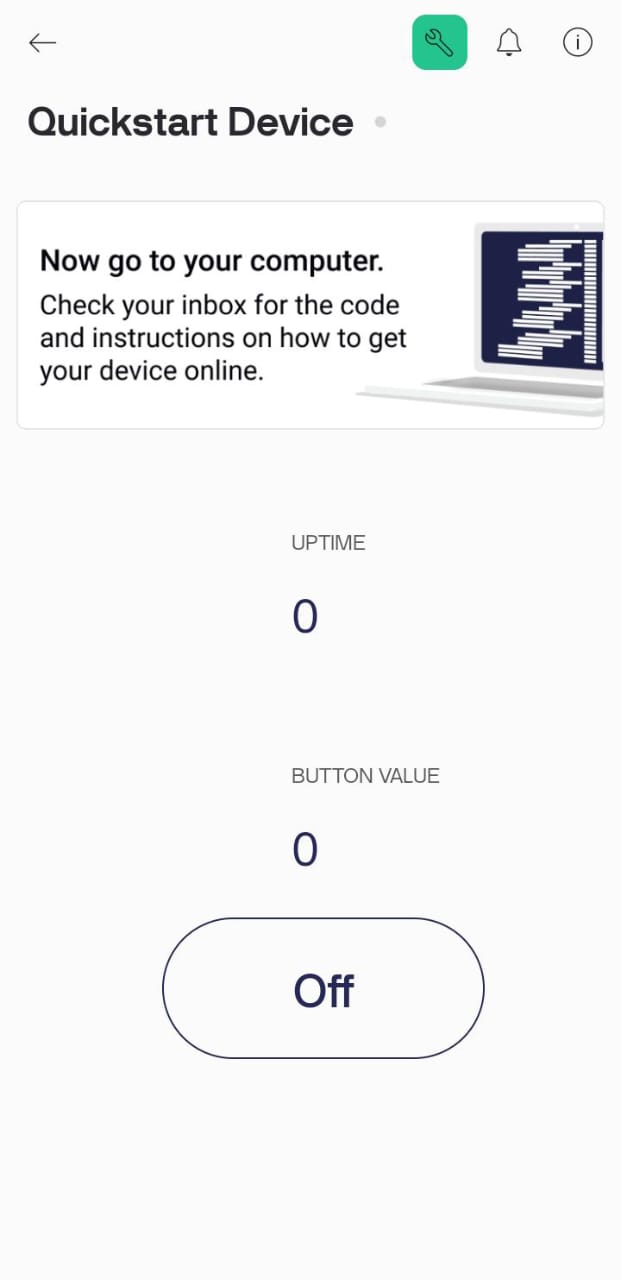
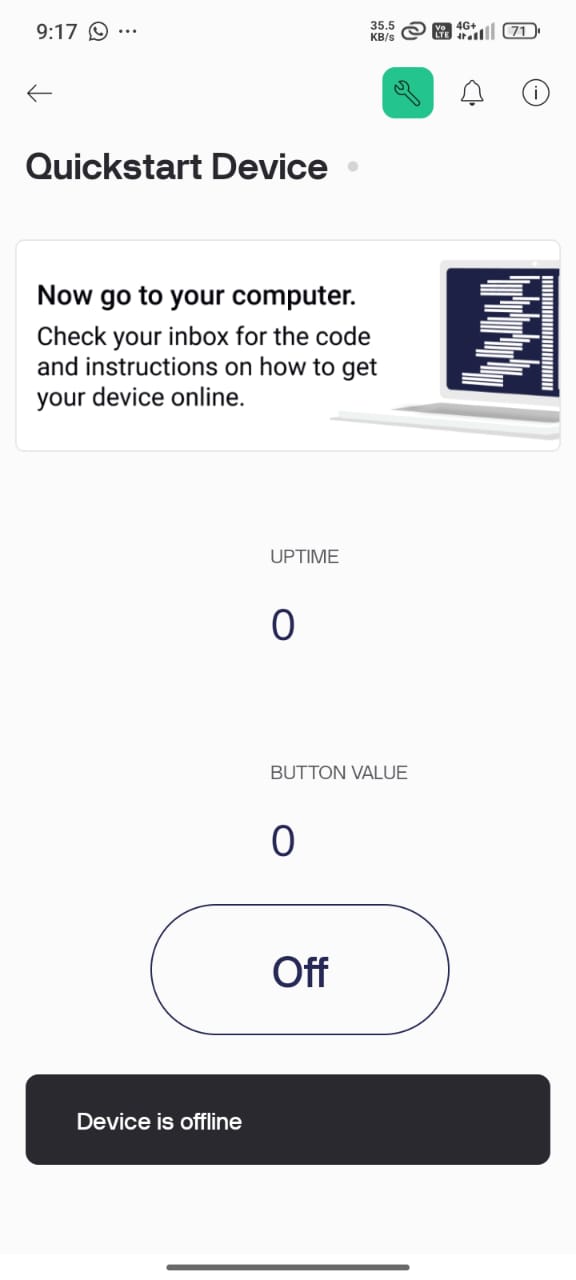
I’ve already uploaded the above shared code on my board, still it’s not getting online. Even not from web/app.
And I’m opening the app and clicking “ON” then -----OFFLINE:
You say that your device is located on COM6, but the script is looking at COM5. Why?
I’m not really sure why your code is using SoftwareSerial. It’s not needed with your hardware.
Is this the code that as generated by the Quickstart wizard, or have you modified it in some way?
I guess you have modified it, as it has no uptime code or handler for the button press.
Rather than drip-feeding information, you’d be far better explaining in detail what you’ve done from start to finish, and why.
That is not a problem because I’m using my COM5 arduino now.
Previous code was just a wrong trial pick from blynk examples. Here’s the relevant code for quickstart which I’m using now according to mail sent by blynk:
  This is a simple demo of sending and receiving some data.
  Be sure to check out other examples!
 *************************************************************/

/* Fill-in information from Blynk Device Info here */
#define BLYNK_TEMPLATE_ID           "TMPL3turh1qv8"
#define BLYNK_TEMPLATE_NAME         "Quickstart Device"
#define BLYNK_AUTH_TOKEN            "z1bDsTyK0_KOMfkYrDFnxN5r6y-IEMLy"

/* Comment this out to disable prints and save space */
#define BLYNK_PRINT SwSerial


#include <SoftwareSerial.h>
SoftwareSerial SwSerial(10, 11); // RX, TX

#include <BlynkSimpleStream.h>


BlynkTimer timer;

// This function is called every time the Virtual Pin 0 state changes
BLYNK_WRITE(V0)
{
  // Set incoming value from pin V0 to a variable
  int value = param.asInt();

  // Update state
  Blynk.virtualWrite(V1, value);
}

// This function is called every time the device is connected to the Blynk.Cloud
BLYNK_CONNECTED()
{
  // Change Web Link Button message to "Congratulations!"
  Blynk.setProperty(V3, "offImageUrl", "https://static-image.nyc3.cdn.digitaloceanspaces.com/general/fte/congratulations.png");
  Blynk.setProperty(V3, "onImageUrl",  "https://static-image.nyc3.cdn.digitaloceanspaces.com/general/fte/congratulations_pressed.png");
  Blynk.setProperty(V3, "url", "https://docs.blynk.io/en/getting-started/what-do-i-need-to-blynk/how-quickstart-device-was-made");
}

// This function sends Arduino's uptime every second to Virtual Pin 2.
void myTimerEvent()
{
  // You can send any value at any time.
  // Please don't send more that 10 values per second.
  Blynk.virtualWrite(V2, millis() / 1000);
}

void setup()
{
  // Debug console
  SwSerial.begin(115200);

  // Blynk will work through Serial
  // Do not read or write this serial manually in your sketch
  Serial.begin(9600);
  Blynk.begin(Serial, BLYNK_AUTH_TOKEN);

  // Setup a function to be called every second
  timer.setInterval(1000L, myTimerEvent);
}

void loop()
{
  Blynk.run();
  timer.run();
  // You can inject your own code or combine it with other sketches.
  // Check other examples on how to communicate with Blynk. Remember
  // to avoid delay() function!
}
Even my device is not getting online. I guess the terminal is good right?
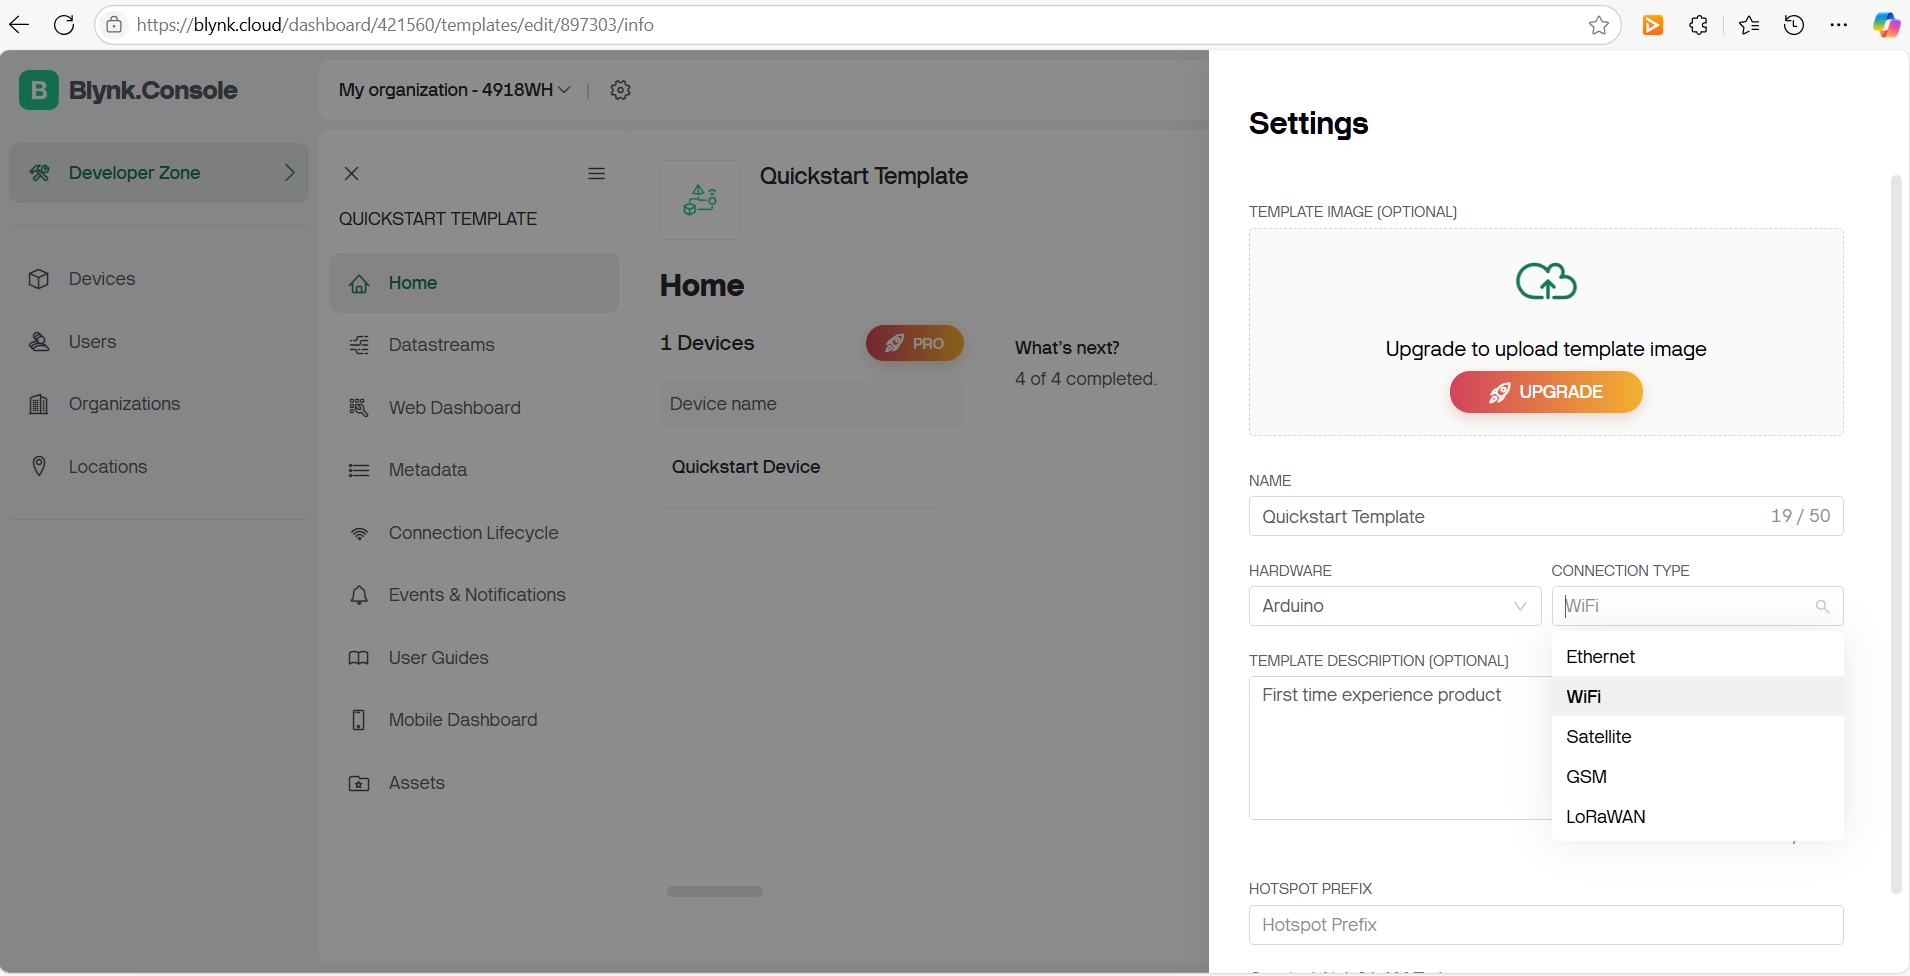
I’d like to mention that I’ve previously successfully used BLYNK Cloud with my arduino for communication and acheived proper communication. But now since it has been upgraded, I’m not able to find the familiar options. No USB connection type is available for templates which used to be there.
then I’m opening the Ready-to-use code with the highlighted link which leads me to this c++ code which I’m uploading thru Arduino IDE:
This is a simple demo of sending and receiving some data.
  Be sure to check out other examples!
 *************************************************************/

/* Fill-in information from Blynk Device Info here */
#define BLYNK_TEMPLATE_ID           "TMPL3turh1qv8"
#define BLYNK_TEMPLATE_NAME         "Quickstart Device"
#define BLYNK_AUTH_TOKEN            "z1bDsTyK0_KOMfkYrDFnxN5r6y-IEMLy"

/* Comment this out to disable prints and save space */
#define BLYNK_PRINT SwSerial


#include <SoftwareSerial.h>
SoftwareSerial SwSerial(10, 11); // RX, TX

#include <BlynkSimpleStream.h>


BlynkTimer timer;

// This function is called every time the Virtual Pin 0 state changes
BLYNK_WRITE(V0)
{
  // Set incoming value from pin V0 to a variable
  int value = param.asInt();

  // Update state
  Blynk.virtualWrite(V1, value);
}

// This function is called every time the device is connected to the Blynk.Cloud
BLYNK_CONNECTED()
{
  // Change Web Link Button message to "Congratulations!"
  Blynk.setProperty(V3, "offImageUrl", "https://static-image.nyc3.cdn.digitaloceanspaces.com/general/fte/congratulations.png");
  Blynk.setProperty(V3, "onImageUrl",  "https://static-image.nyc3.cdn.digitaloceanspaces.com/general/fte/congratulations_pressed.png");
  Blynk.setProperty(V3, "url", "https://docs.blynk.io/en/getting-started/what-do-i-need-to-blynk/how-quickstart-device-was-made");
}

// This function sends Arduino's uptime every second to Virtual Pin 2.
void myTimerEvent()
{
  // You can send any value at any time.
  // Please don't send more that 10 values per second.
  Blynk.virtualWrite(V2, millis() / 1000);
}

void setup()
{
  // Debug console
  SwSerial.begin(115200);

  // Blynk will work through Serial
  // Do not read or write this serial manually in your sketch
  Serial.begin(9600);
  Blynk.begin(Serial, BLYNK_AUTH_TOKEN);

  // Setup a function to be called every second
  timer.setInterval(1000L, myTimerEvent);
}

void loop()
{
  Blynk.run();
  timer.run();
  // You can inject your own code or combine it with other sketches.
  // Check other examples on how to communicate with Blynk. Remember
  // to avoid delay() function!
}
then I’m uploading it on my COM6 board. ( I was changing boards to see if there’s a problem with my board but they are okay. So, I’ll use only one same board from now.)
After that, keeping my laptop connected to the internet, I’m running the blynk-ser.bat with my COM6 in windows cmd (as I did for my earlier projects):
Microsoft Windows [Version 10.0.22000.2538]
(c) Microsoft Corporation. All rights reserved.

C:\Windows\system32>blynk-ser.bat -c COM6
Connecting device at COM6 to blynk.cloud:80...
OpenC0C("\\.\COM6", baud=9600, data=8, parity=no, stop=1) - OK
Connect("blynk.cloud", "80") - OK
InOut() START
DSR is OFF
So far, you’ve posted conflicting information about COM ports, code that you say you are no longer using, terminal output with no indication of which code it relates to, etc etc.
It would be helpful if there was one post which documented the steps you’ve taken, the COM port you are using, the code you are using, and the corresponding terminal output results, in a useable format
Why have you reverted to the earlier code, and why did the screenshots you posted appear to show different text to the text they you’ve replaced it with?
I’m not interested in screenshots of the QuickStart instructions or your app, I want to know what you are doing behind the scenes.
What version of the Blynk library are you using?
What IDE are you using?
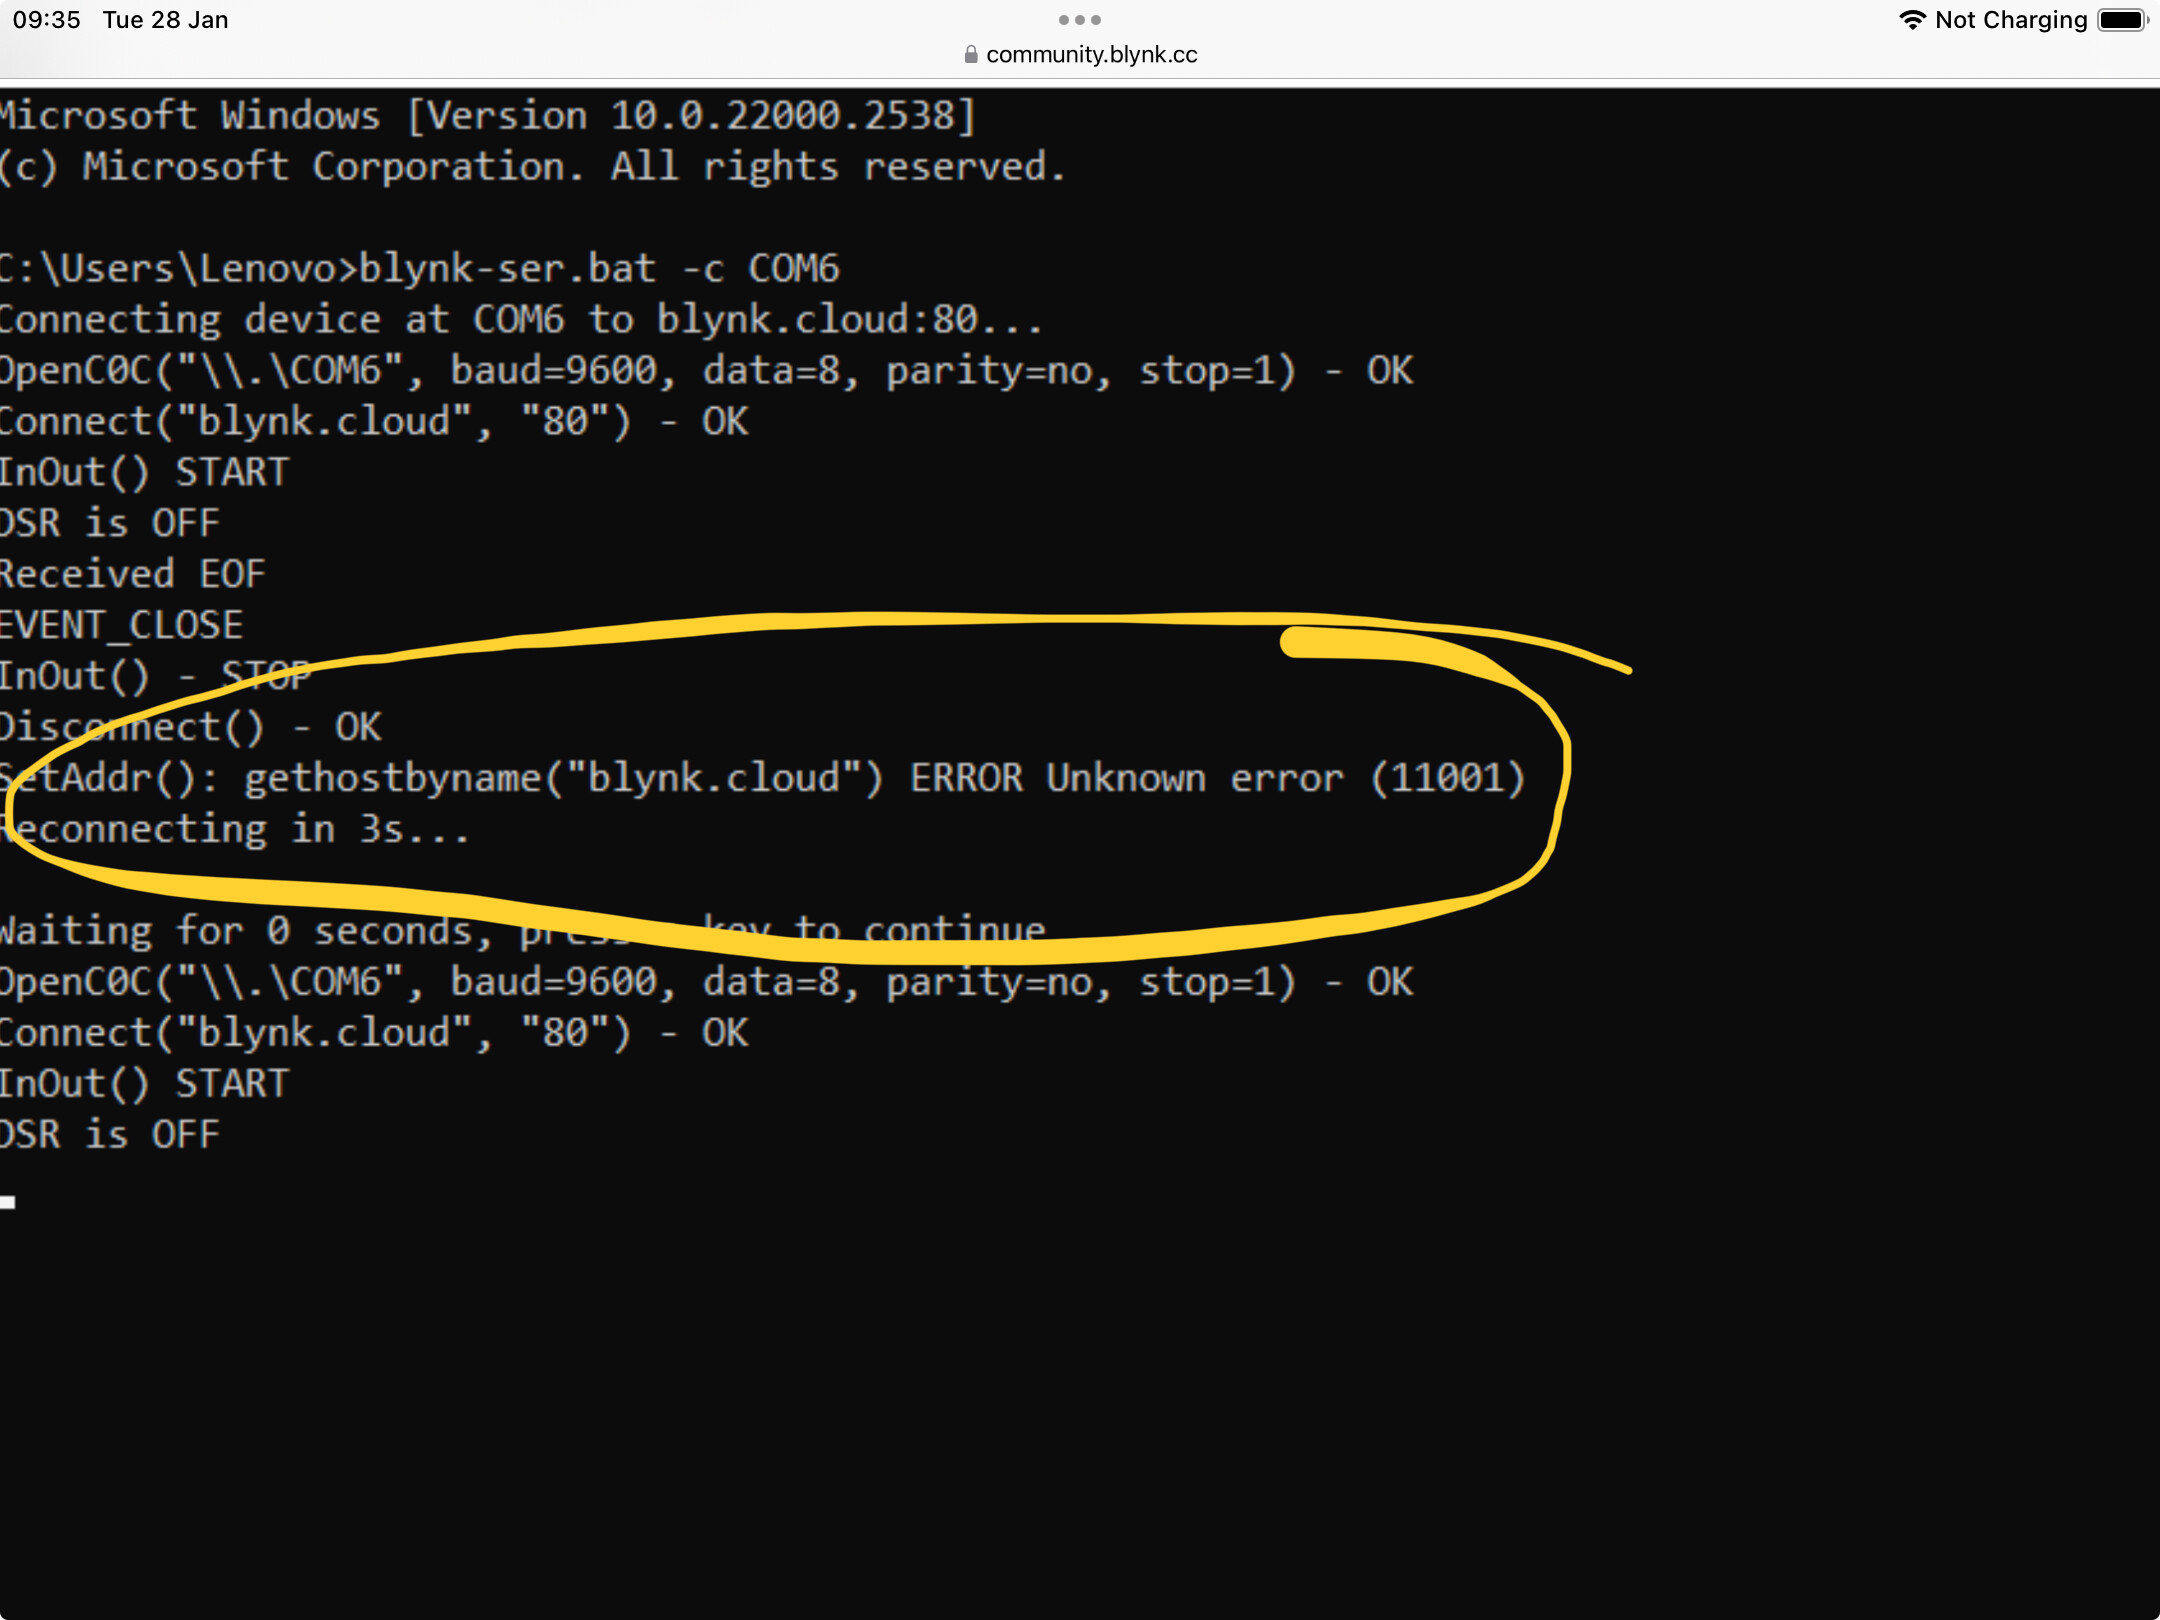
I’m interested in this error message, because guess what - you’re unable to connect to the Blynk server and you’re encountering errors that you aren’t sharing.
If you want the Blynk community to help you then you need to start helping us to help you.
That’s very right. That was screenshot I took when my device was not connected to internet. So I deleted it and replaced with original terminal session when internet is connected.
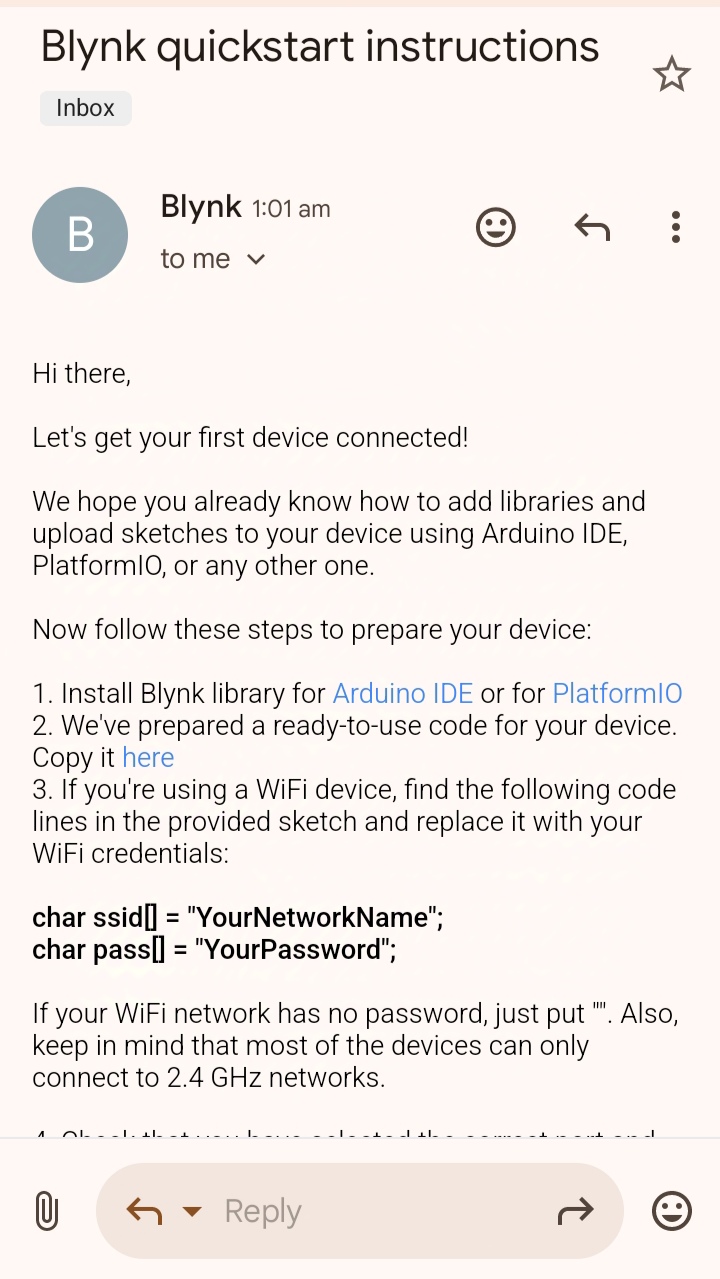
Yes, I understand. But Blynk interface and instructions have changed quite a lot you know. Now the mail we receive doesn’t contain an auth token. Instead there is a link to the code which has the token prewritten. In the web cloud also token is found next to device, and that I discovered lately.
Anyways, thanks for your continuous reverting and guiding.
Now, I am including Label and LED in my Blynk interface and trying to make them work with my project. Will need your help in this.