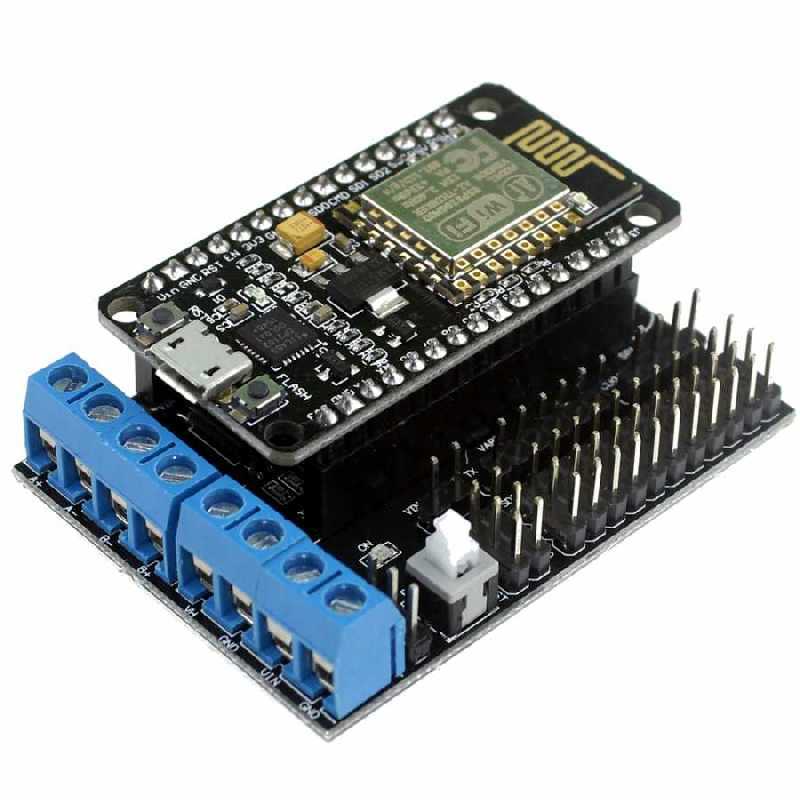
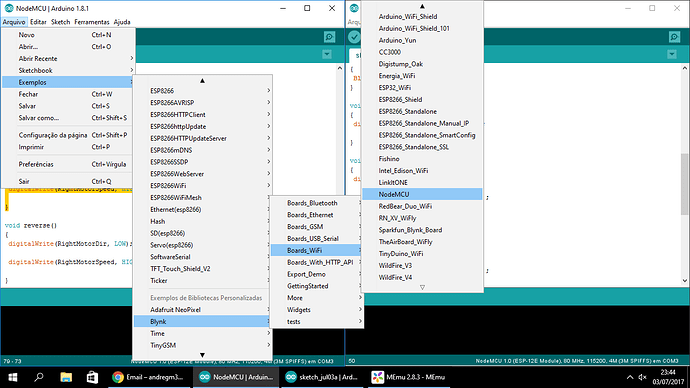
i’m trying to control a car with NodeMCU + Motor Shield and Blynk, i used the simple NodeMCU example, and the foward motors direction works perfectly with sliders to D1 and D2 but i don’t know to reverse the motors, is there an option for that ?
Sounds like you are using simple direct pins on the widgets… you might need to get into virtual pins and the programming side, in order to do anything much fancier.
If the shield library comes with working examples (i.e. running basic Arduino code) then how does that code reverse the motors?. Break that code down and apply it to the simple Blynk example code you currently have.
1 Like
I’ve found this script from https://www.youtube.com/watch?v=UsIB8lTm3Ik&t=6s
which can make the motors go foward and backwards:
#include <ESP8266WiFi.h>

const char* ssid = "Ed. Corais";
const char* password = "corais2268";

WiFiServer server(80);

void setup() {
  Serial.begin(115200);
  delay(10);

  pinMode(2, OUTPUT);
  digitalWrite(2, 0);

  Serial.println();
  Serial.print("Connecting to ");
  Serial.println(ssid);

  WiFi.begin(ssid, password);

  while (WiFi.status() != WL_CONNECTED) {
    delay(500);
    Serial.print(".");
  }
  Serial.println("");
  Serial.println("WiFi connected");

  // Start the server
  server.begin();
  Serial.println("Server started");

  // Print the IP address
  Serial.println(WiFi.localIP());

  pinMode(5, OUTPUT);
  pinMode(4, OUTPUT);
  pinMode(0, OUTPUT);
  pinMode(2, OUTPUT);

  digitalWrite(5, 0);
  digitalWrite(4, 0);

  digitalWrite(0, 1);
  digitalWrite(2, 1);
}

void loop() {
  // Check if a client has connected
  WiFiClient client = server.available();
  if (!client) {
    analogWrite(5, 0);
    analogWrite(4, 0);
    digitalWrite(0, 1);
    digitalWrite(2, 1);
    return;
  }

  // Wait until the client sends some data
  Serial.println("new client");
  while(!client.available()){
    delay(1);
  }

  // Read the first line of the request
  String req = client.readStringUntil('\r');
  Serial.println(req);
  client.flush();

  // Match the request
  int motorASpeed = 1023;
  int motorBSpeed = 1023;
  int motorAForward = 1;
  int motorBForward = 1;
  if (req.indexOf("/engines/") != -1) {
    String parameters = req.substring(13);
    int separatorPos = parameters.indexOf(",");
    int httpPos = parameters.indexOf(" HTTP");
    String leftText = parameters.substring(0,separatorPos);
    String rightText = parameters.substring(separatorPos + 1, httpPos);

    Serial.println("[" + leftText +"][" + rightText + "]");
    int left = leftText.toInt();
    int right = rightText.toInt();
    if (left < 0) {
      motorAForward = 0;
    } else {
      motorAForward = 1;
    }
    if (right < 0) {
      motorBForward = 0;
    } else {
      motorBForward = 1;
    }
    analogWrite(5, abs(left));
    analogWrite(4, abs(right));
    digitalWrite(0, motorAForward);
    digitalWrite(2, motorBForward);
  } else if (req.indexOf("/index.html") != - 1 || req.indexOf("/") != - 1) {
    client.print("HTTP/1.1 200 OK\r\nContent-Type: text/html\r\n\r\n<!DOCTYPE HTML>\r\n");
    client.print("<html><head>");
    client.print("</head><body>");
    client.print("<script type='text/javascript' src='http://www.squix.org/blog/smartcar.js'></script>");
    client.print("<a href='#' onclick='move(\"f\");'>forward</a><BR/>");
    client.print("<a href='#' onclick='move(\"b\");'>backwards</a><BR/>");
    client.print("<a href='#' onclick='move(\"l\");'>left</a><BR/>");
    client.print("<a href='#' onclick='move(\"r\");'>right</a><BR/>");
    client.print("<div id=\"dmEvent\"/>");
    client.print("<div id=\"vector\"/>");
    client.print("</body></html>");
    analogWrite(5, 0);
    analogWrite(4, 0);
    digitalWrite(0, 1);
    digitalWrite(2, 1);
    return;
  }


  client.flush();

  // Prepare the response
  String s = "HTTP/1.1 200 OK\r\nContent-Type: text/html\r\n\r\n<!DOCTYPE HTML>\r\n<html>\r\nGPIO is now ";
  s += "</html>\n";

  // Send the response to the client
  client.print(s);
  delay(1);
  Serial.println("Client disonnected");
  delay(200);
}
I edited your post accordingly, to allow proper viewing of code.
1 Like
/**************************************************************
 * This example runs directly on NodeMCU chip
 * using the Blynk platform and mobile application.
 * Change WiFi ssid, password, and Blynk auth token to run :)
 **************************************************************/

#define BLYNK_PRINT Serial // Comment this out to disable prints and save space
#include <ESP8266WiFi.h>
#include <BlynkSimpleEsp8266.h>

#define RightMotorSpeed 5
#define RightMotorDir 0
#define LeftMotorSpeed 4
#define LeftMotorDir 2

// You should get Auth Token in the Blynk App.
// Go to the Project Settings (nut icon).
char auth[] = "xxxxxxxxxxxxxxxxxxxxxxxxxxxxxxxx";
char ssid[] = "MyWifi";
char pass[] = "MyWifiPassword";

void setup()
{
 Serial.begin(9600);
 Blynk.begin(auth, ssid, pass);

 pinMode(RightMotorSpeed, OUTPUT);
 pinMode(RightMotorDir, OUTPUT);
 pinMode(LeftMotorSpeed, OUTPUT);
 pinMode(LeftMotorDir, OUTPUT);
}

void loop()
{
 Blynk.run();
}

void halt()
{
 digitalWrite(RightMotorSpeed, LOW);
 digitalWrite(LeftMotorSpeed, LOW);
}

void forward()
{
 digitalWrite(RightMotorDir, HIGH);
 digitalWrite(LeftMotorDir, HIGH);
 digitalWrite(RightMotorSpeed, HIGH);
 digitalWrite(LeftMotorSpeed, HIGH);
}

void reverse()
{
 digitalWrite(RightMotorDir, LOW);
 digitalWrite(LeftMotorDir, LOW);
 digitalWrite(RightMotorSpeed, HIGH);
 digitalWrite(LeftMotorSpeed, HIGH);
}

void right()
{
 digitalWrite(RightMotorDir, LOW);
 digitalWrite(LeftMotorDir, HIGH);
 digitalWrite(RightMotorSpeed, HIGH);
 digitalWrite(LeftMotorSpeed, HIGH);
}

void left()
{
 digitalWrite(RightMotorDir, HIGH);
 digitalWrite(LeftMotorDir, LOW);
 digitalWrite(RightMotorSpeed, HIGH);
 digitalWrite(LeftMotorSpeed, HIGH);
}

BLYNK_WRITE(V0)
{
 if (param[0])
 forward();
 else
 halt();
}

BLYNK_WRITE(V1)
{
 if (param[0])
 reverse();
 else
 halt();
}

BLYNK_WRITE(V2)
{
 if (param[0])
 right();
 else
 halt();
}

BLYNK_WRITE(V3)
{
 if (param[0])
 left();
 else
 halt();
}
Good find… it looks perfect for your needs.
1 Like

