thanks to Blynk and rcswitch , i can control the lights in the house
.
.
.
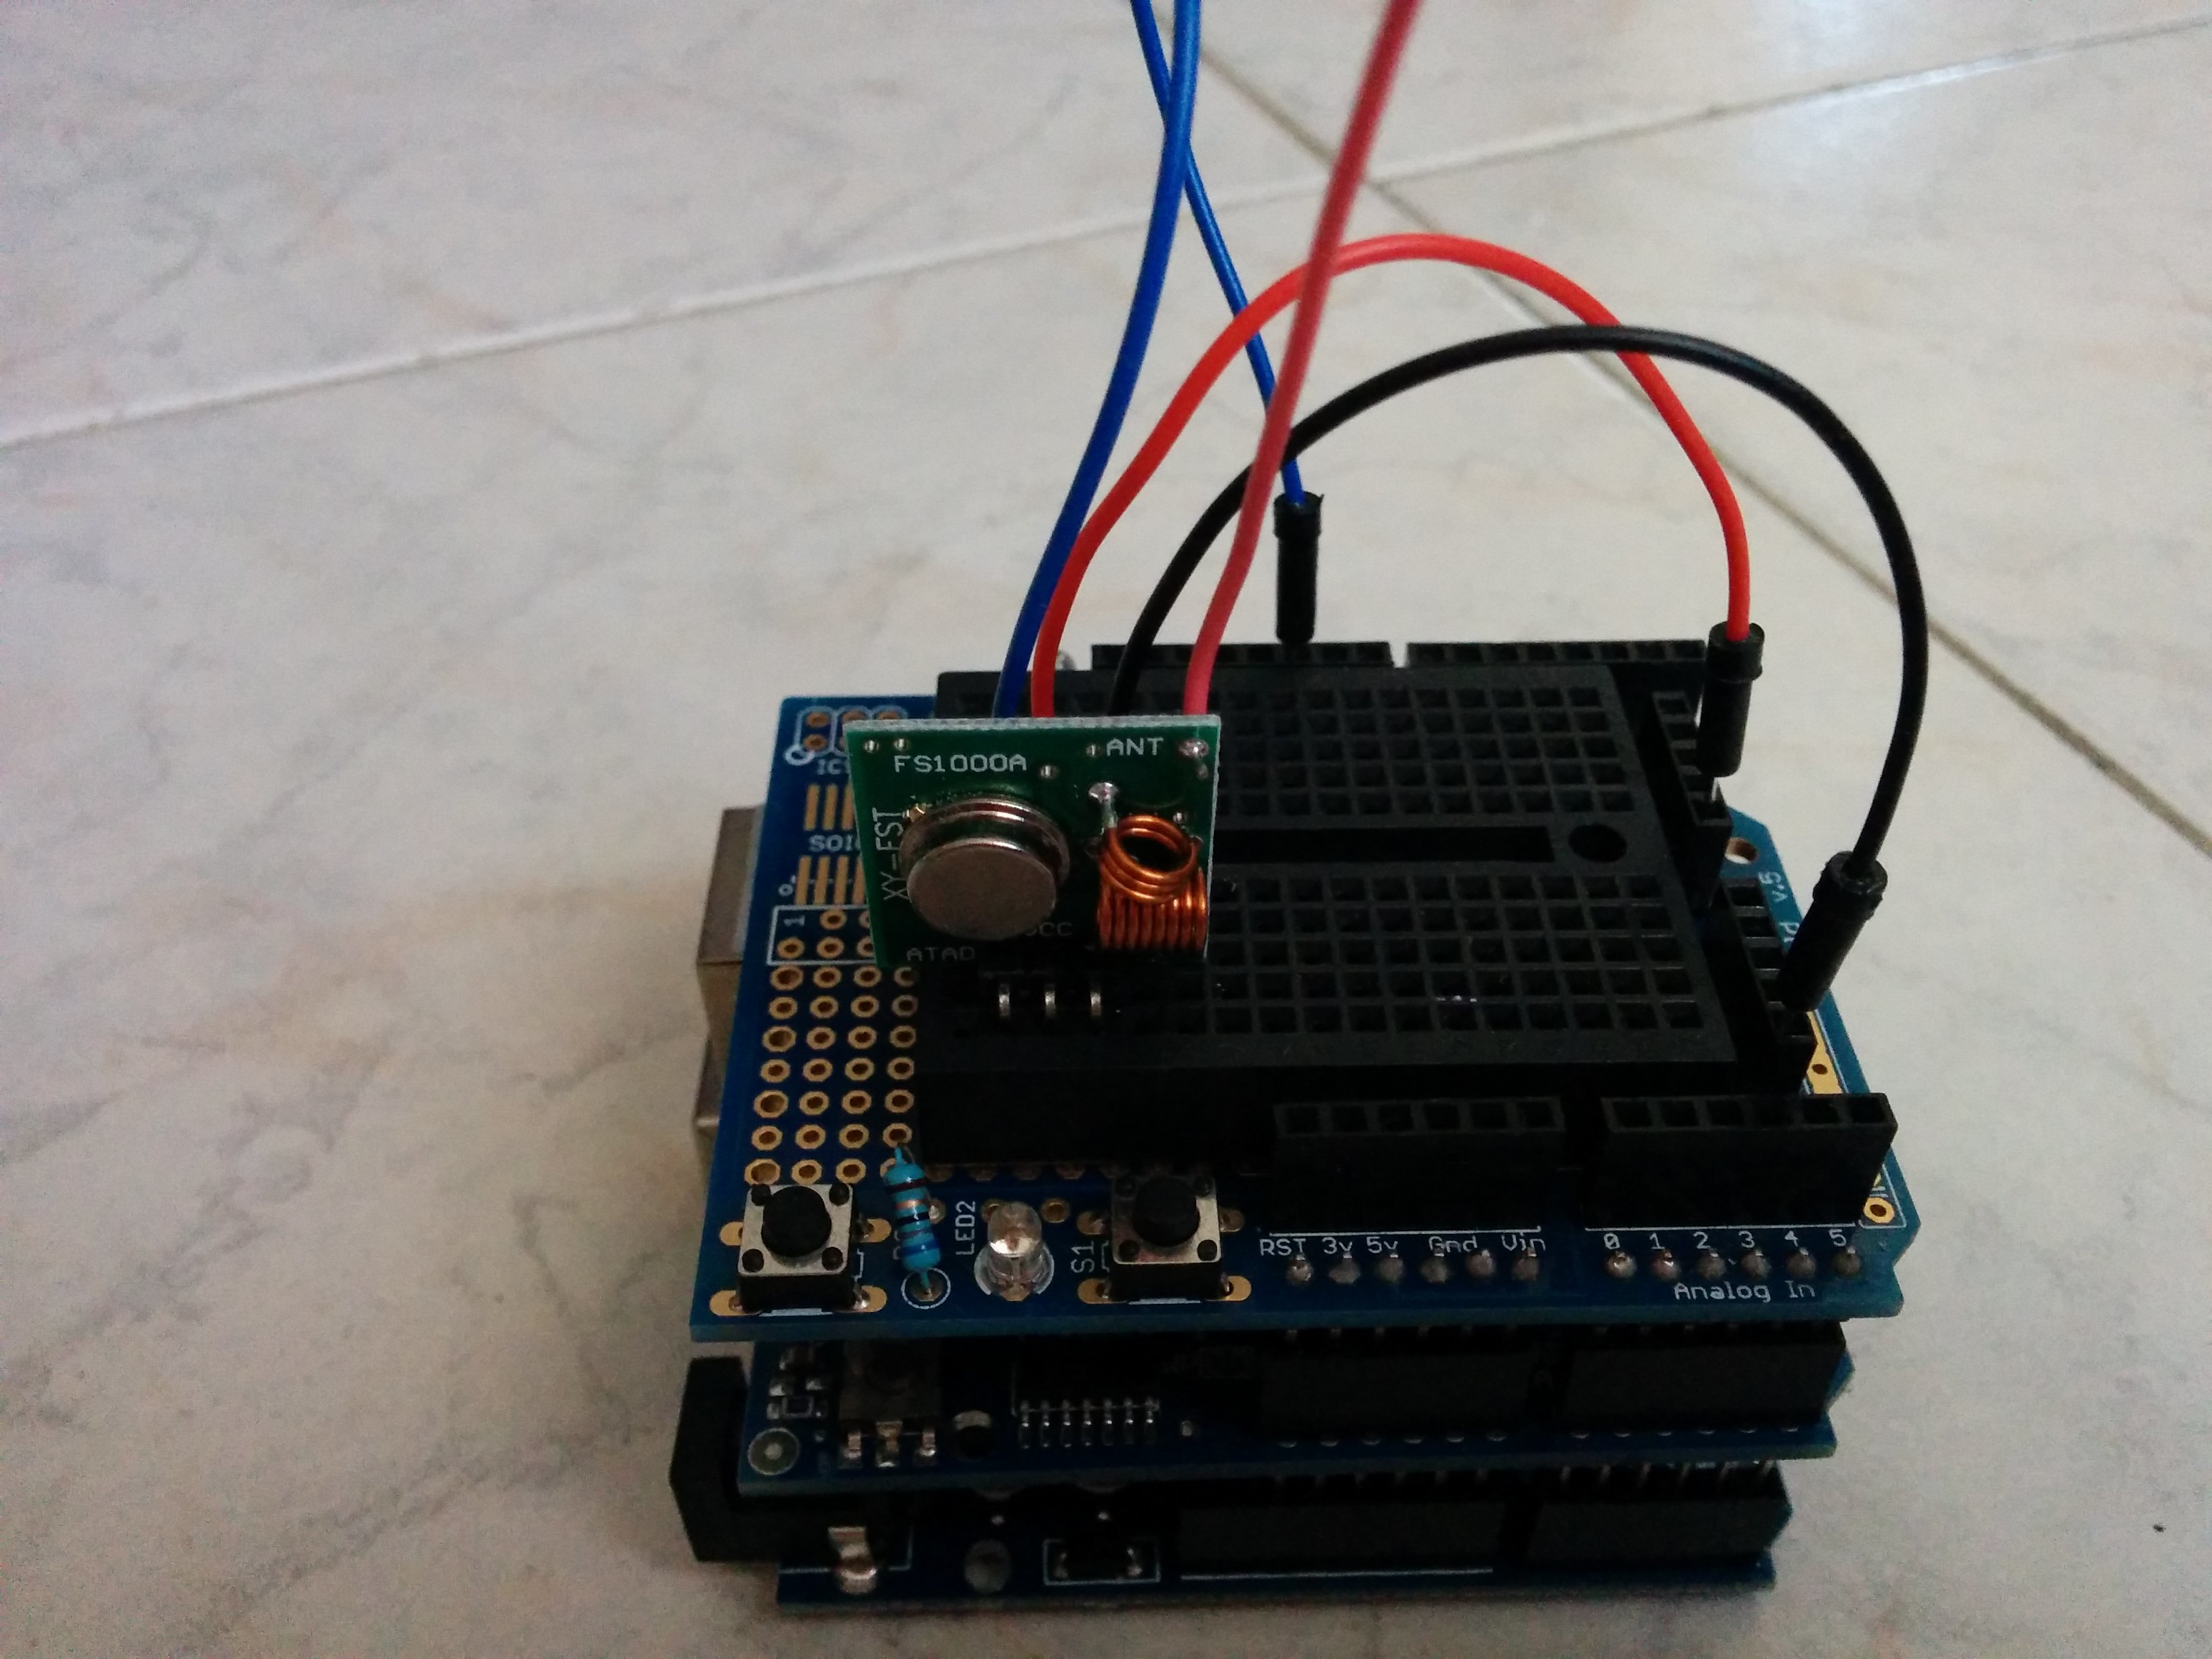
arduino uno
shield w5100
transmitter 433 mhz
3 wireless remote control outlets
#define BLYNK_PRINT Serial // Enables Serial Monitor
#include <SPI.h>
#include <Ethernet.h>
#include <BlynkSimpleEthernet.h> // This part is for Ethernet stuff
#include <RCSwitch.h>
RCSwitch mySwitch = RCSwitch();

char auth[] = "xxxxxxxxx"; // Put your Auth Token here. (see Step 3 above)

void setup()
{
  Serial.begin(9600); // See the connection status in Serial Monitor
  Blynk.begin(auth);  // Here your Arduino connects to the Blynk Cloud.
mySwitch.enableTransmit(10);
}

void loop()
{
  Blynk.run(); // All the Blynk Magic happens here...

  // You can inject your own code or combine it with other sketches.
  // Check other examples on how to communicate with Blynk. Remember
  // to avoid delay() function!
}
BLYNK_WRITE(0) {
 mySwitch.switchOff(1, 1);
}

BLYNK_WRITE(1) {
  mySwitch.switchOn(1, 1);
}
BLYNK_WRITE(2) {
 mySwitch.switchOff(1, 2);
}

BLYNK_WRITE(3) {
  mySwitch.switchOn(1, 2);
}
BLYNK_WRITE(4) {
 mySwitch.switchOff(1, 3);
}

BLYNK_WRITE(5) {
  mySwitch.switchOn(1, 3);
}