Hello
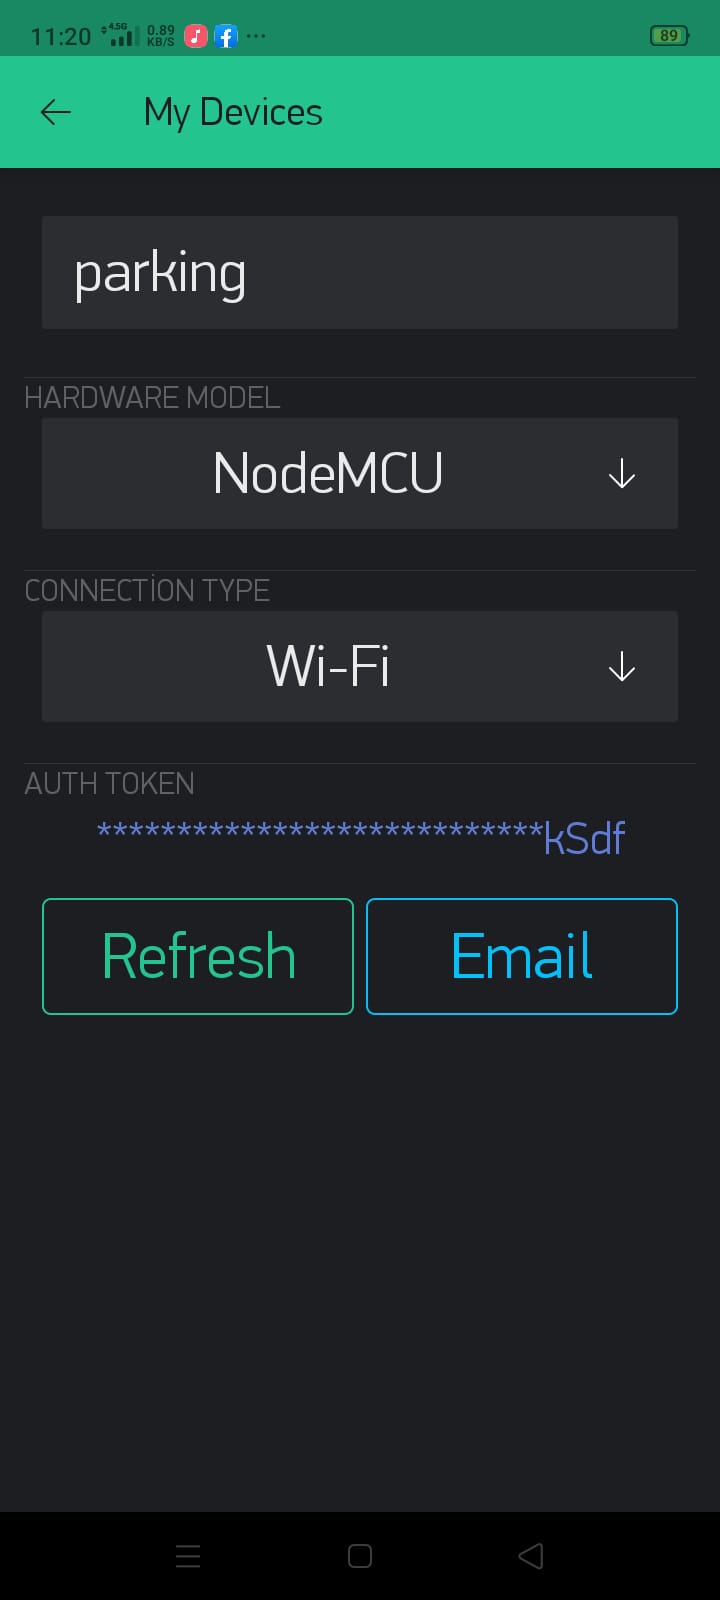
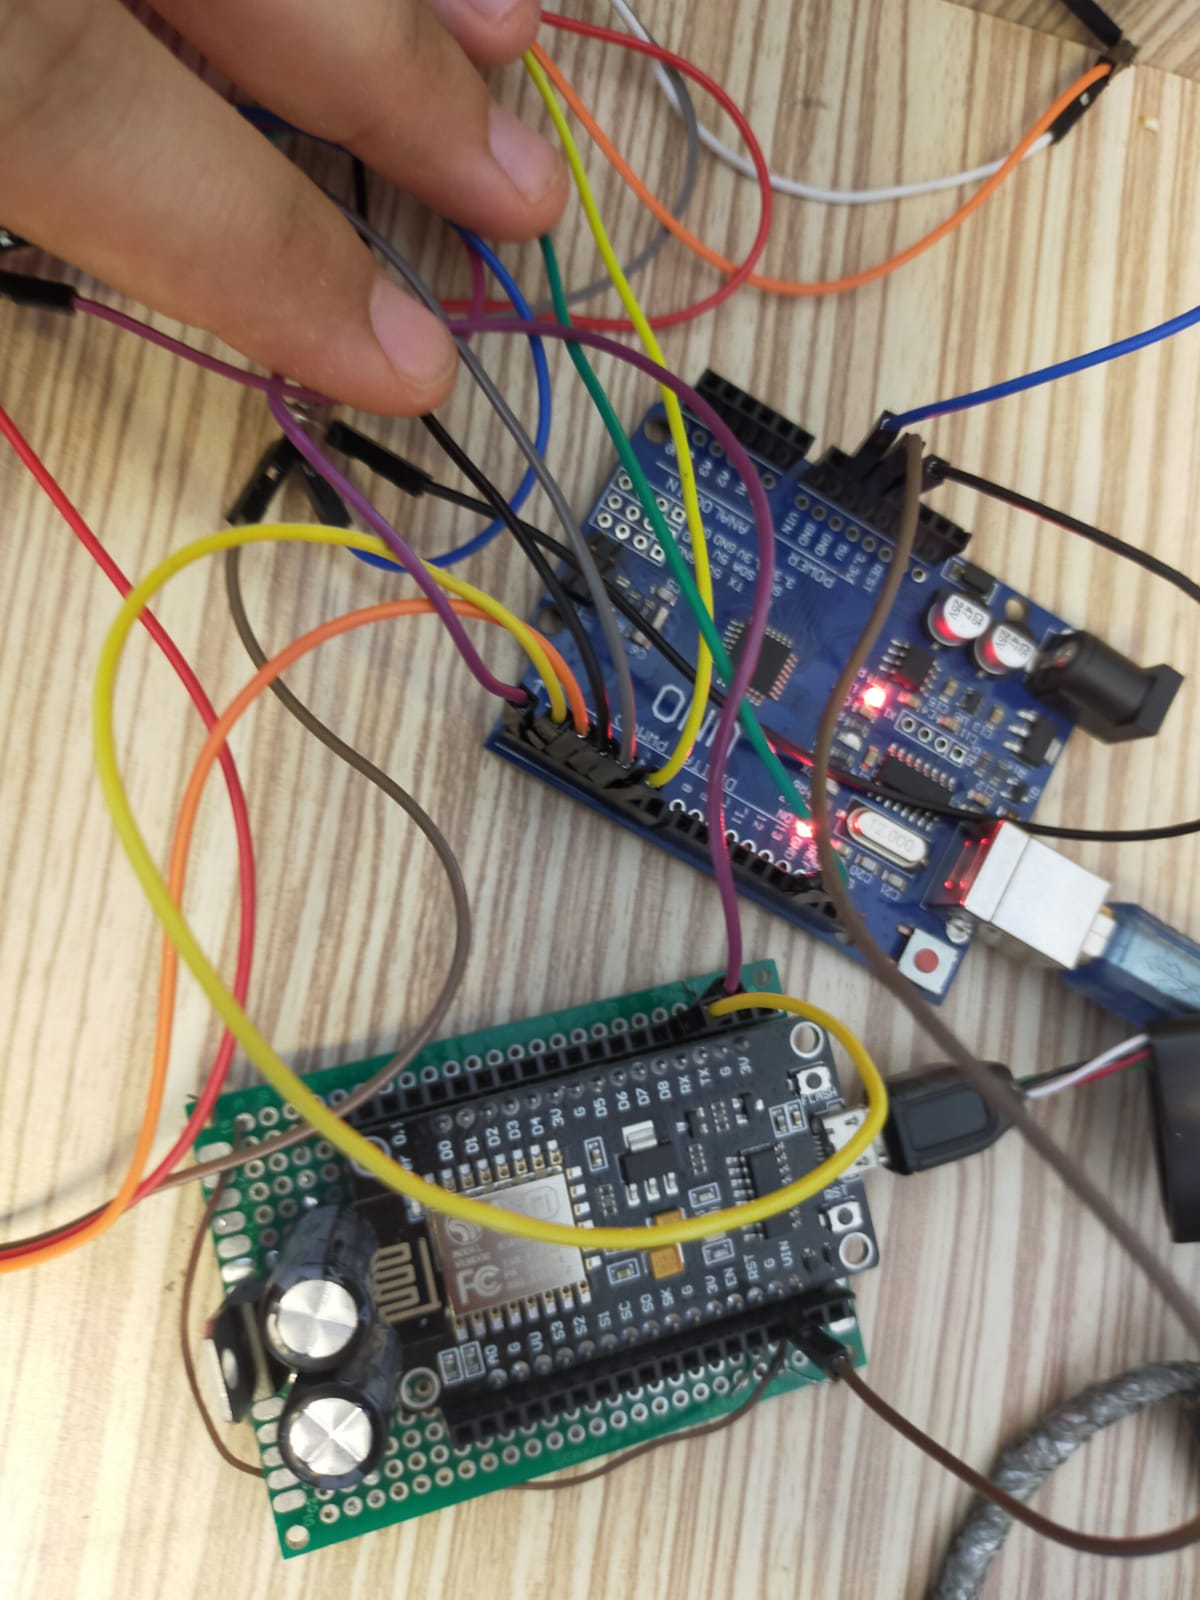
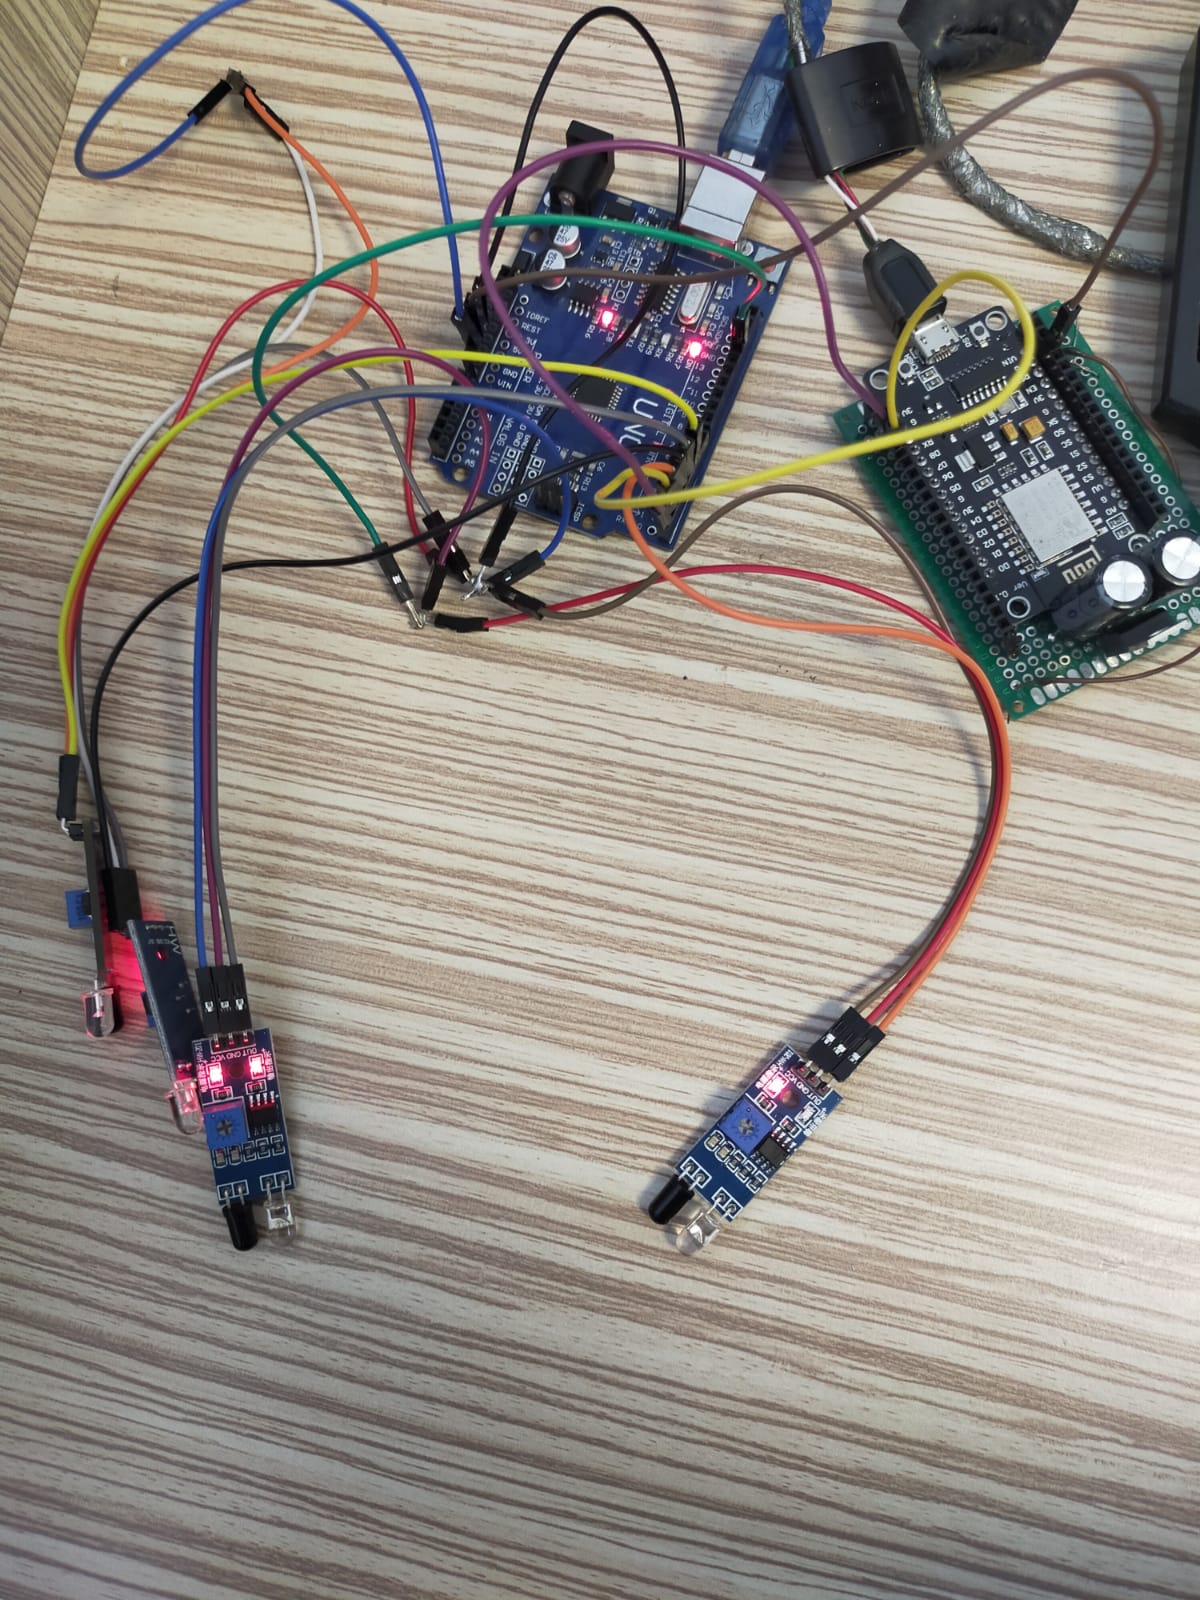
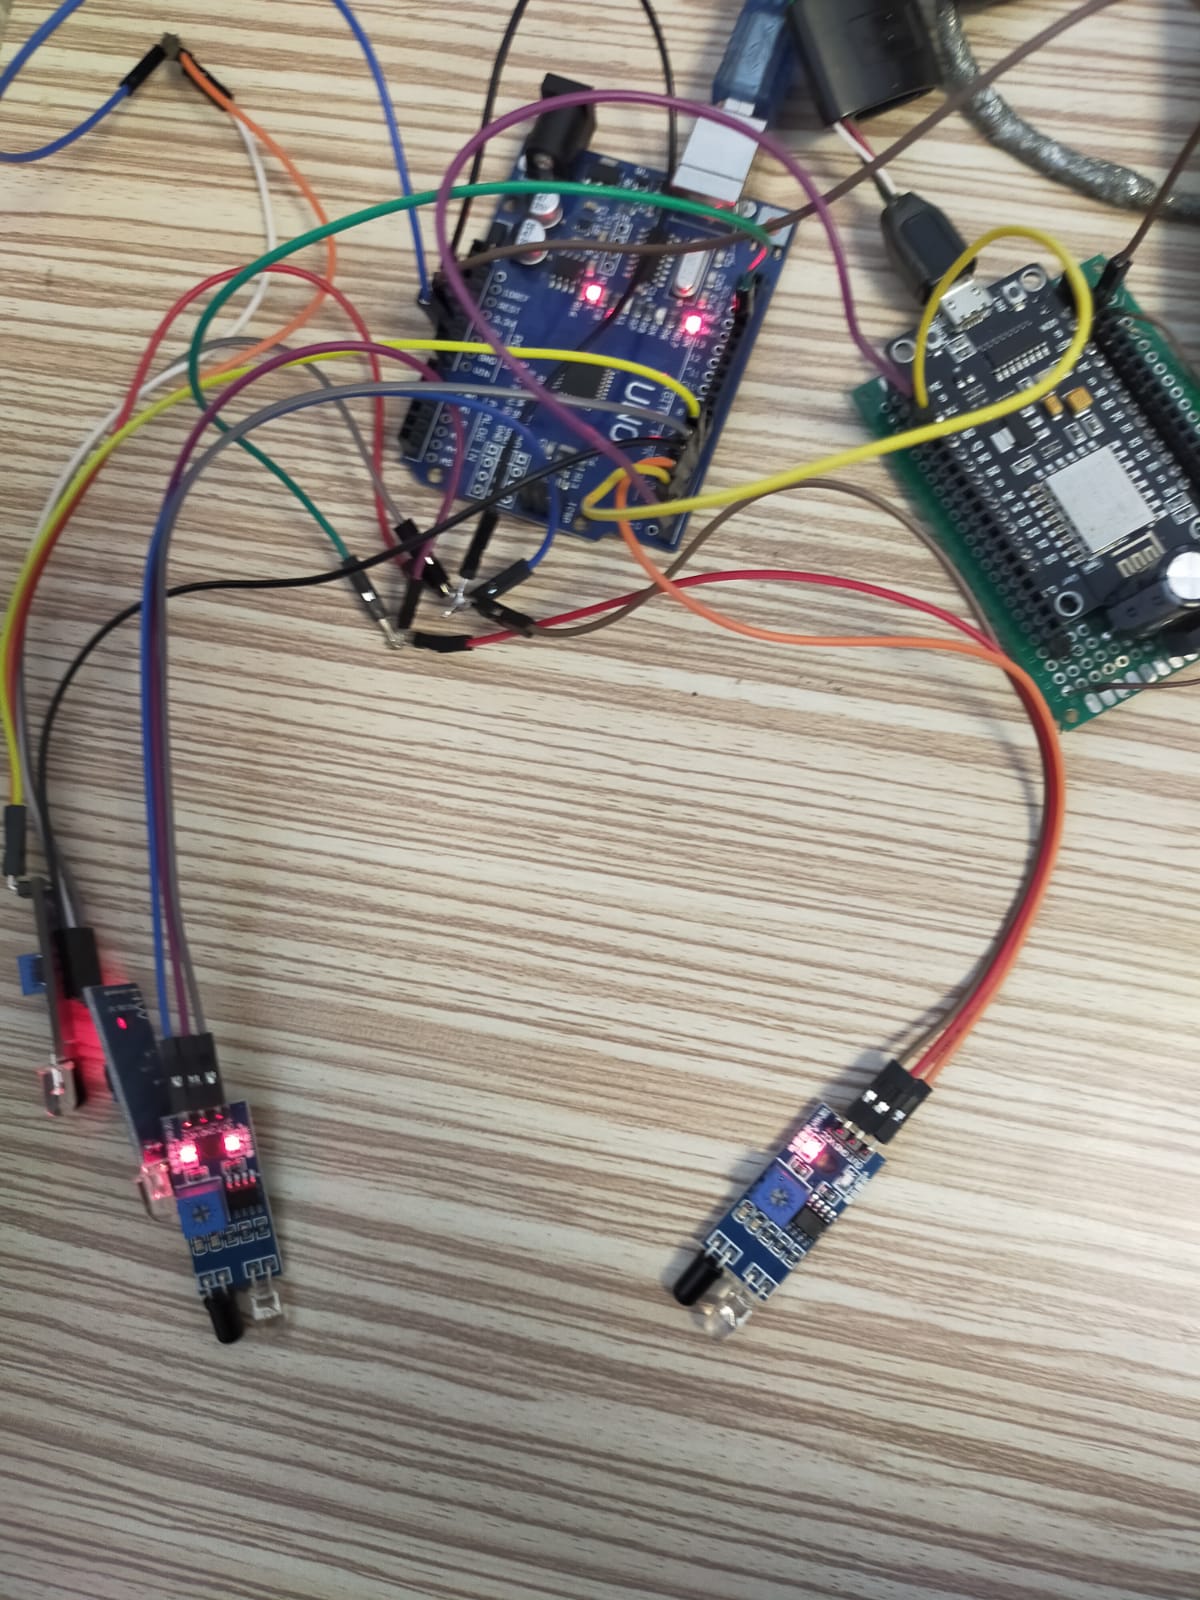
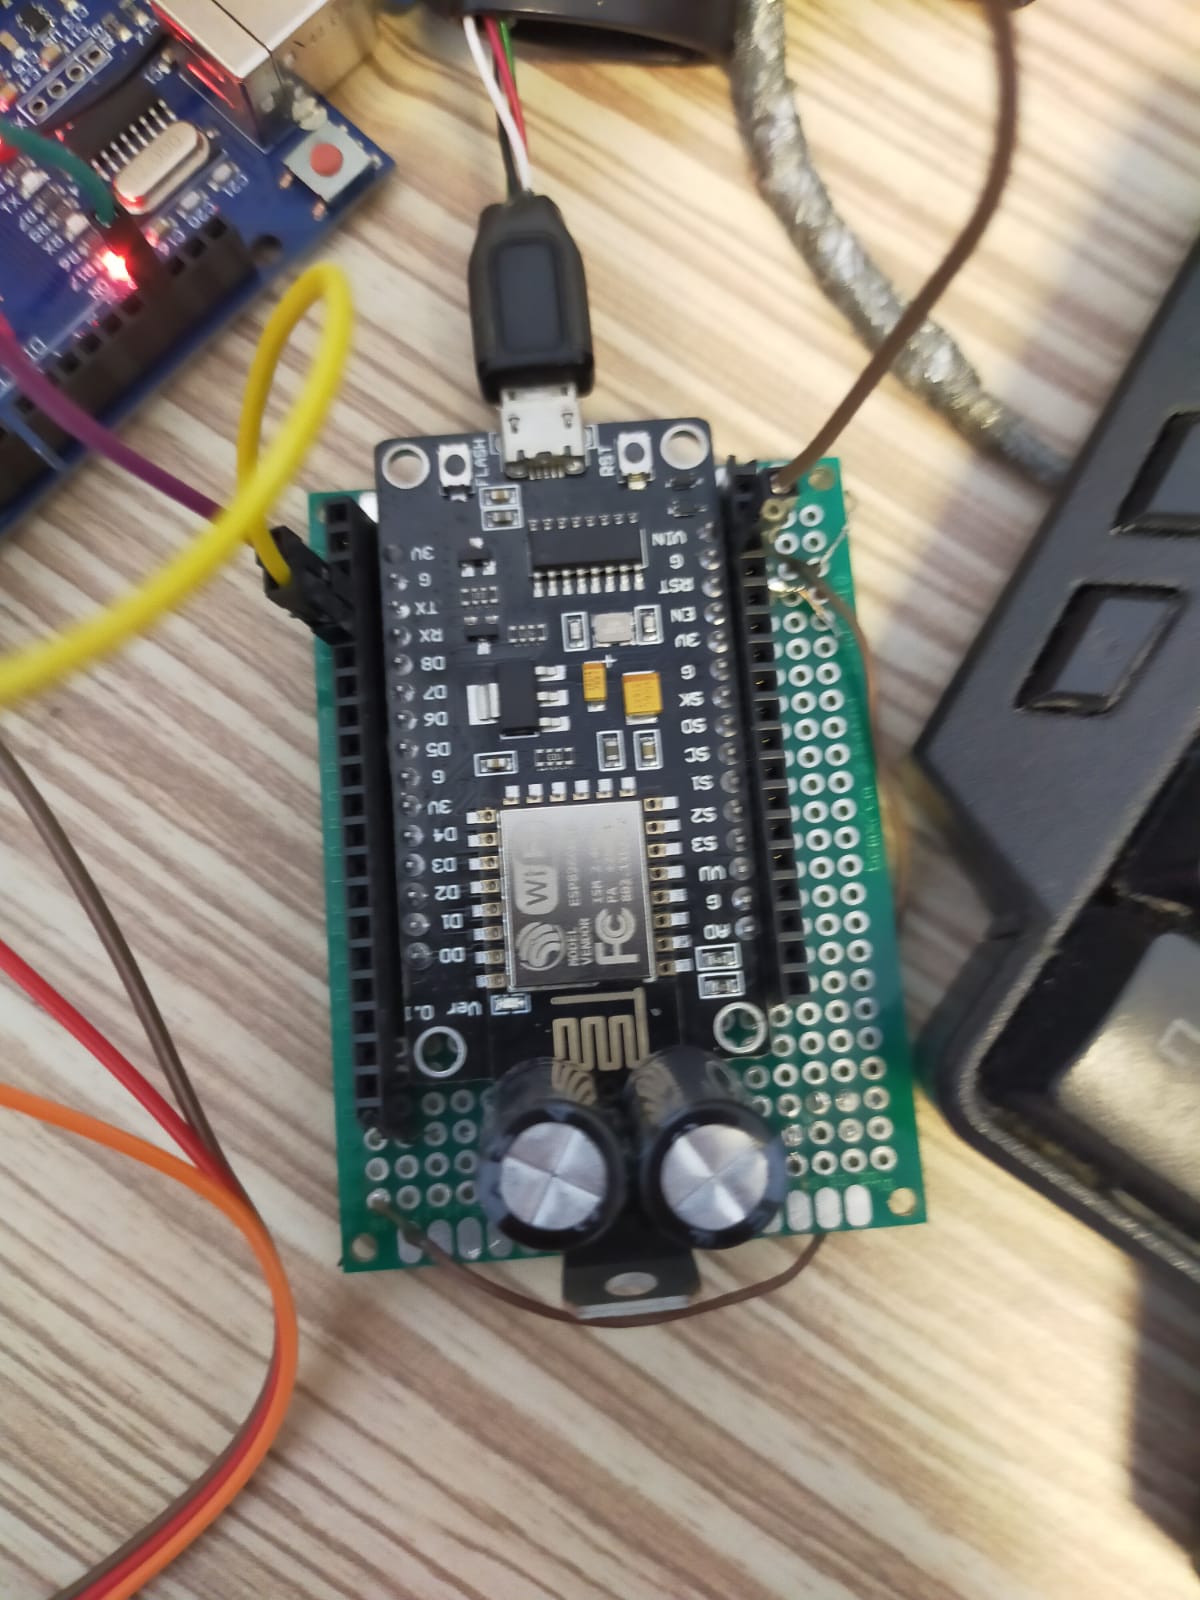
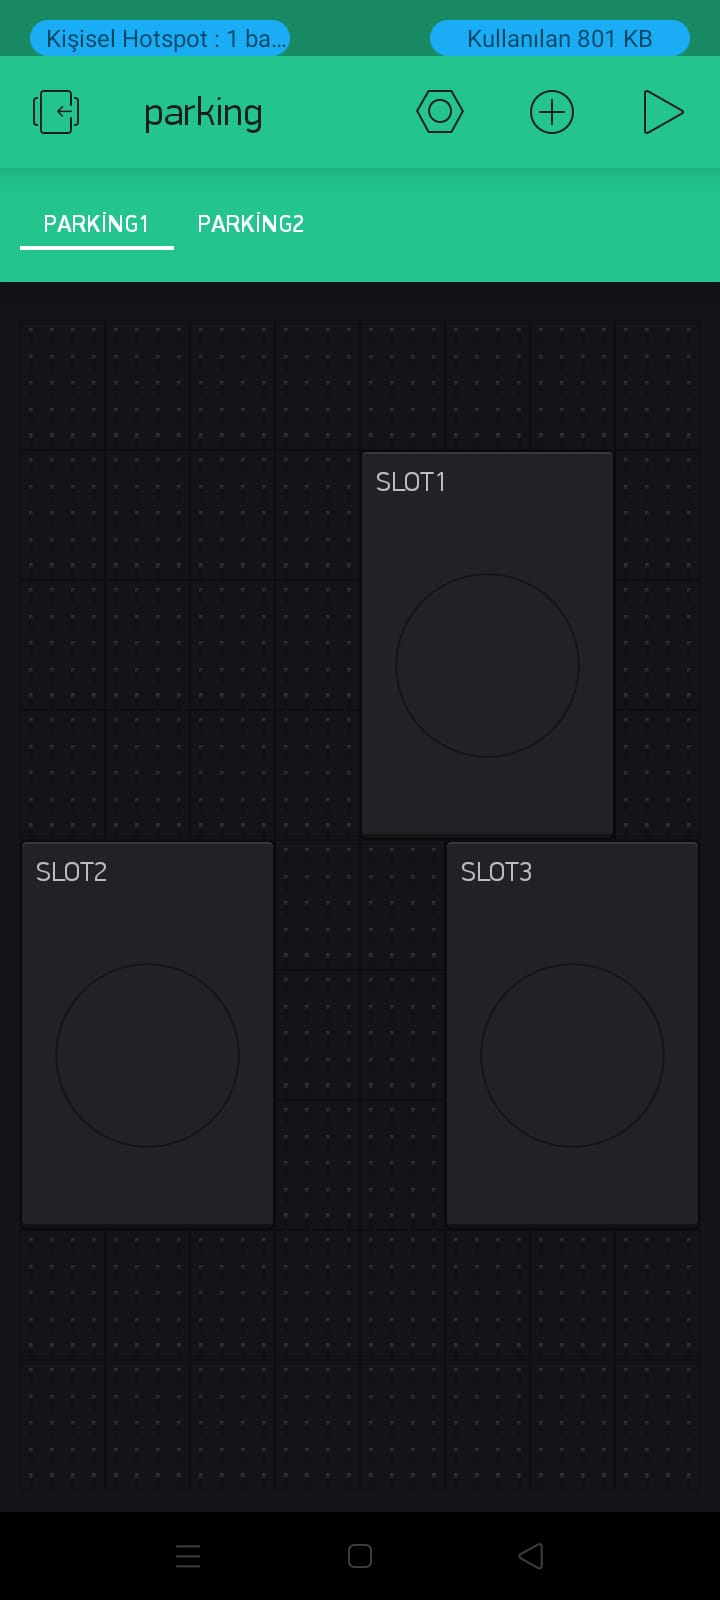
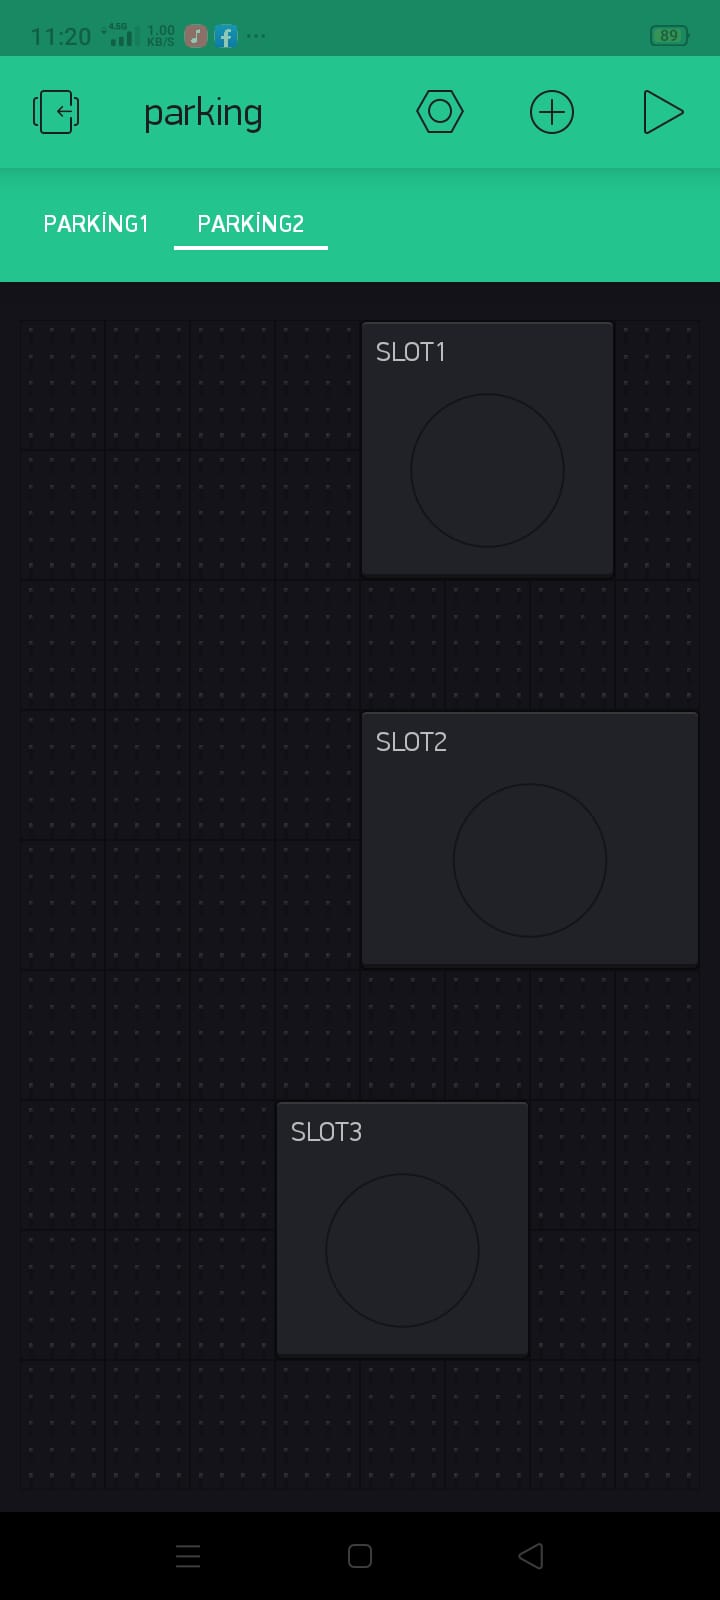
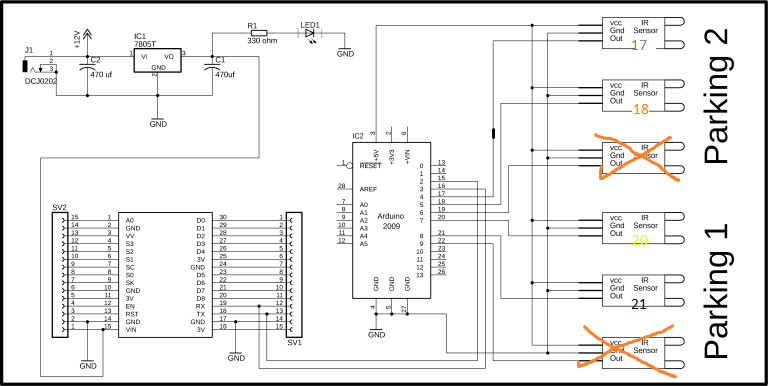
I am new to blynk app.I am trying to make iot parking project with wifi module.Using arduino UNO,esp8266 nodemcu and IR sensor.I am powering esp8226 and arduino with laptop usb.In blynk app using 2 tab and 3 LED per tab.When i put my hand in front of the sensor lights on but cant see light on blynk app LED.Could you help me please? I really need to finish this project in 2 week.(sorry for bad english not my mother tongue)
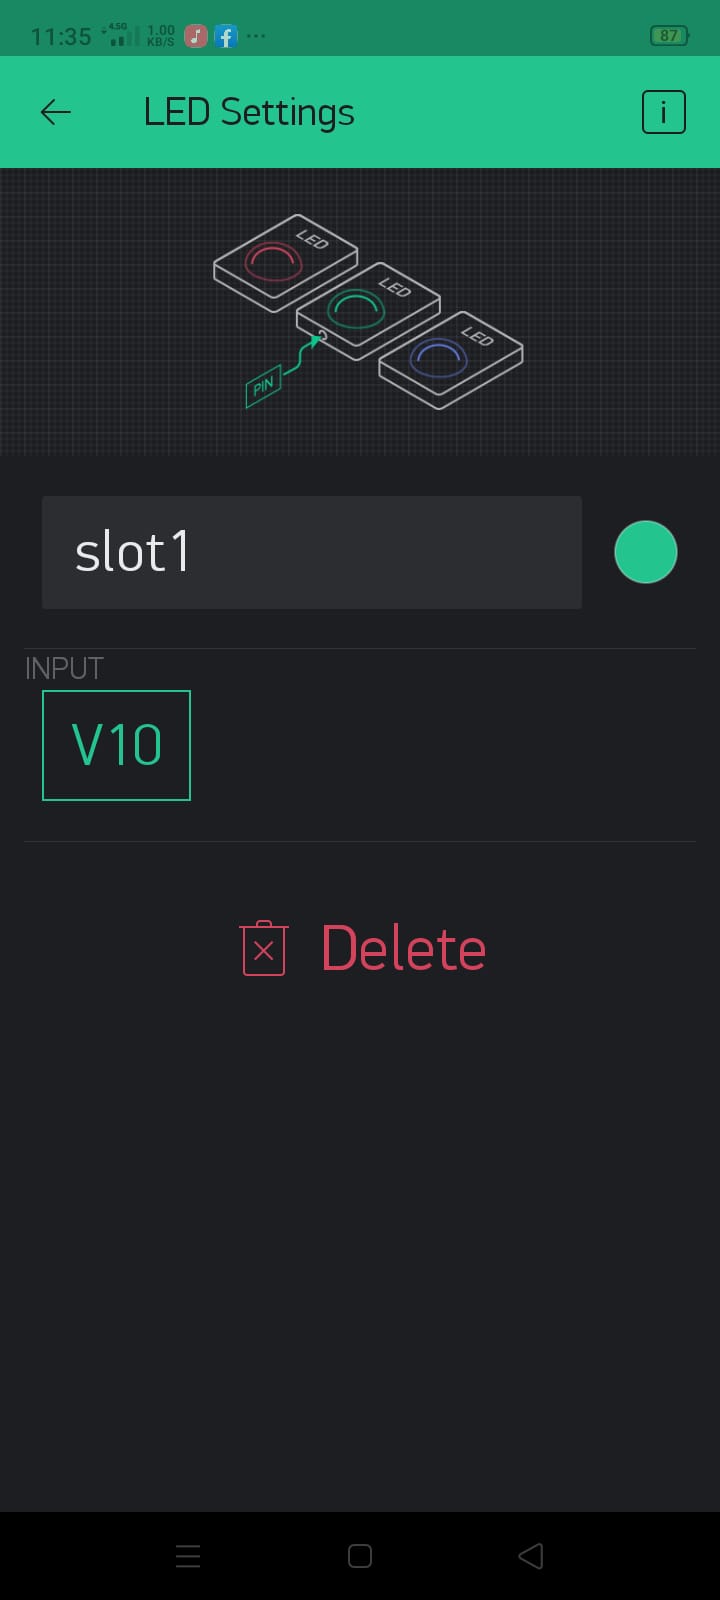
Here photos


Nodemcu esp8266 wifi code side:
#include <ESP8266WiFi.h>
#include <BlynkSimpleEsp8266.h>
#include <SoftwareSerial.h>
#include <SimpleTimer.h>

char auth[] = "uJ1Cxc4UWhVFHNJhf8kxeIcnj17EkSdf";

// Your WiFi credentials.
// Set password to "" for open networks.
char ssid[] = "oppo";
char pass[] = "12345678";

SimpleTimer timer;

String myString; // complete message from arduino, which consistors of sensors data
char rdata; // received charactors

int firstVal, secondVal,thirdVal; // sensors
int led1,led2,led4,led5;
// This function sends Arduino's up time every second to Virtual Pin (1).
// In the app, Widget's reading frequency should be set to PUSH. This means
// that you define how often to send data to Blynk App.
void myTimerEvent()
{
  // You can send any value at any time.
  // Please don't send more that 10 values per second.
  Blynk.virtualWrite(V1, millis() / 1000);

}


void setup()
{
  // Debug console
  Serial.begin(115200);

  Blynk.begin(auth, ssid, pass);

    timer.setInterval(1000L,sensorvalue1);
    timer.setInterval(1000L,sensorvalue2);

    timer.setInterval(1000L,sensorvalue4);
    timer.setInterval(1000L,sensorvalue5);


}

void loop()
{
   if (Serial.available() == 0 )
   {
  Blynk.run();
  timer.run(); // Initiates BlynkTimer
   }

  if (Serial.available() > 0 )
  {
    rdata = Serial.read();
    myString = myString+ rdata;
   // Serial.print(rdata);
    if( rdata == '\n')
    {
     Serial.println(myString);
  // Serial.println("fahad");
// new code
String l = getValue(myString, ',', 0);
String m = getValue(myString, ',', 1);
String o = getValue(myString, ',', 3);
String p = getValue(myString, ',', 4);

// these leds represents the leds used in Blynk application
led1 = l.toInt();
led2 = m.toInt();

led4 = o.toInt();
led5 = p.toInt();

  myString = "";
// end new code
    }
  }

}

void sensorvalue1()
{
int sdata = led1;
  // You can send any value at any time.
  // Please don't send more that 10 values per second.
  Blynk.virtualWrite(V10, sdata);

}
void sensorvalue2()
{
int sdata = led2;
  // You can send any value at any time.
  // Please don't send more that 10 values per second.
  Blynk.virtualWrite(V11, sdata);

}

void sensorvalue4()
{
int sdata = led4;
  // You can send any value at any time.
  // Please don't send more that 10 values per second.
  Blynk.virtualWrite(V13, sdata);

}

void sensorvalue5()
{
int sdata = led5;
  // You can send any value at any time.
  // Please don't send more that 10 values per second.
  Blynk.virtualWrite(V14, sdata);

}

String getValue(String data, char separator, int index)
{
    int found = 0;
    int strIndex[] = { 0, -1 };
    int maxIndex = data.length() - 1;

    for (int i = 0; i <= maxIndex && found <= index; i++) {
        if (data.charAt(i) == separator || i == maxIndex) {
            found++;
            strIndex[0] = strIndex[1] + 1;
            strIndex[1] = (i == maxIndex) ? i+1 : i;
        }
    }
    return found > index ? data.substring(strIndex[0], strIndex[1]) : "";
}
Then i activated the serial port and saw this
[66]Connecting to oppo
[29078] Connected to WiFi
[29078] IP: 192.168.43.10
[29078]
    ___  __          __
   / _ )/ /_ _____  / /__
  / _  / / // / _ \/  '_/
 /____/_/\_, /_//_/_/\_\
        /___/ v0.6.1 on ESP8266

[29085] Connecting to blynk-cloud.com:80
[29299] Ready (ping: 92ms).
It means working right?
Arduino side:
#include <SoftwareSerial.h>

SoftwareSerial nodemcu(0,1);

int parking1_slot1_ir_s = 2; // parking slot1 infrared sensor connected with pin number 4 of arduino
int parking1_slot2_ir_s = 3;

int parking2_slot1_ir_s = 4;
int parking2_slot2_ir_s = 5;

String sensor1;
String sensor2;
String sensor4;
String sensor5;

String cdata =""; // complete data, consisting of sensors values

void setup()
{
Serial.begin(115200);
nodemcu.begin(115200);

pinMode(parking1_slot1_ir_s, INPUT);
pinMode(parking1_slot2_ir_s, INPUT);

pinMode(parking2_slot1_ir_s, INPUT);
pinMode(parking2_slot2_ir_s, INPUT);


}

void loop()
{

p1slot1();
p1slot2();

p2slot1();
p2slot2();

   cdata = cdata + sensor1 +"," + sensor2 + ","+ sensor4 + "," + sensor5 + ","; // comma will be used a delimeter
   Serial.println(cdata);
   nodemcu.println(cdata);
   delay(6000); // 100 milli seconds
   cdata = "";
digitalWrite(parking1_slot1_ir_s, HIGH);
digitalWrite(parking1_slot2_ir_s, HIGH);

digitalWrite(parking2_slot1_ir_s, HIGH);
digitalWrite(parking2_slot2_ir_s, HIGH);

}


void p1slot1() // parkng 1 slot1
{
  if( digitalRead(parking1_slot1_ir_s) == LOW)
  {
  sensor1 = "255";
 delay(200);
  }
if( digitalRead(parking1_slot1_ir_s) == HIGH)
{
  sensor1 = "0";
 delay(200);
}

}

void p1slot2() // parking 1 slot2
{
  if( digitalRead(parking1_slot2_ir_s) == LOW)
  {
  sensor2 = "255";
  delay(200);
  }
if( digitalRead(parking1_slot2_ir_s) == HIGH)
  {
  sensor2 = "0";
 delay(200);
  }
}


// now for parking 2

void p2slot1() // parking 1 slot3
{
  if( digitalRead(parking2_slot1_ir_s) == LOW)
  {
  sensor4 = "255";
  delay(200);
  }
if( digitalRead(parking2_slot1_ir_s) == HIGH)
  {
  sensor4 = "0";
 delay(200);
  }
}


void p2slot2() // parking 1 slot3
{
  if( digitalRead(parking2_slot2_ir_s) == LOW)
  {
  sensor5 = "255";
  delay(200);
  }
if( digitalRead(parking2_slot2_ir_s) == HIGH)
  {
  sensor5 = "0";
 delay(200);
  }
}