ESP32 + Oled display + ds18b20 + Blynk app

Hello,
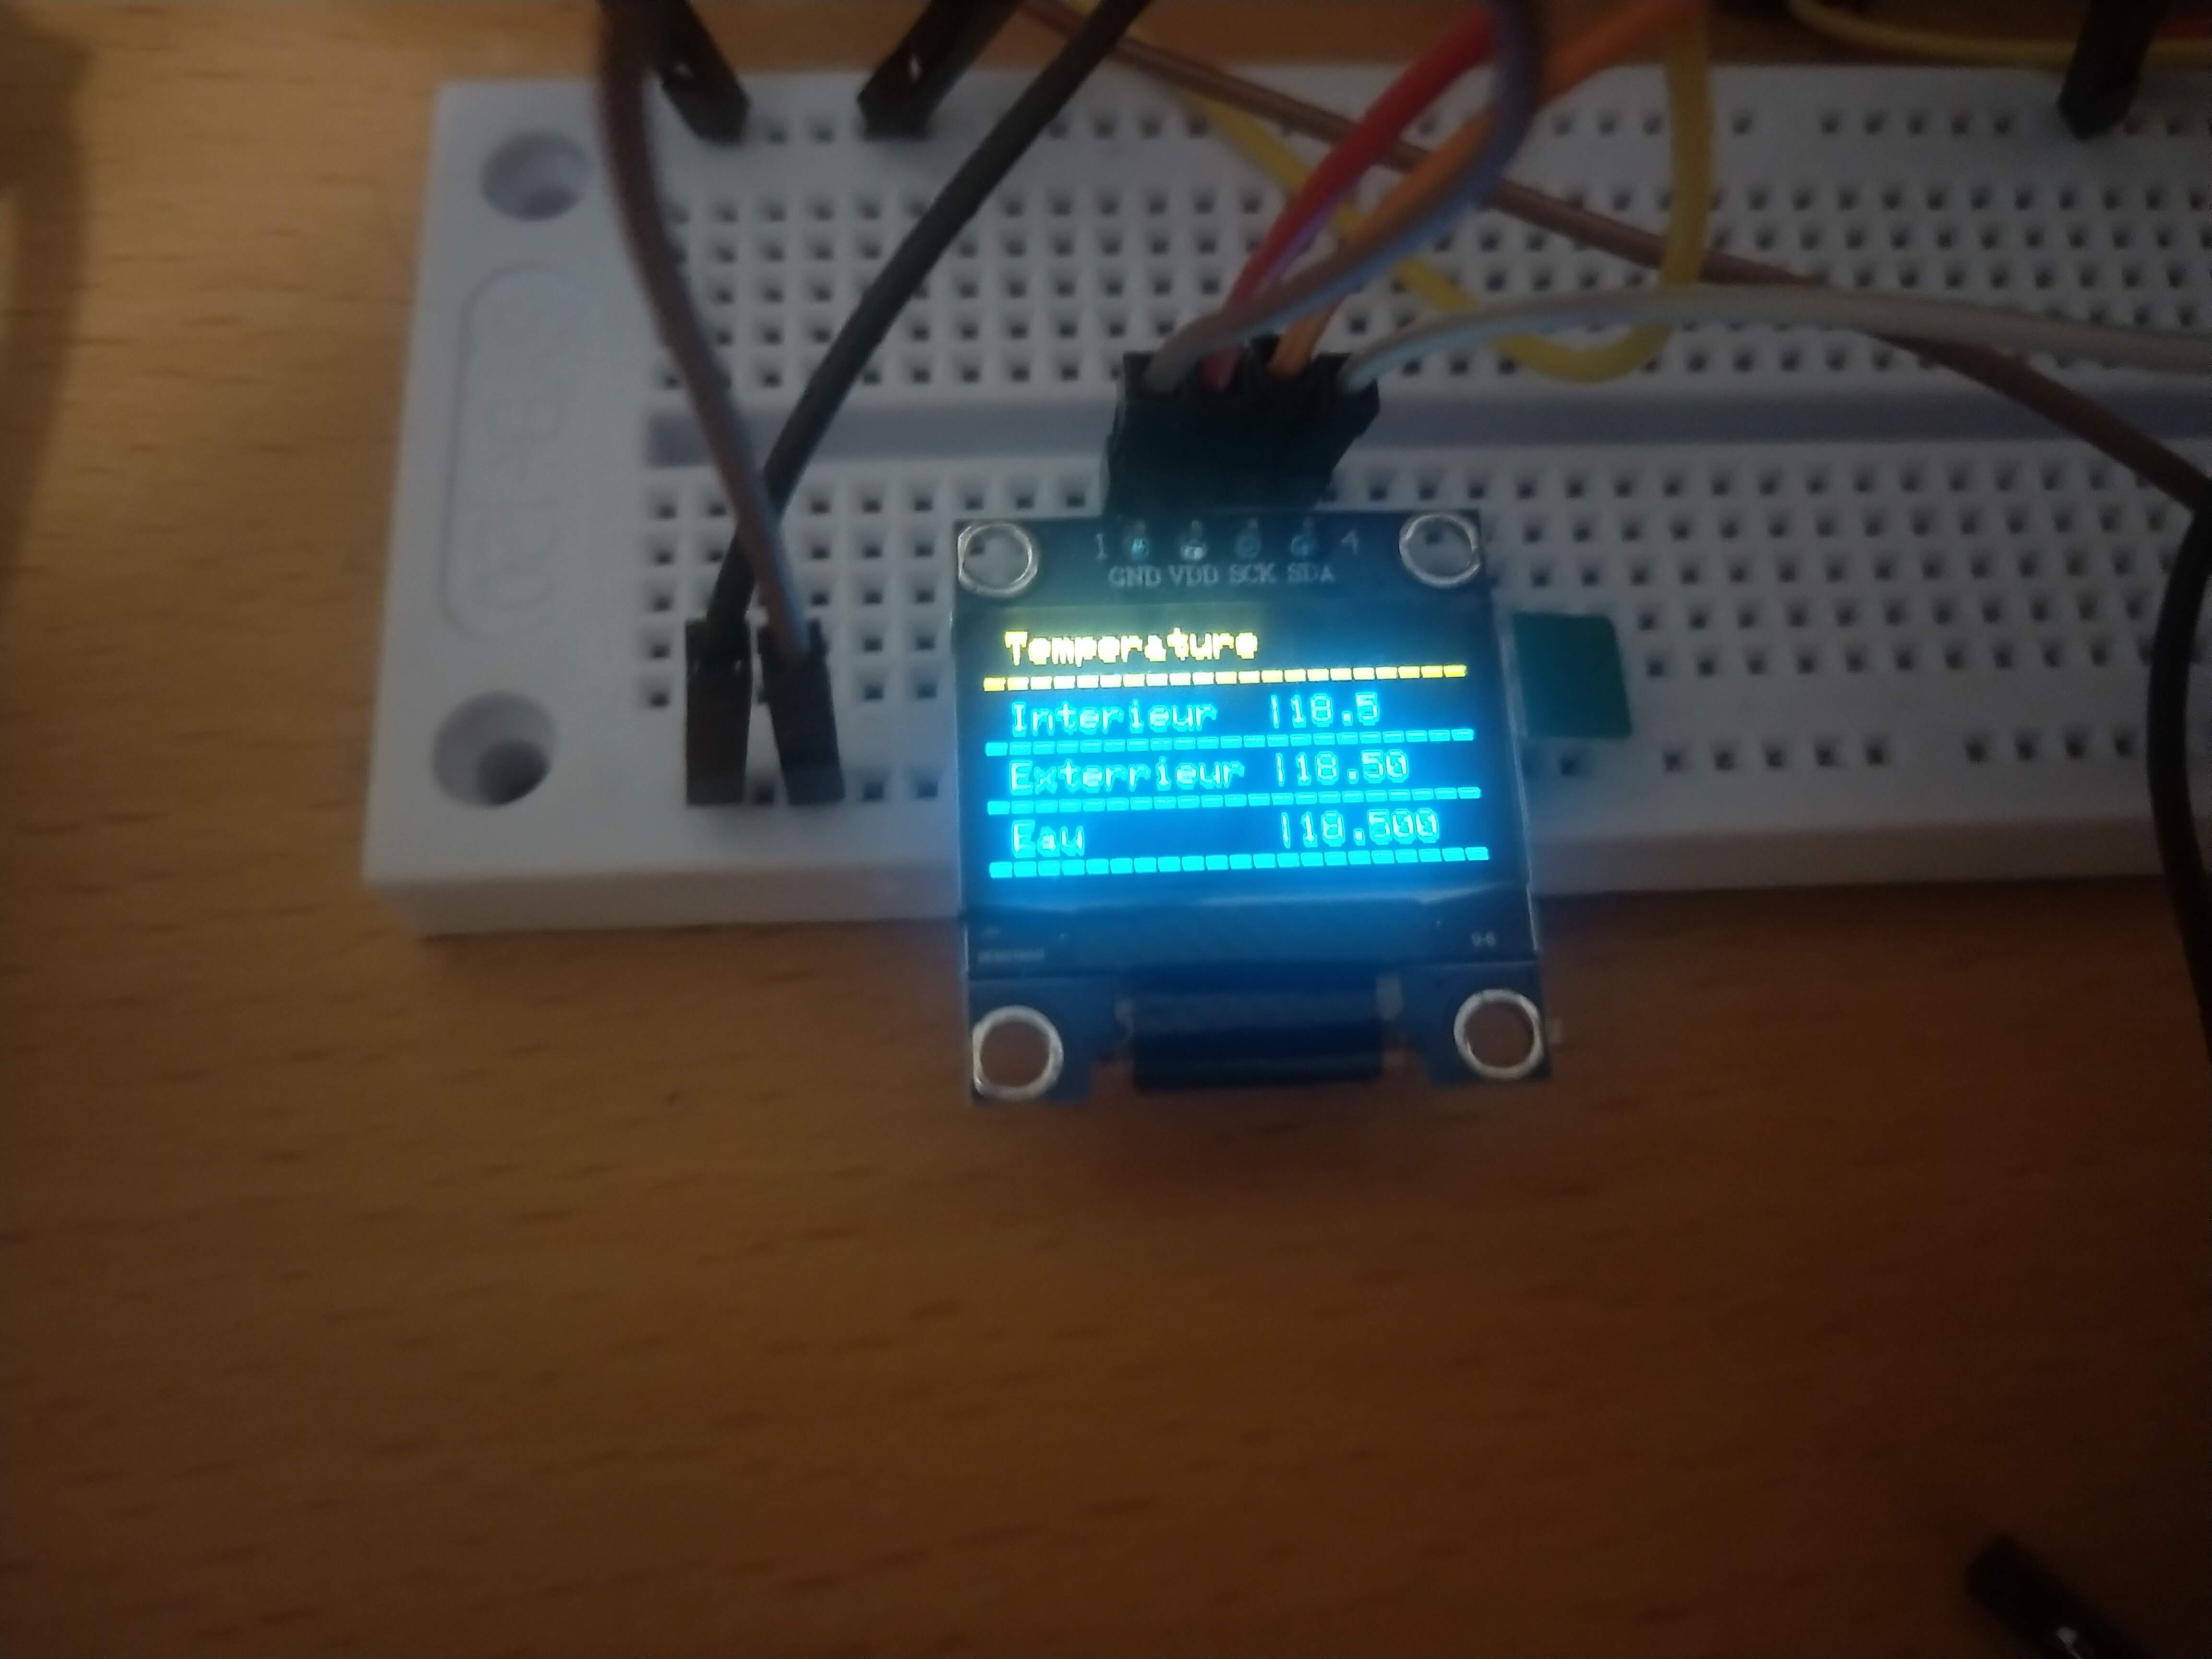
I would like to display the temperature of my ds18b20 sensor on my Blynk app and on my OLED.
My two codes work very well separately but I can not put them together.
Have an idea how to do it?

My code to display the temperature on the BLYNK application :

#define BLYNK_PRINT Serial
#include <WiFi.h>
#include <WiFiClient.h>
#include <BlynkSimpleEsp32.h>


#include <OneWire.h>
#include <DallasTemperature.h> 
#define ONE_WIRE_BUS 23          // Your ESP8266 pin (ESP8266 GPIO 2 = WeMos D1 Mini pin D4)
OneWire oneWire(ONE_WIRE_BUS);
DallasTemperature sensors(&oneWire);

// You should get Auth Token in the Blynk App.
// Go to the Project Settings (nut icon).
char auth[] = "xxxxxxxx";

// Your WiFi credentials.
// Set password to "" for open networks.
char ssid[] = "xxxxx";
char pass[] = "xxxxxxx";

BlynkTimer timer;

float roomTemperature;            // Room temperature in F

void setup()
{
  // Debug console
  Serial.begin(9600);

  Blynk.begin(auth, ssid, pass);
  // You can also specify server:
  //Blynk.begin(auth, ssid, pass, "blynk-cloud.com", 80);
  //Blynk.begin(auth, ssid, pass, IPAddress(192,168,1,100), 8080);

  sensors.begin();                        // Starts the DS18B20 sensor(s).
  sensors.setResolution(10);              // More on resolution: http://www.homautomation.org/2015/11/17/ds18b20-how-to-change-resolution-9101112-bits/

  timer.setInterval(5000L, sendTemps);    
}

void loop()
{
  Blynk.run();
  timer.run();
  // You can inject your own code or combine it with other sketches.
  // Check other examples on how to communicate with Blynk. Remember
  // to avoid delay() function!
}
void sendTemps()
{
  sensors.requestTemperatures();                  // Polls the sensors.
  roomTemperature = sensors.getTempCByIndex(0);   // Stores temperature. Change to getTempCByIndex(0) for celcius.
  Blynk.virtualWrite(1, roomTemperature);         // Send temperature to Blynk app virtual pin 1.
}

My code with my OLED :

#include <SPI.h>
#include <Wire.h>
#include <Adafruit_GFX.h>
#include <Adafruit_SSD1306.h>

#define SCREEN_WIDTH 128 // OLED display width, in pixels
#define SCREEN_HEIGHT 64 // OLED display height, in pixels
#include <OneWire.h>
#include <DallasTemperature.h> 
#define ONE_WIRE_BUS 23          // Your ESP8266 pin (ESP8266 GPIO 2 = WeMos D1 Mini pin D4)
OneWire oneWire(ONE_WIRE_BUS);
DallasTemperature sensors(&oneWire);
float roomTemperature;            // Room temperature in F

// Declaration for an SSD1306 display connected to I2C (SDA, SCL pins)
#define OLED_RESET     -1 // Reset pin # (or -1 if sharing Arduino reset pin)
Adafruit_SSD1306 display(SCREEN_WIDTH, SCREEN_HEIGHT, &Wire, OLED_RESET);

#define NUMFLAKES     10 // Number of snowflakes in the animation example

#define LOGO_HEIGHT   16
#define LOGO_WIDTH    16
static const unsigned char PROGMEM logo_bmp[] =
{ B00000000, B11000000,
  B00000001, B11000000,
  B00000001, B11000000,
  B00000011, B11100000,
  B11110011, B11100000,
  B11111110, B11111000,
  B01111110, B11111111,
  B00110011, B10011111,
  B00011111, B11111100,
  B00001101, B01110000,
  B00011011, B10100000,
  B00111111, B11100000,
  B00111111, B11110000,
  B01111100, B11110000,
  B01110000, B01110000,
  B00000000, B00110000 };

void setup() {
  Serial.begin(115200);
  sensors.begin();                        // Starts the DS18B20 sensor(s).
  sensors.setResolution(10);              // More on resolution: http://www.homautomation.org/2015/11/17/ds18b20-how-to-change-resolution-9101112-bits/


  // SSD1306_SWITCHCAPVCC = generate display voltage from 3.3V internally
  if(!display.begin(SSD1306_SWITCHCAPVCC, 0x3C)) { 
    Serial.println(F("SSD1306 allocation failed"));
    for(;;); // Don't proceed, loop forever
  }

  // Show initial display buffer contents on the screen --
  // the library initializes this with an Adafruit splash screen.
  display.display();
  delay(2000); // Pause for 2 seconds

  // Clear the buffer
  display.clearDisplay();

  // Draw a single pixel in white
  display.drawPixel(10, 10, WHITE);

  // Show the display buffer on the screen. You MUST call display() after
  // drawing commands to make them visible on screen!
  display.display();
  delay(2000);
  // display.display() is NOT necessary after every single drawing command,
  // unless that's what you want...rather, you can batch up a bunch of
  // drawing operations and then update the screen all at once by calling
  // display.display(). These examples demonstrate both approaches...


  // Invert and restore display, pausing in-between
  display.invertDisplay(true);
  delay(1000);
  display.invertDisplay(false);
  delay(1000);

}

void loop() {
  testscrolltext();    // Draw scrolling text
}


void testscrolltext(void) {
  display.clearDisplay();

  display.setTextSize(2); // Draw 2X-scale text
  display.setTextColor(WHITE);
  display.setCursor(10, 0);
  display.println(F("louloute"));
  display.display();      // Show initial text
  
  delay(100);
 

  // Scroll in various directions, pausing in-between:

  
 sensors.requestTemperatures();                  // Polls the sensors.
  roomTemperature = sensors.getTempCByIndex(0);
  display.setTextSize(3);             // Draw 2X-scale text
  display.print(roomTemperature);
  display.print("C");
  display.display();
  delay(1000);
  display.clearDisplay();
 
}

So are “your two codes” sketches that you’ve written, or that you’ve found on the internet? The reason for asking is to find out if you understand each line of each sketch?

If so, then it’s fairly easy to explain what changes you should make.

Pete.

These are codes that I had on the internet and I adapted them so that it works with my equipment

Okay, so use the Blynk code and add-in the libraries, variables and object initialisations that belong to the OLED display.

Then, modify your sendTemps function to add-in some of the code from the testscrolltext function in the OLED code.
You don’t need to take the temperature reading again, as this has already been done. You also don’t need the delays, and you probably want to delete the display.clearDisplay() command from the end of the function.

Pete.

2 Likes

thank you @PeteKnight for your explanation. :+1: :+1:

I modify my code, the three temperatures are displayed on the screen. But it remains illegible because it changes very quickly. I know I can’t use a delay with blynk, what can I put to create a pause between each temperature ?

#define BLYNK_PRINT Serial
#include <WiFi.h>
#include <WiFiClient.h>
#include <BlynkSimpleEsp32.h>
#include <OneWire.h>
#include <DallasTemperature.h>

#include <Adafruit_GFX.h>
#include <Adafruit_SSD1306.h>

#define SCREEN_WIDTH 128 // OLED display width, in pixels
#define SCREEN_HEIGHT 64 // OLED display height, in pixels

// Declaration for an SSD1306 display connected to I2C (SDA, SCL pins)
#define OLED_RESET     -1 // Reset pin # (or -1 if sharing Arduino reset pin)
Adafruit_SSD1306 display(SCREEN_WIDTH, SCREEN_HEIGHT, &Wire, OLED_RESET);


char auth[] = "xxxxx";

// Your WiFi credentials.
// Set password to "" for open networks.
char ssid[] = "SFR_6188";
char pass[] = "xxxx";
BlynkTimer timer;

// one wire temperature
#define ONE_WIRE_BUS 23
OneWire oneWire(ONE_WIRE_BUS);  
DallasTemperature sensors(&oneWire);
int deviceCount = 3;
float tempC;


void setup()
{
  Blynk.begin(auth, ssid, pass);
  sensors.begin();  // debut de la librairie capteur de température
  Serial.begin(9600);
  
  // locate devices on the bus
  deviceCount = sensors.getDeviceCount();

    if(!display.begin(SSD1306_SWITCHCAPVCC, 0x3C)) { // Address 0x3D for 128x64
    Serial.println(F("SSD1306 allocation failed"));
    for(;;); // Don't proceed, loop forever
  }

  // Clear the buffer
  display.clearDisplay();
  display.display();
  

  timer.setInterval(10000L, temperature);
}

void loop()
{ 
  Blynk.run();
  timer.run();
}
void temperature()
{
  // Send command to all the sensors for temperature conversion
  sensors.requestTemperatures(); 
  
  // Display temperature from each sensor
  for (int i = 0;  i < deviceCount;  i++)
  {
    
    tempC = sensors.getTempCByIndex(i);
    Blynk.virtualWrite(i+21,tempC);

  display.clearDisplay();
  display.display();

  display.setTextSize(1);
  display.setTextColor(SSD1306_WHITE);
  display.setCursor(0,0);
  display.println(" Temperature 2");
  display.println("---------------------");
  display.setCursor(1,27);
  display.setTextSize(3);
  display.print(tempC,1);
  display.clearDisplay();
  display.clearDisplay();
  
  display.setTextSize(1);
  display.setTextColor(SSD1306_WHITE);
  display.setCursor(0,0);
  display.println(" Temperature 2");
  display.println("---------------------");
  display.display();
  display.setCursor(1,27);
  display.setTextSize(3);
  display.print(tempC,2);
  display.display();
  display.clearDisplay();

  display.setTextSize(1);
  display.setTextColor(SSD1306_WHITE);
  display.setCursor(0,0);
  display.println(" Temperature 3");
  display.println("---------------------");
  display.display();
  display.setCursor(1,27);
  display.setTextSize(3);
  display.print(tempC,3);
  display.display();
  }
}

The sensible approach would be to display al three temperatures on the display at the same time, in different locations.
Alternatively, you could display one of the temperatures in turn each time the temperature function is called. To do this you’d use a variable to act as a pointer to which sensor to display and increment it each time the function is called.

Pete.

why my three sensors indicate the same temperature ?
on the application I have three different temperatures

void temperature()
{
  // Send command to all the sensors for temperature conversion
  sensors.requestTemperatures(); 
  
  // Display temperature from each sensor
  for (int i = 0;  i < deviceCount;  i++)
  {
    
    tempC = sensors.getTempCByIndex(i);
    Blynk.virtualWrite(i+21,tempC);

  display.clearDisplay();
  display.display();

  display.setTextSize(1);
  display.setTextColor(SSD1306_WHITE);
  display.setCursor(0,0);
  display.println(" Temperature ");
  
  
  display.setCursor(0,10);
  display.setTextSize(1);
  display.println("---------------------");
  display.print(" Interieur  |");
  display.println(tempC,1);
  display.println("---------------------");


  display.setTextSize(1);
  display.print(" Exterrieur |");
  display.println(tempC,2);
  display.println("---------------------");
  display.display();
  
  
  display.setTextSize(1);
  display.print(" Eau        |");
  display.println(tempC,3);
  display.println("---------------------");
  display.display();
  }
}


Once again, you’re tripling-up on the processes you do within a loop, instead of using your loop pointer to do the work for you.

Do not clear the display between each iteration of the loop, do it once at the beginning of the function.
Write the “Temperature” and location text, and the display grid once at the beginning of the function

Define three positions for the three temperatures, and index them as 0, 1 and 2

Within the loop, go to position i (which will be 0 the first time around, and write temperature (i) to that location.

Pete.

If I understand correctly I must write :

display.println(i+1,tempC);

Could you explain to me further, because I do not understand.
Do you have an example so that I understand ?

No, I think you’ve totally misunderstood the idea.

No, I don’t.

Do you understand this…

Pete.

for the start, is that correct?

void temperature()
{
   display.clearDisplay();
  display.display();
  display.setTextSize(1);
  display.setTextColor(SSD1306_WHITE);
  display.setCursor(0,0);
  display.println(" Temperature ");

  display.setCursor(0,10); // position 0
  display.setCursor(0,30); // position 1
  display.setCursor(0,40); // position 2


  // Send command to all the sensors for temperature conversion
  sensors.requestTemperatures(); 
  
  // Display temperature from each sensor
  for (int i = 0;  i < deviceCount;  i++)
  {
    
    tempC = sensors.getTempCByIndex(i);
    Blynk.virtualWrite(i+21,tempC);

And what about the code that draws the grid of lines, with the names of the three locations?

Pete.

void temperature()
{
  display.clearDisplay();
  display.display();
  display.setTextSize(1);
  display.setTextColor(SSD1306_WHITE);
  display.setCursor(0,0);
  display.println(" Temperature ");

  display.setCursor(0,10); // position 0
  display.print(" Interieur  |");
  display.print(tempC);
  display.display();
  
  display.setCursor(0,30); // position 1
  display.print(" Exterrieur |");
  display.print(tempC);
  display.display();
  
  display.setCursor(0,40); // position 2
  display.print(" Eau        |");
  display.print(tempC);
  display.display();


  // Send command to all the sensors for temperature conversion
  sensors.requestTemperatures(); 
  
  // Display temperature from each sensor
  for (int i = 0;  i < deviceCount;  i++)
  {
    
    tempC = sensors.getTempCByIndex(i);
    Blynk.virtualWrite(i+21,tempC);

At this part of the process, you just want the grid and the static text, not the temperature readings. These will be written to the display during the for loop.
Personally, I’d have expected some of these lines of data to be written on to different lines of the display, not line 0 which I think is what the 0 in this command does…

Once you have the grid displaying correctly without any temperature readings then the next step is to work out the display coordinates for the three locations where the temperatures will be inserted.

Pete.

everything is displayed as I want.
I also found the position to insert the temperature

void temperature()
{
  display.clearDisplay();
  display.display();
  display.setTextSize(1);
  display.setTextColor(SSD1306_WHITE);
  display.setCursor(0,0);
  display.println(" Temperature ");

  display.setCursor(0,20); // position 0
  display.print(" Interieur  |");
  display.display();
  
  display.setCursor(0,30); // position 1
  display.print(" Exterrieur |");
  display.display();
  
  display.setCursor(0,40); // position 2
  display.println(" Eau        |");
  display.display();
  
  display.setCursor(80,20); // position 0 température Interieur
  display.setCursor(80,30); // position 1 température exterieur
  display.setCursor(80,40); // position 1 température eau


  // Send command to all the sensors for temperature conversion
  sensors.requestTemperatures(); 
  
  // Display temperature from each sensor
  for (int i = 0;  i < deviceCount;  i++)
  {
    
    tempC = sensors.getTempCByIndex(i);
    Blynk.virtualWrite(i+21,tempC);
    
  }
}

Okay, I’m still confused about the syntax for the cursor positions, but assuming that they are correct then you need to put these locations into an integer array so that they can be referenced in the loop…

int lcd_position[] = {10, 20, 30};

Then use this in the loop, probably something like this…

  // Display temperature from each sensor
  for (int i = 0;  i < deviceCount;  i++)
  {
    
    tempC = sensors.getTempCByIndex(i);
    Blynk.virtualWrite(i+21,tempC);
    display.setCursor(80,lcd_position[i]);
    display.print(tempC);
    display.display();
  }

And this needs to be removed...

[quote="Guillaume_Lescoute, post:16, topic:50032"]
  display.setCursor(80,20); // position 0 température Interieur
  display.setCursor(80,30); // position 1 température exterieur
  display.setCursor(80,40); // position 1 température eau
[/quote]

Pete.

thank you very much for your help.
I use an Oled screen
The code may be with an LCD screen

Now I will try to combine this code, with my relay code and push button