Hi All,
I’ve looked around in past post on this but have not quite found my answer. Hoping to pick your brain with this post…
I’ve done several projects using ESP32 Dev module and Blynk IoT. Now I am interested in using R Pi W. I checked the Edgent examples in Arduino IDE but don’t see any relating to pico W. Also there does not appear to be a configuration for the Pico W in the settings.h file. I see there is a custom settings section, so I am wondering what I should edit there?
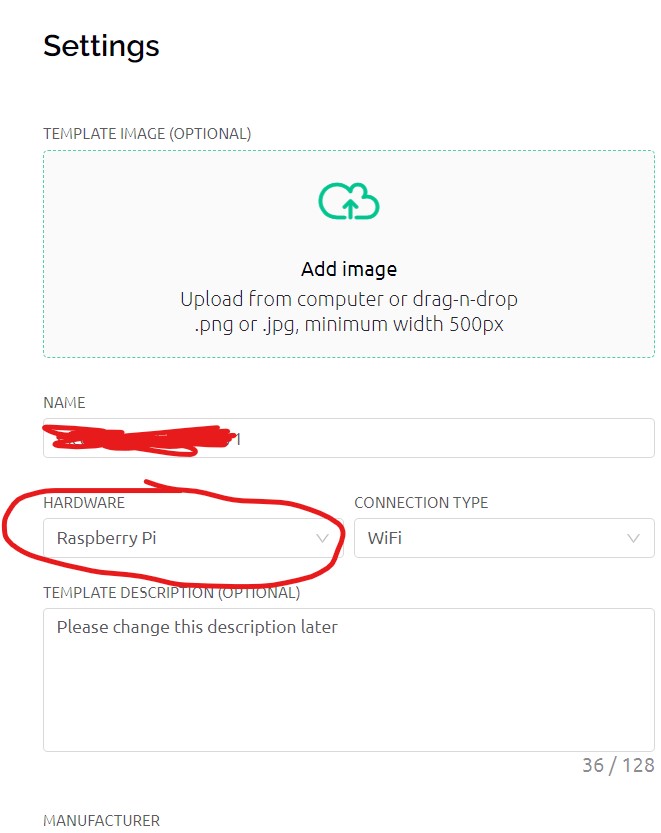
I want to use Arduino IDE to program the Pico W. I have already built the circuit (and tested that it works) for the Pico with a simply LED on GP14. For now to get started I simply want to turn ON and OFF the LED via the Blynk IoT app. I made a template and assigned a virtual pin to a switch button. All good. The thing missing is the configuration for the Pico in the settings. Any help is much appreciated.
Cheers,
MathPi
Edit # 1 - some further digging…
I am just trying to compile the sketch without declaring any board (e.g. such as #define USE_ESP32_DEV_MODULE). Below is my code.
#define BLYNK_TEMPLATE_ID "REMOVED"
#define BLYNK_TEMPLATE_NAME "REMOVED"
#define BLYNK_FIRMWARE_VERSION "0.0.1"
#define BLYNK_PRINT Serial
#define APP_DEBUG
// #define USE_ESP32_DEV_MODULE
#include "BlynkEdgent.h"

BlynkTimer timer; // Announcing the timer

// Setting the pin numbers for the LEDs. Pin assignments are hardwired and therefore should not be changed here.
const int LED1 = 14;
const int LED2 = 15;

BLYNK_WRITE(V0) {
  // integer value for LED1
  int statusLED1 = param.asInt();
}

BLYNK_WRITE(V1) {
  // integer value for LED2
  int statusLED2 = param.asInt();
}

void setup() {
  // initialize the LED pin as an output:
  pinMode(LED1, OUTPUT);
  pinMode(LED2, OUTPUT);

  Blynk.virtualWrite(V0, 0); // Set LED1 initially to off
  Blynk.virtualWrite(V1, 0); // Set LED2 initially to off

  timer.setInterval(5L, data_transfer);
}

void loop() {
  BlynkEdgent.run();
  timer.run();
}

data_transfer(){
  // check if B1 is pressed. If it is, the buttonState is HIGH:
  if (statusLED1 == HIGH) {
    // turn LED1 ON:
    digitalWrite(LED1, HIGH);
  } else {
    // turn LED1 OFF:
    digitalWrite(LED1, LOW);
  }

    // check if B2 is pressed. If it is, the buttonState is HIGH:
  if (statusLED2 == HIGH) {
    // turn LED2 ON:
    digitalWrite(LED2, HIGH);
  } else {
    // turn LED2 OFF:
    digitalWrite(LED2, LOW);
  }
}
Upon trying to compile I get error message that a file named Preferences.h is missing. I cannot find it under any folder within Blynk. Searching online I can’t find it either. Here are some of the messages I get…
In file included from [path removed]\Example\BlynkEdgent.h:8,
from [path removed]\Example\PicoBaseProto_Basics.ino:23:
[path removed]\Arduino\libraries\Blynk\src/BlynkSimpleEsp32_SSL.h:15:2: error: #error This code is intended to run on the ESP32 platform! Please check your Tools->Board setting.
15 | #error This code is intended to run on the ESP32 platform! Please check your Tools->Board setting.
| ^~~~~
In file included from [path removed]\BlynkEdgent.h:37,
from [path removed]\Example.ino:23:
[path removed]\Example\ConfigStore.h:111:10: fatal error: Preferences.h: No such file or directory
111 | #include <Preferences.h>
| ^~~~~~~~~~~~~~~
compilation terminated.
I got the correct board selected under Tools-> Board setting (Raspberry Pi Pico W).
I am using Arduino IDE 2.0.3 and the Blynk library 1.2.0. So I guess I now have two questions.
Finally, I know that I have Arduino IDE properly configured for RPi as other sketches (not Edgent related) work just fine. I am able to compile and upload sketches to the RPi and make an LED blink, for example.
- How to configure the settings.h file?
- How to fix the missing Preferences.h file?
Any tips or guidance would be much appreciated