#define BLYNK_PRINT Serial
#include <ESP8266WiFi.h>
#include <BlynkSimpleEsp8266.h> // include BlynkSimpleEsp8266 in this folder "Docunment > Arduino > Library"
// You should get Auth Token in the Blynk App.
// Go to the Project Settings (nut icon).
char auth[] = "crnuHeg0A_YhxxeyFoEX13yqj3ubCTUi"; // replace yout auth token here.
// Your WiFi credentials.
// Set password to "" for open networks.
char ssid[] = "Kapoor"; //Wifi SSID Name
char pass[] = "kapoor1312";  //Wifi Password
void setup()
{
  // Debug console
  Serial.begin(9600);
  pinMode(D1,OUTPUT);
  pinMode(D2,OUTPUT);
  pinMode(D3,OUTPUT);
  pinMode(D4,OUTPUT);
  digitalWrite(D1,HIGH);
  digitalWrite(D2,HIGH);
  digitalWrite(D3,HIGH);
  digitalWrite(D4,HIGH);


  Blynk.begin(auth, ssid, pass);
  // You can also specify server:
  //Blynk.begin(auth, ssid, pass, "blynk-cloud.com", 8442);
  //Blynk.begin(auth, ssid, pass, IPAddress(192,168,1,100), 8442);
}
void loop()
{
  Blynk.run();
}
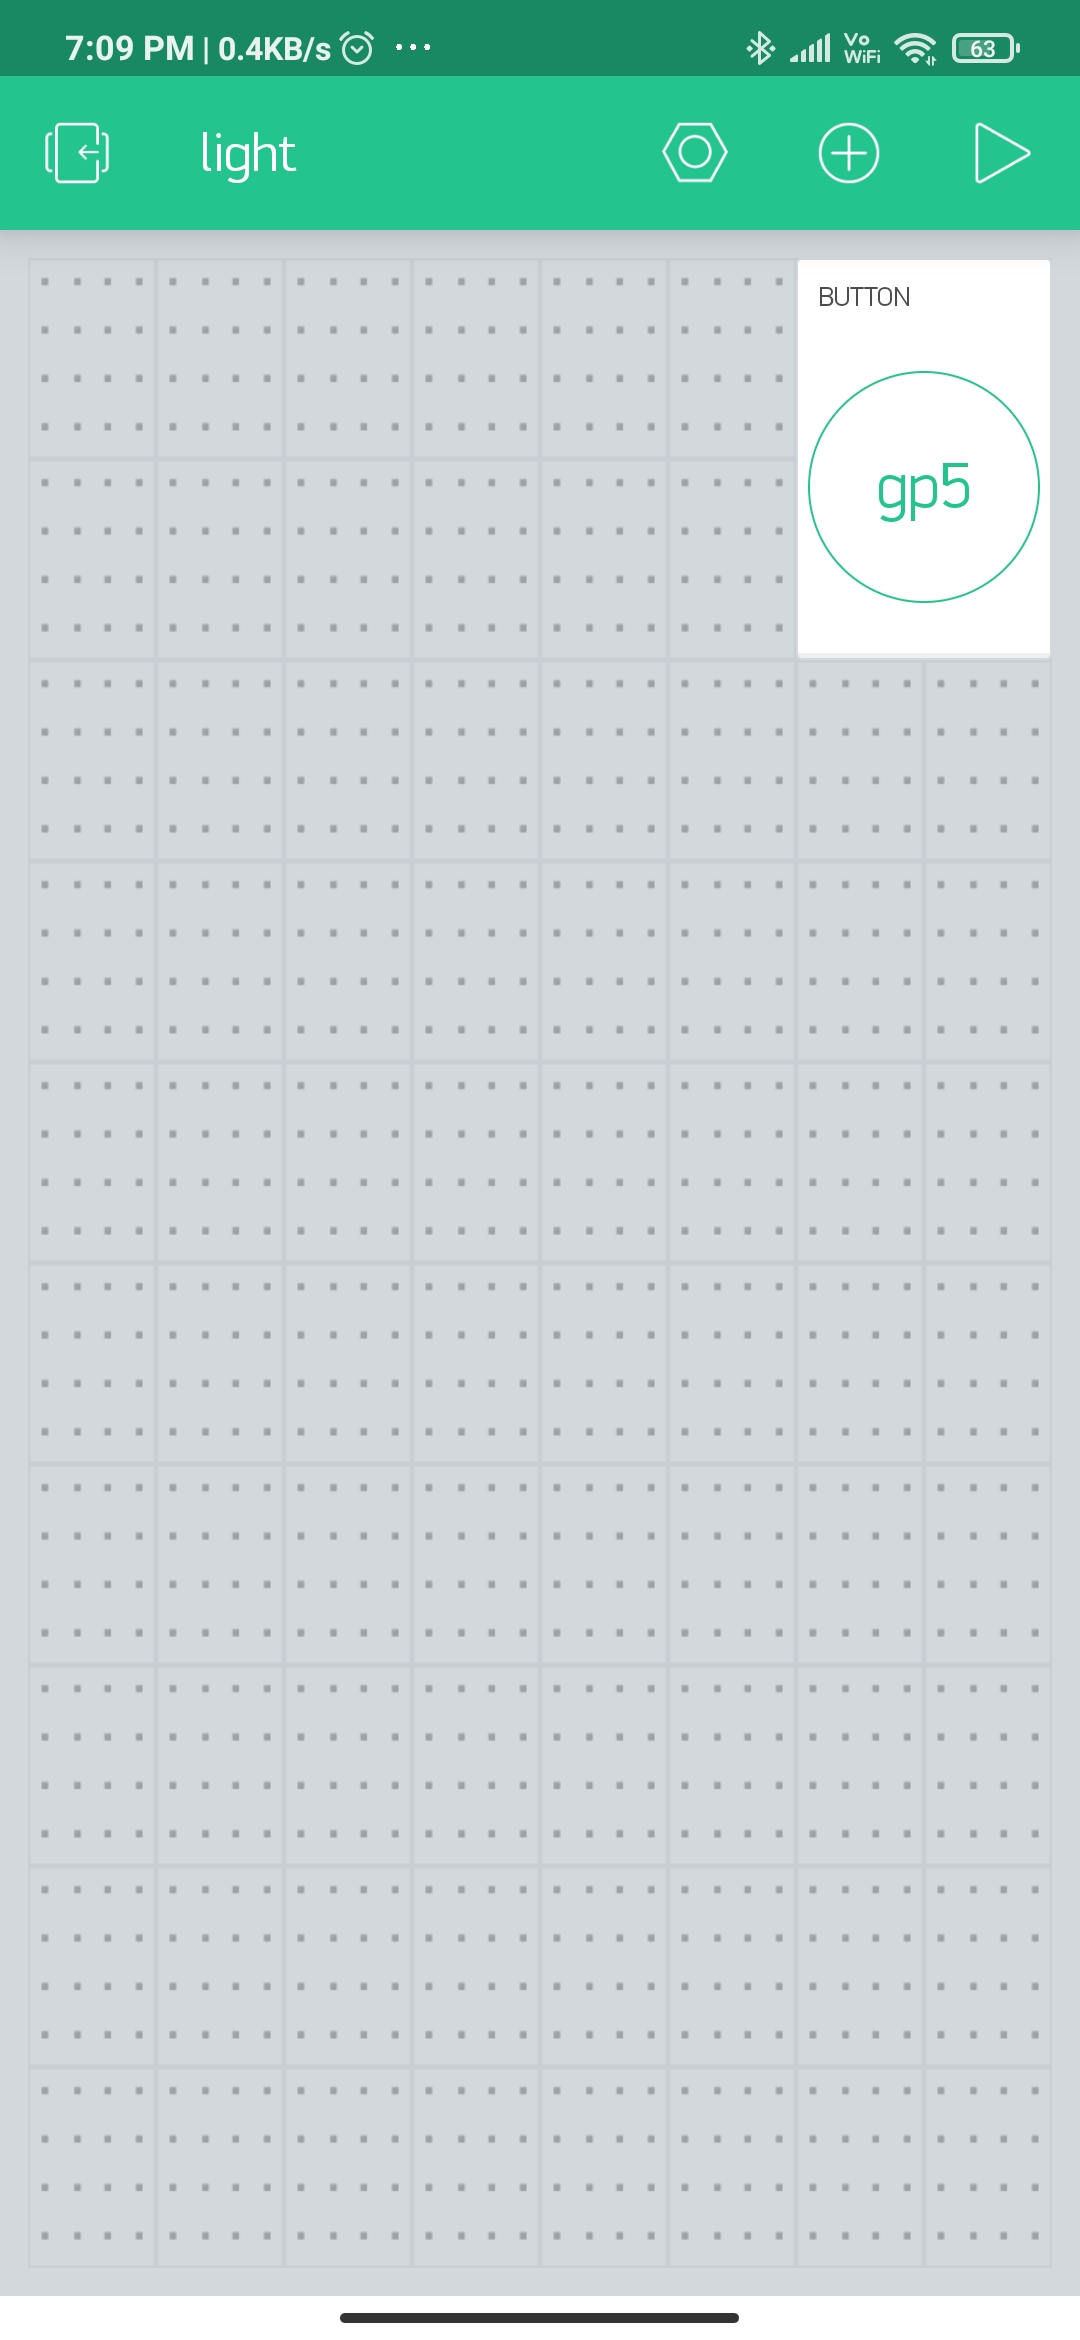
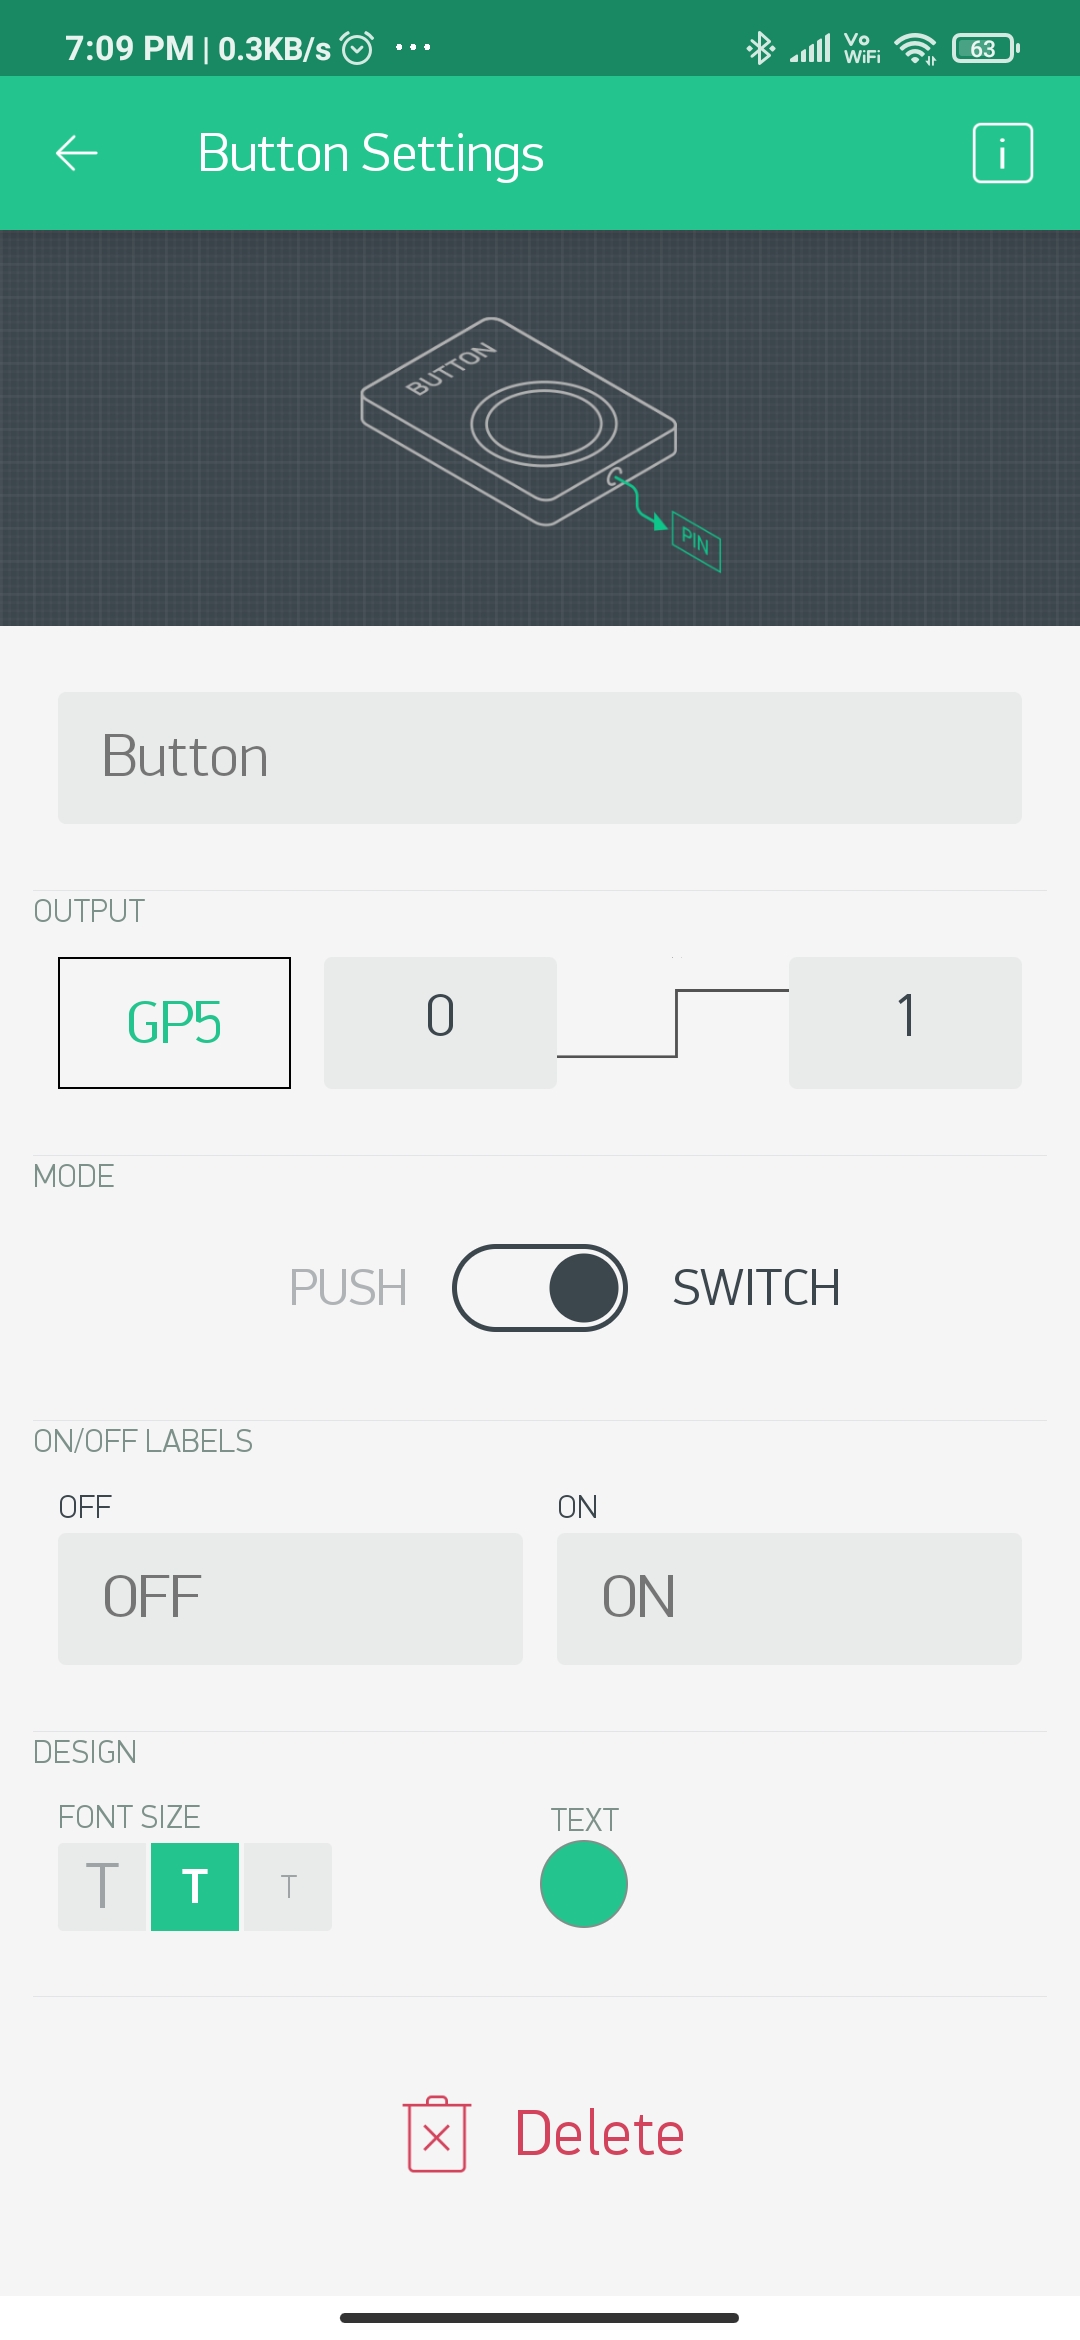
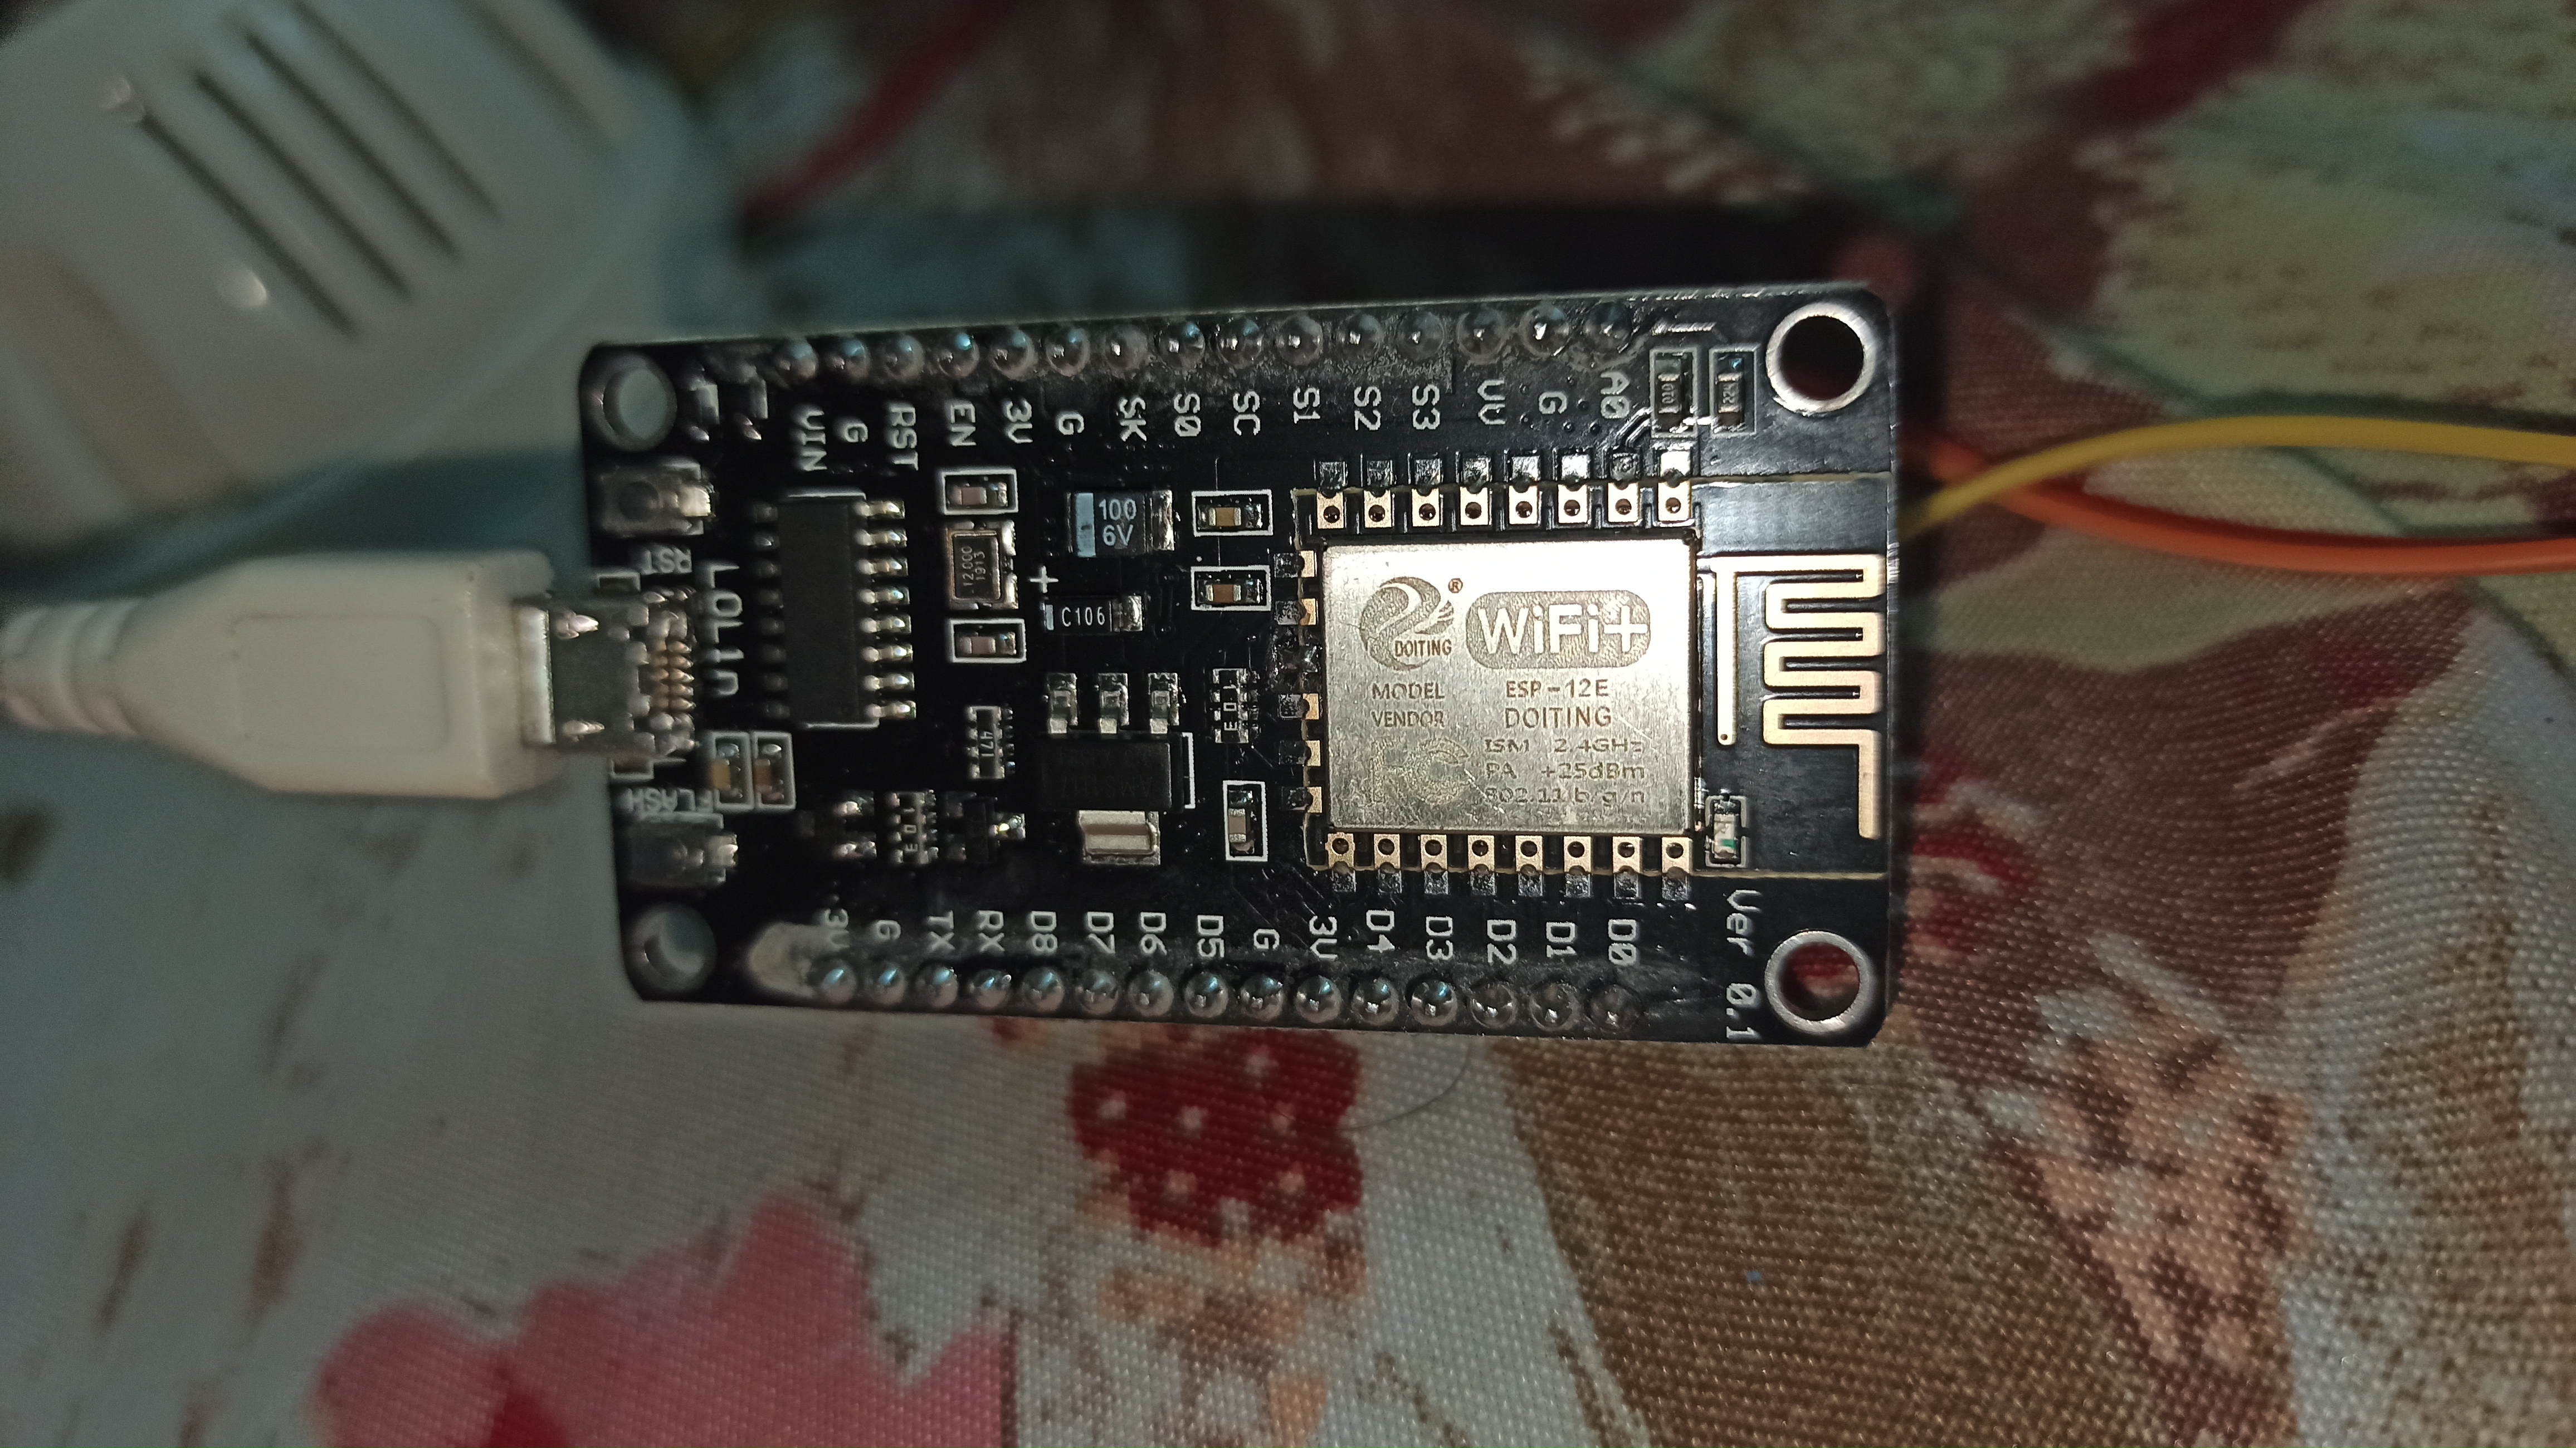
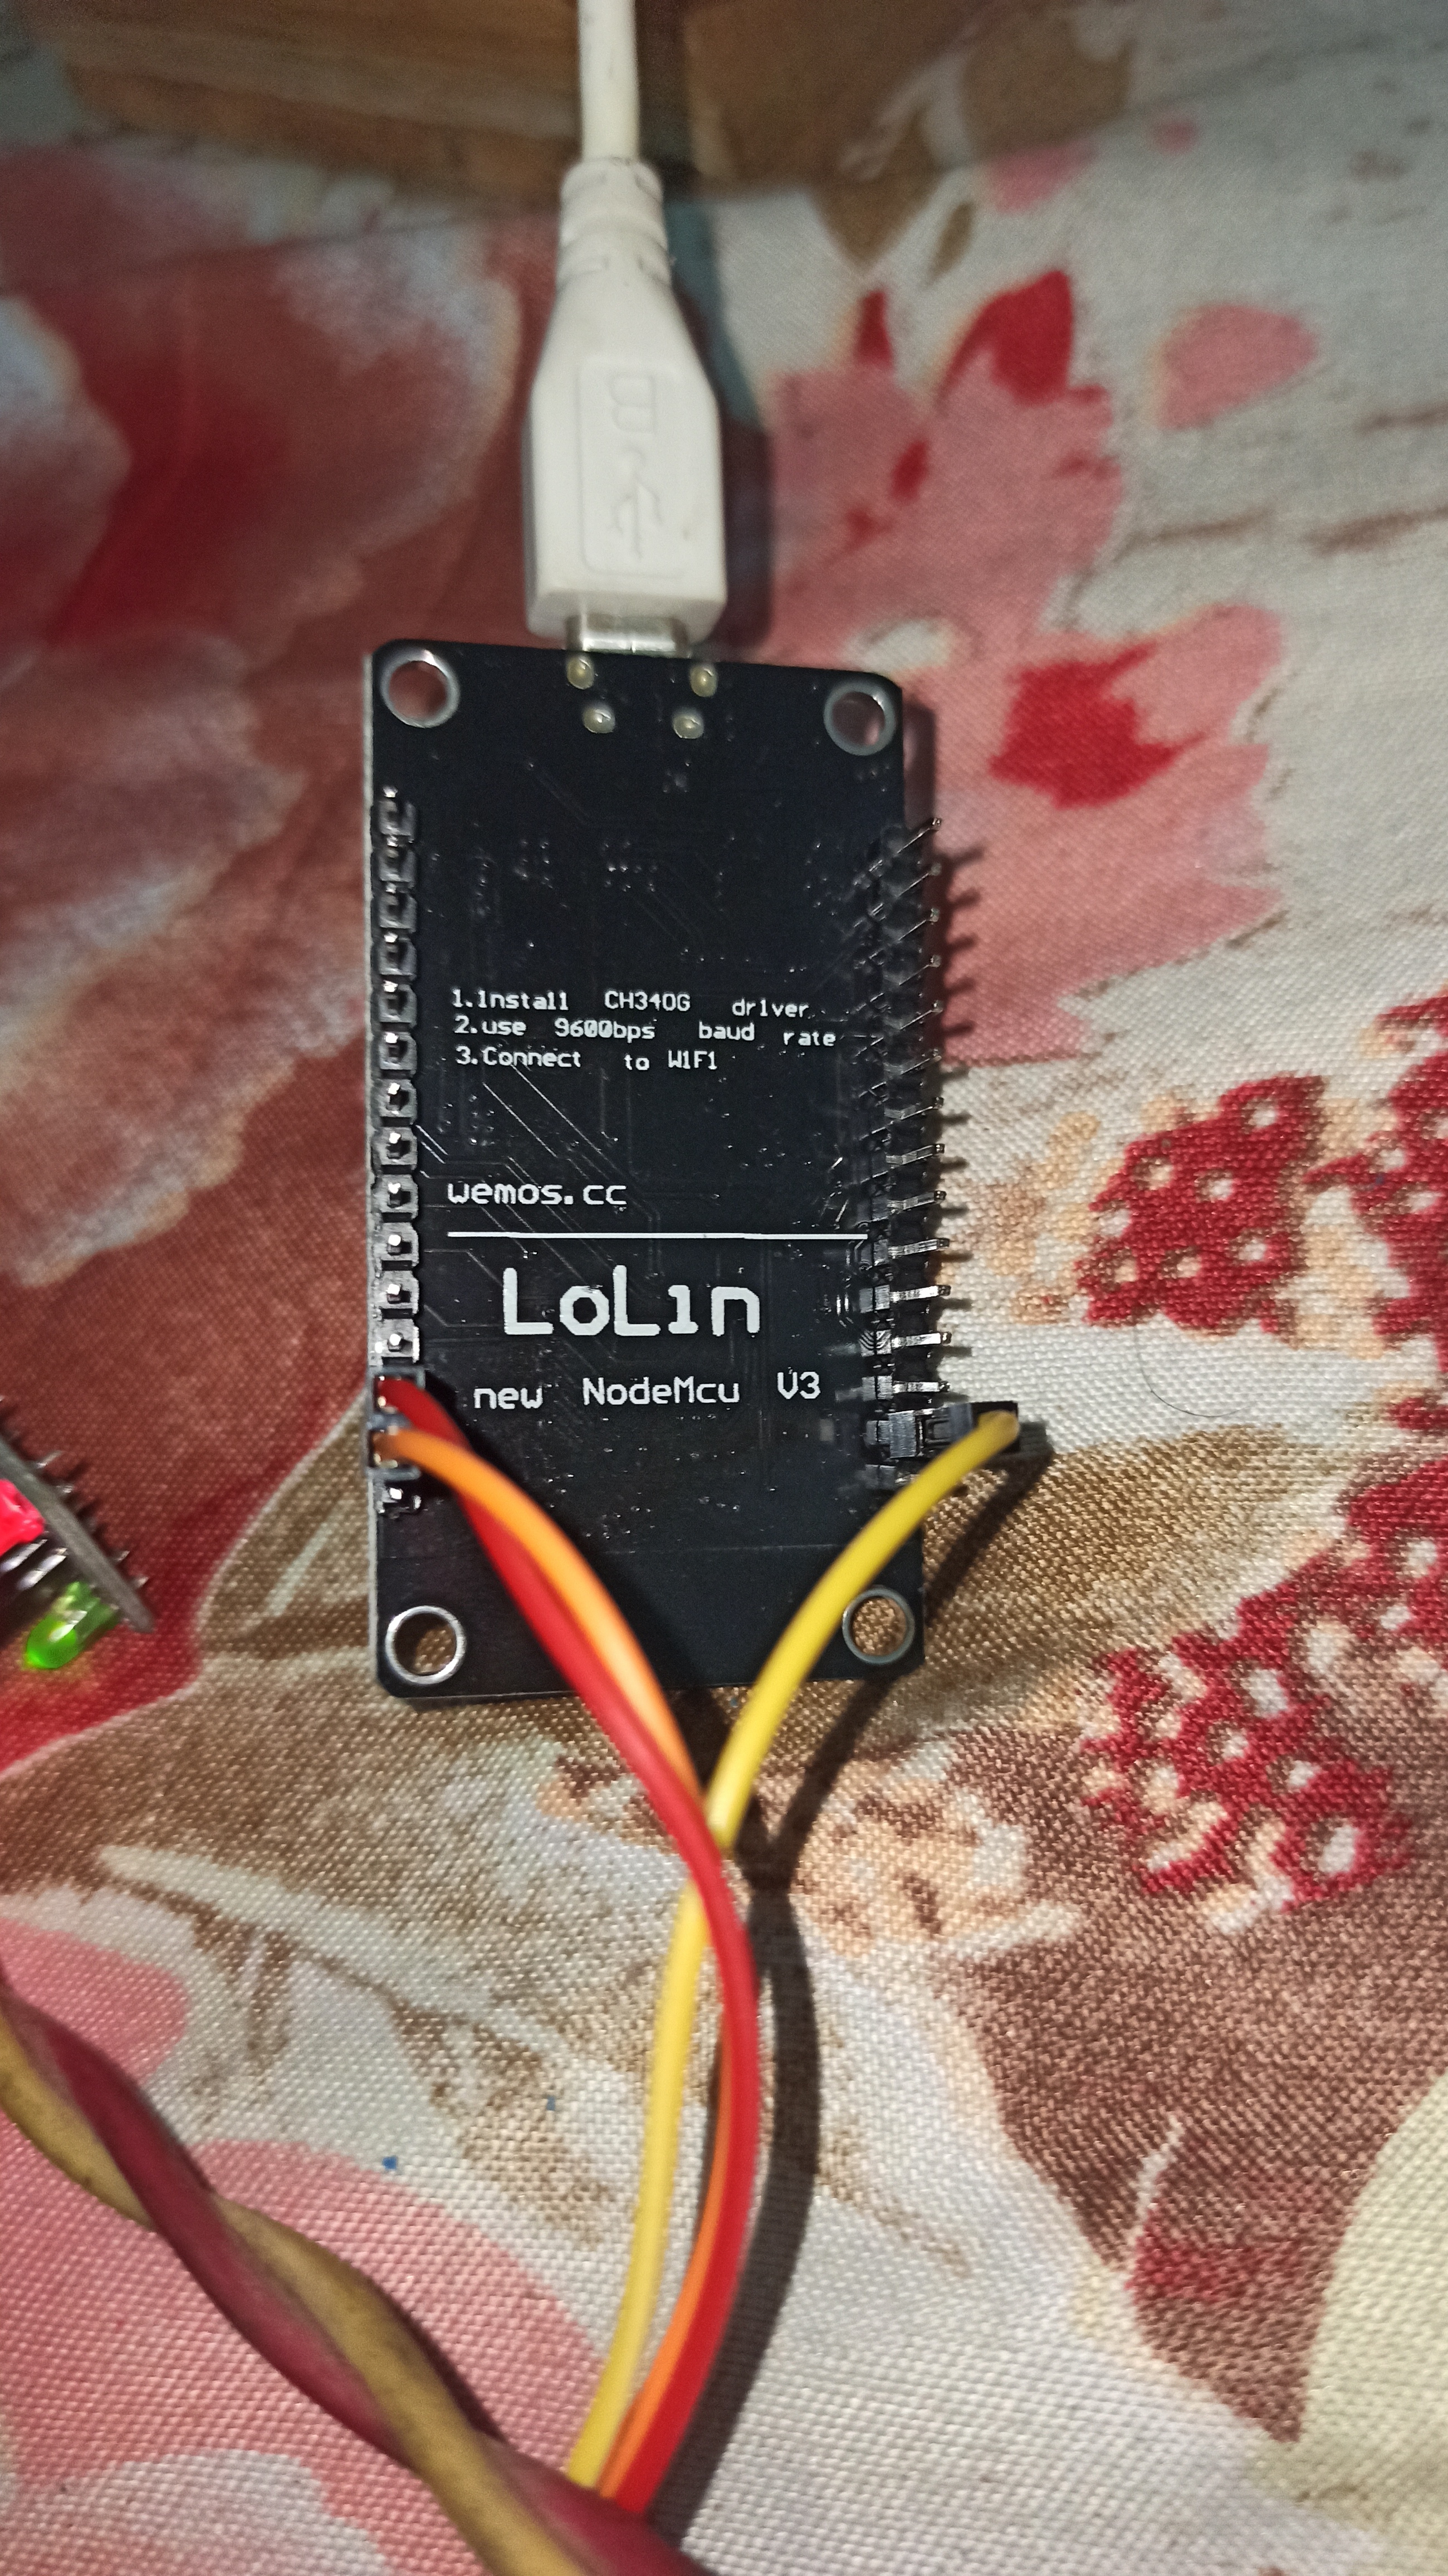
You’d be better-off choosing NodeMCU as your board type rather than ESP8266 in your app project, or using virtual pins.
Pete.