Hello,
thanks for the reply!
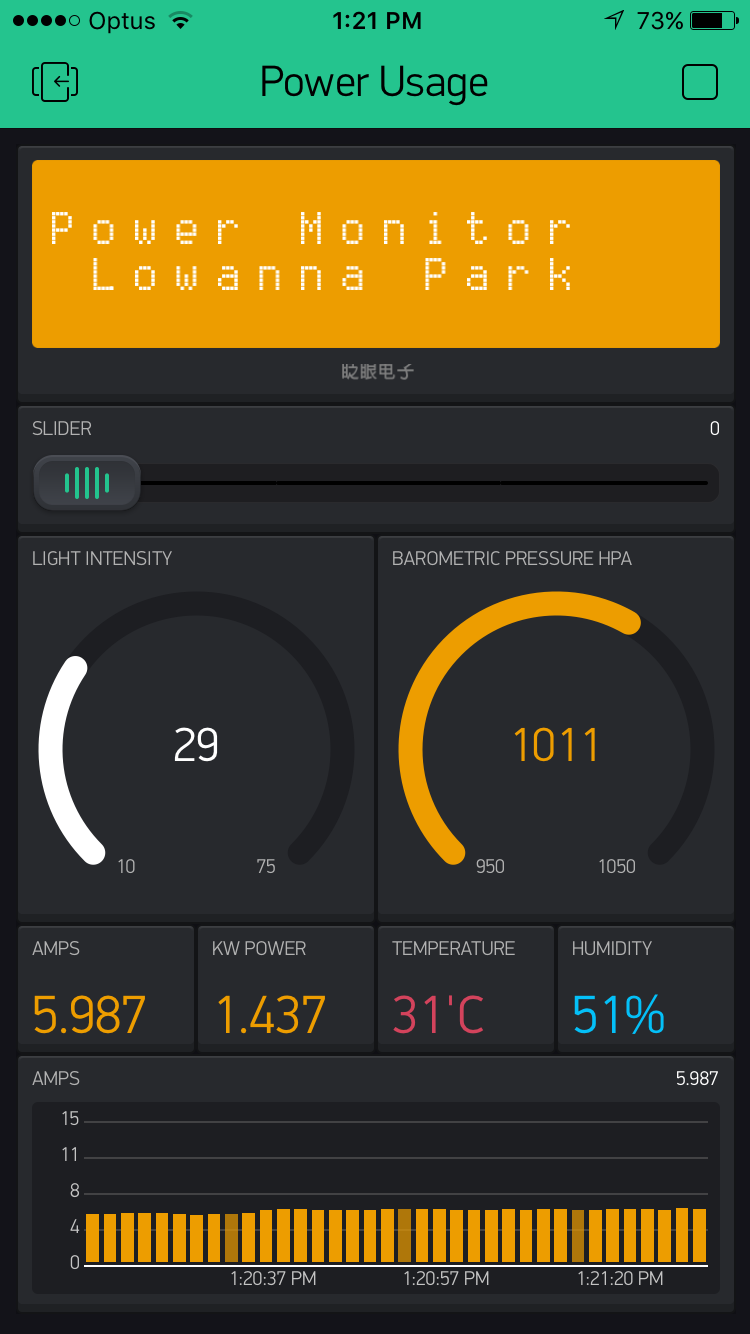
I do not understand how to read values from the slave, if I have a temperature sensor installed on the slave, how do I display it on the main screen of the app on my iphone.
for the slave, all started with the sketch example: ESP8266_Shield_HardSer and noticed that by configuring the bridge function on it, although I have no problem compiling, I can not “control” channel on the master, which on the contrary works perfectly.
waiting for your reply, also place the code I’m using for the master and the slave.
thanks, bye.
MASTER CODE:
//#define BLYNK_PRINT Serial    // Comment this out to disable prints and save space
#include <SPI.h>
#include <Ethernet.h>
#include <BlynkSimpleEthernet.h>
#include <SimpleTimer.h>
#include <DHT.h>

DHT dht;
// You should get Auth Token in the Blynk App.
// Go to the Project Settings (nut icon).
char auth[] = "MASTER AUTH";
WidgetBridge bridge1(V11);
WidgetBridge bridge2(V2);
SimpleTimer timer; //definisco il nome del timer in: "timer"

void setup()
{
  //Serial.begin(9600);
  Blynk.begin(auth);
  while (Blynk.connect() == false) {
    // Wait until connected
  }
  bridge1.setAuthToken("BRIDGE1 AUTH");
  bridge2.setAuthToken("BRIDGE2 AUTH <-- SLAVE");
  dht.setup(2); // setta il pin lettura dati del sensore in data pin D2
  timer.setInterval(2000L, led); //setta intervallo lettura timer
  timer.setInterval(350000L, dht22); //setta intervallo lettura timer
  //timer.setInterval(2000L, blynkAnotherDevice);
  // You can also specify server.
  // For more options, see BoardsAndShields/Arduino_Ethernet_Manual example
  //Blynk.begin(auth, "your_server.com", 8442);
  //Blynk.begin(auth, IPAddress(192,168,1,100), 8888);
}

  BLYNK_WRITE(11)
  {
    if (param.asInt()) {
        bridge1.digitalWrite(7, HIGH);
    } else {
        bridge1.digitalWrite(7, LOW);
    }
  }
  BLYNK_WRITE(12)
  {
    if (param.asInt()) {
        bridge2.digitalWrite(4, HIGH);
    } else {
        bridge2.digitalWrite(4, LOW);
    }
  }
  BLYNK_WRITE(13)
  {
    if (param.asInt()) {
        bridge2.digitalWrite(5, HIGH);
    } else {
        bridge2.digitalWrite(5, LOW);
    }
  }
  BLYNK_WRITE(14)
  {
    if (param.asInt()) {
        bridge2.digitalWrite(6, HIGH);
    } else {
        bridge2.digitalWrite(6, LOW);
    }
  }
  BLYNK_WRITE(15)
  {
    if (param.asInt()) {
        bridge2.digitalWrite(7, HIGH);
    } else {
        bridge2.digitalWrite(7, LOW);
    }
  }

//void blynkAnotherDevice()


void led()
 {
   if (digitalRead(4) == HIGH){
     Blynk.virtualWrite(V2, HIGH);
     Blynk.virtualWrite(V1, LOW);
   }
   else{
     Blynk.virtualWrite(V2, LOW);
     Blynk.virtualWrite(V1, HIGH);
   }
   if (digitalRead(5) == HIGH){
     Blynk.virtualWrite(V6, HIGH);
     Blynk.virtualWrite(V3, LOW);
   }
   else{
     Blynk.virtualWrite(V3, HIGH);
     Blynk.virtualWrite(V6, LOW);
   }
   if (digitalRead(6) == HIGH){
     Blynk.virtualWrite(V8, HIGH);
     Blynk.virtualWrite(V7, LOW);
   }
   else{
     Blynk.virtualWrite(V7, HIGH);
     Blynk.virtualWrite(V8, LOW);
   }
   if (digitalRead(7) == HIGH){
     Blynk.virtualWrite(V10, HIGH);
     Blynk.virtualWrite(V9, LOW);
   }
   else{
     Blynk.virtualWrite(V9, HIGH);
     Blynk.virtualWrite(V10, LOW);
   }
}

void dht22()
{
 delay(dht.getMinimumSamplingPeriod());
 float humidity = dht.getHumidity();
 float temperature = dht.getTemperature();
 Blynk.virtualWrite(V5, humidity);
 Blynk.virtualWrite(V4, temperature);
}

void loop()
{
  Blynk.run();
  timer.run();
}
SLAVE CODE:
//#define BLYNK_DEBUG
#define BLYNK_PRINT Serial    // Comment this out to disable prints and save space
#include <ESP8266_HardSer.h>
#include <BlynkSimpleShieldEsp8266_HardSer.h>
#include <OneWire.h>
#include <DallasTemperature.h>
#include <SimpleTimer.h>
// Set ESP8266 Serial object
#define EspSerial Serial
#define ONE_WIRE_BUS 8

OneWire oneWire(ONE_WIRE_BUS);
DallasTemperature sensors(&oneWire);
ESP8266 wifi(EspSerial);
// You should get Auth Token in the Blynk App.
// Go to the Project Settings (nut icon).
char auth[] = "SLAVE AUTH";
WidgetBridge bridge1(V0);
SimpleTimer timer;

void setup()
{
  // Set console baud rate
  Serial.begin(9600);
  delay(10);
  // Set ESP8266 baud rate
  /*Blynk.begin(auth);
  while (Blynk.connect() == false) {
    // Wait until connected
  }*/
  bridge1.setAuthToken("MASTER AUTH");
  EspSerial.begin(115200);
  delay(10);
  sensors.begin();
  Blynk.begin(auth, wifi, "SSID", "PASS");
  timer.setInterval(10000L, temp);
  timer.setInterval(5000L, led);
}

void temp()
{
  sensors.requestTemperatures();
  float temperature = sensors.getTempCByIndex(0);
  Blynk.virtualWrite(V0, temperature);
  //bridge1.virtualWrite(V16, temperature);
}
void led()
{
  if (digitalRead(4) == HIGH){
     Blynk.virtualWrite(V1, HIGH);
     bridge1.digitalWrite(4, HIGH);
   }
   else{
     Blynk.virtualWrite(V1, LOW);
     bridge1.digitalWrite(4, LOW);
   }
}
void loop()
{
  Blynk.run();
  timer.run();
}