I am currently working on a new thermostat for my flat. I tried to boost it with hardware that allows me to go as far as possible for this project. This is my way of learning programming :D.
It is fully working, but it is still in the early stage. Some data is stored in the EEPROM, but there is currently no menu yet.
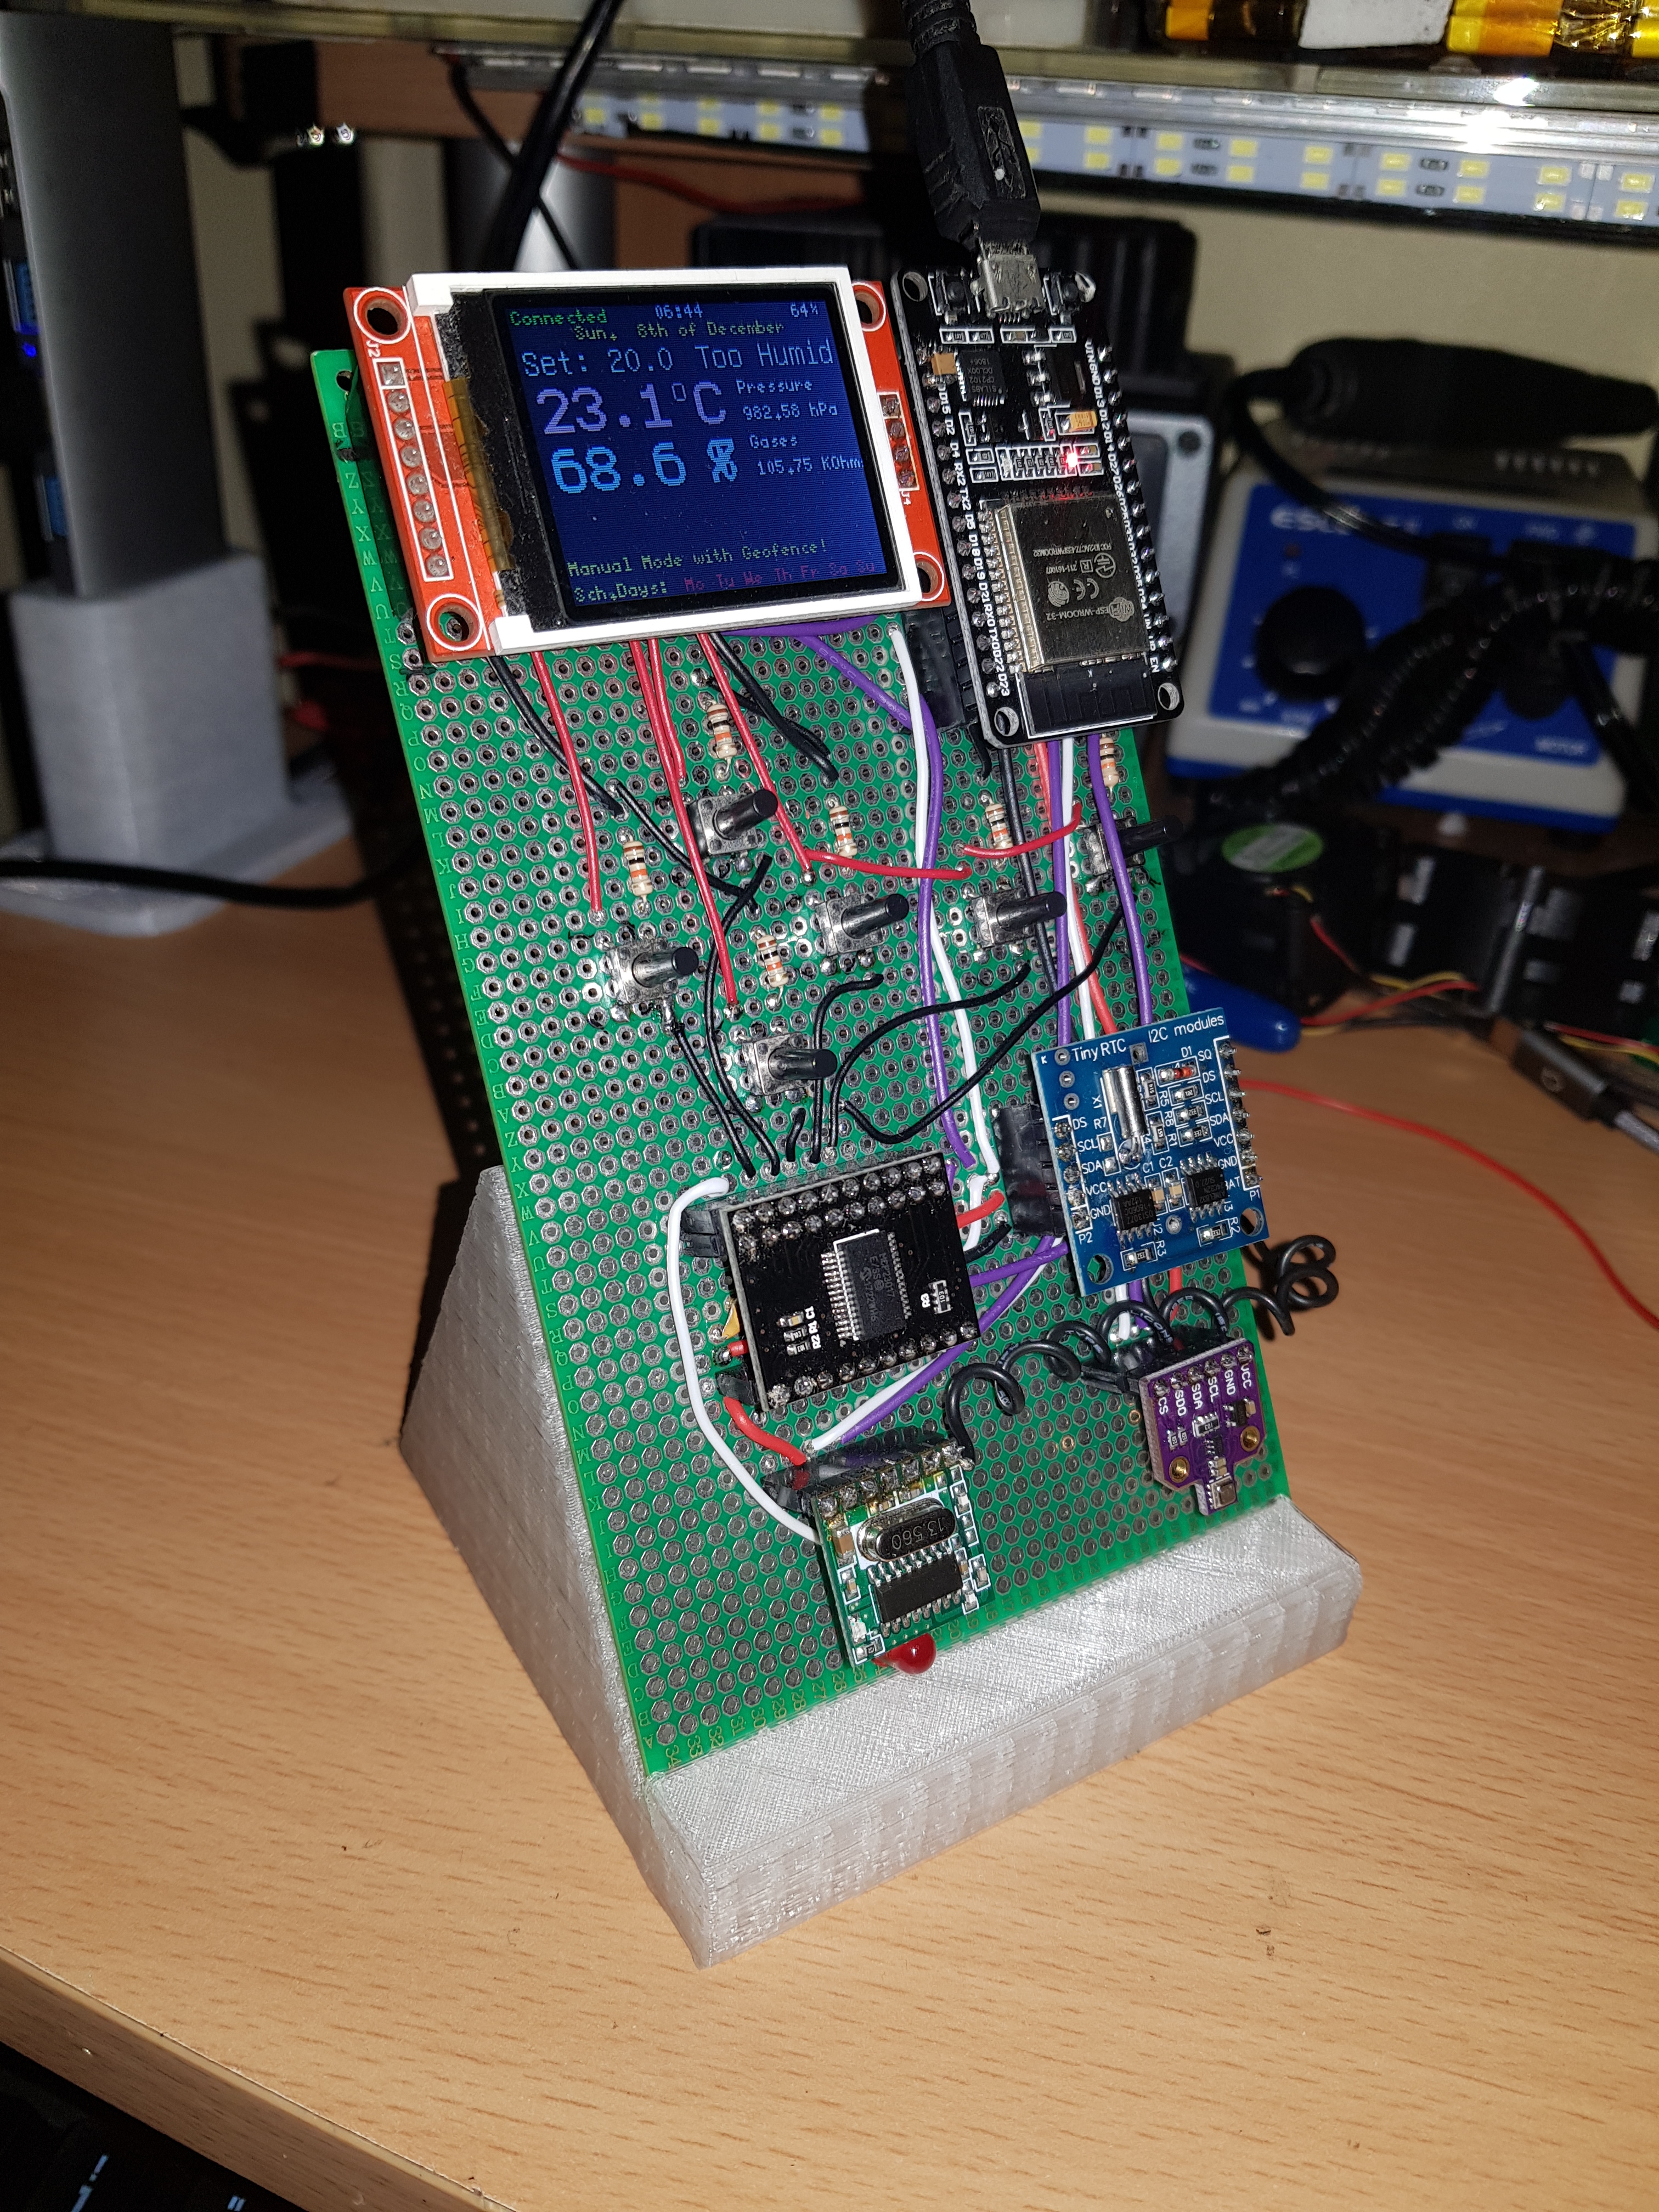
The hardware used:
ESP32 Dev Board
I2C BME680
I2C MCP23017
I2C RTC DS13017z
SPI ST7735
433 Mhz transmitter
433 Mhz Relay Module
All the I2C hardware is using the same hardware I2C port on the esp32.
The ESP32 works using the Blynk Platform and it displays the data on ST7735 using the UCGLIB.
The IO pins are extended using the I2c MCP23017 giving the chance to add enough buttons. It uses the Adafruit Library: https://github.com/adafruit/Adafruit-MCP23017-Arduino-Library
The offline time kept by an external I2C RTC DS13017z using a library that does not conflict with the Online RTC used by Blynk: https://github.com/Seeed-Studio/RTC_DS1307
Feel free to give me advice.
I am looking for an algorithm that allows me to tell the week nr in the year so I cover the weekly rotating shifts.
Trying to find the best way of creating the menu/submenu for setting up the time, mode, time interval,
Good job !!
I’m working on a similar project with a nextion display
1 Like
looks great. I guess you put a lot of work into fitting all these images.
How does partially cleaning the display work on that one? Is it relatively easier to clean it if you are trying to avoid refreshing the whole display?
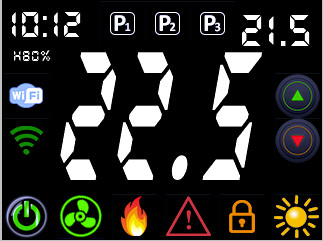
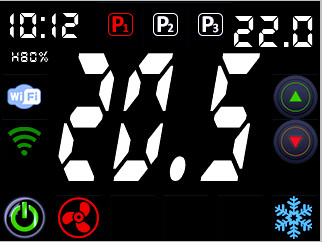
I realized images with photoshop
And I use the powerful nextion editor
this is a link from our friend the swiss guy 
2 Likes
I love Nextion displays. Much simpler to get great results compared to the other touch screens out there.
Pete.
1 Like
Yes !
I need the same screen on Blynk android app 
3 Likes
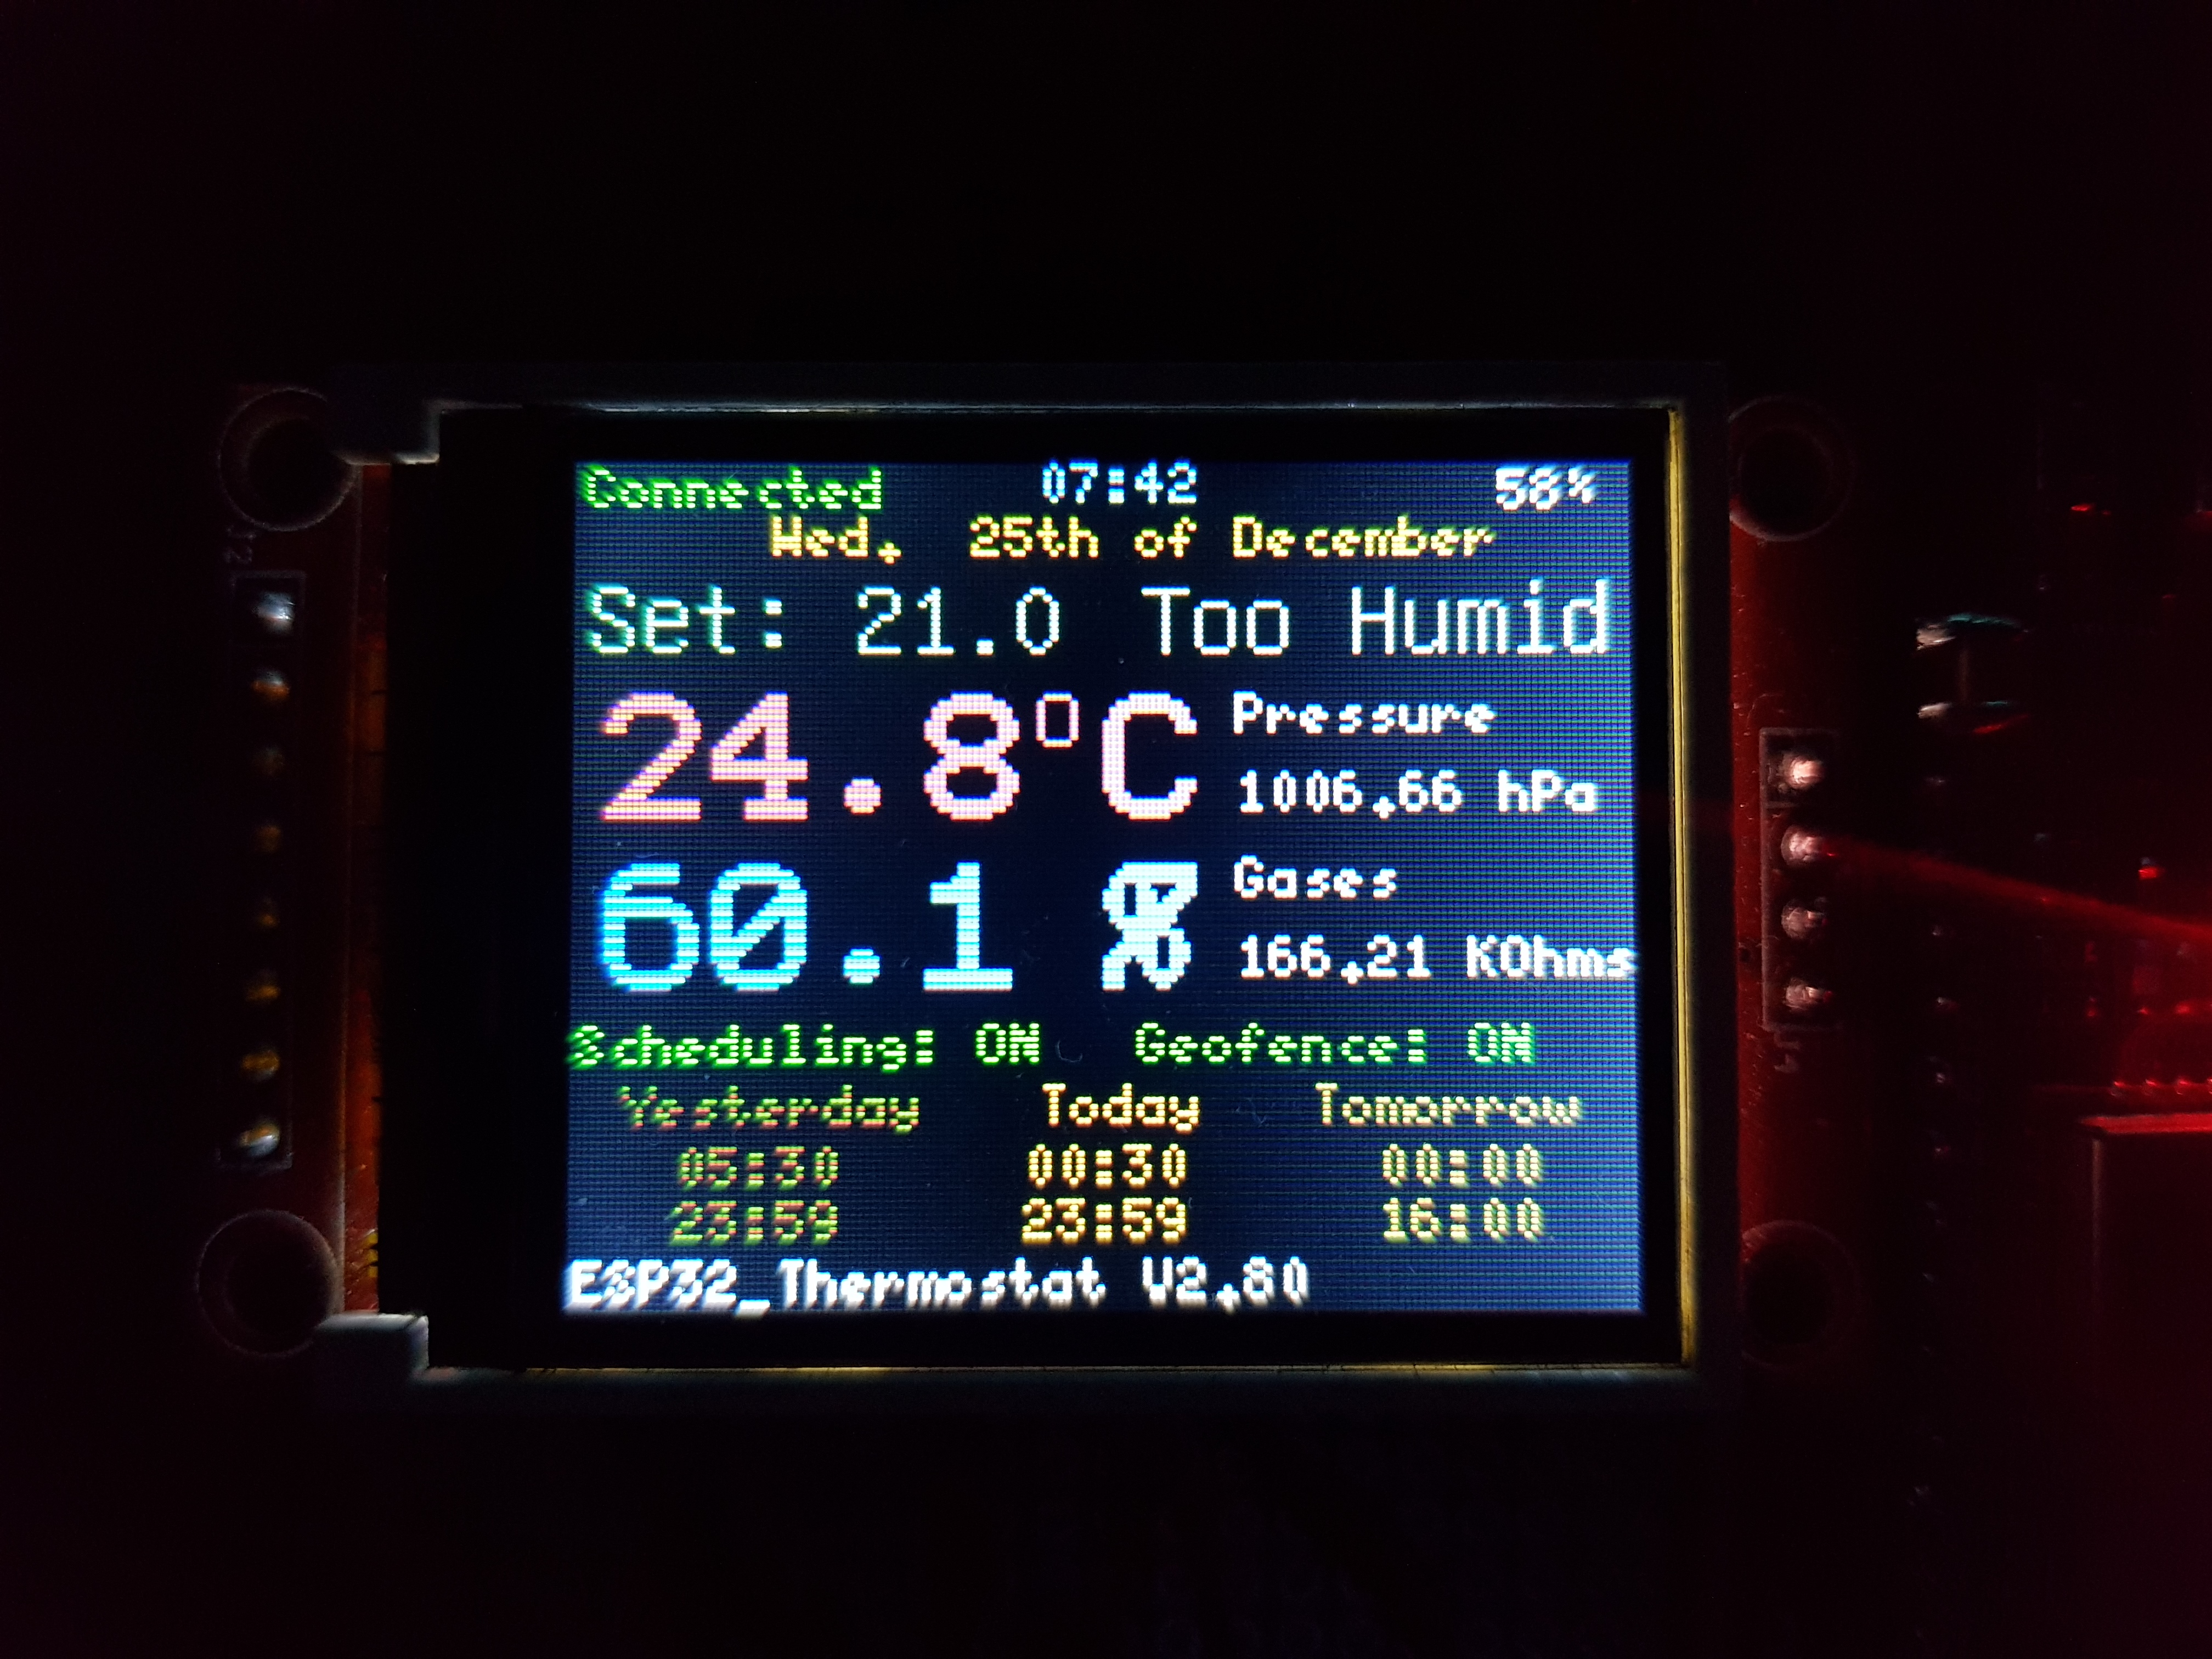
Updated the information displayed on the LCD. Probably this is the final version of its looks.
Still running tests and fixing some minor things, but it should be fully functional even without a connection. All scheduling parameters are stored on EEPROM . The time gets updated on the first connection then kept by the RTC module.
Features to come:
I am currently working on the menu and improving the temperature comparison for decreasing temperature overshooting.
2 Likes
It’s tricky to get this balance right, and it depends on your heating system and your personal taste.
You want to avoid the heating turning on an off too often, but at the same time you don’t want the temperature to fluctuate too much.
With my inverter aircon and wall mounted panel heaters system, I find that turning the heating off when it exceeds 0.2°C above target and waiting until it’s more than 0.2°C below target works well.
Pete.
2 Likes
you’re right, it is tricky. the simple way, I guess, is that if i drop the temperature difference it would decrease the overshooting and increase how often the heating system runs. Just need to find the right balance.
Right now its set to start heating when the temp drops by 0.6 deg © and keeps the heating on until it reaches the temperature set,(this way the heating interval is up to 2.2hours) but sometimes the temperature overshoot is more than one degree, so I need to make it stop before it reaches it.
I was thinking about automatically measuring the overshoot difference and use it as a reference somehow, but in my case the overshooting difference is more than the tempdropp difference, so…I will probably find the comfortable value randomly by tests.