You aren’t using the SSL library, and I doubt you’ve installed local certificates, so you should be using port 8080 unless you’ve specified a different port in your server.settings file.
Pete.
You aren’t using the SSL library, and I doubt you’ve installed local certificates, so you should be using port 8080 unless you’ve specified a different port in your server.settings file.
Pete.
Ok so, to be sure, even if my server adress (as per seing in chrome tab for example) is :
https://192.168.137.201:9443/
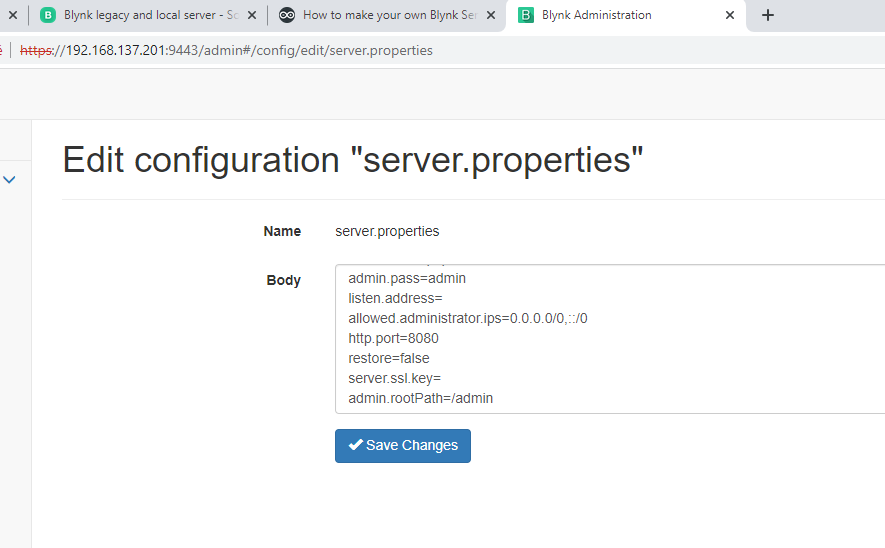
I should still use, in my blynk code, the 8080 port, which is actually like you said, the port I got when I check here :
Does this 8080 port only have to be setup in my blynk code, which gives :
Blynk.begin(auth, ssid, pass, IPAddress(192,168,0,30), 8080);
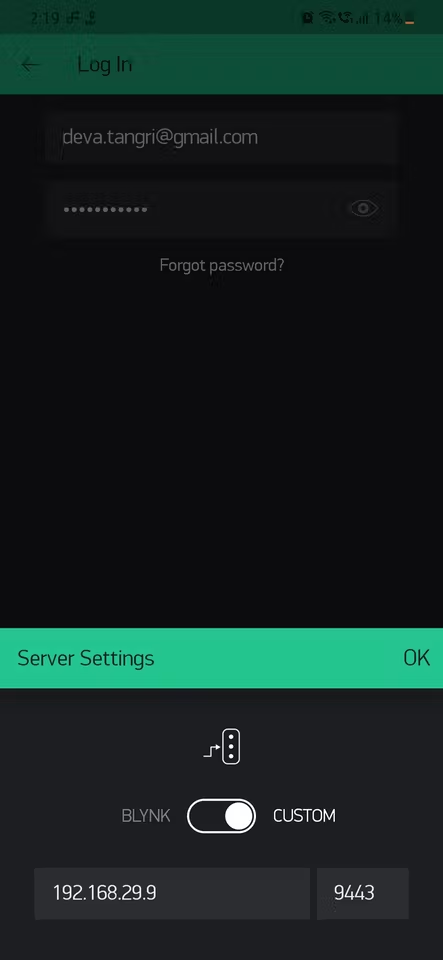
Or do I also need to change 9443 to 8080 in the legacy app, in the custom server setting area :
Thank you very much again for your help.
You use port 9443 for the app and admin console.
It’s also used for device to app communication when using SSL, but you aren’t using SSL in your sketch, so port 8080 is correct.
If you want to use Blynk on your mobile device when you are not connected to the same network (when you’re out of the house) then you’ll need to port-forward port 9443 to your local server within your router.
If your ISP doesn’t provide a static IP address then you’ll need to use a DDNS service like NoIP or DuckDNS and use the DDNS URL in your app instead of the internal IP address of your server. You also need to run a DDNS update client either on your router or on your local server machine.
There’s is no need to do port forwarding on port 8080 unless you plan to use ESP devices outside of your own network, in which case you’d use the DDNS url in your Blynk.begin command as well.
You also need to ensure that your router never allocates a different IP address to your local server, either by allocating a static IP in your router or using a fixed (non DHCP) IP address on your local server machine.
Pete.
Really fantastic the local server, I have already created it but I will activate it in December … I cannot do without the BRIDGE that is missing on the new Blynk and I don’t like those horrible TILES I prefer a free dashboard like in Blynk Legacy where I can unify many devices even different from each other in a single page, which does not allow me the new blynk where each device must have its “box”
It is fantastic…isn’t it! Pete is correct that you will need to port forward 9443 through your router and use a DDNS of get a static IP from the server to the router. I used to do all this and then just resorted to installing a VPN on all of my servers and an $8.00 cloud account for the VPN. No more port forwards and the advantage is that I can contact my servers at 9443, even though any local WiFi that the one in my RV connect to would not support port forwarding.
Enjoy.
Or there’s ZeroTier, which is free and very fast.
I use this to do remote management of my Pi MQTT/Node-Red server in Spain, and also to RDP to a laptop machine in Spain that I can turn-on remotely (and the other way around when I’m out in Spain and want to access the network at home.
Pete.
Thanks you very much guys. It is working now.
When I’ll make the whole final changes, I’ll see if I got an IP issue (I dont plan to use the app outside of the wifi network) and maybe I’ll dig this thread =p
Hey guys !
I have an issue with the setting of a private server on my 2 PCs which are part of a network.
I’ve followed this tutorial, which works perfectly on my laptop :
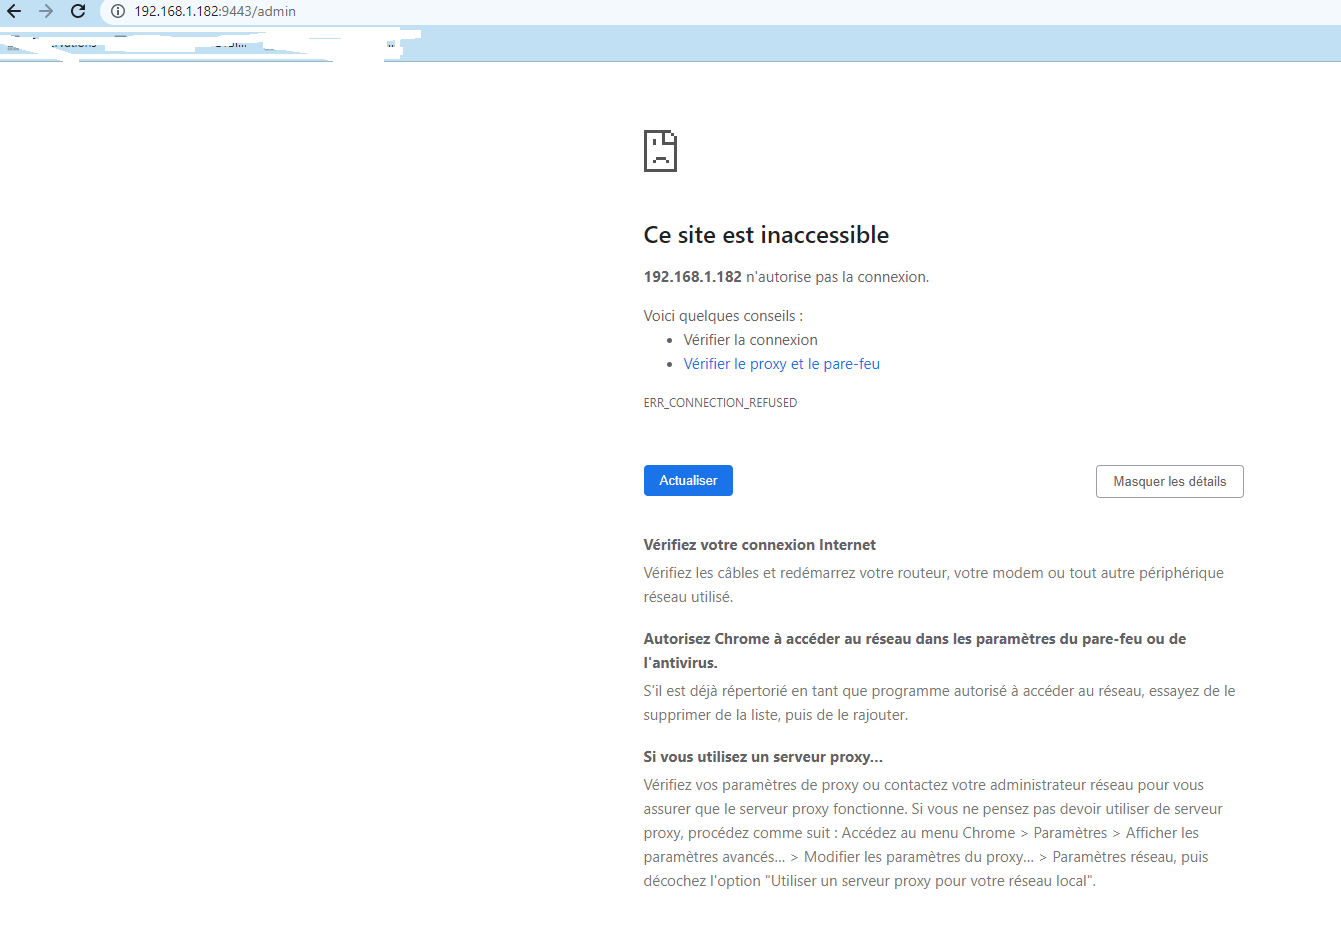
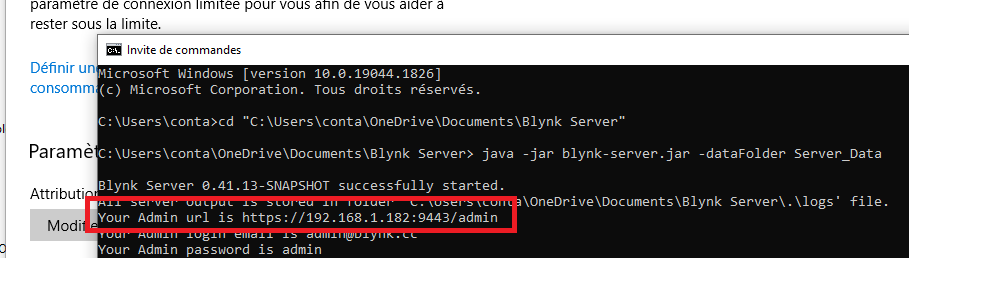
When I arrive at the step 3 and need to access the admin URL, I got this :
This is the screenshot of my console, so the URL seems to be the good one :
Is there anything to do with the fact that my 2 PCs are part of a network and link together with a router ?
I suck with network, a friend of mine did the setup. But since it’s working on my laptop and not in this case, I guess there is a link …
Thanks a lot
Are you saying that you are setting-up two Blynk legacy local servers on your network?
If so, why?
If not, I think you need to clarify your aims.
Are you including the https:// prefix? From the screenshot it appears not.
That’s a rather strange and incomplete tutorial, and it’s somewhat worrying that the .jar file has been renamed to strip-out the version number.
You’d be far better downloading the latest version of the legacy server from here:
and keeping the version number in the file name and adjusting the command you use to launch the .jar command accordingly.
Pete.
Thanks Pete.
No I just mean that I got 2 PCs on network, but I am just trying to setup the local server on one of them.
But I mention this network cause I thought it could be the reason of my failure (since it was OK when I’ve made my first test with a single laptop)
The https is there, it wont just show up in the tab.
I’ll give a try as you said and keep you in touch.
Thanks again.
You still haven’t explained your setup, and what you are trying to achieve, in an understandable way.
Are you sure your local server is still running?
Are you sure the IP address of the machine it’s running on hasn’t changed?
Are you able to access the local server from the machine it’s running on?
Have you checked your firewall settings?
Pete.
Hello Pete.
No need to worry about this, it was, like you said, an issue with the tutorial and I guess, the blynk server.jar.
I’ve done it with yours and it work like a charme !
Thanks a lot !
Now I am going to check for the autolaunch.
Hello !
I am now thinking about running the local server on a Raspberry.
Which one would be powerfull enough ?
Pi2 is OK ? Pi3, Pi4 ?
Thanks
You can use any model. The Raspberry Pi Zero is also an option.
I think the problem with the Zero is getting it to run Java 11, and the later local server releases don’t have a Java 8 version.
Pete.
try
Blynk.begin(auth, ssid, pass, IPAddress(your ip, 8080);
Sounds like someone I know did that., was just wondering if anyone is using BOTH a local server AND the new Blynk IOT, kind of a “ bridge to the Future. I tried Arduino IOT it sucked and gave up.