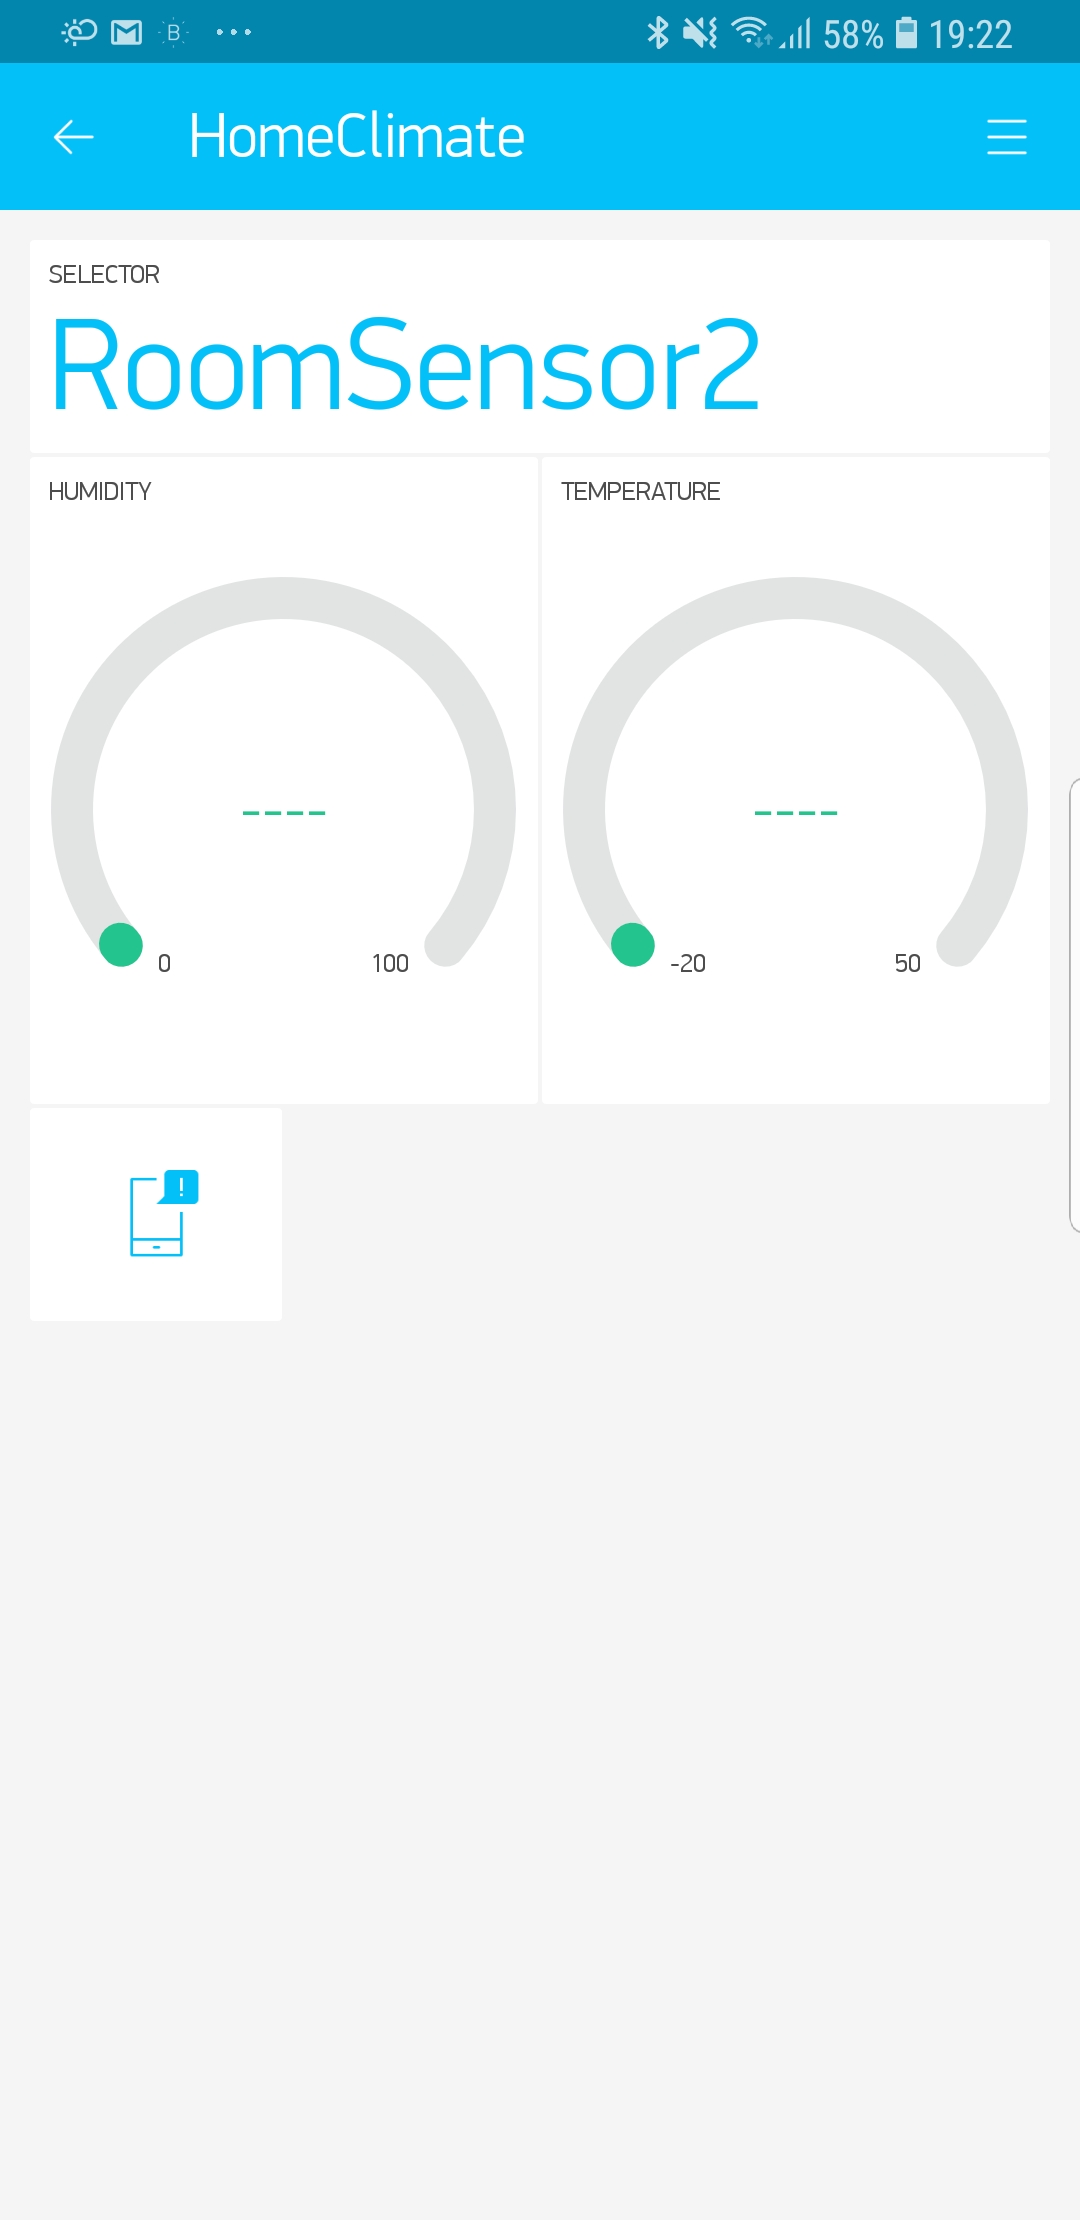
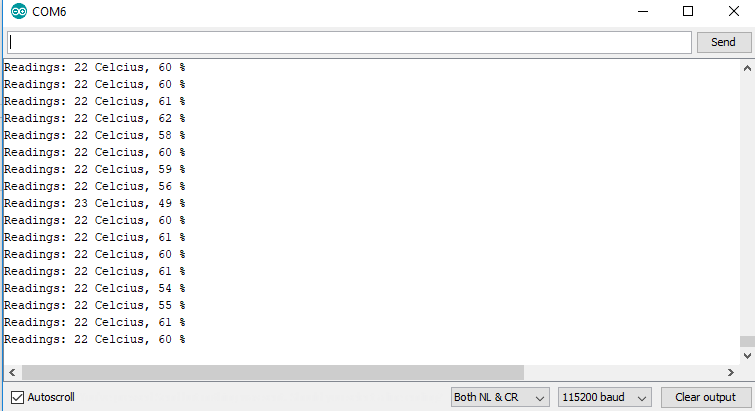
I am using a DHT11 Sensor and a ESP8266-01 WiFi module. My hardware works perfectly fine. My code does work perfectly fine. My only problem is with creating my own app option. I have created the app using the example esp8266 export code(and influenced by MyPlant App’s example code). I’ve use a previously working face for the app. But when I integrated the working code with the app example code, the data didn’t displayed in the App Preview… The data, however, displays on the serial monitor as intended and without any problems…
Phone OS: Android Oreo 8.0
Latest Blynk and Arduino IDE.
#define USE_CUSTOM_BOARD          // For all other ESP8266-based boards -
                                    // see "Custom board configuration" in Settings.h

#define APP_DEBUG        // Comment this out to disable debug prints

#define BLYNK_PRINT Serial
#include <BlynkSimpleEsp8266.h>
#include "BlynkProvisioning.h"
#include <SimpleDHT.h>
#include <ESP8266WiFi.h>

const char* host = "api.thingspeak.com";
const char* writeAPIKey = "REMOVED FOR SECURITY";

SimpleDHT11 dht11;
int pinDHT11 =  2;
void setup() {
  delay(5000);
  Serial.begin(115200);

  BlynkProvisioning.begin();

}

void loop() {
  BlynkProvisioning.run();
  byte temperature = 0;
  byte humidity = 0;
  int err = SimpleDHTErrSuccess;


 if ((err = dht11.read(pinDHT11, &temperature, &humidity, NULL)) != SimpleDHTErrSuccess) {
    Serial.print("No reading , err="); Serial.println(err);

  delay(1000);
    return;
  }

  Serial.print("Readings: ");
  Serial.print((int)temperature); Serial.print(" Celcius, ");
  Serial.print((int)humidity); Serial.println(" %");
  Blynk.virtualWrite(V5, humidity);
  Blynk.virtualWrite(V6, temperature);

  WiFiClient client;
  const int httpPort = 80;
  if (!client.connect(host, httpPort)) {
    return;
  }
  String url = "/update?key=";
  url+=writeAPIKey;
  url+="&field1=";
  url+=String(temperature);
  url+="&field2=";
  url+=String(humidity);
  url+="\r\n";


  client.print(String("GET ") + url + " HTTP/1.1\r\n" +
               "Host: " + host + "\r\n" +
               "Connection: close\r\n\r\n");
delay(700);
}
I DO think that is the problem. If you would have read through the DOCS you will see that what you are doing (reading temp from a DHT11) needs to be done with a timer in order to work well with BLYNK.
Alright I’ll give it a shot. But what about the thingspeak code at the end of the loop? What should I do with it? Another timer or just leave it there?
If you remove the delays, then leaving it will probably cause a flooding of thingspeak’s server. So a timer is a must have. But you probably don’t need “another one”. Just use one created.
Or, as @marvin7 stated you could put it in the same timer as the DHT11. If you go this route, make sure your interval is long enough that it doesn’t flood thingspeak.
I still have a question. This code works without the integration of Blynk Inject or other Create Your Own App code template… But when it comes to creating an App it doesn’t work… Is there an another cause to this other than the problem with loop?
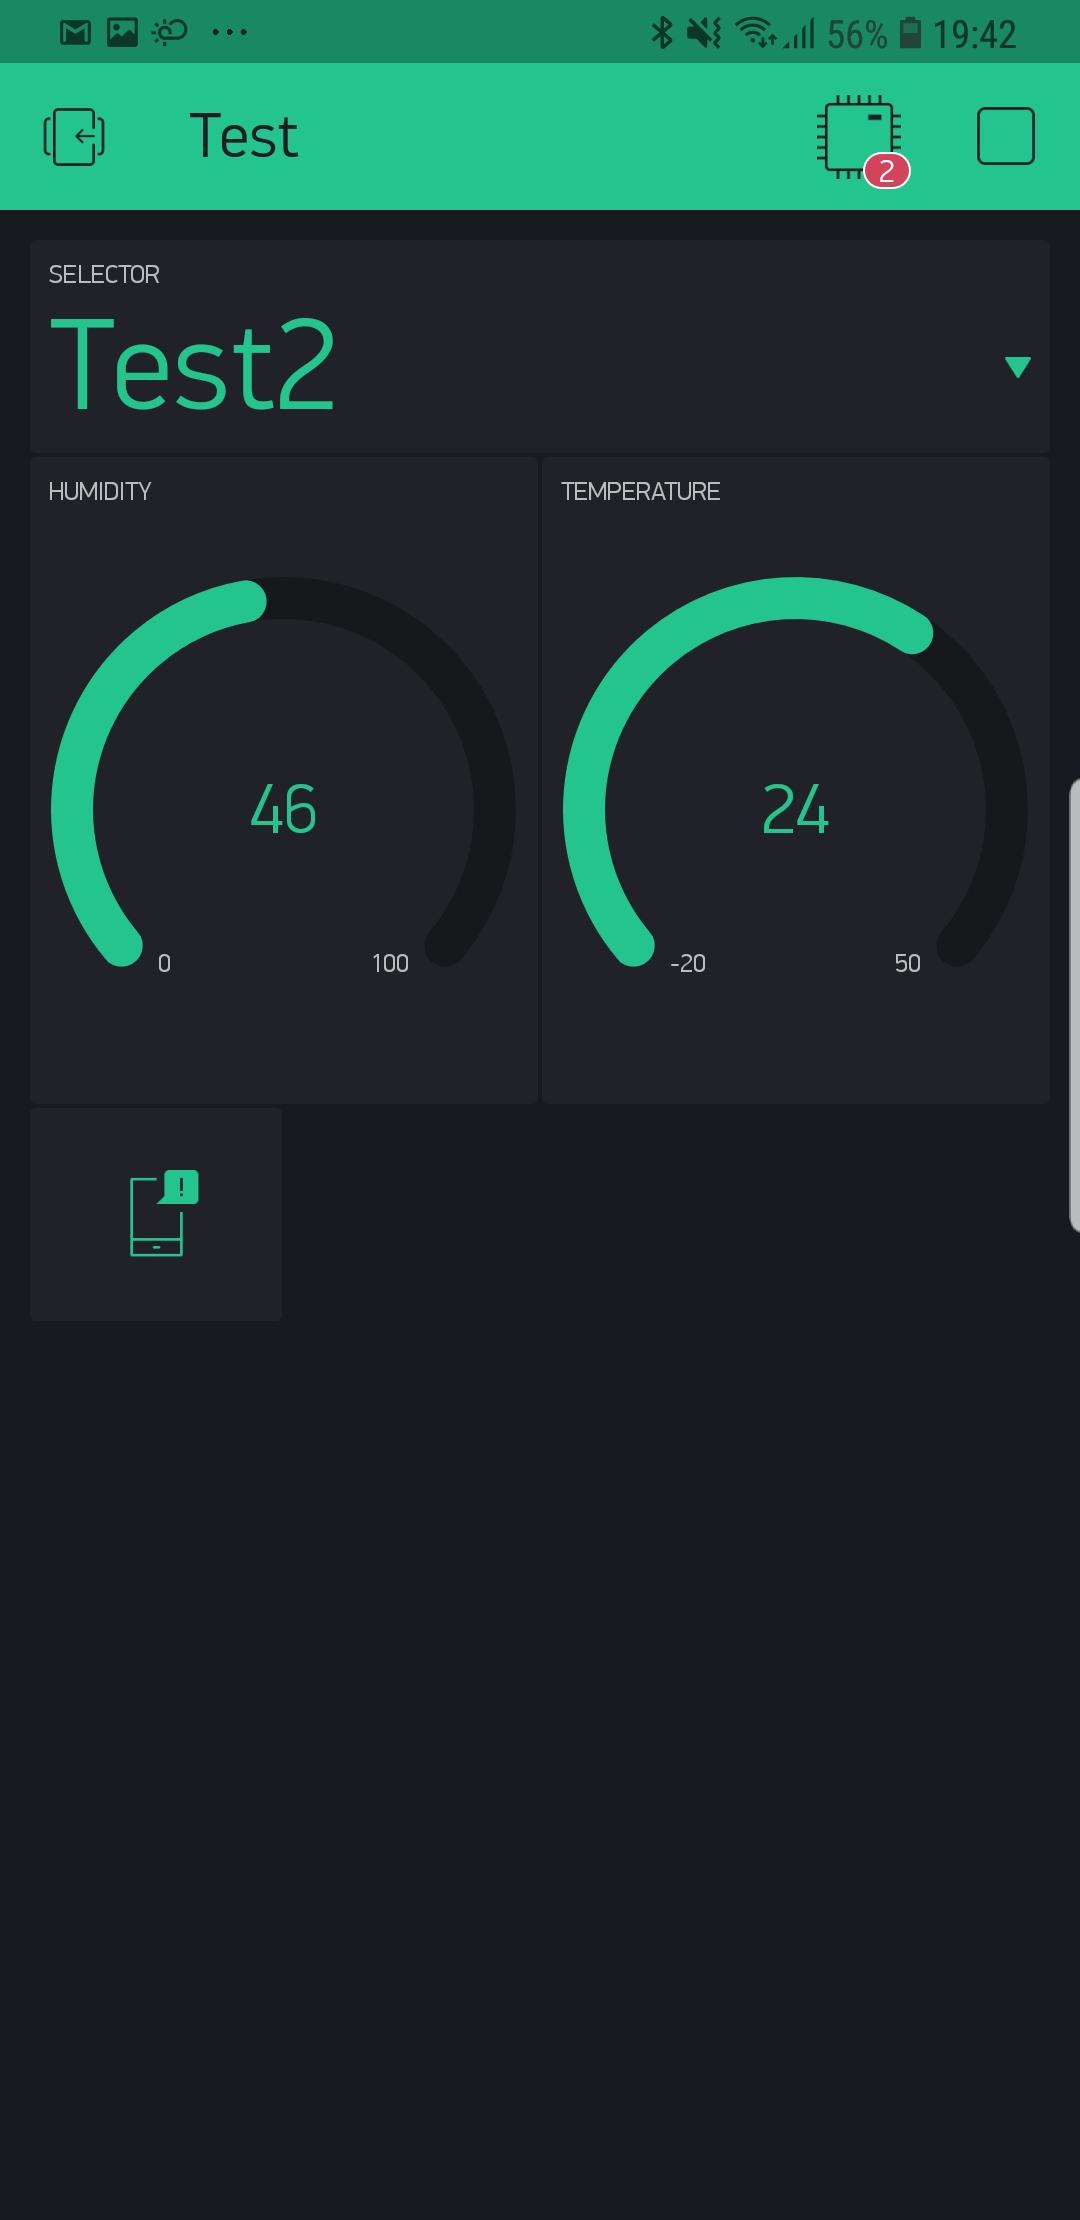
Yes, it will work without BLYNK, and will most likely show correct results in the serial monitor (and possibly the app for short periods of time). What you will most likely see is that the connection to the app is constantly disconnecting and reconnecting. There are some inner workings of the BLYNK libraries and such that require the use of non-blocking functions, and a continuous “hand-shake” confirmation that it is still connected. This is why the loop() needs to be as short as possible, and why you cannot use delays.
Hope this clarifies it a bit. Maybe someone else might provide a better explanation.
I have not used the “Create Your Own App” feature. I only use the basic projects. From the little I have played around with it, it seems like the devices must be added before you create the app preview (i.e. while it is still a project).
Placing Temp() in your loop() is almost the same thing as having all the code in the loop(). Additionally, with those delays you are going to have disconnection issues. You need to use timers. First remove all delay() from Temp()
Then, Add this up top near your variable declarations.
BlynkTimer timer;
Put this in your setup()
timer.setInterval(2000L, Temp);
Remove Temp() from the loop(), and add this to the loop()