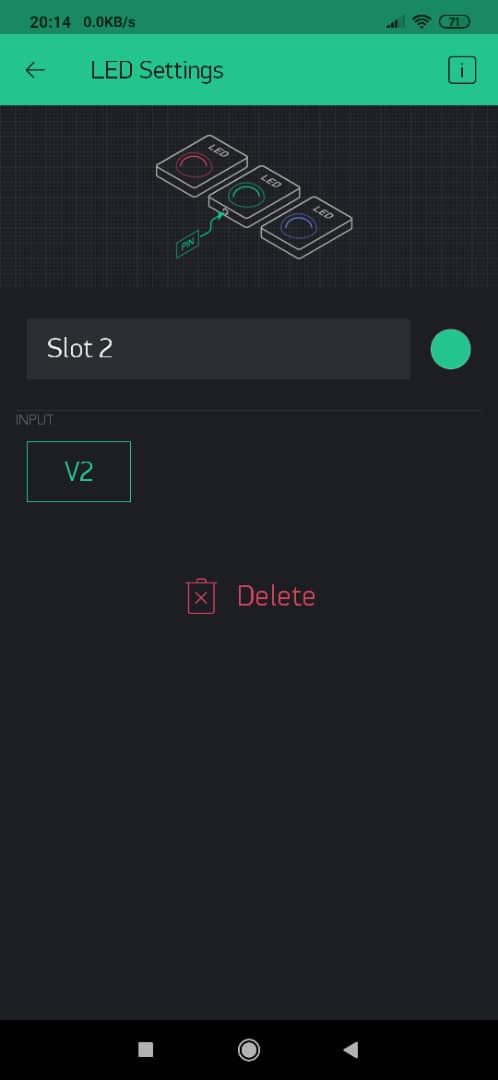
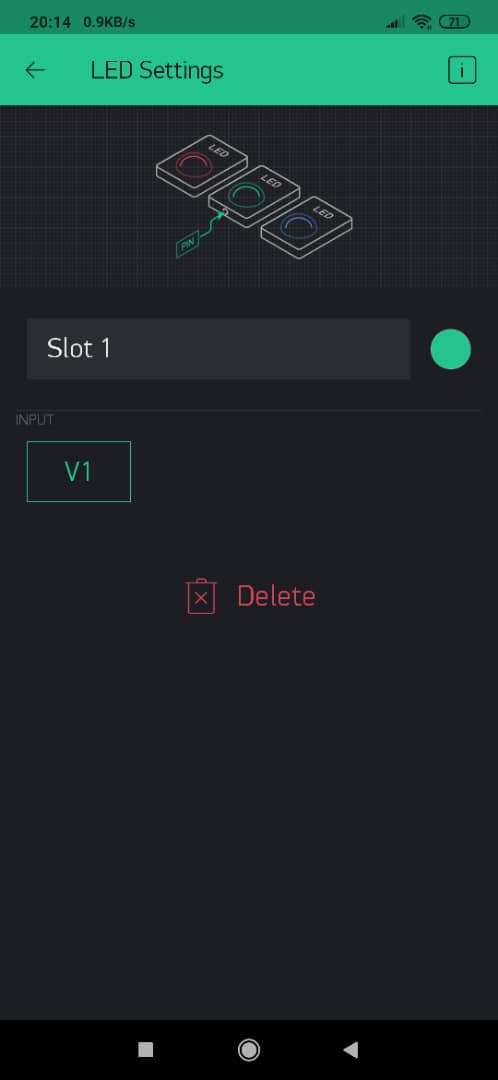
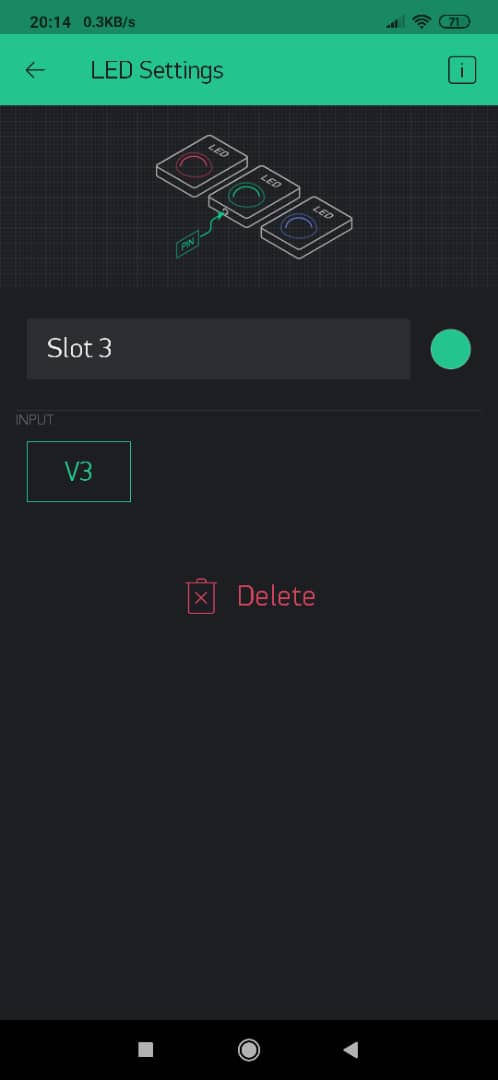
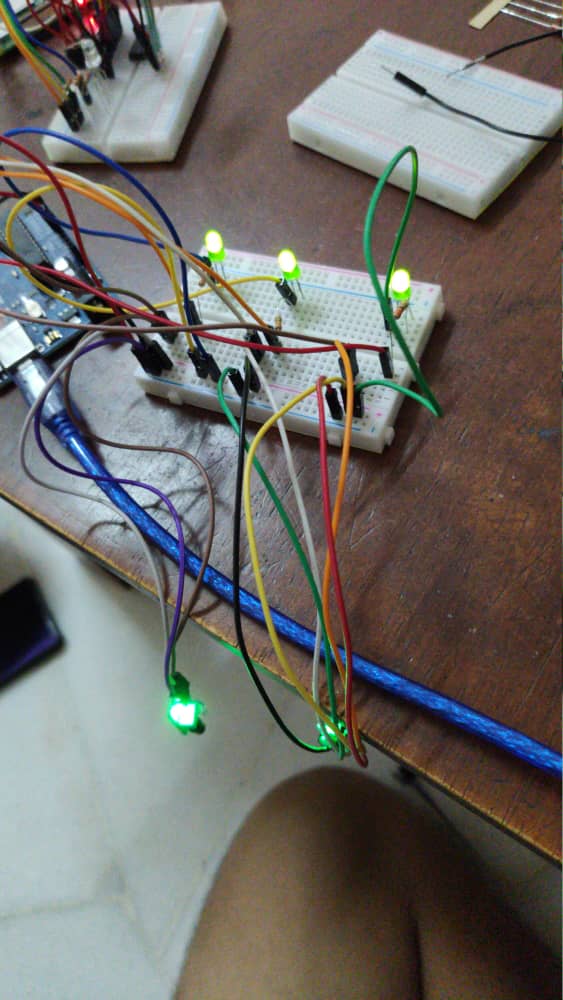
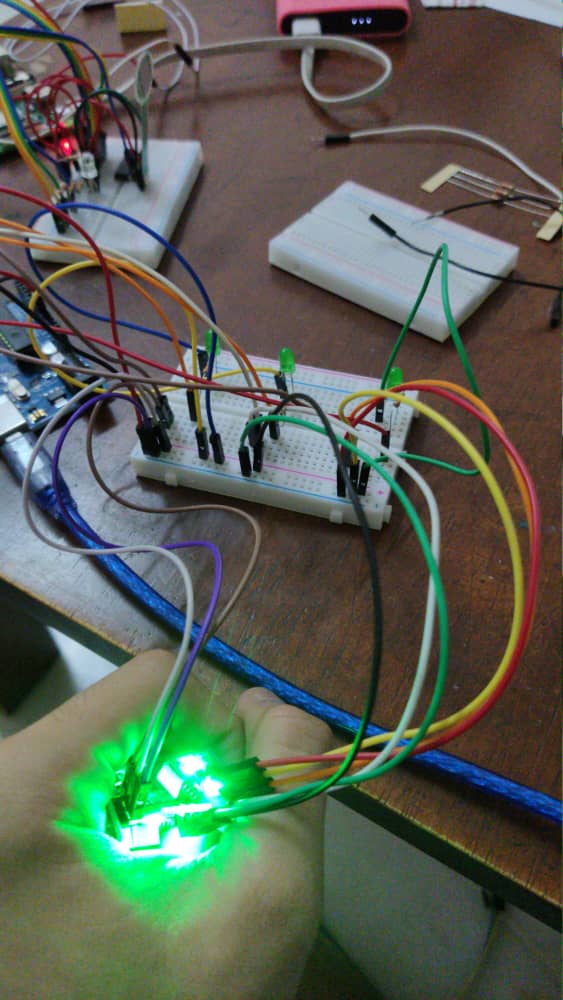
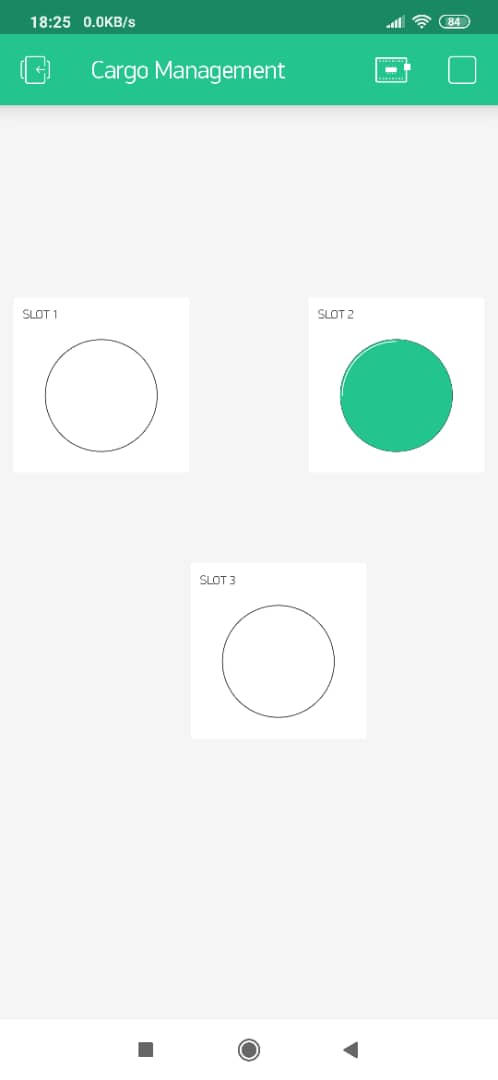
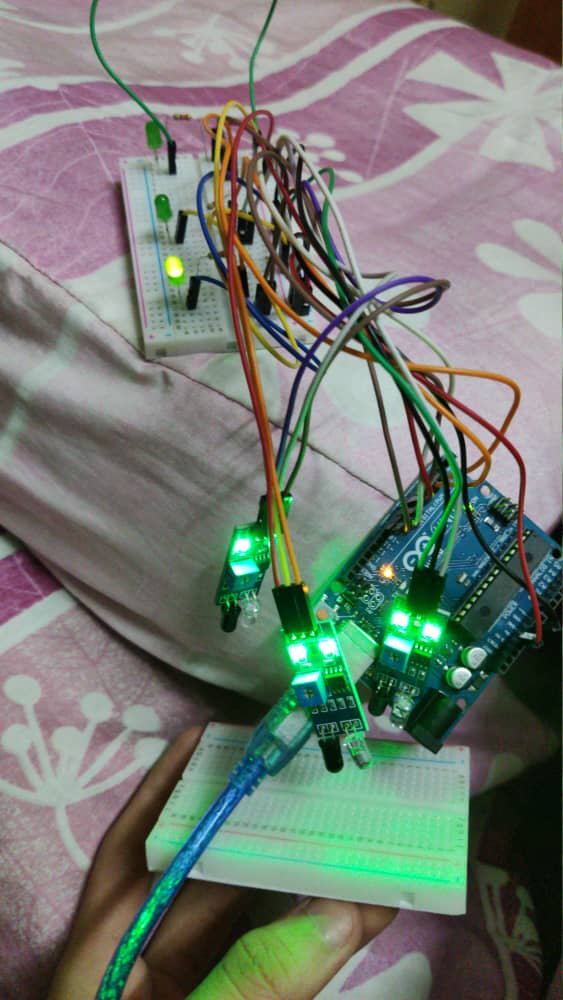
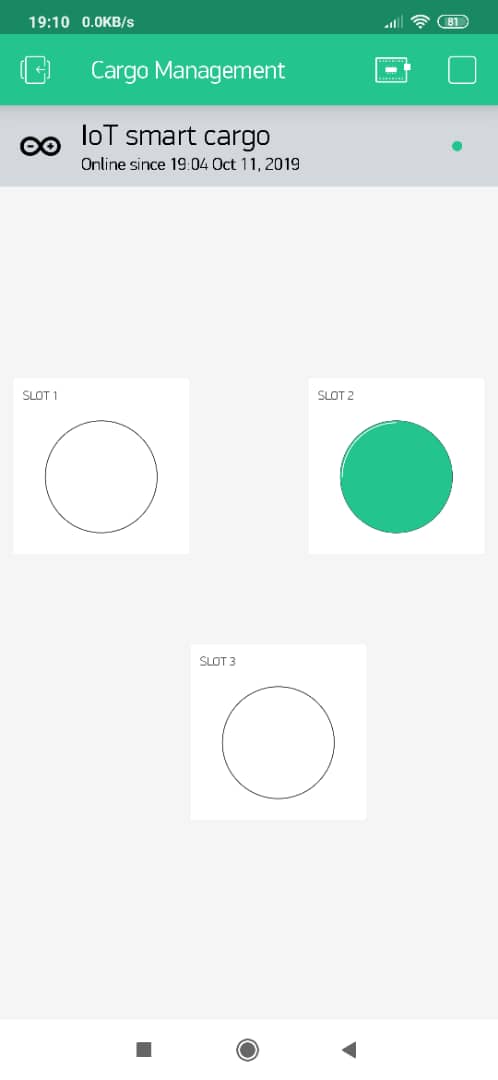
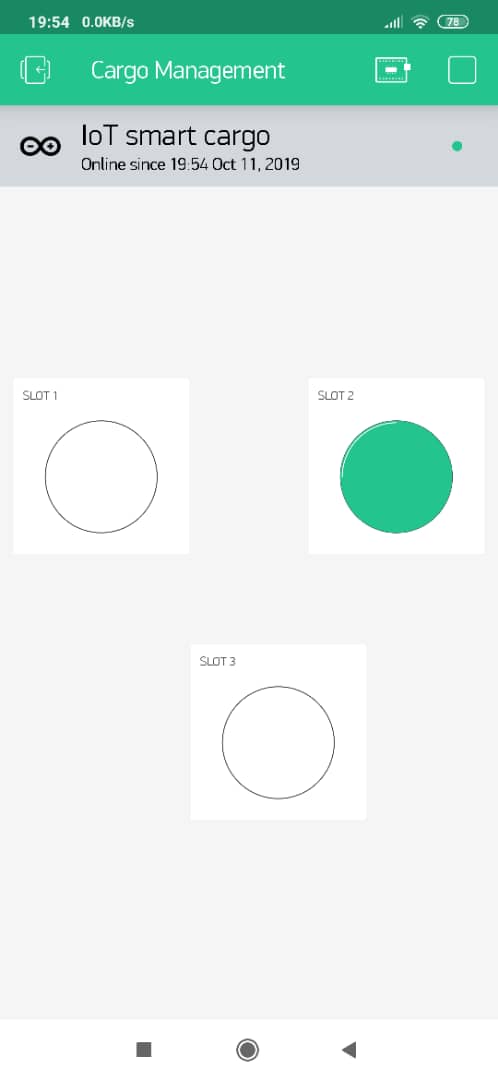
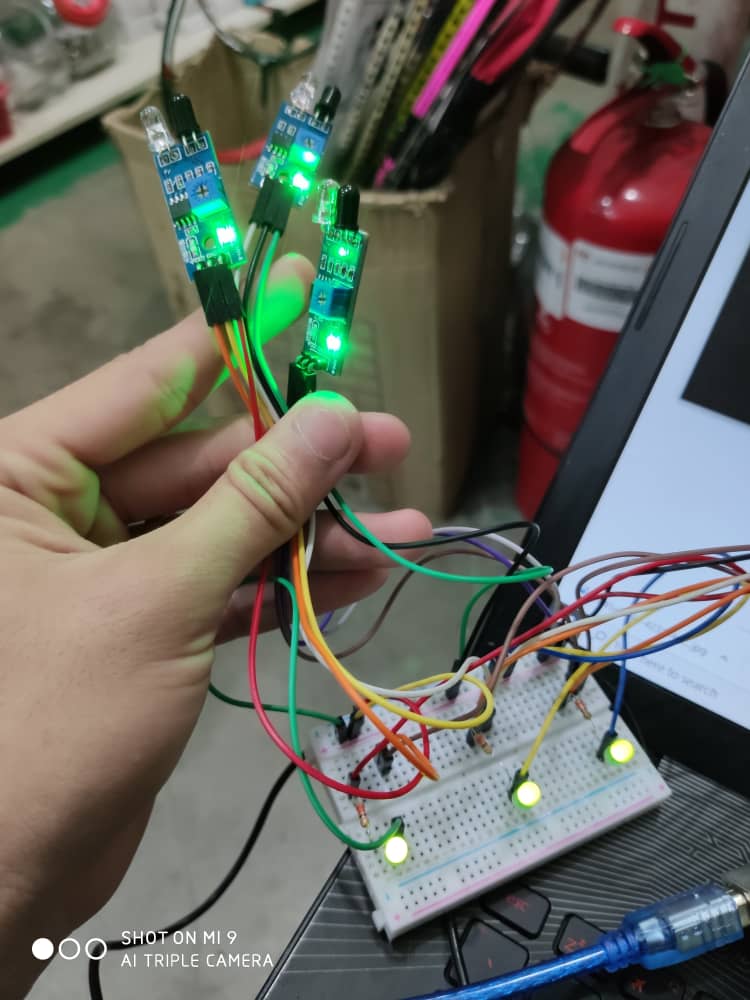
The Virtual Leds in my blynk mobile application does not function as the virtual leds keep continue on and cannot be off for a long time although my prototype can function well and the blynk application is connected. Is it the delay problem form the blynk application or the code has problem? I am using Arduino Uno R3, COM1 port, SERVER Port 8442.
Here are my code
#define BLYNK_PRINT SwSerial


#include <SoftwareSerial.h>
SoftwareSerial SwSerial(10, 11); // RX, TX

#include <BlynkSimpleStream.h>

// You should get Auth Token in the Blynk App.
// Go to the Project Settings (nut icon).
char auth[] = "KsCxzn6GzA6njyGAklonr6TmAOukKOUP";
WidgetLED led1(V1);   // Virtual LED to show status on App
WidgetLED led2(V2);
WidgetLED led3(V3);
int sensor1 = 8;      // IR Sensors
int sensor2 = 9;
int sensor3 = 10;
int ledv0 = 5; //led bulb
int ledv1 = 6;
int ledv2 = 7;
void setup()
{
  // Debug console
  SwSerial.begin(9600);

  // Blynk will work through Serial
  // Do not read or write this serial manually in your sketch
  Serial.begin(9600);
  Blynk.begin(Serial, auth);
   pinMode(sensor3,INPUT);    // Setting sensors to input

  pinMode(sensor2,INPUT);

  pinMode(sensor1,INPUT);
   pinMode (ledv0,OUTPUT); // Output
    pinMode (ledv1,OUTPUT);
    pinMode (ledv2,OUTPUT);
}

void loop()
{
  int sensorval1 = digitalRead(sensor1); // Saving Values os sensors
   int sensorval2 = digitalRead(sensor2);
   int sensorval3 = digitalRead(sensor3);
   Serial.println(sensorval1);            // printing values
   Serial.println(sensorval2);
   Serial.println(sensorval3);
   delay(300);
   if (sensorval1 ==1)
   {
led1.on();                                 // Setting virtual led on the app
digitalWrite(ledv0, HIGH);
}
   if (sensorval2 ==1)
   {
led2.on();
digitalWrite(ledv1, HIGH);

}
   if (sensorval3 ==1)
   {

led3.on();
digitalWrite(ledv2, HIGH);
}
    if (sensorval1 ==0)
   {

led1.off();
digitalWrite(ledv0, LOW);
}
   if (sensorval2 ==0)
   {
led2.off();
digitalWrite(ledv1, LOW);
}

if (sensorval3 ==0)
   {
led3.off();
digitalWrite(ledv2, LOW);
   }
  Blynk.run();
Please edit your original post to add triple backticks at the beginning and end of your code so that it displays correctly.
Triple backticks look like this:
```
Pete.
ok i will try it later, thanks 
Hi Pete, i just deleted all the delay() from my code and placed the code from the void loop() to the timer function to keep the void loop() clean, and the blynk apps doesnt works as the virtual leds in blynk application cannot be turned off. Is it any problem in my code?
#include <SoftwareSerial.h>
SoftwareSerial SwSerial(10, 11); // RX, TX
#include <BlynkSimpleStream.h>

// You should get Auth Token in the Blynk App.
// Go to the Project Settings (nut icon).
char auth[] = "KsCxzn6GzA6njyGAklonr6TmAOukKOUP";
BlynkTimer timer;
WidgetLED led1(V1);   // Virtual LED to show status on App
WidgetLED led2(V2);
WidgetLED led3(V3);
int sensor1 = 8;      // IR Sensors
int sensor2 = 9;
int sensor3 = 10;
int ledv0 = 5; //led bulb
int ledv1 = 6;
int ledv2 = 7;

void myTimerEvent()
{
  pinMode(sensor3,INPUT);    // Setting sensors to input

  pinMode(sensor2,INPUT);

  pinMode(sensor1,INPUT);
   pinMode (ledv0,OUTPUT); // Output
    pinMode (ledv1,OUTPUT);
    pinMode (ledv2,OUTPUT);
   int sensorval1 = digitalRead(sensor1); // Saving Values os sensors
   int sensorval2 = digitalRead(sensor2);
   int sensorval3 = digitalRead(sensor3);
   Serial.println(sensorval1);            // printing values
   Serial.println(sensorval2);
   Serial.println(sensorval3);

   if (sensorval1 ==1)
   {
led1.on();                                 // Setting virtual led on the app
digitalWrite(ledv0, HIGH);

}
   if (sensorval2 ==1)
   {
led2.on();
digitalWrite(ledv1, HIGH);


}
   if (sensorval3 ==1)
   {

led3.on();
digitalWrite(ledv2, HIGH);

}
    if (sensorval1 ==0)
   {

led1.off();
digitalWrite(ledv0, LOW);

}
   if (sensorval2 ==0)
   {
led2.off();
digitalWrite(ledv1, LOW);

}

if (sensorval3 ==0)
   {
led3.off();
digitalWrite(ledv2, LOW);

   }
  // You can send any value at any time.
  // Please don't send more that 10 values per second.

}
void setup()
{
  // Debug console
  SwSerial.begin(9600);

  // Blynk will work through Serial
  // Do not read or write this serial manually in your sketch
  Serial.begin(9600);
  Blynk.begin(Serial, auth);

  timer.setInterval(1000L, myTimerEvent);
}

void loop()
{

  Blynk.run();
  timer.run();
  // You can inject your own code or combine it with other sketches.
  // Check other examples on how to communicate with Blynk. Remember
  // to avoid delay() function!
}
The output in the blynk apps still remain the same although my blynk application is connected to the blynk cloud.
Do your physical LEDs turn off when you expect them to?
Do your Blynk LED widgets turn on when you expect them to?
If so, what happens if you replace:
led1.off();
with:
Blynk.virtualWrite(V1,0);
Also, you only need to do all of this once:
pinMode(sensor3,INPUT);    // Setting sensors to input
pinMode(sensor2,INPUT);
pinMode(sensor1,INPUT);
pinMode (ledv0,OUTPUT); // Output
pinMode (ledv1,OUTPUT);
pinMode (ledv2,OUTPUT);
so it should be in your void loop setup, not in a function that’s called once every second.
Pete.
Hi Pete, unfortunately the Blynk led widgets cannot be turn on and turn off, as i just changed the input for the widgets led to other values and changed it back in the Blynk application. It is the code that you mentioned above which is
pinMode(sensor2,INPUT);
pinMode(sensor1,INPUT);
pinMode (ledv0,OUTPUT); // Output
pinMode (ledv1,OUTPUT);
pinMode (ledv2,OUTPUT);
that should put in the void loop and keep the timer() function?
here is the code and the screenshot of the Blynk application output
SoftwareSerial SwSerial(10, 11); // RX, TX
#include <BlynkSimpleStream.h>

// You should get Auth Token in the Blynk App.
// Go to the Project Settings (nut icon).
char auth[] = "KsCxzn6GzA6njyGAklonr6TmAOukKOUP";
BlynkTimer timer;
WidgetLED led1(V1);   // Virtual LED to show status on App
WidgetLED led2(V2);
WidgetLED led3(V3);
int sensor1 = 8;      // IR Sensors
int sensor2 = 9;
int sensor3 = 10;
int ledv0 = 5; //led bulb
int ledv1 = 6;
int ledv2 = 7;

void myTimerEvent()
{

   int sensorval1 = digitalRead(sensor1); // Saving Values os sensors
   int sensorval2 = digitalRead(sensor2);
   int sensorval3 = digitalRead(sensor3);
   Serial.println(sensorval1);            // printing values
   Serial.println(sensorval2);
   Serial.println(sensorval3);

   if (sensorval1 ==1)
   {
Blynk.virtualWrite(V1,1);                                // Setting virtual led on the app
digitalWrite(ledv0, HIGH);
}
   if (sensorval2 ==1)
   {
Blynk.virtualWrite(V2,1);
digitalWrite(ledv1, HIGH);

}
   if (sensorval3 ==1)
   {

Blynk.virtualWrite(V3,1);
digitalWrite(ledv2, HIGH);
}
    if (sensorval1 ==0)
   {

Blynk.virtualWrite(V1,0);
digitalWrite(ledv0, LOW);
}
   if (sensorval2 ==0)
   {
Blynk.virtualWrite(V2,0);
digitalWrite(ledv1, LOW);
}

if (sensorval3 ==0)
   {
Blynk.virtualWrite(V3,0);
digitalWrite(ledv2, LOW);
   }
  // You can send any value at any time.
  // Please don't send more that 10 values per second.

}
void setup()
{

  // Debug console
  SwSerial.begin(9600);

  // Blynk will work through Serial
  // Do not read or write this serial manually in your sketch
  Serial.begin(9600);
  Blynk.begin(Serial, auth);

  timer.setInterval(1000L, myTimerEvent);
}

void loop()
{
 pinMode(sensor3,INPUT);    // Setting sensors to input
  pinMode(sensor2,INPUT);
  pinMode(sensor1,INPUT);
   pinMode (ledv0,OUTPUT); // Output
    pinMode (ledv1,OUTPUT);
    pinMode (ledv2,OUTPUT);
  Blynk.run();
  timer.run();
}
Sorry, that’s what happens when i reply on my phone while I’m out shopping with Mrs K.
I should have said that the pinmode statements only need to be run once, so should go in your void setup rather than void loop.
So, with this change,
- Do your physical LEDs turn on and off as expected?
- Do your virtual LEDs in the app turn on as expected?
- Do your virtual LEDs in the app turn off as expected?
Pete,
Hi Pete, it is ok that you still reply me while shopping,thanks  .
.
I just placed the pinmode statements to the void setup() and run the code again.
With the change,
1)My physical leds and turn on and turn off as expected.
2)My virtual leds in the blynk application cannot be turned on.
3)My virtual leds in the blynk application cannot be turned off.
The blynk application output interface still remain the same.
here is my code
#include <SoftwareSerial.h>

SoftwareSerial SwSerial(10, 11); // RX, TX
#include <BlynkSimpleStream.h>

// You should get Auth Token in the Blynk App.
// Go to the Project Settings (nut icon).
char auth[] = "KsCxzn6GzA6njyGAklonr6TmAOukKOUP";
BlynkTimer timer;
WidgetLED led1(V1);   // Virtual LED to show status on App
WidgetLED led2(V2);
WidgetLED led3(V3);
int sensor1 = 8;      // IR Sensors
int sensor2 = 9;
int sensor3 = 10;
int ledv0 = 5; //led bulb
int ledv1 = 6;
int ledv2 = 7;

void myTimerEvent()
{

  int sensorval1 = digitalRead(sensor1); // Saving Values os sensors
  int sensorval2 = digitalRead(sensor2);
  int sensorval3 = digitalRead(sensor3);
  Serial.println(sensorval1);            // printing values
  Serial.println(sensorval2);
  Serial.println(sensorval3);

  if (sensorval1 ==1)
  {
Blynk.virtualWrite(V1,1);                                // Setting virtual led on the app
digitalWrite(ledv0, HIGH);
}
  if (sensorval2 ==1)
  {
Blynk.virtualWrite(V2,1);
digitalWrite(ledv1, HIGH);

}
  if (sensorval3 ==1)
  {

Blynk.virtualWrite(V3,1);
digitalWrite(ledv2, HIGH);
}
   if (sensorval1 ==0)
  {

Blynk.virtualWrite(V1,0);
digitalWrite(ledv0, LOW);
}
  if (sensorval2 ==0)
  {
Blynk.virtualWrite(V2,0);
digitalWrite(ledv1, LOW);
}

if (sensorval3 ==0)
  {
Blynk.virtualWrite(V3,0);
digitalWrite(ledv2, LOW);
  }
 // You can send any value at any time.
 // Please don't send more that 10 values per second.

}
void setup()
{

 // Debug console
 SwSerial.begin(9600);

 // Blynk will work through Serial
 // Do not read or write this serial manually in your sketch
 Serial.begin(9600);
 Blynk.begin(Serial, auth);
  pinMode(sensor3,INPUT);    // Setting sensors to input
 pinMode(sensor2,INPUT);
 pinMode(sensor1,INPUT);
  pinMode (ledv0,OUTPUT); // Output
   pinMode (ledv1,OUTPUT);
   pinMode (ledv2,OUTPUT);

 timer.setInterval(1000L, myTimerEvent);
}

void loop()
{

 Blynk.run();
 timer.run();
}
This won’t turn the LED in the app on, (well, it will, but it will be so dim that you cant tell that it’s on).
You need to write a value of 255 to the LED to turn it on at full brightness:
Blynk.virtualWrite(V1,255);
Pete.
Hi Pete, thanks for your advice for adding value of 255 to brighten the virtual leds. I just changed the value and run the code again but I am still getting the same result as the sensor did not sense anything, the physical leds are lights up as usual, but the virtual leds are still not functioning although the device is connected to the blynk application.

Here is my latest code
#include <SoftwareSerial.h>

SoftwareSerial SwSerial(10, 11); // RX, TX
#include <BlynkSimpleStream.h>

// You should get Auth Token in the Blynk App.
// Go to the Project Settings (nut icon).
char auth[] = "KsCxzn6GzA6njyGAklonr6TmAOukKOUP";
BlynkTimer timer;
WidgetLED led1(V1);   // Virtual LED to show status on App
WidgetLED led2(V2);
WidgetLED led3(V3);
int sensor1 = 8;      // IR Sensors
int sensor2 = 9;
int sensor3 = 10;
int ledv0 = 5; //led bulb
int ledv1 = 6;
int ledv2 = 7;

void myTimerEvent()
{

   int sensorval1 = digitalRead(sensor1); // Saving Values os sensors
   int sensorval2 = digitalRead(sensor2);
   int sensorval3 = digitalRead(sensor3);
   Serial.println(sensorval1);            // printing values
   Serial.println(sensorval2);
   Serial.println(sensorval3);

   if (sensorval1 ==1)
   {
Blynk.virtualWrite(V1,255);                                // Setting virtual led on the app
digitalWrite(ledv0, HIGH);
}
   if (sensorval2 ==1)
   {
Blynk.virtualWrite(V2,255);
digitalWrite(ledv1, HIGH);

}
   if (sensorval3 ==1)
   {

Blynk.virtualWrite(V3,255);
digitalWrite(ledv2, HIGH);
}
    if (sensorval1 ==0)
   {

Blynk.virtualWrite(V1,0);
digitalWrite(ledv0, LOW);
}
   if (sensorval2 ==0)
   {
Blynk.virtualWrite(V2,0);
digitalWrite(ledv1, LOW);
}

if (sensorval3 ==0)
   {
Blynk.virtualWrite(V3,0);
digitalWrite(ledv2, LOW);
   }
  // You can send any value at any time.
  // Please don't send more that 10 values per second.

}
void setup()
{

  // Debug console
  SwSerial.begin(9600);

  // Blynk will work through Serial
  // Do not read or write this serial manually in your sketch
  Serial.begin(9600);
  Blynk.begin(Serial, auth);
   pinMode(sensor3,INPUT);    // Setting sensors to input
  pinMode(sensor2,INPUT);
  pinMode(sensor1,INPUT);
   pinMode (ledv0,OUTPUT); // Output
    pinMode (ledv1,OUTPUT);
    pinMode (ledv2,OUTPUT);

  timer.setInterval(1000L, myTimerEvent);
}

void loop()
{

  Blynk.run();
  timer.run();
}
I just realised that somewhere along the way you’ve switched from doing pinmode declarations to allow your sensors to be used as inputs and your physical LEDs as outputs, to declaring your virtual LEDs in pinmode declarations:
The pinMode declaration is used to tell the MCU that a particular physical pin is going to be used for input or output.
You may need declarations for sensors, although this may be handled by the library for that sensor, and for any outputs such as your physical LEDs.
You should not be doing pinmode declarations for virtual pins.
If you’re still struggling to get this working then I’d suggest using one of the Sketch Builder examples to ensure that your ISP isn’t blocking Blunk traffic.
Pete.
Hi Pete
pinMode (ledv0,OUTPUT); // Output
pinMode (ledv1,OUTPUT);
pinMode (ledv2,OUTPUT);
This pinmode declaration above is used to declare the physical leds as the output, and for the virtual leds i only type this at the top.
WidgetLED led1(V1);   // Virtual LED to show status on App
WidgetLED led2(V2);
WidgetLED led3(V3);
So it is need to type anything to declare the virtual leds ? What should I use for the declaration of the virtual leds, as i’m new to this language 


