Hi, I’m tryng to develop a catfeeder in which a stepper motor turn an auger. Up to now I’ve been able to develop the web dashboard on desktop and mobile and to run the steppr for a certain number of step. I’m using a nema 17 stepper motor, the A4988 driver and the lolin D1 mini pro. All works fine except the fact that the stepper driver is always enabled and i would like to enable it just before run and desable it when the feeding has been finished.
I’ve tried using “mystepper.enableOutputs();” and disable output but it doesn’t work.
Here below the code i used:
// Fill-in information from your Blynk Template here
#define BLYNK_TEMPLATE_ID "xxxx"
#define BLYNK_DEVICE_NAME "Stepper"
#define BLYNK_FIRMWARE_VERSION "0.1.0"
#define BLYNK_PRINT Serial
//#define BLYNK_DEBUG
#define APP_DEBUG
// Uncomment your board, or configure a custom board in Settings.h
//#define USE_SPARKFUN_BLYNK_BOARD
//#define USE_NODE_MCU_BOARD
//#define USE_WITTY_CLOUD_BOARD
#define USE_WEMOS_D1_MINI
#include <AccelStepper.h>
#include "BlynkEdgent.h"
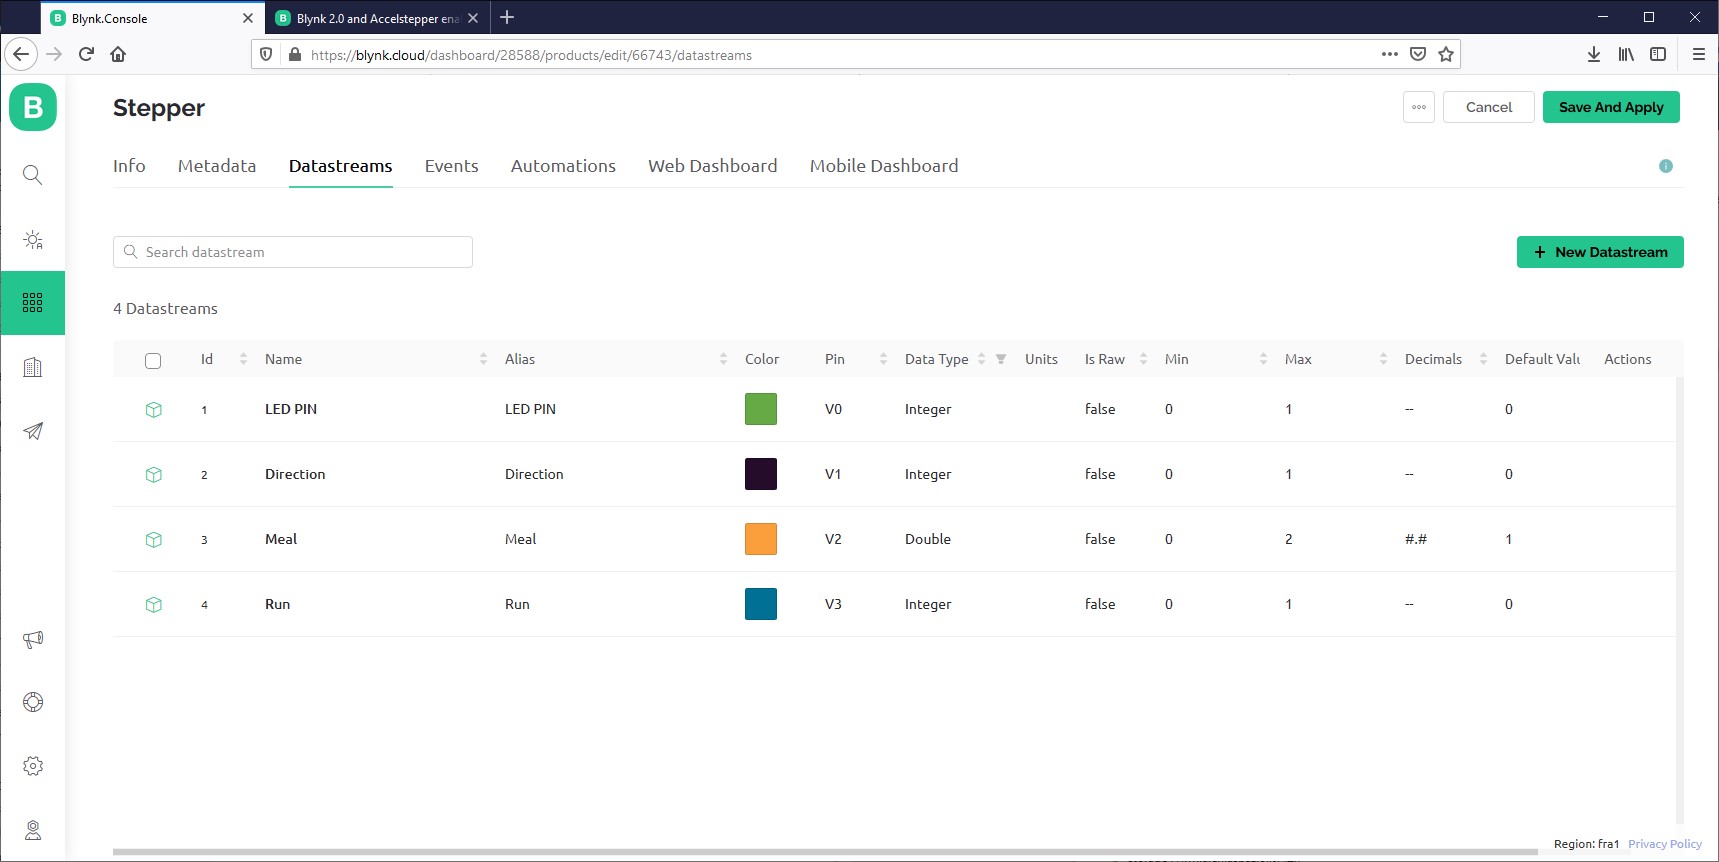
int LED = 16; //GPIO16 -- D0
int DIR = 4; //GPIO04 -- D2
int STEP = 12; // GPIO12 --D6
int EN = 14; //GPIO14 -- D5;//Enable Pin - active low
int steps = 30000;
int Direction = 0;
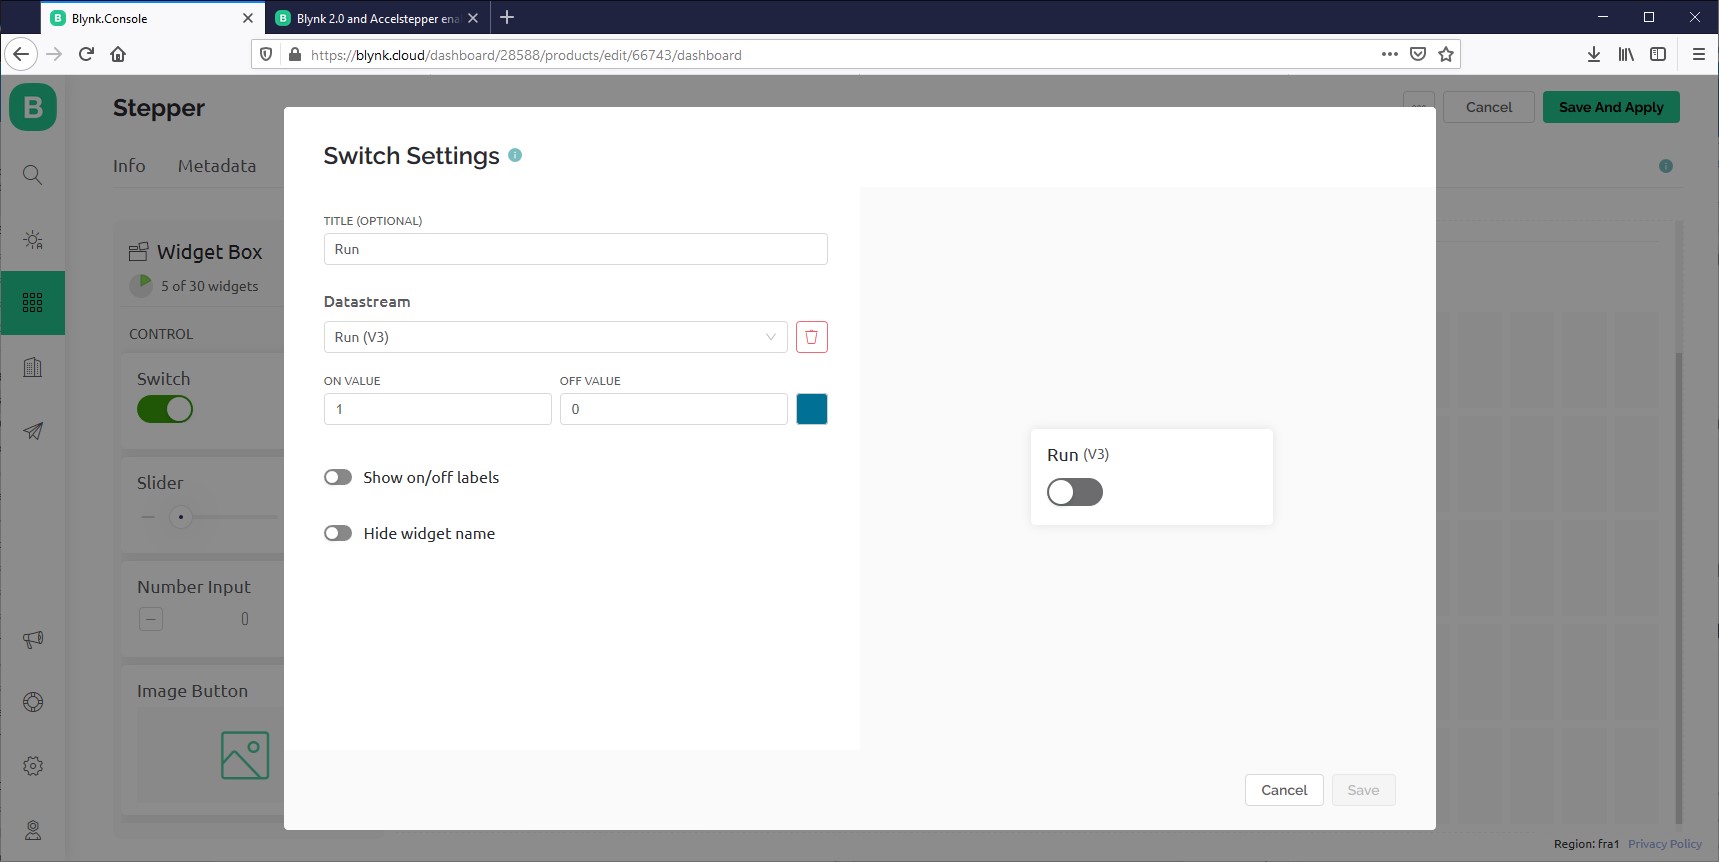
int Run = 0;
AccelStepper mystepper(1,STEP, DIR);
BLYNK_WRITE(V0)
{
int pinValue=param.asInt(); //assigning icoming valure from pin V0 to a variable
digitalWrite(LED, pinValue); // low activate led High switch off
}
BLYNK_WRITE(V1)
{
Direction=param.asInt(); //assigning icoming valure from pin V1 to a variable
}
BLYNK_WRITE(V2)
{
steps=param.asInt(); //assigning icoming valure from pin V2 to a variable
}
BLYNK_WRITE(V3)
{
Run=param.asInt(); //assigning icoming valure from pin V3 to a variable
mystepper.enableOutputs();
Serial.println("--------------------------");
Serial.println("RUN");
Serial.println(Run);
Serial.println("Direzione");
Serial.println(Direction);
Serial.println("Numero steps");
Serial.println(steps);
Serial.println("--------------------------");
if (Run == 1) {
if (Direction == 1) {
mystepper.move(steps); //
} else {
mystepper.move(-steps);
}
}
}
void setup()
{
pinMode(LED, OUTPUT);
pinMode(DIR, OUTPUT);
pinMode(STEP, OUTPUT);
pinMode(EN, OUTPUT);
Serial.begin(115200);
delay(100);
mystepper.setEnablePin(EN);
mystepper.setPinsInverted(false, false, true);
mystepper.setMaxSpeed(50); // valore originale 50
mystepper.setAcceleration(50);
BlynkEdgent.begin();
}
void loop() {
digitalWrite(DIR, Direction);
BlynkEdgent.run();
mystepper.run();
mystepper.disableOutputs();
}
I’ve tried also to use digitalwrite(EN, LOW) to enable it or digitalwrite(EN, HIGH); within the BLYNK_WRITE(V3) function but seems that the code don’t wait the completion of “mystepper.move(steps)” before to go to the next line that is the digitalwrite(EN, HIGH);, so the enable pin is enabled and immediatly after disabled.
Thnaks a lot,
Mario