Before creating the topic
-
Search this forum for similar topics
- Check Documentation and Help Center
- Post details like:
• Hardware model + communication type. For example: Arduino UNO with Ethernet Shield
• Smartphone OS (iOS or Android) + version
• Blynk server or local server
• Blynk Library version
• Add your sketch code.  Code should be formatted as example below.
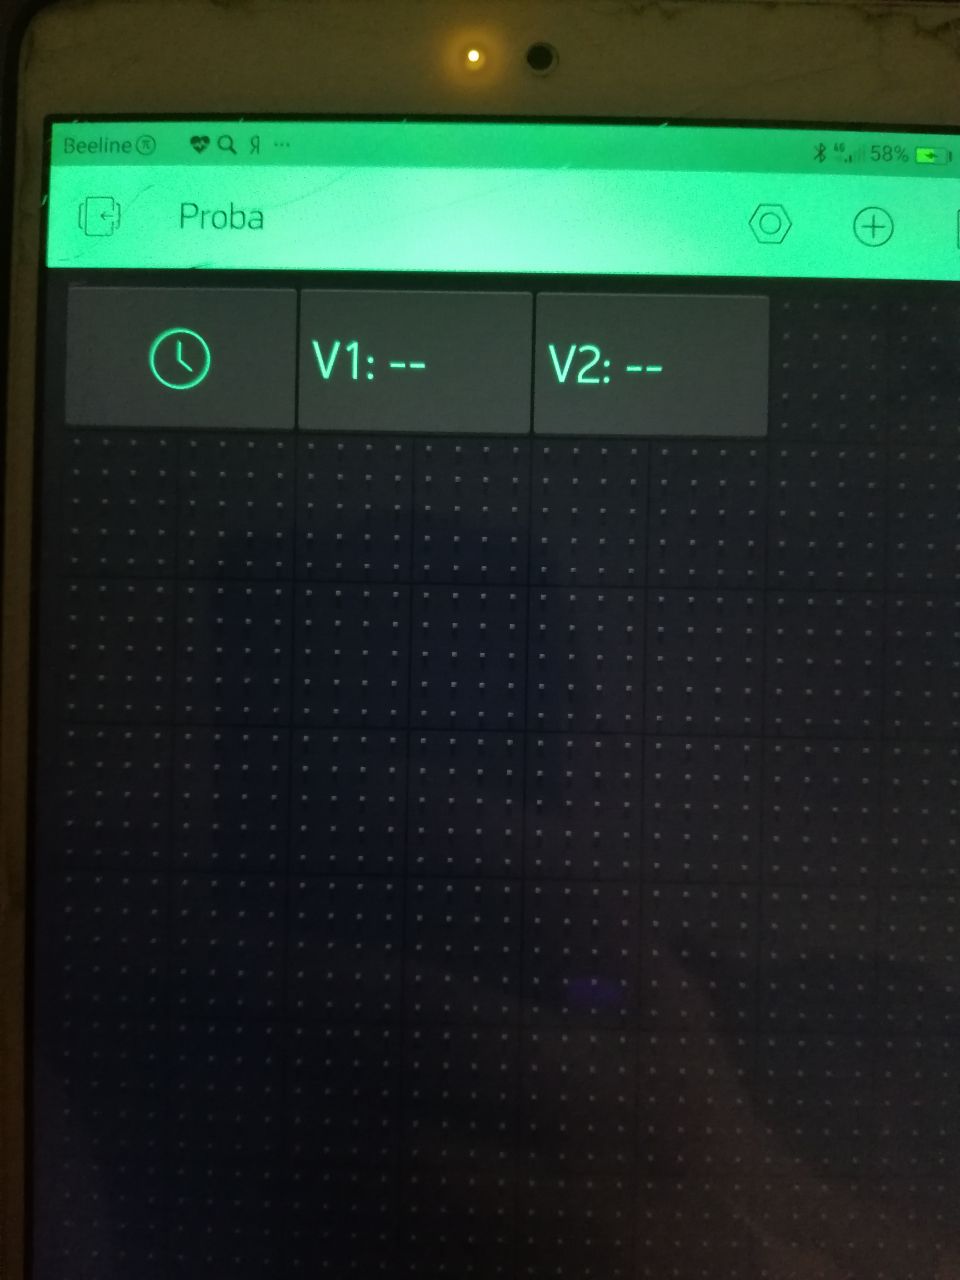
Использую самую последнюю версию библиотеки.В прошлый раз ардуино показывала время в приложение,теперь,когда нажимаю значок,то приложение показывает только сам виджет RTC,а два value display пустые,не подскажите,где я допускаю ошибку?Виртуальные контакты переназначал,но все равно пустые.Пока использую usb провод,сама плата в онлайне,а вот времени нет.
//#define BLYNK_PRINT Serial1


#include <BlynkSimpleStream.h>
#include <TimeLib.h>
#include <WidgetRTC.h>

// You should get Auth Token in the Blynk App.
// Go to the Project Settings (nut icon).
char auth[] = "truuuuuuuuuuuuuuuu";
char server[] = "blynk-cloud.com";
char ssid[] = "HUAELL";
char pass[] = "66666666";
int port = 8080;

BlynkTimer timer;


WidgetRTC rtc;

// Digital clock display of the time
void clockDisplay()
{
  // You can call hour(), minute(), ... at any time
  // Please see Time library examples for details

  String currentTime = String(hour()) + ":" + minute() + ":" + second();
  String currentDate = String(day()) + " " + month() + " " + year();
  Serial.print("Current time: ");
  Serial.print(currentTime);
  Serial.print(" ");
  Serial.print(currentDate);
  Serial.println();

  // Send time to the App
  Blynk.virtualWrite(V3, currentTime);
  // Send date to the App
  Blynk.virtualWrite(V4, currentDate);
}


void setup()
{
 Serial1.begin(115200);

  // Blynk will work through Serial
  // Do not read or write this serial manually in your sketch
  Serial.begin(115200);
  Blynk.begin(Serial, auth);
  setSyncInterval(10 * 60); // Sync interval in seconds (10 minutes)
  rtc.begin();

  // Display digital clock every 10 seconds
  timer.setInterval(10000L, clockDisplay);
}

void loop()
{
  Blynk.run();
  timer.run();
}
You seem to be using the serial steam connection method, but you’re using Serial1 for this. Do you have an FTDI connected to Serial1?
If not, then you should probably be using Serial rather than Serial1, and using the USB connector on the Arduino board.
I assume you have the serial macro running on your PC?
Pete.
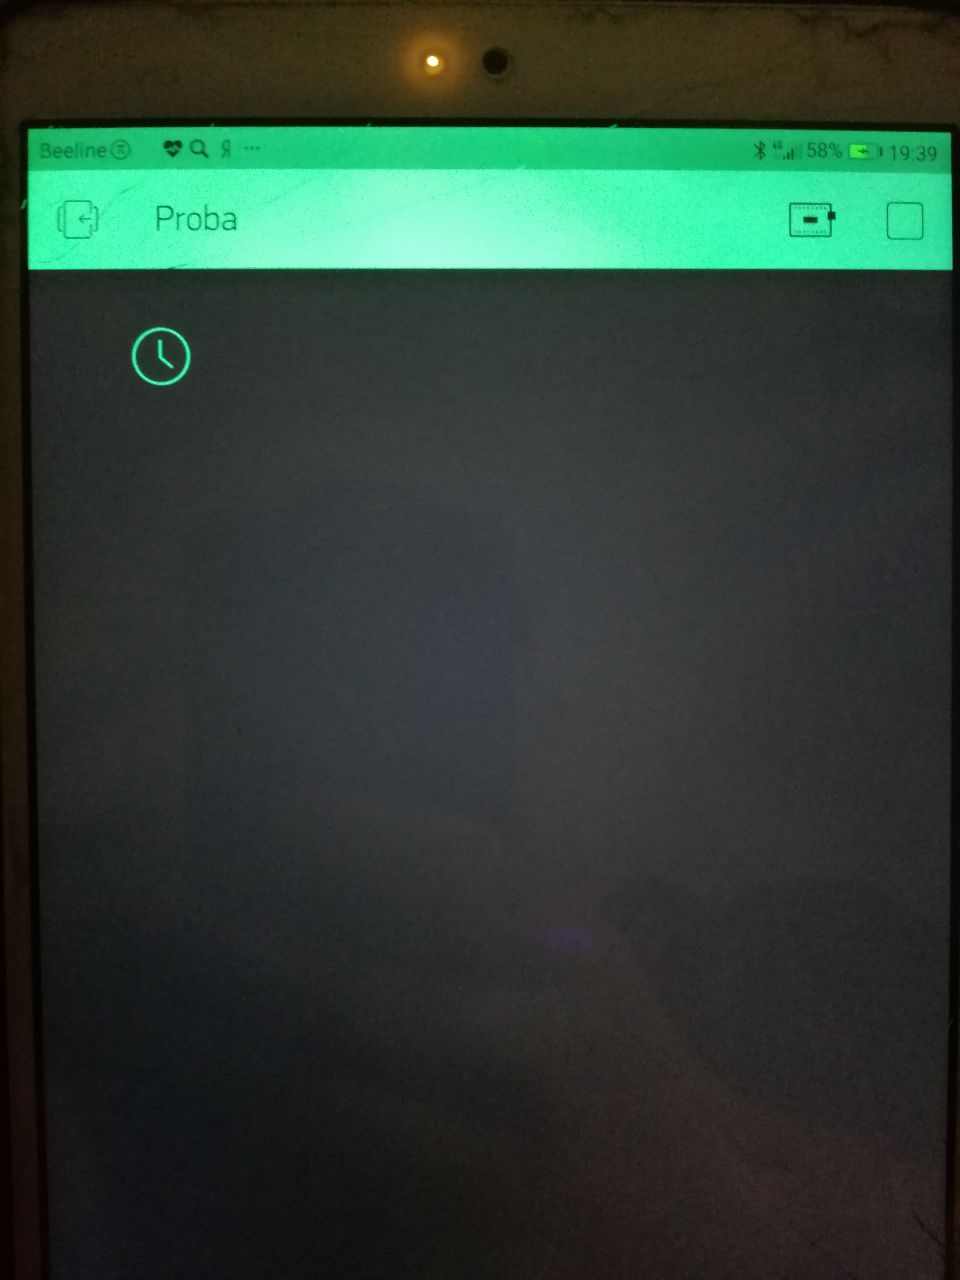
У меня serial1 закомментирован,те что в setup не трогал.ftdi не использую,у меня 16u2 и ch340g на другой плате.Как раз USB-разъём на плате и использую,в прошлый раз часы работали,а в этот раз такая ситуация:
Не подскажите,куда копнуть,чтобы все заработало?
С уважением.
I’m sorry, I don’t understand.
How is your Arduino connected to your PC, and are you running the USB script on your PC?
What does the USB script show in the terminal window?
Pete.
Ардуино подключен через Usb-cord.В Ардуино ИДЕ пишет,что com4 (port busy).Но,почему в приложении на виджетах пустота?
Окно терминана без открытия blynk-ser показывает каляки-маляки,причем все выставлено правильно,да и не особо он мне нужен,если честно.Вот,почему виджеты в приложении молчат,вот на этот вопрос хотелось бы найти ответ?
The USB port on your Arduino board is referenced as Serial, not Serial1, so you are sending no data to the port that is connected to your computer.
Also, you can’t use Serial.print when you are using the serial connection to connect to Blynk.
Pete.
I’ve commented out serial1.begin, but still in the application is empty, tried to put on the LCD widget RTC - all the same.You can not tell me-what could be the cause of this problem?
Simply commenting-out Serial1 won’t work, as you’ve discovered. You need to correctly configure the Serial connection for use with the Serial macro running on your PC.
This is the RTC sketch from the sketch builder, for your board with the serial connection…
/*************************************************************
  Download latest Blynk library here:
    https://github.com/blynkkk/blynk-library/releases/latest

  Blynk is a platform with iOS and Android apps to control
  Arduino, Raspberry Pi and the likes over the Internet.
  You can easily build graphic interfaces for all your
  projects by simply dragging and dropping widgets.

    Downloads, docs, tutorials: http://www.blynk.cc
    Sketch generator:           http://examples.blynk.cc
    Blynk community:            http://community.blynk.cc
    Follow us:                  http://www.fb.com/blynkapp
                                http://twitter.com/blynk_app

  Blynk library is licensed under MIT license
  This example code is in public domain.

 *************************************************************
  =>
  =>          USB HOWTO: http://tiny.cc/BlynkUSB
  =>

  Blynk can provide your device with time data, like an RTC.
  Please note that the accuracy of this method is up to several seconds.

  App project setup:
    RTC widget (no pin required)
    Value Display widget on V1
    Value Display widget on V2

  WARNING :
  For this example you'll need Time keeping library:
    https://github.com/PaulStoffregen/Time

  This code is based on an example from the Time library:
    https://github.com/PaulStoffregen/Time/blob/master/examples/TimeSerial/TimeSerial.ino
 *************************************************************/

/* Comment this out to disable prints and save space */
#define BLYNK_PRINT Serial1


#include <BlynkSimpleStream.h>
#include <TimeLib.h>
#include <WidgetRTC.h>

// You should get Auth Token in the Blynk App.
// Go to the Project Settings (nut icon).
char auth[] = "YourAuthToken";

BlynkTimer timer;

WidgetRTC rtc;

// Digital clock display of the time
void clockDisplay()
{
  // You can call hour(), minute(), ... at any time
  // Please see Time library examples for details

  String currentTime = String(hour()) + ":" + minute() + ":" + second();
  String currentDate = String(day()) + " " + month() + " " + year();
  Serial1.print("Current time: ");
  Serial1.print(currentTime);
  Serial1.print(" ");
  Serial1.print(currentDate);
  Serial1.println();

  // Send time to the App
  Blynk.virtualWrite(V1, currentTime);
  // Send date to the App
  Blynk.virtualWrite(V2, currentDate);
}

void setup()
{
  // Debug console
  Serial1.begin(9600);

  // Blynk will work through Serial
  // Do not read or write this serial manually in your sketch
  Serial.begin(9600);
  Blynk.begin(Serial, auth);

  // Begin synchronizing time
  rtc.begin();

  // Other Time library functions can be used, like:
  //   timeStatus(), setSyncInterval(interval)...
  // Read more: http://www.pjrc.com/teensy/td_libs_Time.html

  // Display digital clock every 10 seconds
  timer.setInterval(10000L, clockDisplay);
}

void loop()
{
  Blynk.run();
  timer.run();
}
This sketch expects display widgets on V1 and V2, so you’ll need to change the setup in your app.
It also provides debug output to Serial1, but you won’t be able to see that without an FTDI adaptor, so ignore it for now.
Start by getting this sketch working without any modifications (except SSID, Wi-Fi password and Auth code).
Pete.
All done in exactly as you wrote, but the problem remains, what else could be the problem?I still don’t quite understand why I need to FTDI,if I have drivers on the Board 16u2 and ch340?
#define BLYNK_PRINT Serial1


#include <BlynkSimpleStream.h>
#include <TimeLib.h>
#include <WidgetRTC.h>

// You should get Auth Token in the Blynk App.
// Go to the Project Settings (nut icon).
char auth[] = "";
//char server[] = "blynk-cloud.com";
//char ssid[] = "HUAWEI";
//char pass[] = "";
//int port = 8080;
//char currentTime[16];
//char currentDate[16];

BlynkTimer timer;


WidgetRTC rtc;

// Digital clock display of the time
void clockDisplay()
{
  // You can call hour(), minute(), ... at any time
  // Please see Time library examples for details

  String currentTime = String(hour()) + ":" + minute() + ":" + second();
  String currentDate = String(day()) + " " + month() + " " + year();
  Serial.print("Current time: ");
  Serial.print(currentTime);
  Serial.print(" ");
  Serial.print(currentDate);
  Serial.println();

  // Send time to the App
  Blynk.virtualWrite(V1, currentTime);
  // Send date to the App
  Blynk.virtualWrite(V2, currentDate);
}

void setup()
{
  Serial1.begin(9600);

  // Blynk will work through Serial
  // Do not read or write this serial manually in your sketch
  Serial.begin(9600);
  Blynk.begin(Serial, auth);
  //setSyncInterval(10 * 60); // Sync interval in seconds (10 minutes)
 rtc.begin();

  // Display digital clock every 10 seconds
  timer.setInterval(10000L, clockDisplay);
}

void loop()
{
  Blynk.run();
  timer.run();
}