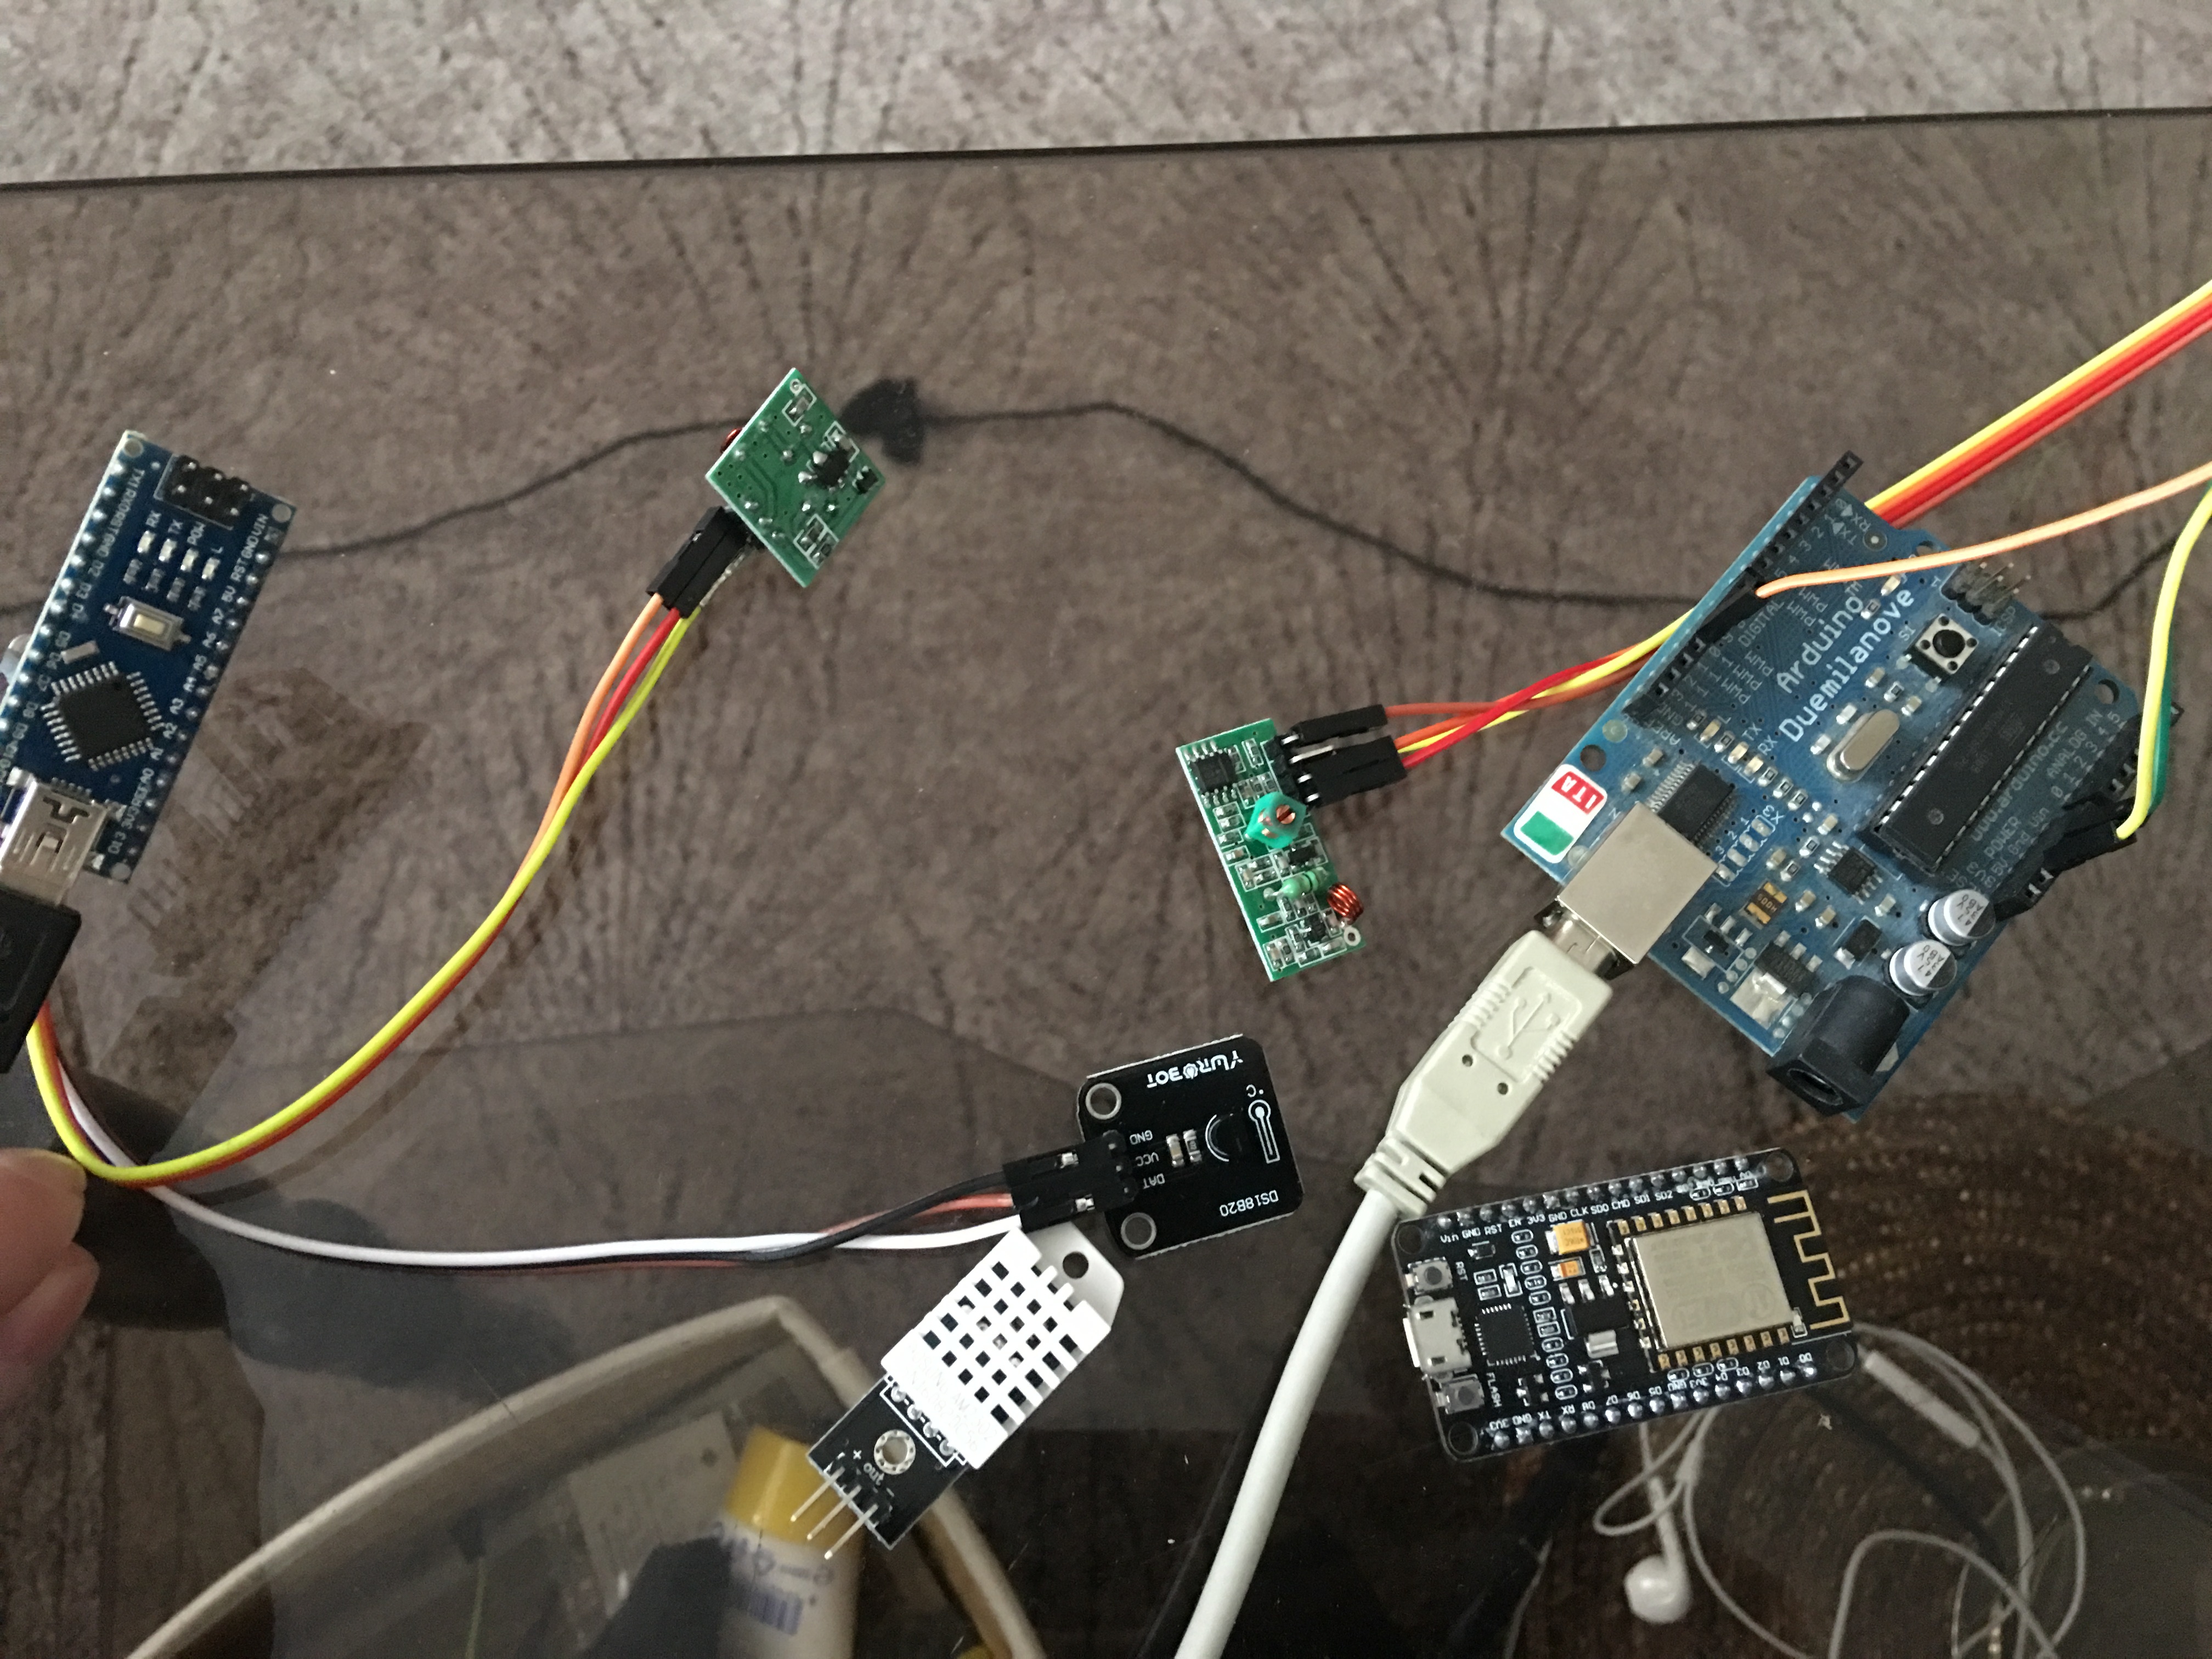
I want sending temperature from Arduino from TX 433Mhz module and Dallas or DHT22 to ESP8266 devkit from RX 433mhz modul and showing temp on Nextion screen and app Blynk.
But OneWire.h library no working with ESP8266… Or must I use RCSwitch.h library?
Thanks.
RX
#include <VirtualWire.h>
#include <OneWire.h>
#include <DallasTemperature.h>

int i;

void setup(){

  Serial.begin(9600);


  vw_setup(2000);
  vw_rx_start();
  vw_set_rx_pin(11);
}

void loop(){


  uint8_t buf[VW_MAX_MESSAGE_LEN];
  uint8_t buflen = VW_MAX_MESSAGE_LEN;

  if( vw_get_message(buf, &buflen) )


      for (i = 0; i < buflen; i++)


            Serial.write(buf[i]);

          }
C:\Users\boss\Documents\Arduino\libraries\VirtualWire\VirtualWire.cpp: In function 'void vw_setup(uint16_t)':
C:\Users\boss\Documents\Arduino\libraries\VirtualWire\VirtualWire.cpp:390:5: error: 'TCCR1A' was not declared in this scope
     TCCR1A = 0; // Output Compare pins disconnected
     ^
C:\Users\boss\Documents\Arduino\libraries\VirtualWire\VirtualWire.cpp:391:5: error: 'TCCR1B' was not declared in this scope
     TCCR1B = _BV(WGM12); // Turn on CTC mode
     ^
In file included from C:\Users\boss\Documents\Arduino\libraries\VirtualWire\VirtualWire.h:146:0,
                 from C:\Users\boss\Documents\Arduino\libraries\VirtualWire\VirtualWire.cpp:31:
C:\Users\boss\Documents\Arduino\libraries\VirtualWire\VirtualWire.cpp:391:18: error: 'WGM12' was not declared in this scope
     TCCR1B = _BV(WGM12); // Turn on CTC mode
                  ^
C:\Users\boss\AppData\Roaming\Arduino15\packages\esp8266\hardware\esp8266\2.3.0\cores\esp8266/Arduino.h:184:25: note: in definition of macro '_BV'
 #define _BV(b) (1UL << (b))
                         ^
C:\Users\boss\Documents\Arduino\libraries\VirtualWire\VirtualWire.cpp:398:5: error: 'OCR1A' was not declared in this scope
     OCR1A = nticks;
     ^
C:\Users\boss\Documents\Arduino\libraries\VirtualWire\VirtualWire.cpp:405:5: error: 'TIMSK' was not declared in this scope
     TIMSK |= _BV(OCIE1A);
     ^
In file included from C:\Users\boss\Documents\Arduino\libraries\VirtualWire\VirtualWire.h:146:0,
                 from C:\Users\boss\Documents\Arduino\libraries\VirtualWire\VirtualWire.cpp:31:
C:\Users\boss\Documents\Arduino\libraries\VirtualWire\VirtualWire.cpp:405:18: error: 'OCIE1A' was not declared in this scope
     TIMSK |= _BV(OCIE1A);
                  ^
C:\Users\boss\AppData\Roaming\Arduino15\packages\esp8266\hardware\esp8266\2.3.0\cores\esp8266/Arduino.h:184:25: note: in definition of macro '_BV'
 #define _BV(b) (1UL << (b))
                         ^
C:\Users\boss\Documents\Arduino\libraries\VirtualWire\VirtualWire.cpp: At global scope:
C:\Users\boss\Documents\Arduino\libraries\VirtualWire\VirtualWire.cpp:588:7: error: expected constructor, destructor, or type conversion before '(' token
 SIGNAL(TIMER1_COMPA_vect)
       ^
C:\Users\boss\Documents\Arduino\libraries\VirtualWire\VirtualWire.cpp:668:1: error: expected '}' at end of input
 }
 ^
Chyba kompilace.
I was a bit bored and was looking at your code… and noticed the error message was referring to a syntax issue… then I saw that you have an if() statement hanging in your void loop() without associated condition/comparators and {} brackets.
Always read through those error messages (and Google them), sometimes they only glancingly point out the real issue.
Hi code is good but working only rfom arduino and no with ESP8266…
#define BLYNK_PRINT Serial // Comment this out to disable prints and save space
#include <ESP8266WiFi.h>
#include <BlynkSimpleEsp8266.h>
#include <SimpleTimer.h>
#include <DHT.h>
#define DHTPIN 12 //pin gpio 12 in sensor
#define DHTTYPE DHT22 // DHT 22 Change this if you have a DHT11
DHT dht(DHTPIN, DHTTYPE);
#include <VirtualWire.h>
#include <OneWire.h>
#include <DallasTemperature.h>
int i;
// You should get Auth Token in the Blynk App.
// Go to the Project Settings (nut icon).
char auth[] = ""; // Put your Auth Token here. (see Step 3 above)
SimpleTimer timer;
void setup()
{
Serial.begin(9600); // See the connection status in Serial Monitor
Blynk.begin(auth, "", ""); //insert here your SSID and password
// Setup a function to be called every second
timer.setInterval(10000L, sendUptime);
vw_setup(2000);
vw_rx_start();
vw_set_rx_pin(1);
}
void sendUptime()
{
uint8_t buf[VW_MAX_MESSAGE_LEN];
uint8_t buflen = VW_MAX_MESSAGE_LEN;
if( vw_get_message(buf, &buflen) )
  for (i = 0; i < buflen; i++)


        Serial.write(buf[i]);

      }
float i = dht.readbuf[i]();
Blynk.virtualWrite(10, buf[i]); // temperature from TX module with Arduino
float h = dht.readHumidity();
float t = dht.readTemperature();
Blynk.virtualWrite(12, t); // virtual pin
Blynk.virtualWrite(13, h); // virtual pin
}
void loop()
{
Blynk.run();
timer.run();
}
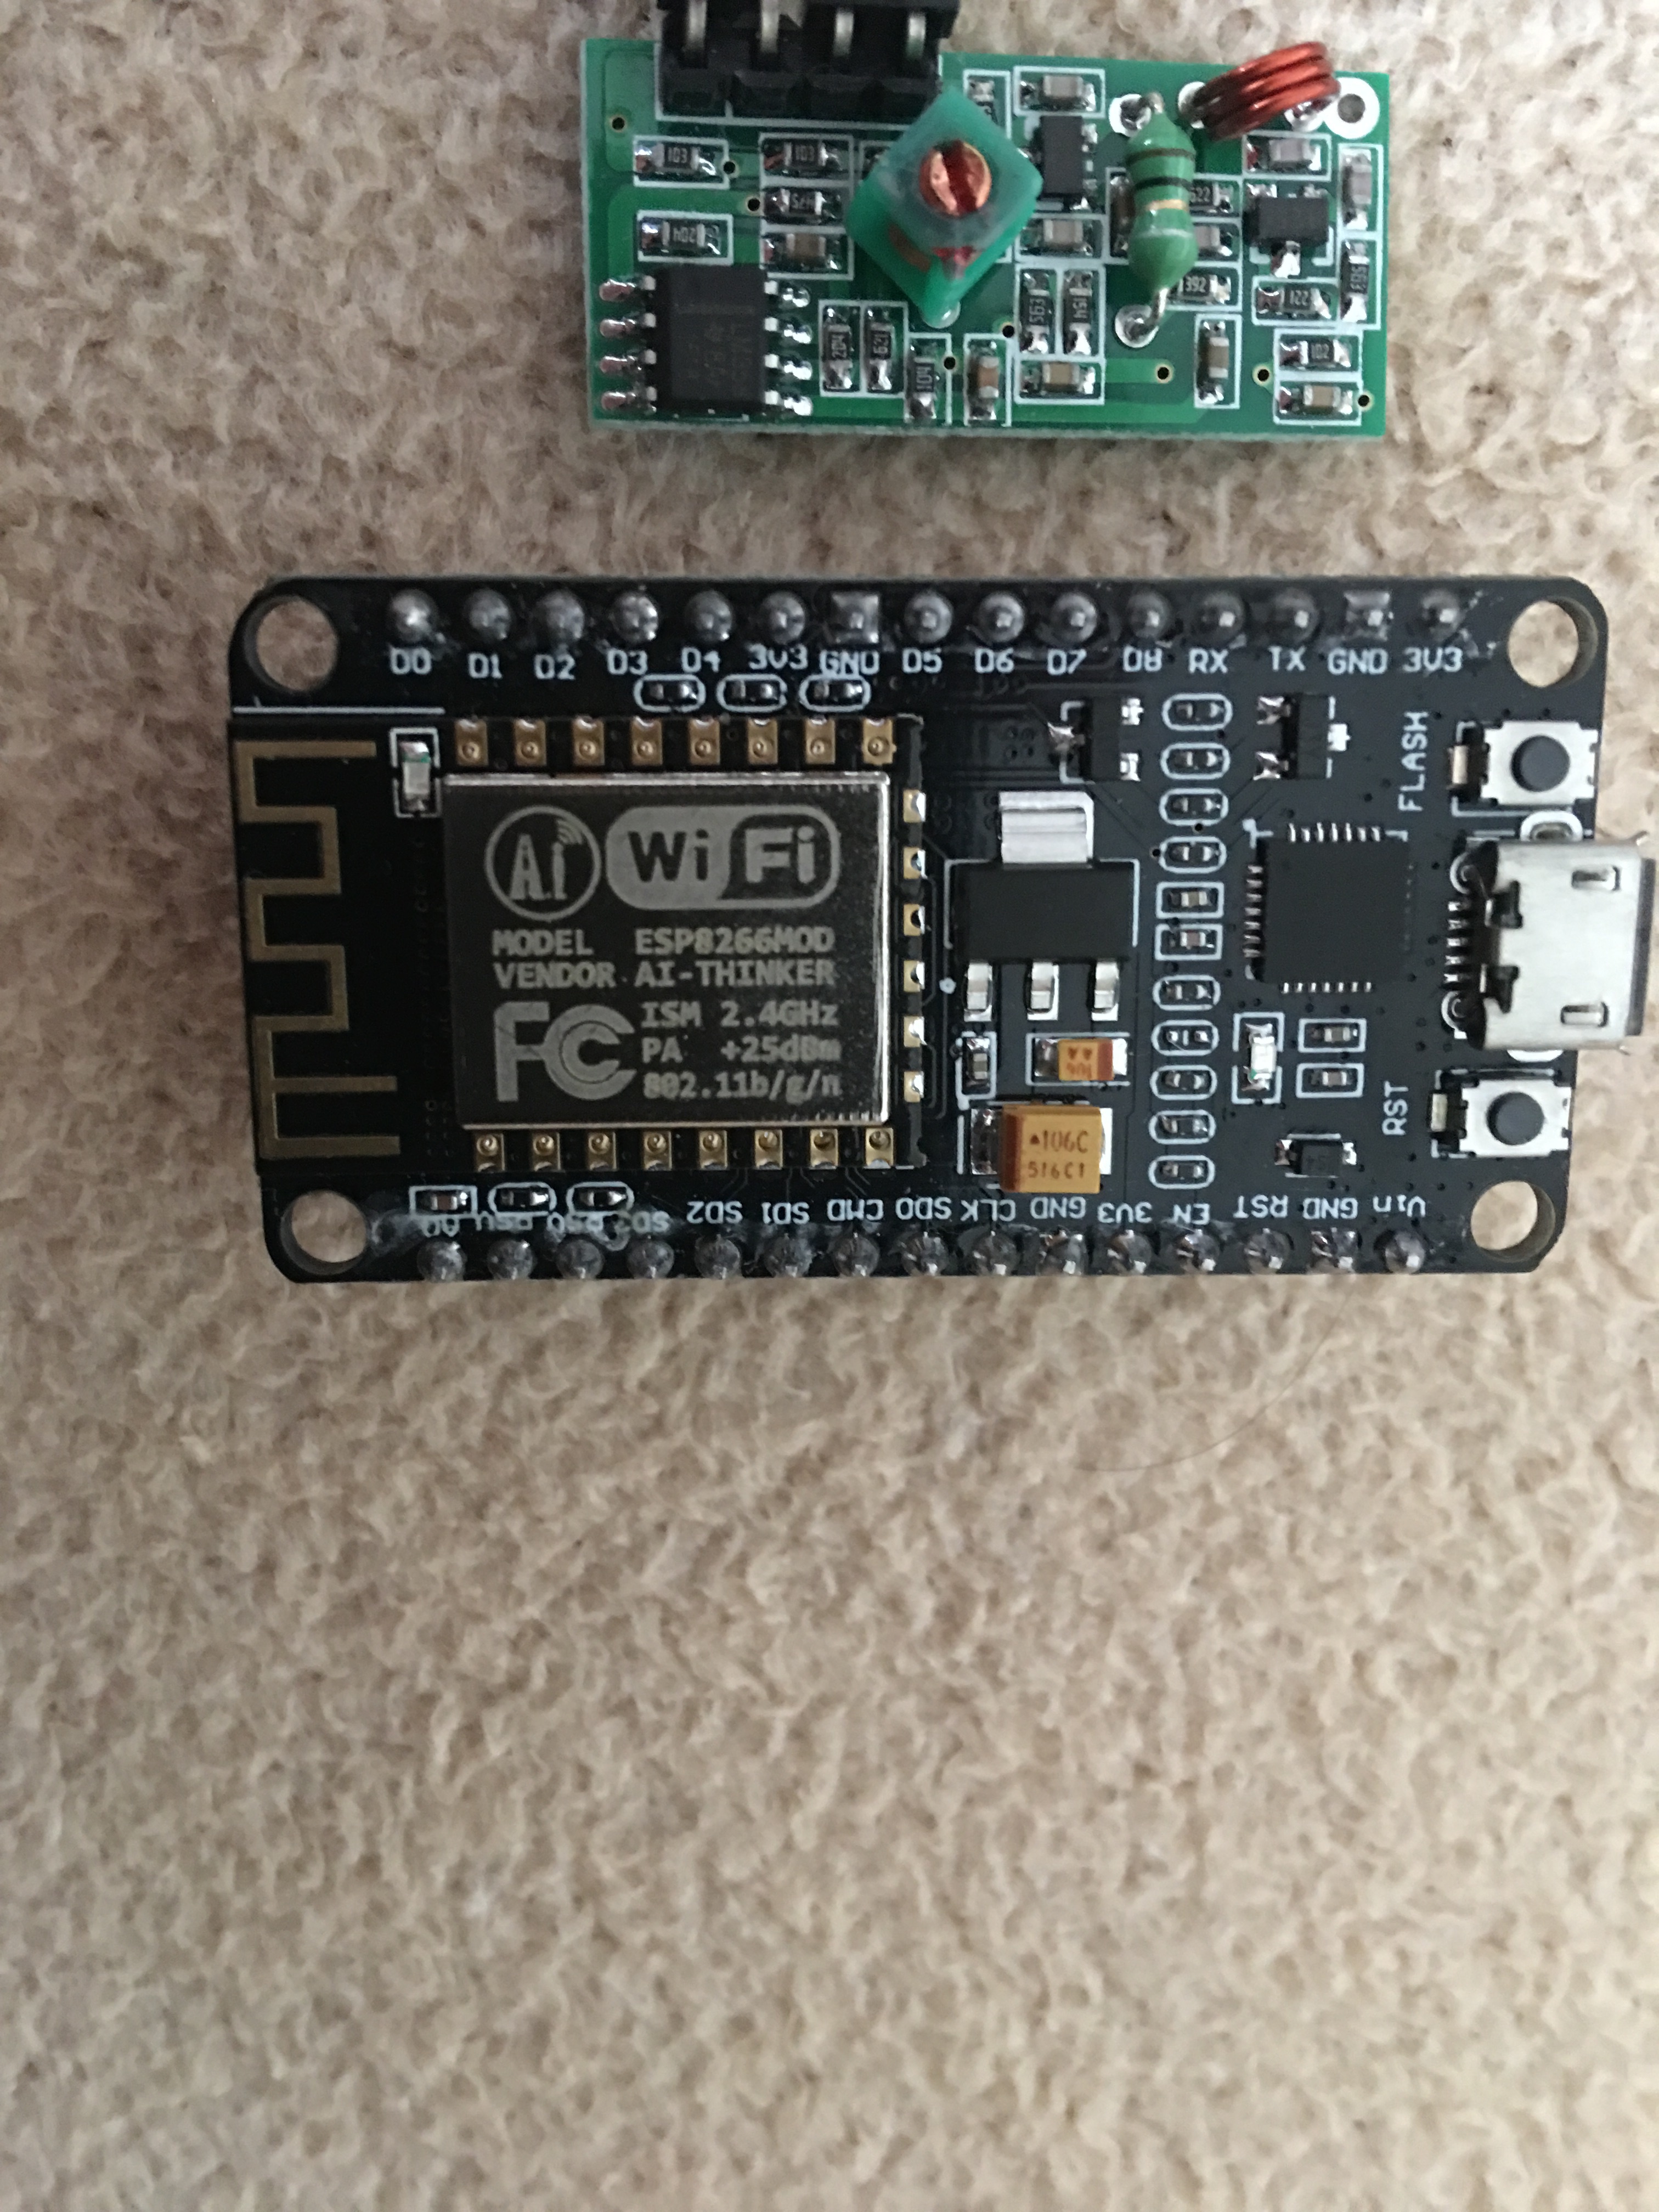
Are you running an ESP8266 standalone board (works best) or as a WiFi shield for an Arduino (additional board to board connection complications - but still not directly Blynk related).
#define BLYNK_PRINT Serial    // Comment this out to disable prints and save space
#include <ESP8266WiFi.h>
#include <BlynkSimpleEsp8266.h>
#include <SimpleTimer.h>
#include <DHT.h>
#define DHTPIN 12 //pin gpio 12 in sensor
#define DHTTYPE DHT22   // DHT 22 Change this if you have a DHT11
DHT dht(DHTPIN, DHTTYPE);

#include <VirtualWire.h>
#include <OneWire.h>
#include <DallasTemperature.h>

int i;

// You should get Auth Token in the Blynk App.
// Go to the Project Settings (nut icon).
char auth[] = "";  // Put your Auth Token here. (see Step 3 above)

SimpleTimer timer;

void setup()
{
  Serial.begin(9600); // See the connection status in Serial Monitor
   Blynk.begin(auth, "", ""); //insert here your SSID and password

  // Setup a function to be called every second
  timer.setInterval(10000L, sendUptime);


  vw_setup(2000);
  vw_rx_start();
  vw_set_rx_pin(1);
}

void sendUptime()
{

uint8_t buf[VW_MAX_MESSAGE_LEN];
  uint8_t buflen = VW_MAX_MESSAGE_LEN;

  if( vw_get_message(buf, &buflen) )


      for (i = 0; i < buflen; i++)


            Serial.write(buf[i]);

          }


float i = dht.readbuf[i]();
 Blynk.virtualWrite(10, buf[i]); // temperature from TX module with Arduino

float h = dht.readHumidity();
float t = dht.readTemperature();


  Blynk.virtualWrite(12, t); // virtual pin
  Blynk.virtualWrite(13, h); // virtual pin
}

void loop()
{
  Blynk.run();
  timer.run();
}
It still looks to me like you are missing an opening { bracket for your if() loop.
Other than that… well, I can’t interpret what you mean by “no working”… do you mean it is not compiling, not connecting to the server, not sending data to the app, not reading the DHT sensor properly, not making you coffee… ?
Now is something wrong with : float i = dht.readbufi;
blynk_esp_jde:55: error: conflicting declaration 'float i'
blynk_esp_jde:16: error: 'i' has a previous declaration as 'int i'
blynk_esp_jde:55: error: 'class DHT' has no member named 'readbuf'
blynk_esp_jde:56: error: 'Blynk' does not name a type
blynk_esp_jde:62: error: 'Blynk' does not name a type
blynk_esp_jde:63: error: 'Blynk' does not name a type
blynk_esp_jde:64: error: expected declaration before '}' token
conflicting declaration 'float i'
Your error message explains the problem. You’ve declared “i” as a global variable with a type of integer, at the start of your sketch.
You then attempt to declare a local variable of type float, also with the name of “i” in the sendUptime loop.
Give your local float variable a different name - “f” maybe?
C:\Users\boss\Documents\Arduino\libraries\VirtualWire\VirtualWire.cpp: In function 'void vw_setup(uint16_t)':
C:\Users\boss\Documents\Arduino\libraries\VirtualWire\VirtualWire.cpp:390:5: error: 'TCCR1A' was not declared in this scope
     TCCR1A = 0; // Output Compare pins disconnected
     ^
C:\Users\boss\Documents\Arduino\libraries\VirtualWire\VirtualWire.cpp:391:5: error: 'TCCR1B' was not declared in this scope
     TCCR1B = _BV(WGM12); // Turn on CTC mode
     ^
In file included from C:\Users\boss\Documents\Arduino\libraries\VirtualWire\VirtualWire.h:146:0,
                 from C:\Users\boss\Documents\Arduino\libraries\VirtualWire\VirtualWire.cpp:31:
C:\Users\boss\Documents\Arduino\libraries\VirtualWire\VirtualWire.cpp:391:18: error: 'WGM12' was not declared in this scope
     TCCR1B = _BV(WGM12); // Turn on CTC mode
                  ^
C:\Users\boss\AppData\Roaming\Arduino15\packages\esp8266\hardware\esp8266\2.3.0\cores\esp8266/Arduino.h:184:25: note: in definition of macro '_BV'
 #define _BV(b) (1UL << (b))
                         ^
C:\Users\boss\Documents\Arduino\libraries\VirtualWire\VirtualWire.cpp:398:5: error: 'OCR1A' was not declared in this scope
     OCR1A = nticks;
     ^
C:\Users\boss\Documents\Arduino\libraries\VirtualWire\VirtualWire.cpp:405:5: error: 'TIMSK' was not declared in this scope
     TIMSK |= _BV(OCIE1A);
     ^
In file included from C:\Users\boss\Documents\Arduino\libraries\VirtualWire\VirtualWire.h:146:0,
                 from C:\Users\boss\Documents\Arduino\libraries\VirtualWire\VirtualWire.cpp:31:
C:\Users\boss\Documents\Arduino\libraries\VirtualWire\VirtualWire.cpp:405:18: error: 'OCIE1A' was not declared in this scope
     TIMSK |= _BV(OCIE1A);
                  ^
C:\Users\boss\AppData\Roaming\Arduino15\packages\esp8266\hardware\esp8266\2.3.0\cores\esp8266/Arduino.h:184:25: note: in definition of macro '_BV'
 #define _BV(b) (1UL << (b))
                         ^
C:\Users\boss\Documents\Arduino\libraries\VirtualWire\VirtualWire.cpp: At global scope:
C:\Users\boss\Documents\Arduino\libraries\VirtualWire\VirtualWire.cpp:588:7: error: expected constructor, destructor, or type conversion before '(' token
 SIGNAL(TIMER1_COMPA_vect)
       ^
C:\Users\boss\Documents\Arduino\libraries\VirtualWire\VirtualWire.cpp:668:1: error: expected '}' at end of input
 }
 ^
Chyba kompilace.
Quote…
“I believe the VirtualWire library you use is not compatible with ESP8266.
TCCR1A and TCCR1B are AVR Timer/Counter Control Registers
ESP8266 is not an AVR / has different architecture.
You need to look for another library that is compatible with ESP8266.”
Personally, I think I’d forget the 433mhz modules and just get the ESP8266 with the sensor attached to write the temperature/humidity readings to the Blynk server then access them via the app and the Arduino.
I realise that English isn’t your first language, but if you put a bit more effort into the way you phrase your questions and responses then you’re more likely to get a positive response from other community members.
Yes. Here is example for different method but i dont know if is possible add sending temperature…?
#include <RCSwitch.h>
RCSwitch mySwitch = RCSwitch();

void setup() {
Serial.begin(9600);

  // Transmitter is connected to Arduino Pin #0
  mySwitch.enableTransmit(0);  // Optional set pulse length.
  // mySwitch.setPulseLength(320);

  // Optional set protocol (default is 1, will work for most outlets)
  // mySwitch.setProtocol(2);

  // Optional set number of transmission repetitions.
  // mySwitch.setRepeatTransmit(15);
}

void loop() {
/* Same switch as above, but using decimal code */
mySwitch.send(1394007, 24);
delay(2000);
mySwitch.send(1394006, 24);
delay(2000);
}
Is there a specific reason why you need to use the 433Mhz Tx/Rx hardware?
As far as I can see from what you’ve said already it’s just adding unnecessary complication to the project. Added to that the fact that 433 has limited range, especially with the cheap Chinese modules that you’re using.
You’re using IoT enabled devices and Blynk, but seem unwilling to use the devices in the way that they’re intended.
I’d say you stand a better chance of getting the ESP8266 that’s outside the house to see your home WI-Fi signal than you do getting the 443Mhz transmitter to send a reliable signal over a similar distance.
People seem to have to increase the supply voltage for the transmitter (only the transmitter, NOT the receiver) to 12v and add an external aerial to get decent range. Even then it can be very hit and miss.
Yes and i have one ESP8266 outside with DHT22 and showing data in app Blynk… But i want showing temperature in NExtion screen too. And 433mhz moduls are one choice…
You’re drip-feeding bits of information about your project, which makes it very difficult for people to be able to help you.
Why not share info about exactly what you’re trying to achieve, including data about what you already have in place and where your Nextion display will be in relation to your other kit, and whether it will be within range of your Wi-Fi.