It won’t compile. Keep getting errors, so I clearly did it wrong.
Thought this was supposed to be easy  Is there an example I could rip off?
Here are all the errors I get and below these are the sketch:
Thanks again for all your help!
Arduino: 1.6.13 (Mac OS X), Board: “Arduino/Genuino Uno”
In file included from /Users/Alex/Documents/Arduino/libraries/Blynk/src/Blynk/BlynkApi.h:17:0,
from /Users/Alex/Documents/Arduino/libraries/Blynk/src/BlynkApiArduino.h:14,
from /Users/Alex/Documents/Arduino/libraries/Blynk/src/Adapters/BlynkEthernet.h:18,
from /Users/Alex/Documents/Arduino/libraries/Blynk/src/BlynkSimpleEthernet.h:20,
from /Users/Alex/Downloads/Blynk_Release_v0.4.4 2/libraries/Blynk/examples/GettingStarted/BlynkBlink/BlynkBlink.ino:57:
/Users/Alex/Documents/Arduino/libraries/Blynk/src/Blynk/BlynkHandlers.h:155:5: error: expected initializer before ‘void’
void BlynkWidgetWrite ## pin (BlynkReq BLYNK_UNUSED &request, const BlynkParam BLYNK_UNUSED ¶m)
^
/Users/Alex/Documents/Arduino/libraries/Blynk/src/Blynk/BlynkHandlers.h:163:31: note: in expansion of macro ‘BLYNK_WRITE_2’
#define BLYNK_WRITE(pin) BLYNK_WRITE_2(pin)
^
/Users/Alex/Downloads/Blynk_Release_v0.4.4 2/libraries/Blynk/examples/GettingStarted/BlynkBlink/BlynkBlink.ino:68:1: note: in expansion of macro ‘BLYNK_WRITE’
BLYNK_WRITE(V0)
^
exit status 1
Error compiling for board Arduino/Genuino Uno.
This report would have more information with
“Show verbose output during compilation”
option enabled in File -> Preferences.
/*******************************************************************
Blynk lets you create beautiful drag-and-drop visual interfaces
for your projects in 5 minutes. And it works with almost every
hardware out there.
Docs, Tutorials, everything: http://www.blynk.cc
Github: http://github.com/blynkkk
Blynk Community: http://community.blynk.cc
Follow Us: http://www.facebook.com/blynkapp
http://twitter.com/blynk_app
Blynk library is licensed under MIT license
This example code is in public domain.
You’ll need, in general:
- Blynk App (download from AppStore or Google Play)
- Arduino UNO or similar microcontroller board
- Decide how to connect Arduino to the Internet
(USB, Ethernet, Wi-Fi, Bluetooth, …)
There is a bunch of great example sketches included to show you how to get
started. Think of them as LEGO bricks and combine them as you wish.
For example, take the Ethernet Shield sketch and combine it with the
Servo example, or choose a USB sketch and add a code from SendData
example.
Let’s turn ON your LED with Blynk!
In this example we’ll use Arduino UNO + Ethernet Shield
5 Steps guide:
(watch video tutorial here: )
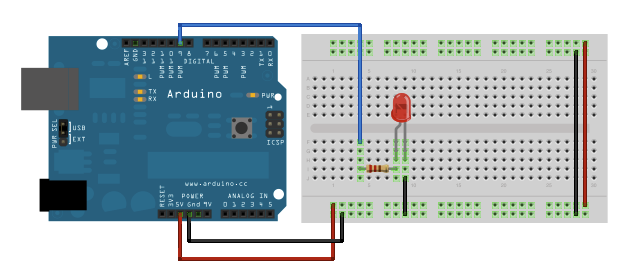
- Connect LED to Pin 9
( http://arduino.cc/en/uploads/Tutorial/simplefade_bb.png )
In the Blynk App:
2. Create New Project
3. Email yourself Auth Token. You can do it later at any time
4. Add a Button Widget. Select Pin D9 in Widget’s Settings
5. Press Play icon. Enjoy Blynking!
You can find a QR code for easy setup of this project here:
https://github.com/blynkkk/blynk-library/tree/master/examples/GettingStarted/BlynkBlink
********************************************************************/
#define BLYNK_PRINT Serial // Enables Serial Monitor
// Following includes are for Arduino Ethernet Shield (W5100)
// If you’re using another shield, see Boards_* examples
#include <SPI.h>
#include <Ethernet.h>
#include <BlynkSimpleEthernet.h>
char auth[] = “YourAuthToken”; // Put your Auth Token here. (see Step 3 above)
void setup()
{
Serial.begin(9600); // See the connection status in Serial Monitor
Blynk.begin(auth); // Here your Arduino connects to the Blynk Cloud.
}
void loop()
BLYNK_WRITE(V0)
{
int blabla = param.asInt();
if(blabla == 1)
{
digitalWrite(D3, HIGH);
{
else
{
digitalWrite(D3, LOW);
}
Blynk.run(); // All the Blynk Magic happens here…
// You can inject your own code or combine it with other sketches.
// Check other examples on how to communicate with Blynk. Remember
// to avoid delay() function!
}


