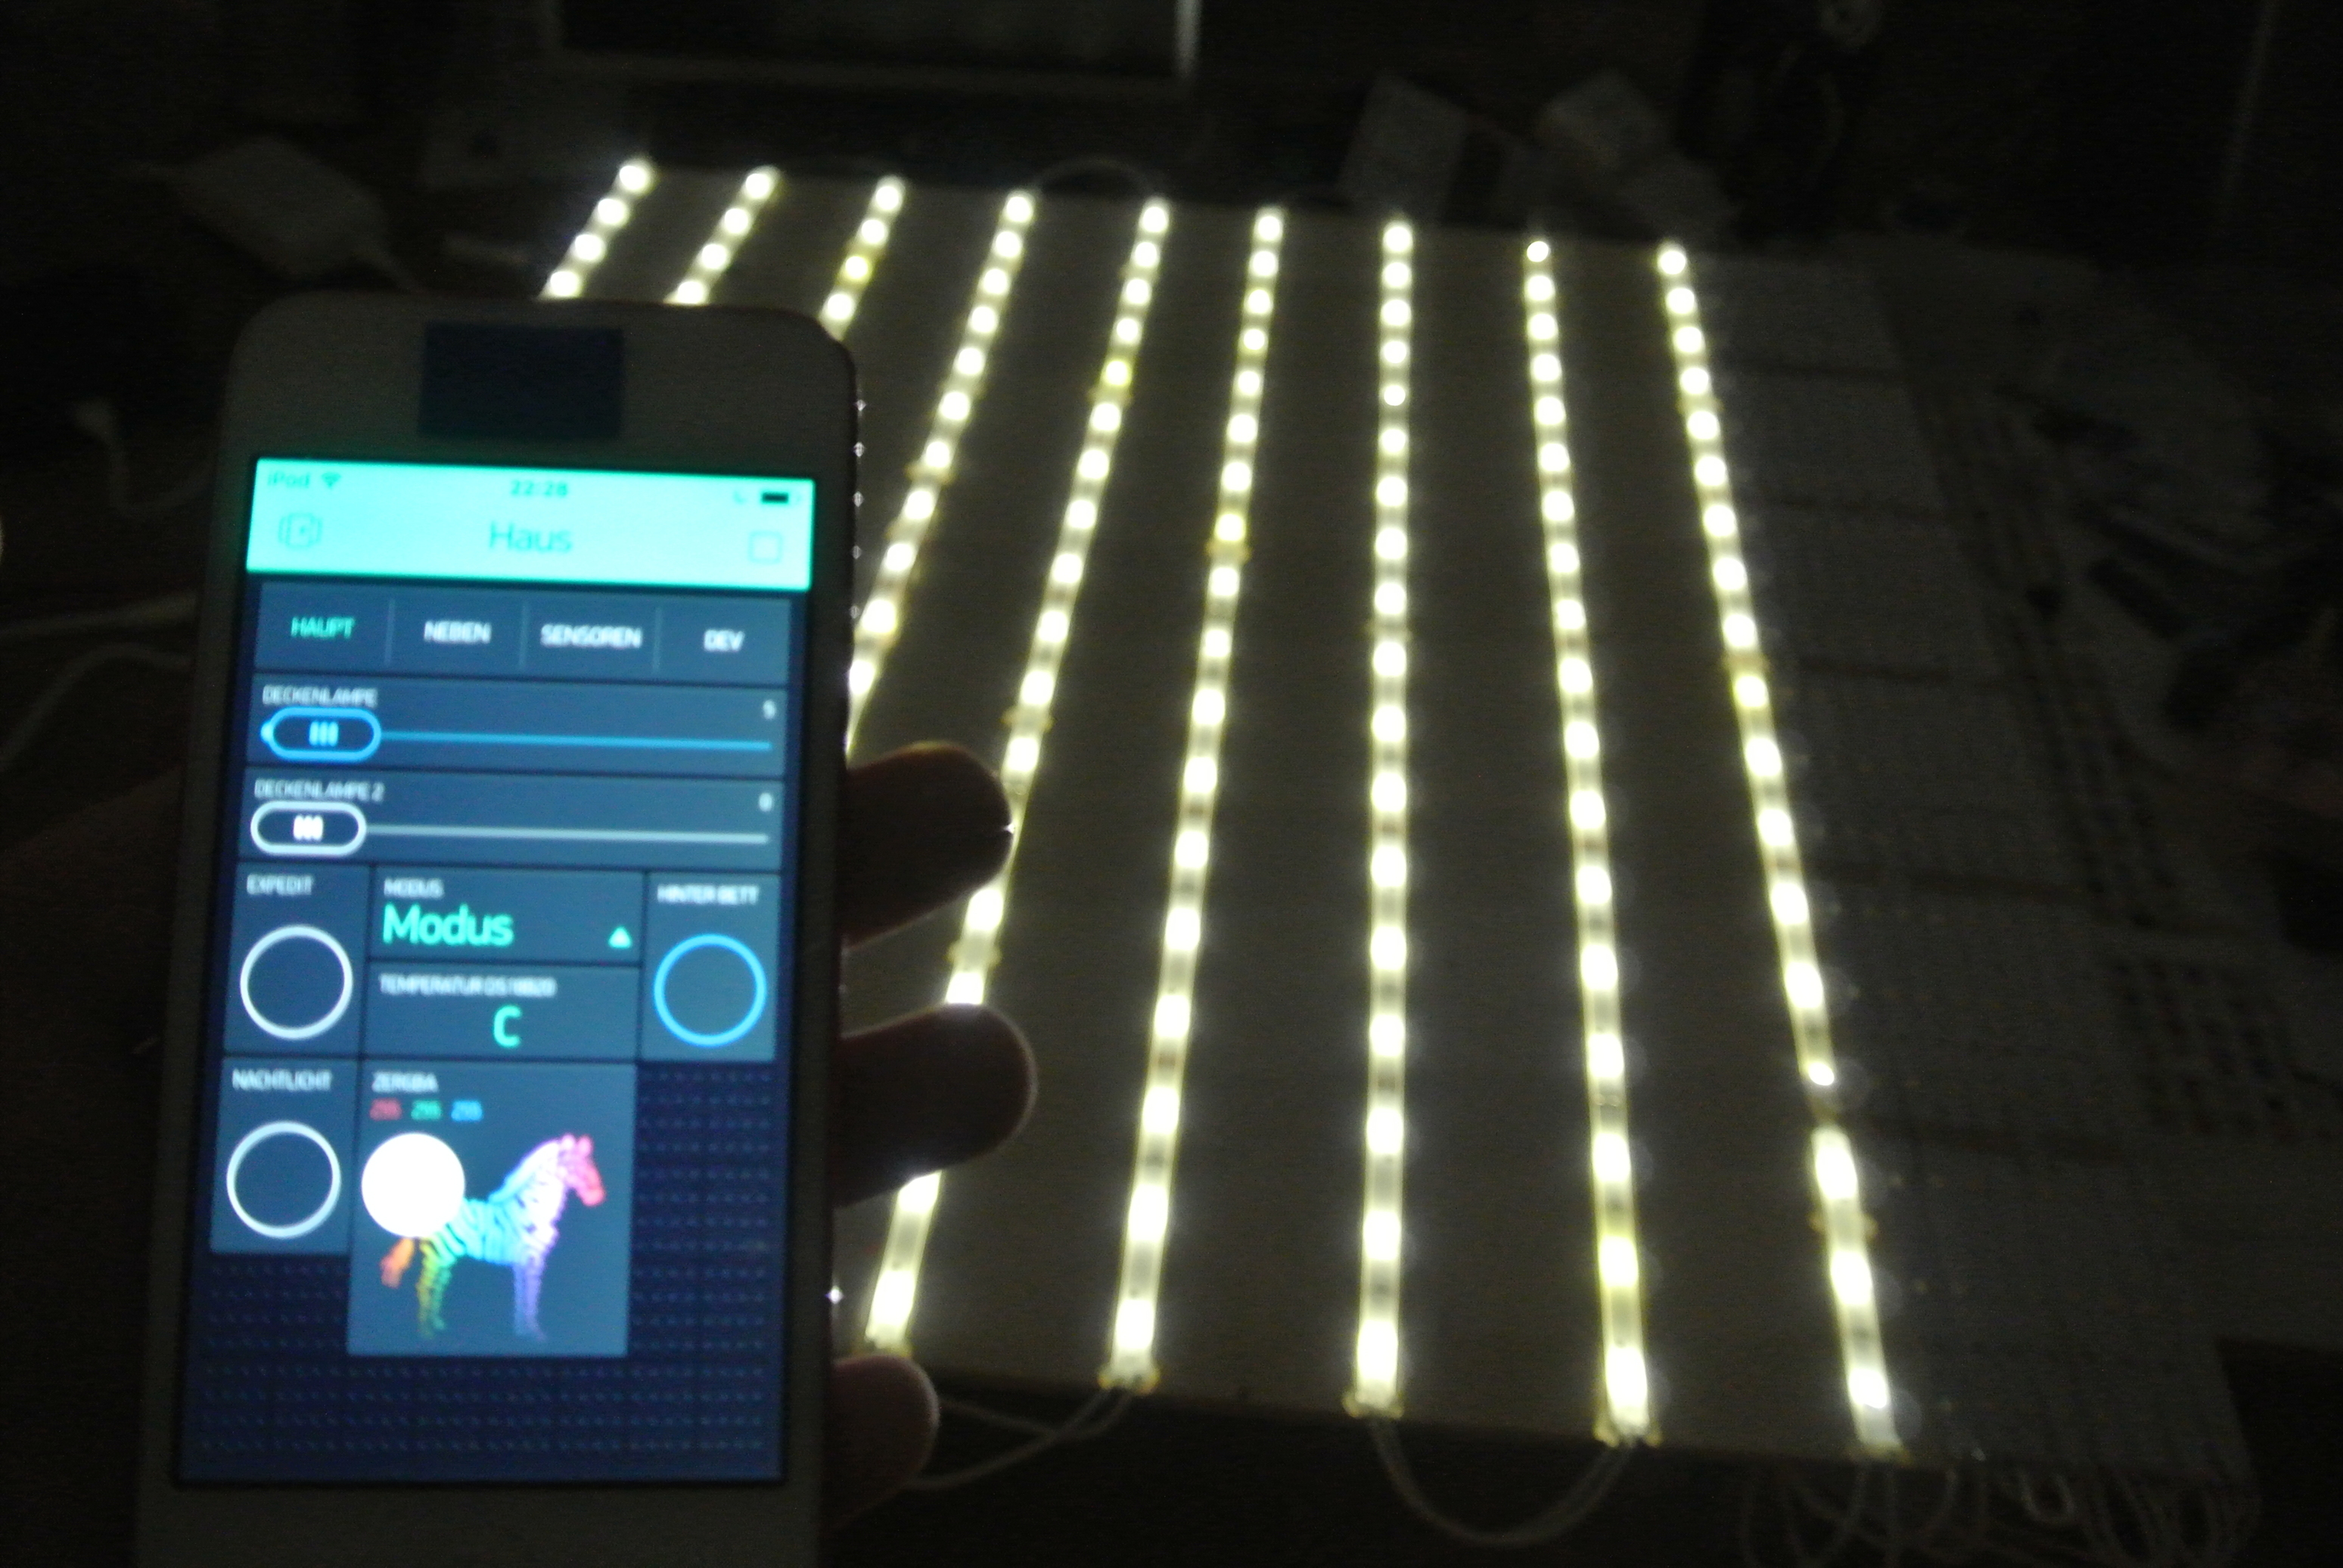
First of all, I really love Blynk. Makes everything so easy 
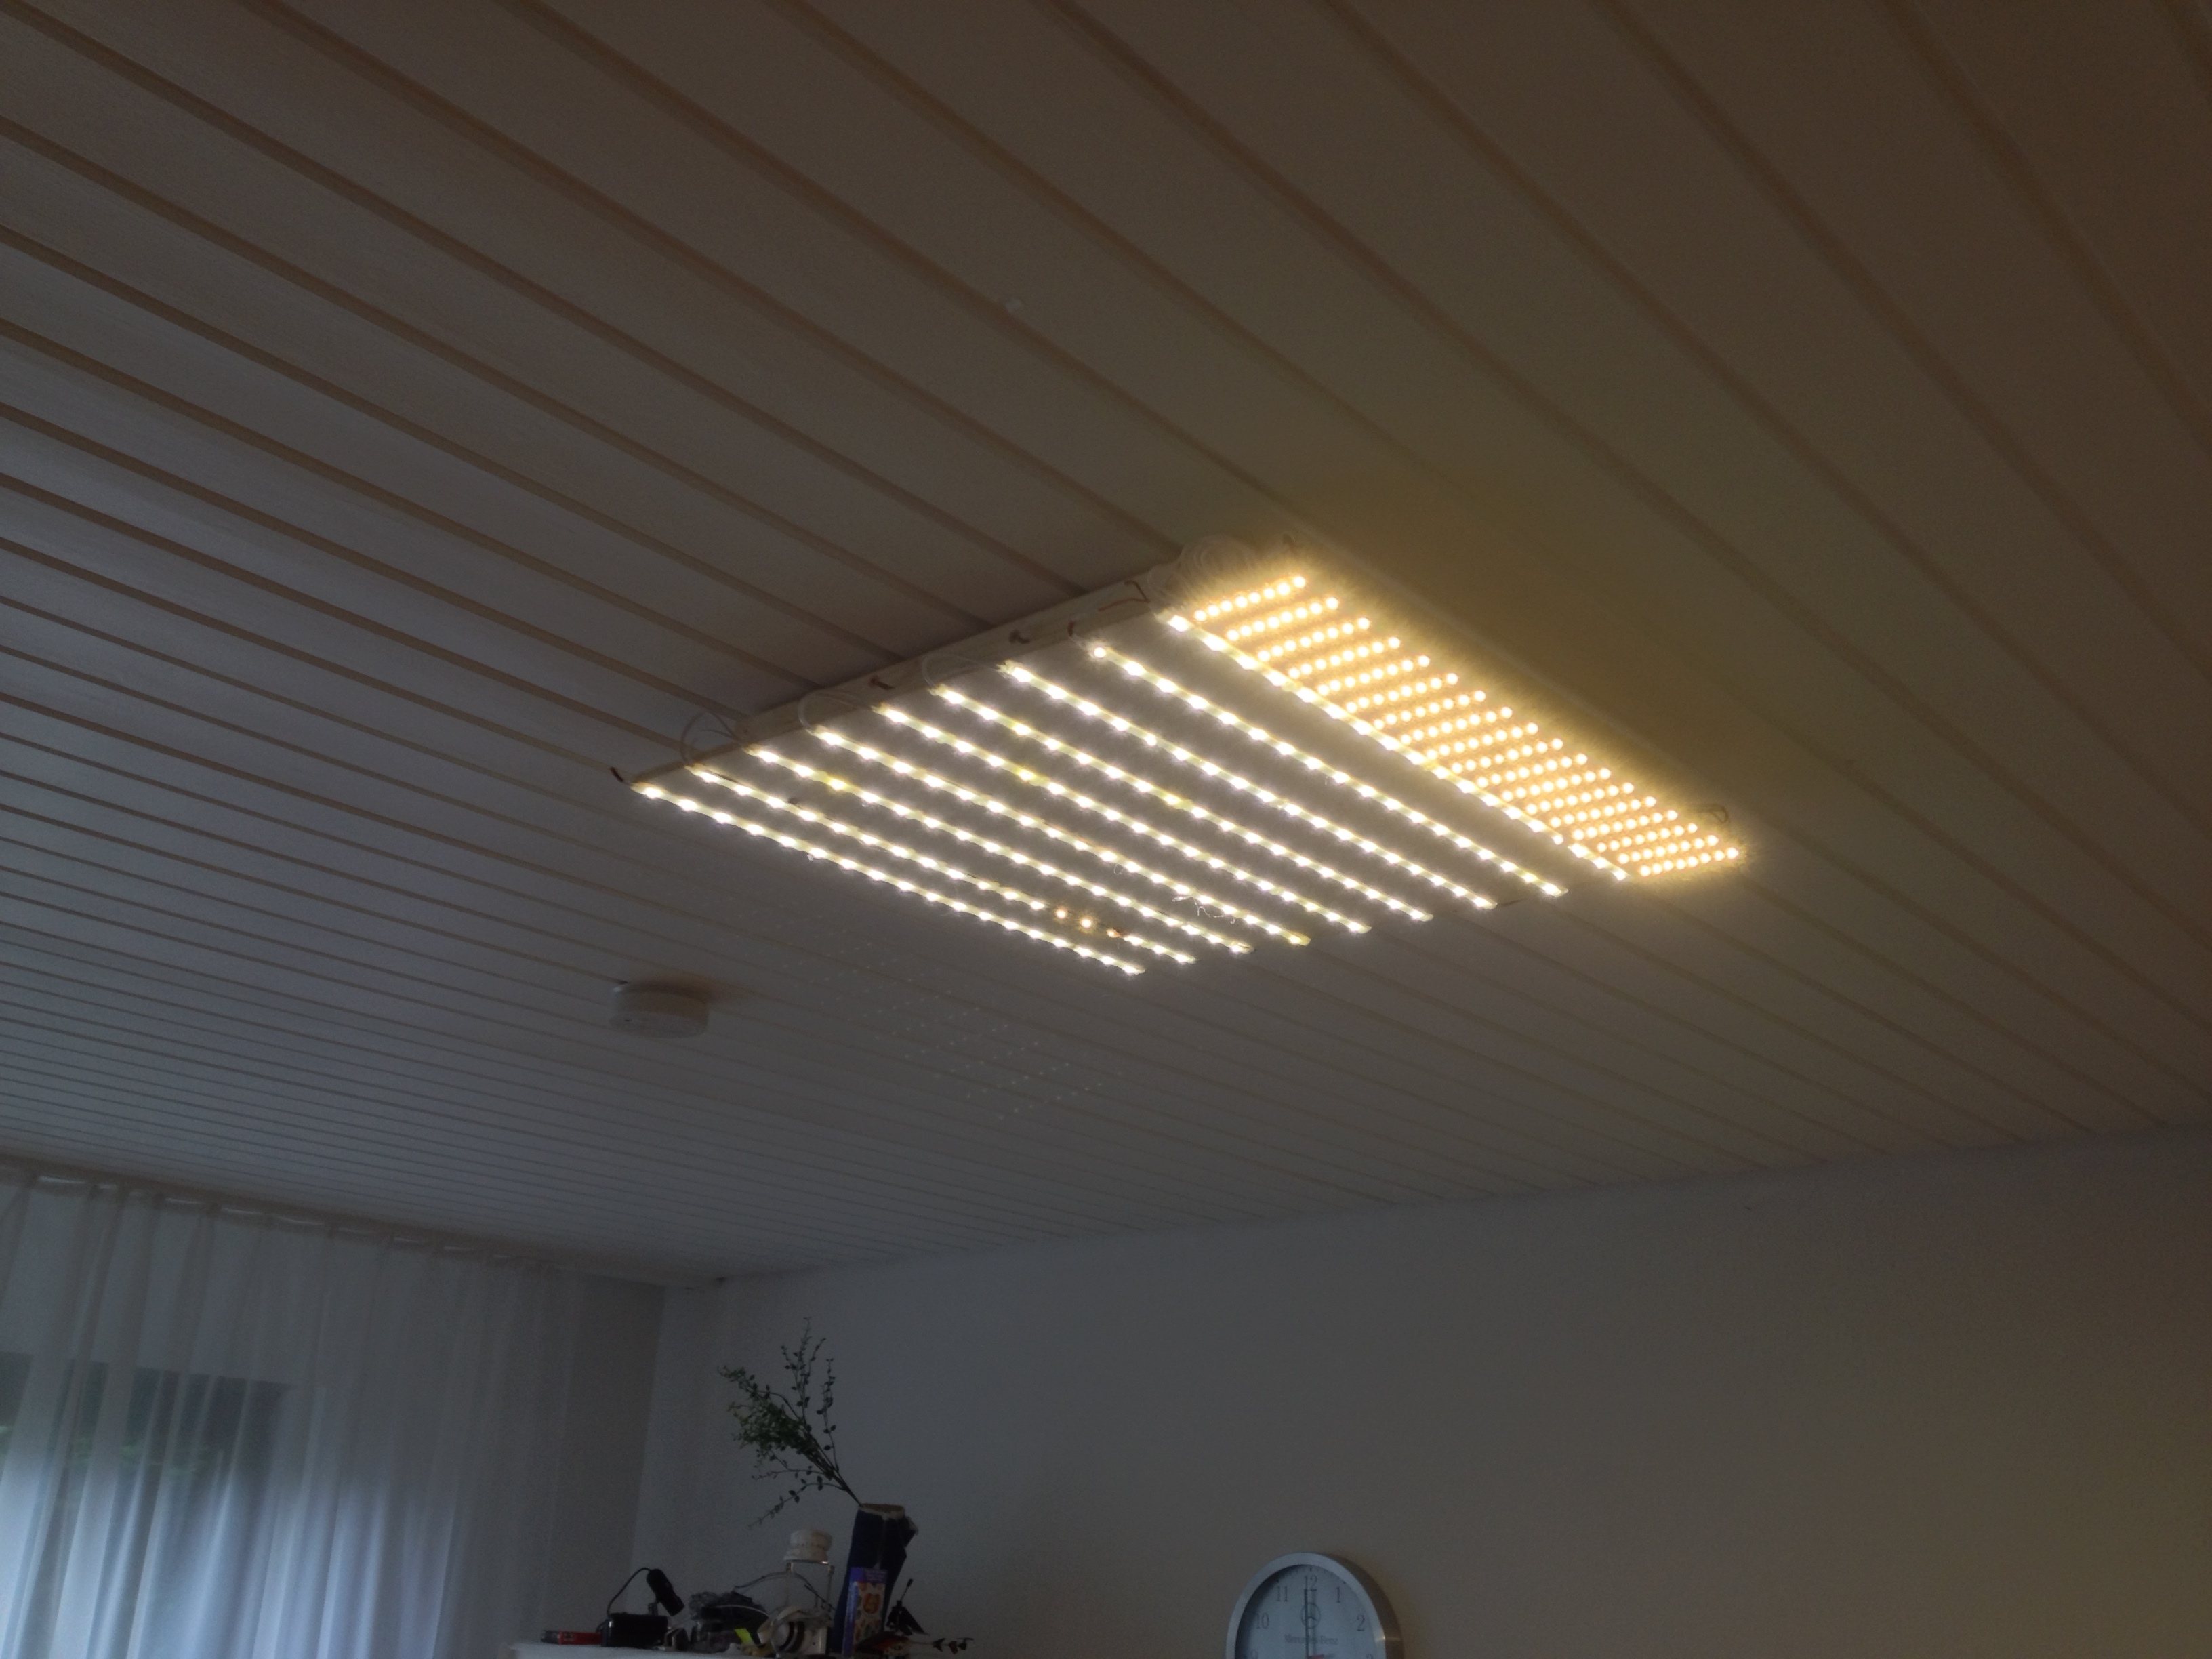
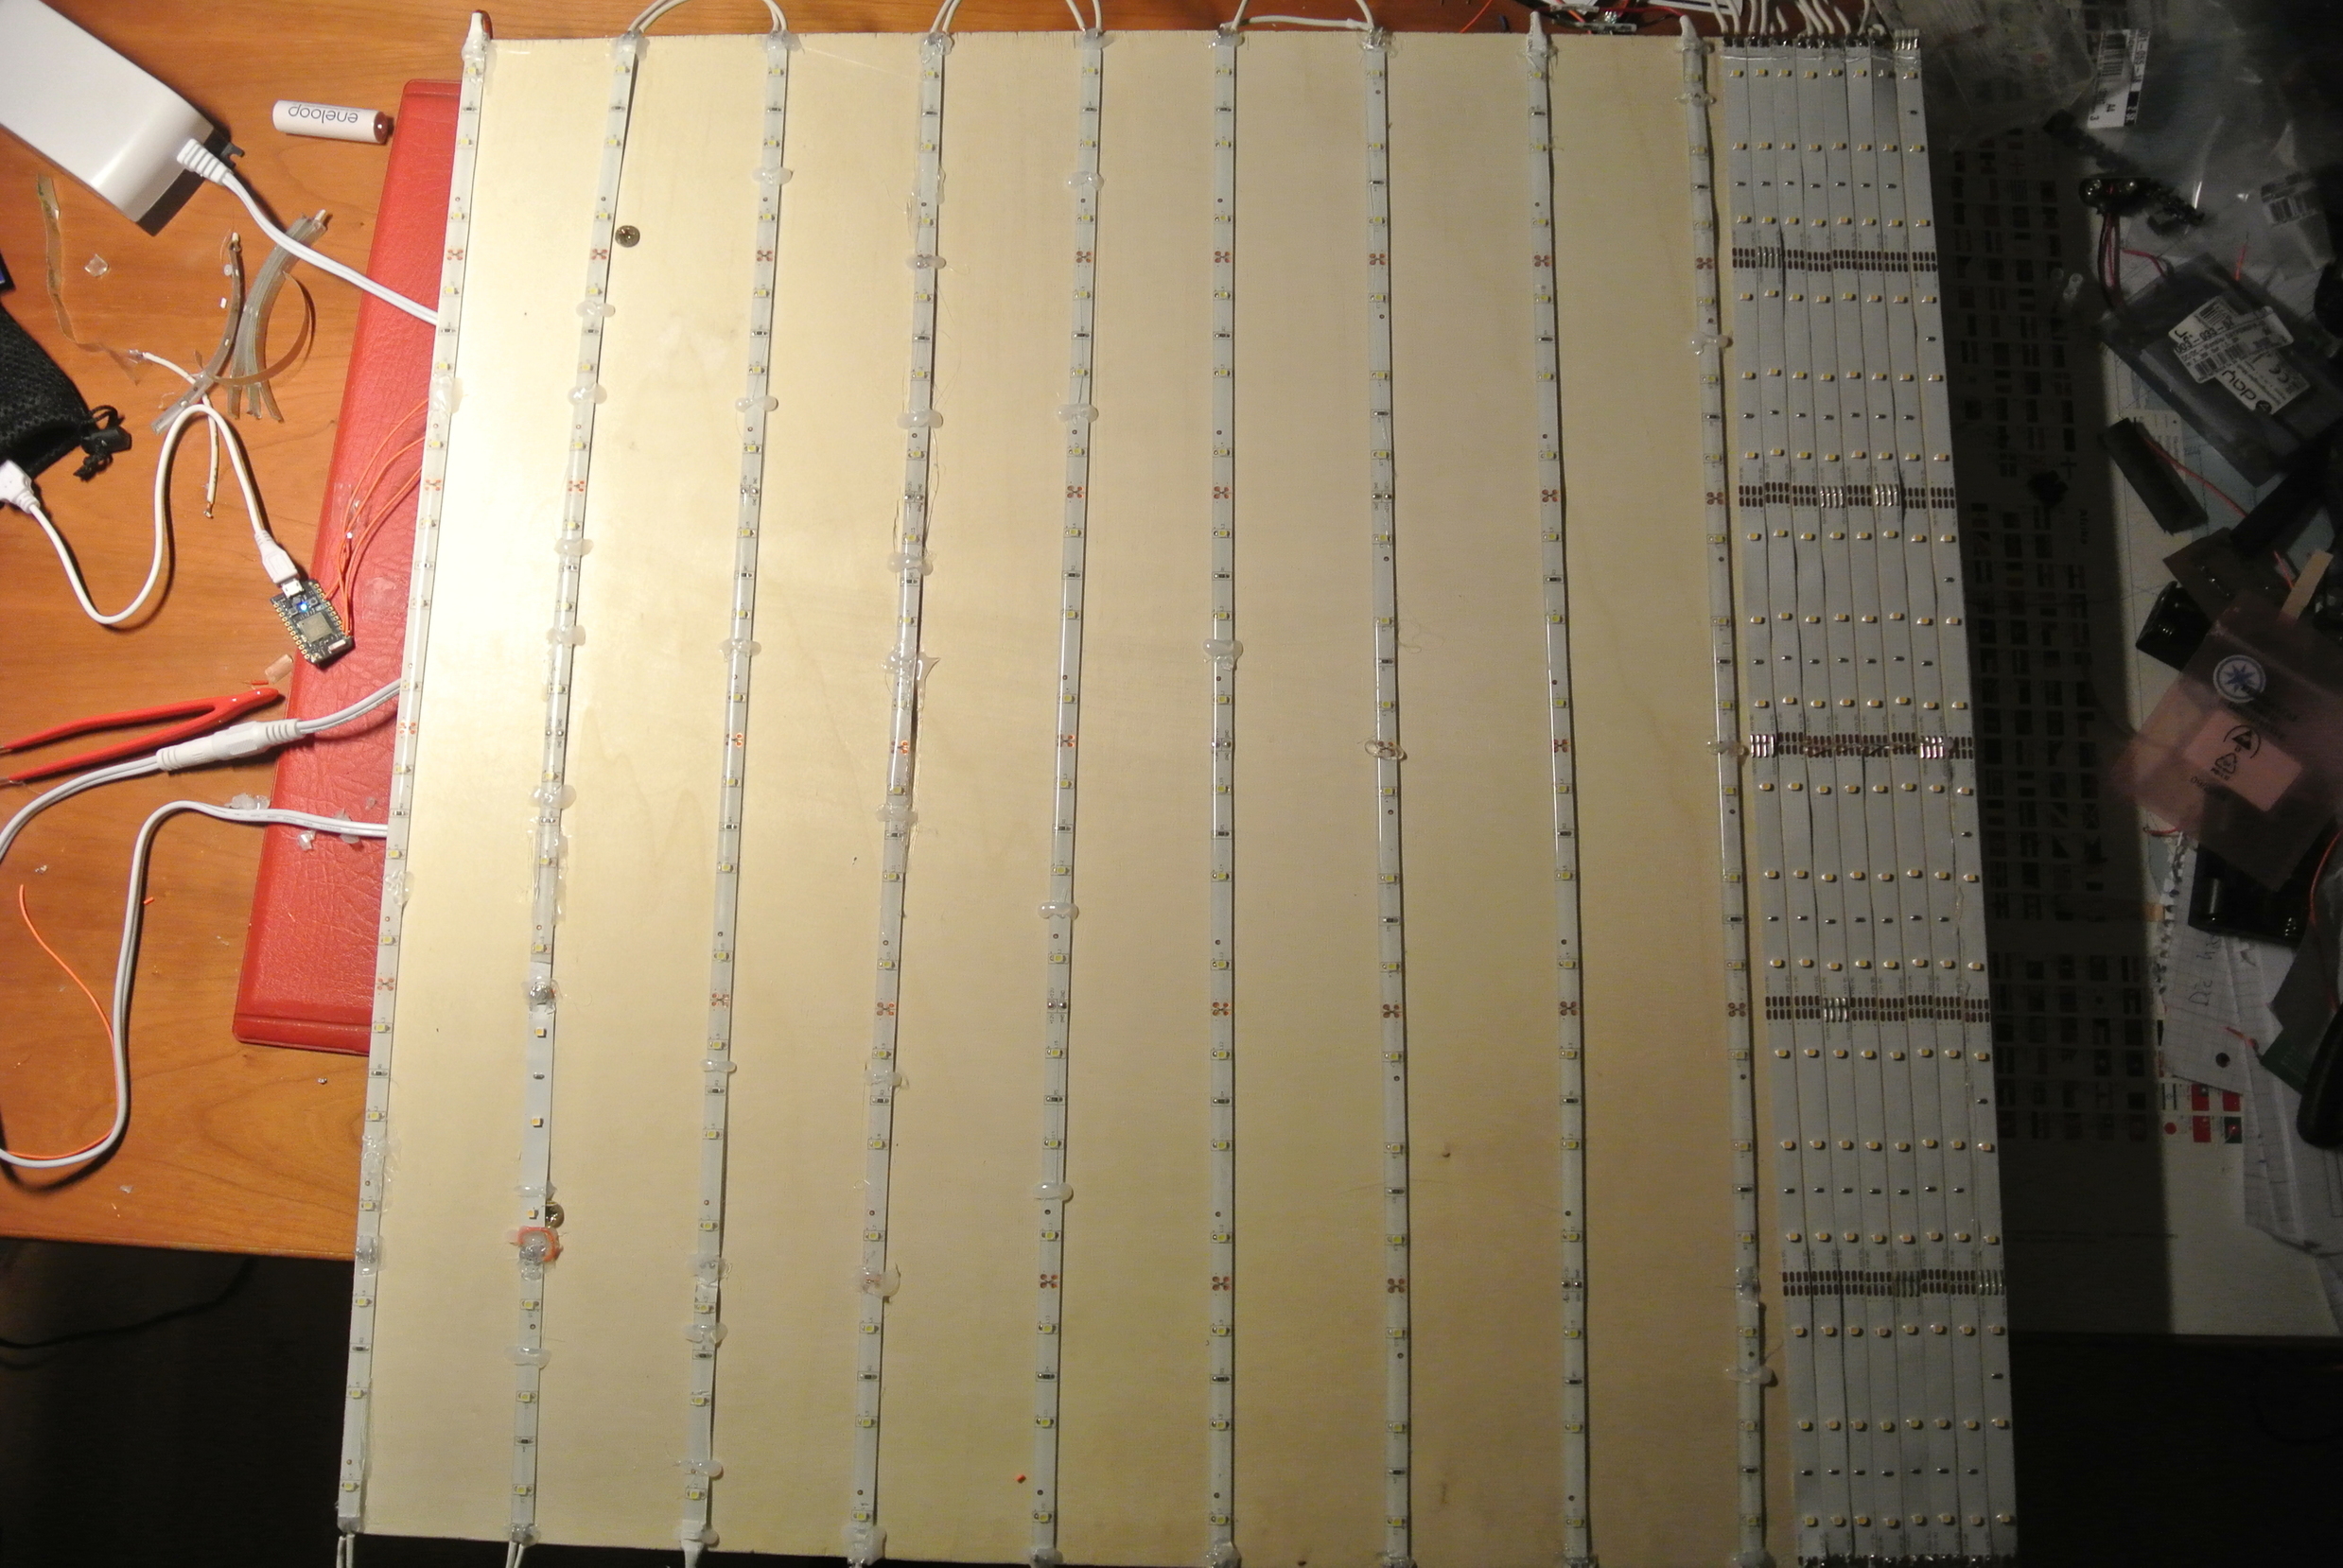
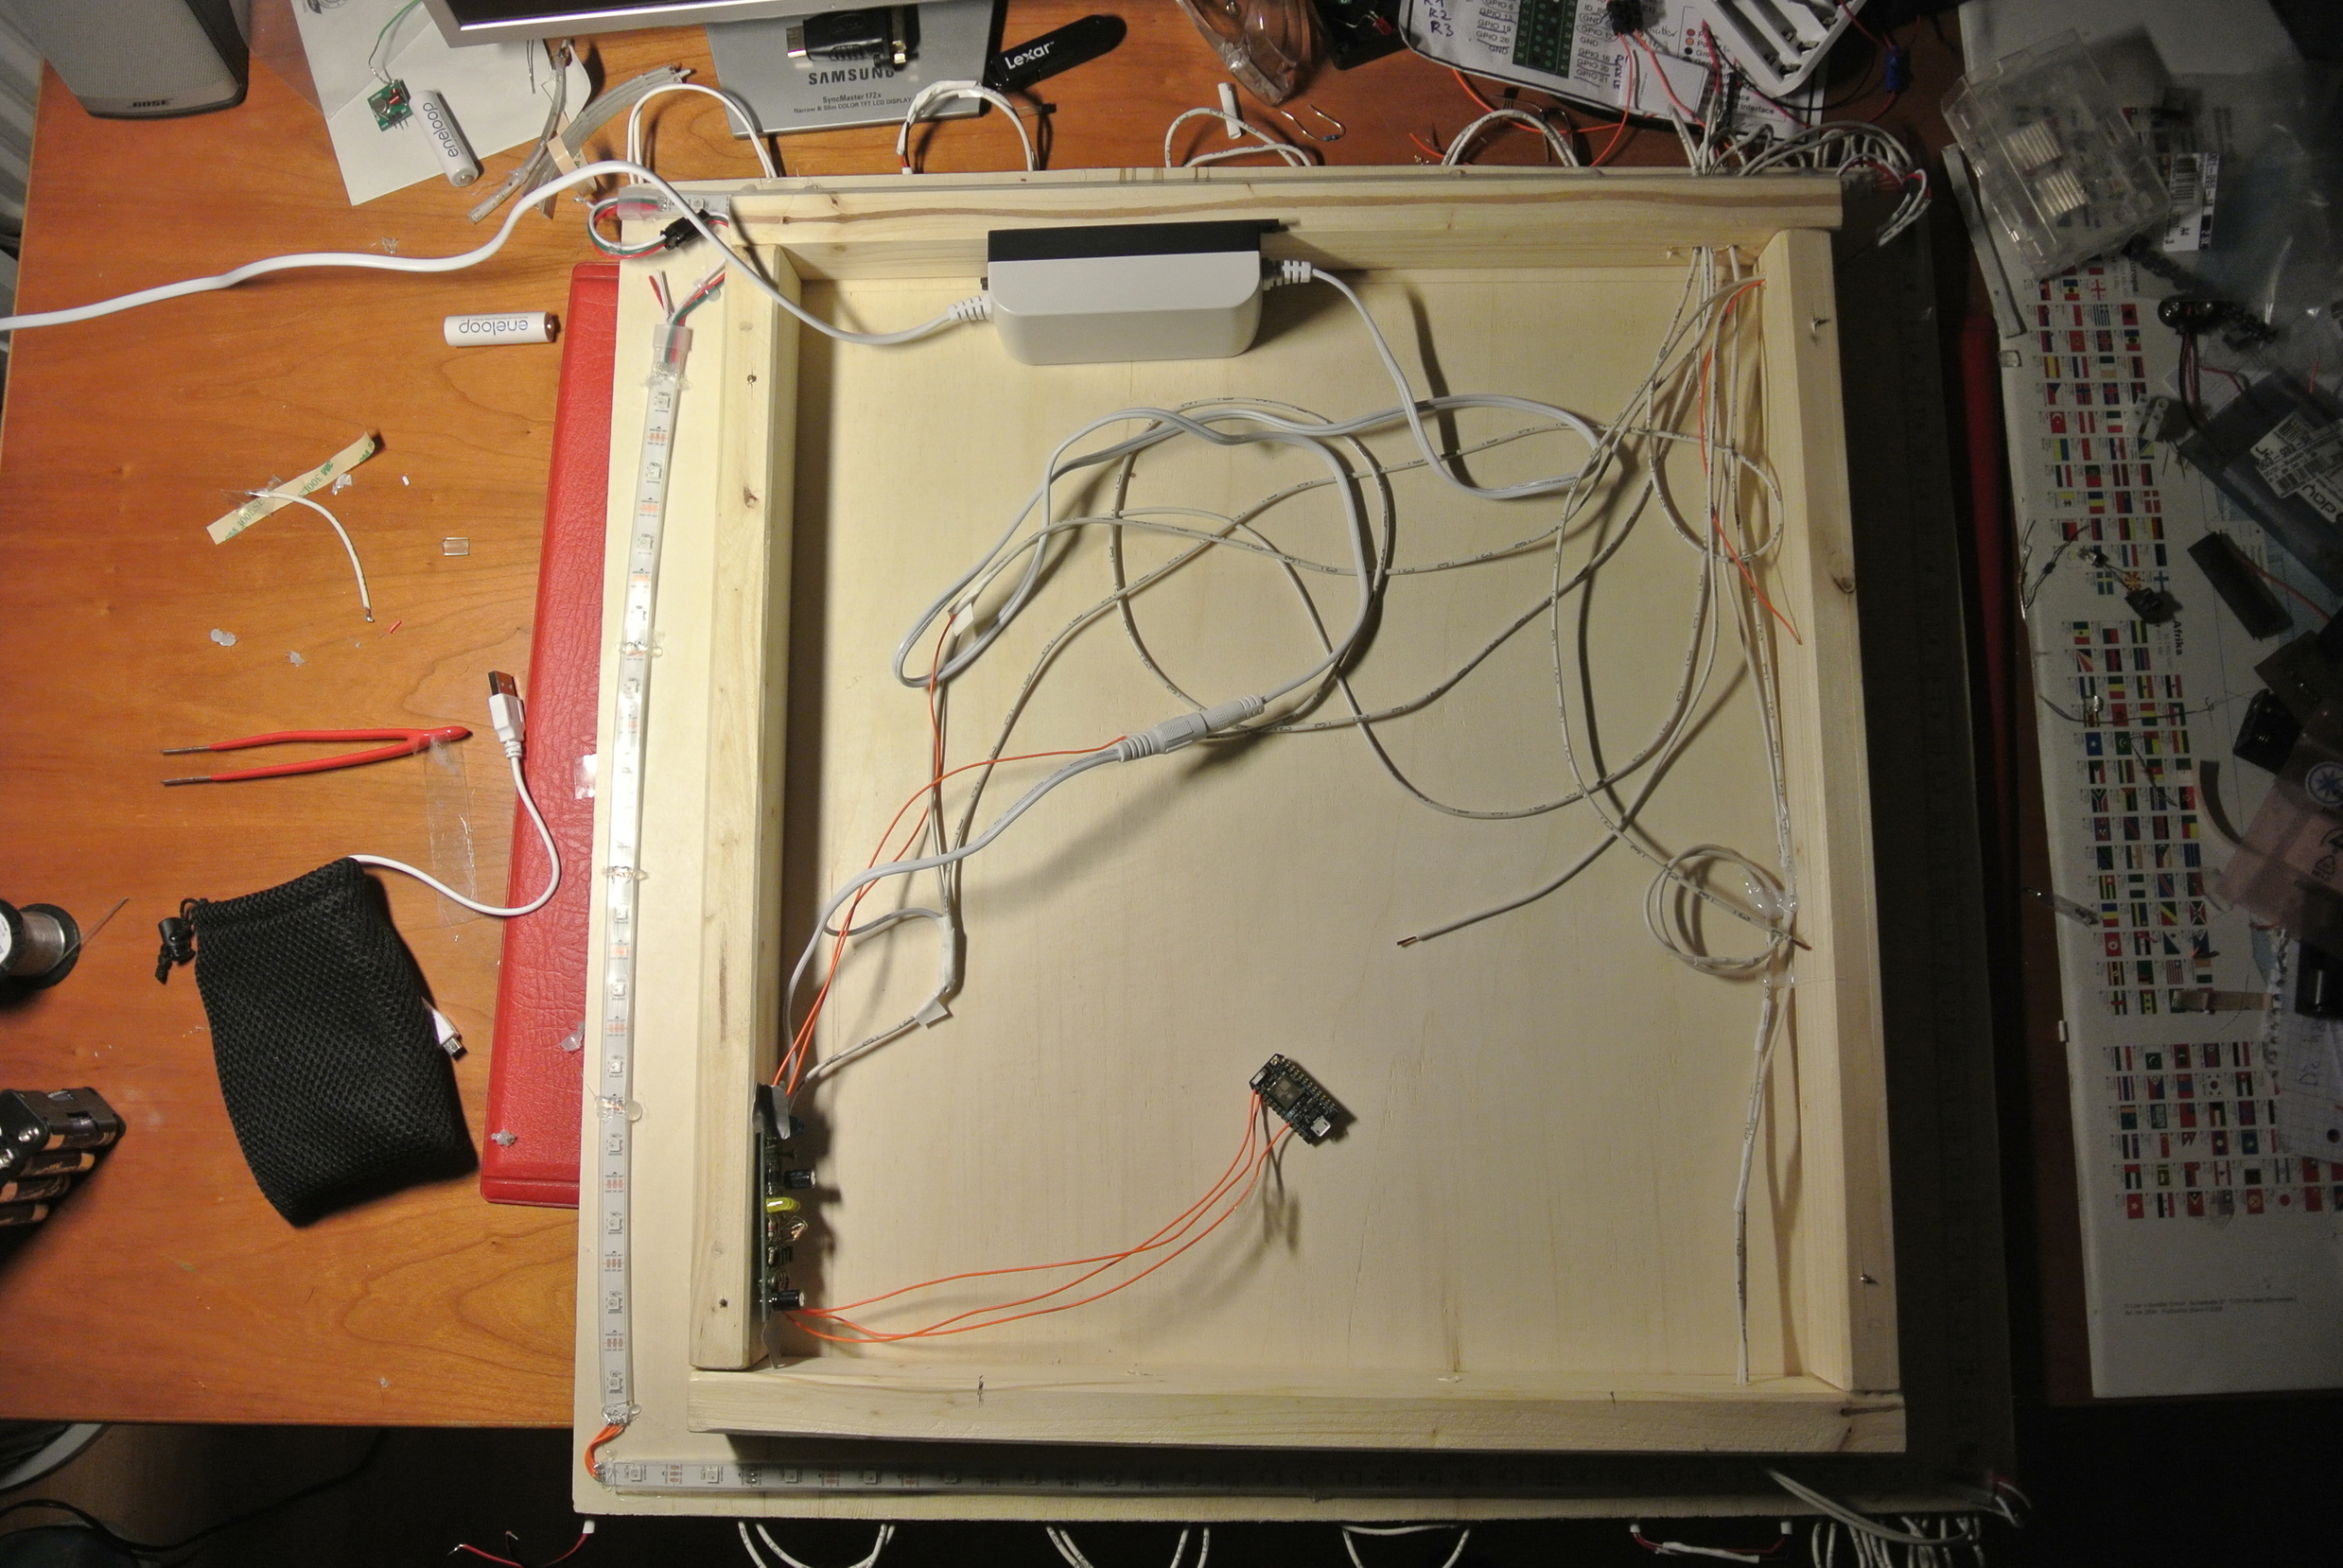
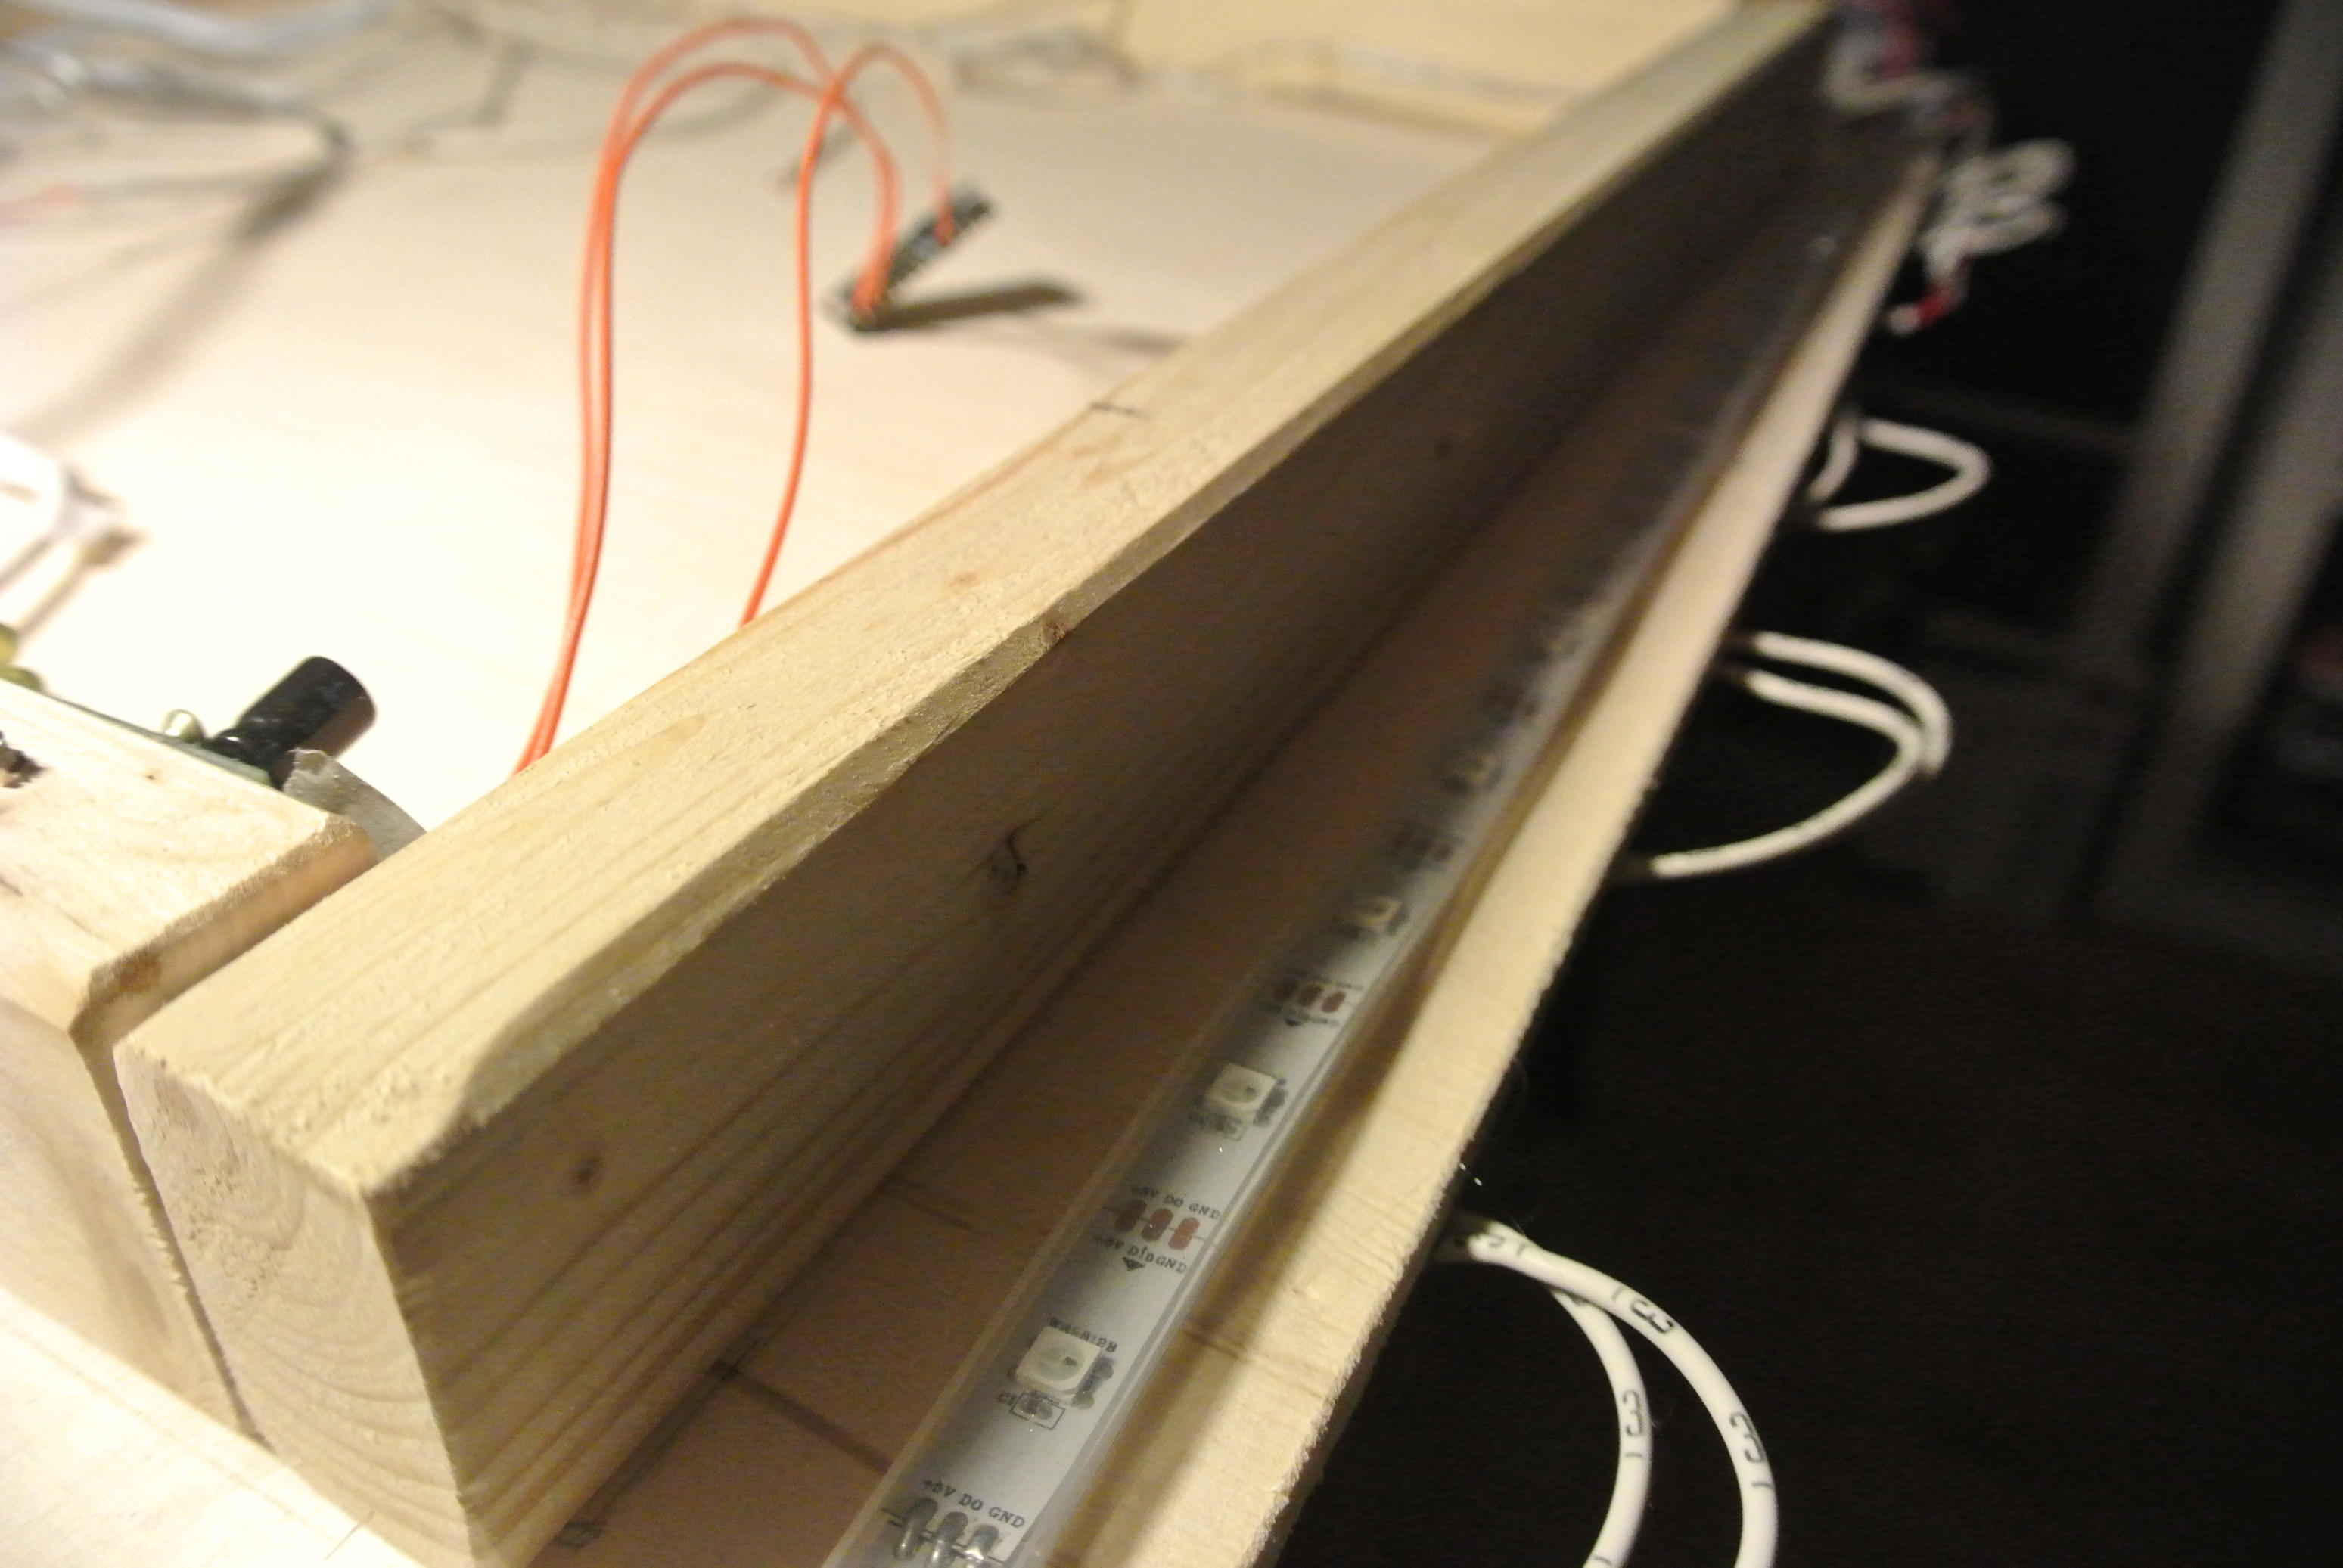
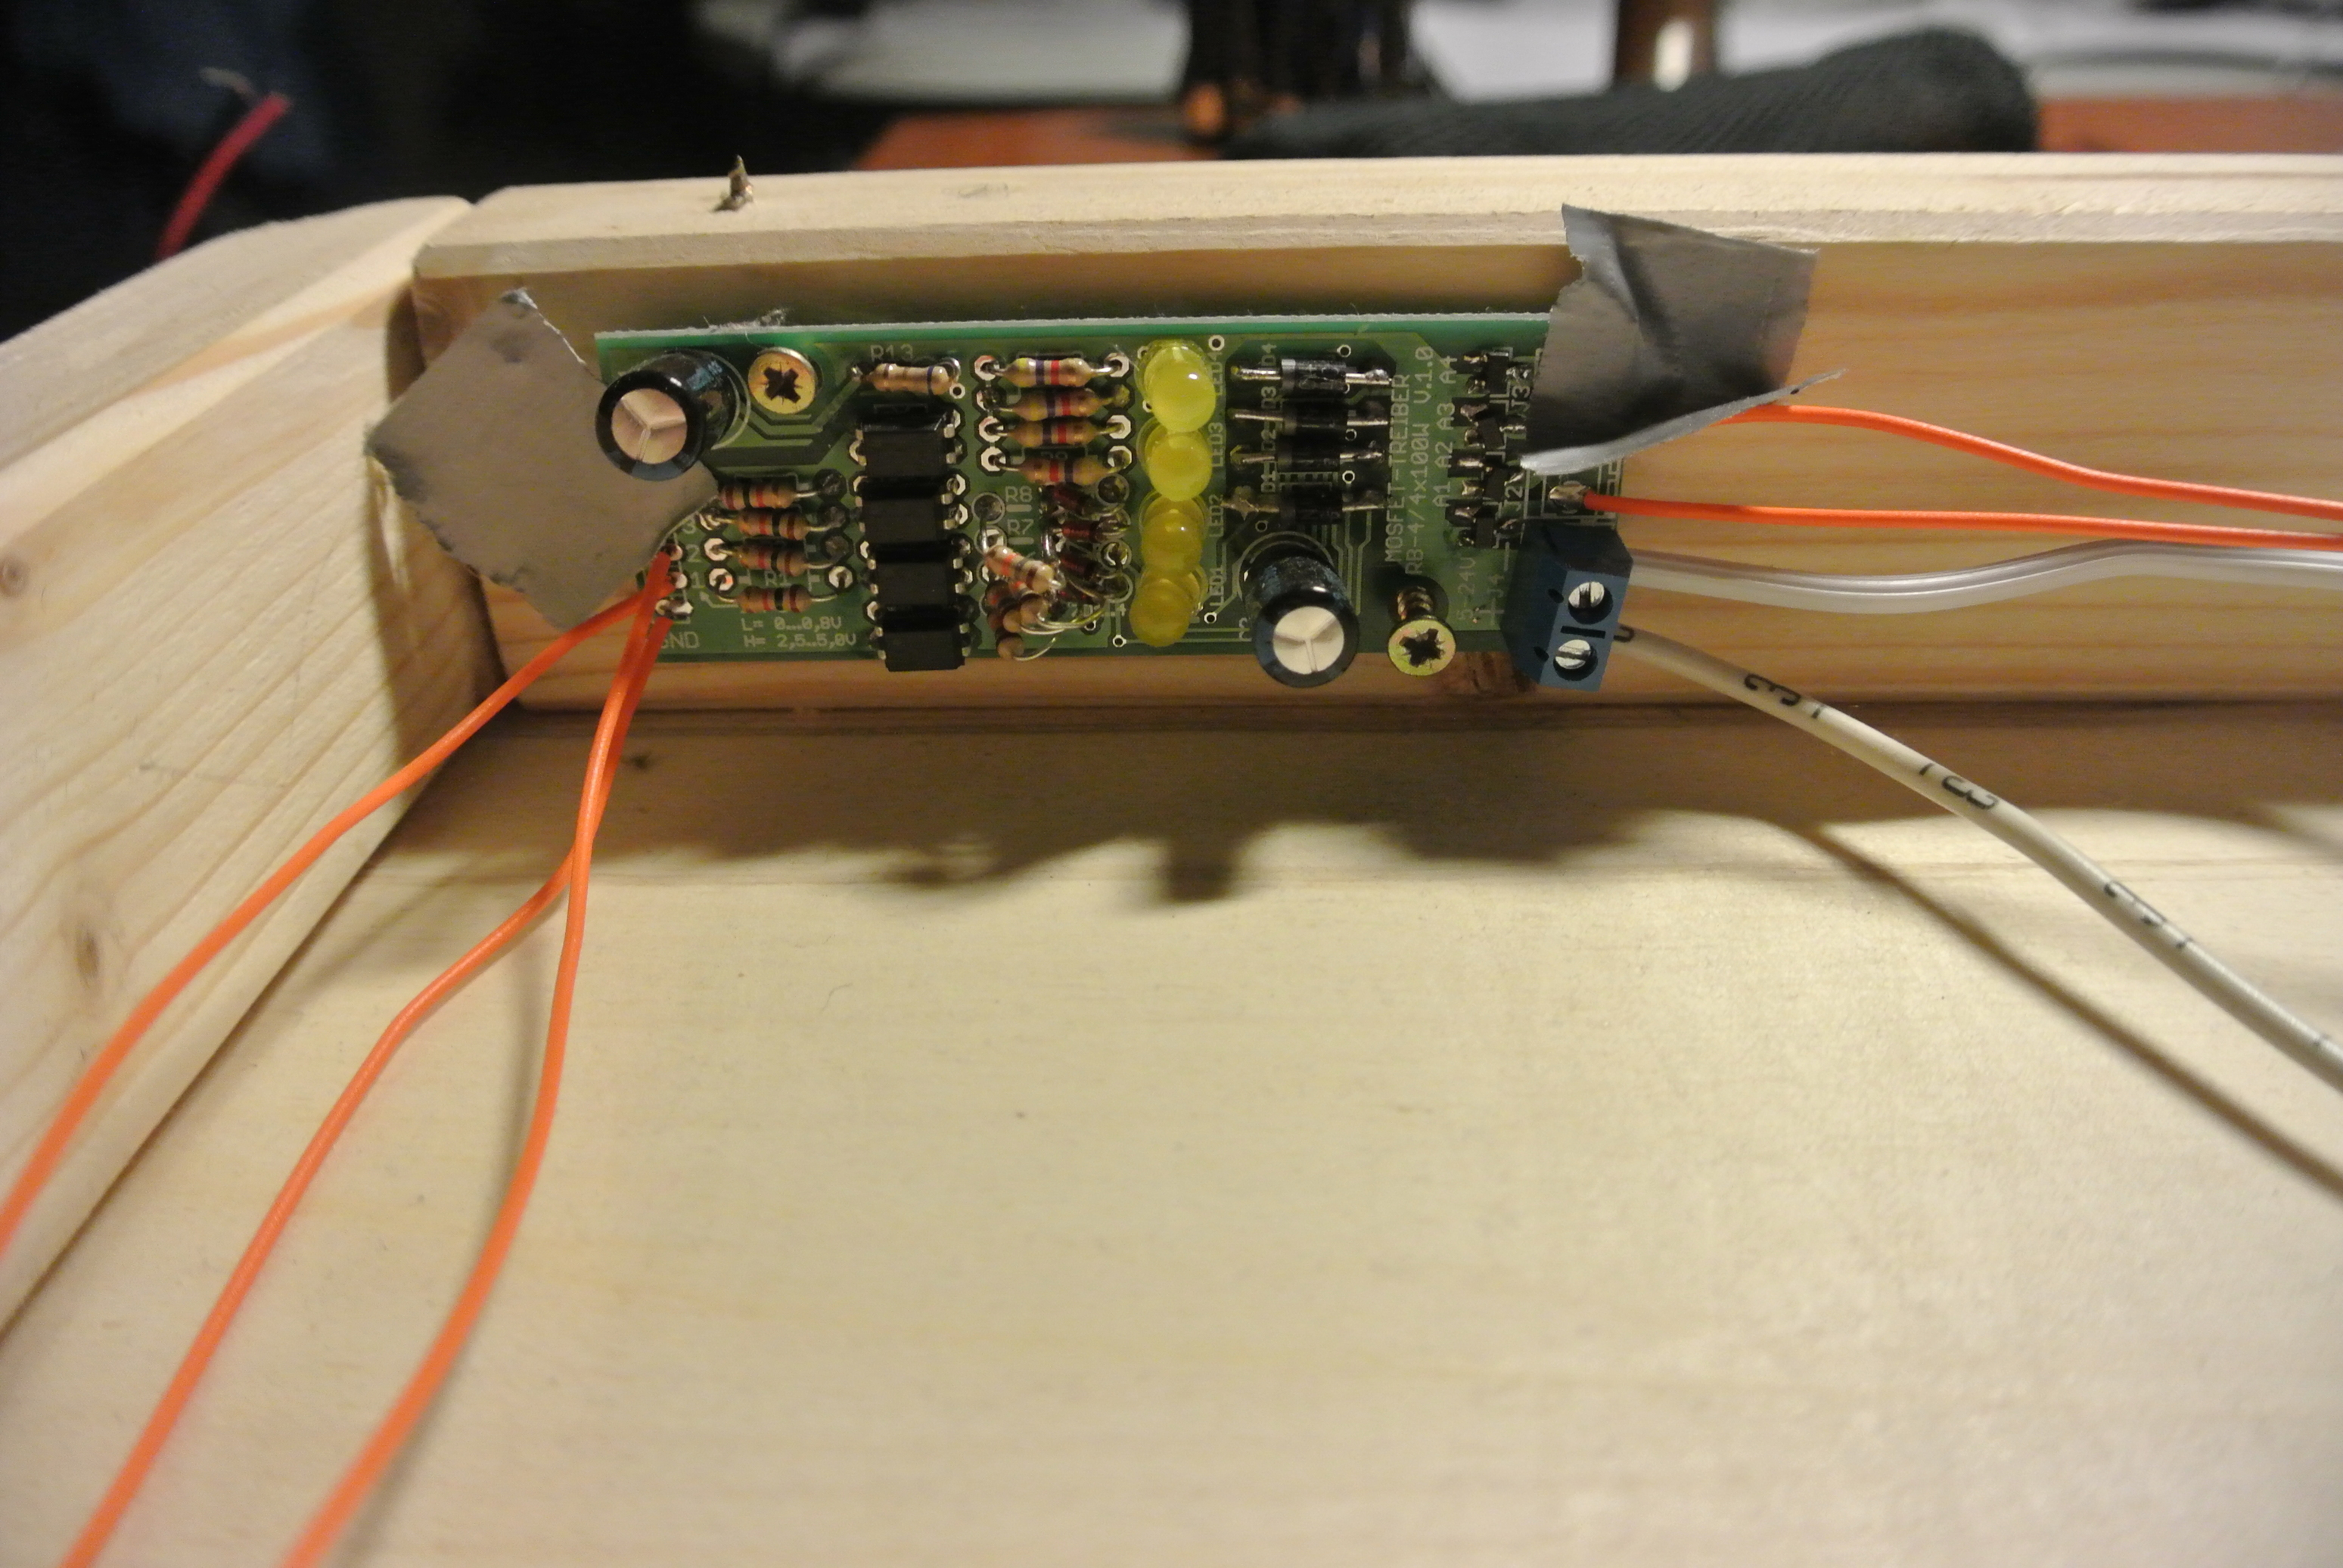
I’ve made a “little” ceiling lamp with Blynk, Particle Photon, 13m White LED Strip, 2x MOSFET’s and WS2812 LED’s although It isn’t completely finished ( had no 5V 4A power supply laying around ) I wanted to share this with you. 
The main part consist of a 0,6m x 0,6m wooden panel where also the LED stripes are mounted.
If you have any suggestions what I also could add please tell me 
Code:
#include "neopixel/neopixel.h"
#include "blynk/blynk.h"

#define PIXEL_PIN D3
#define PIXEL_COUNT 64
#define PIXEL_TYPE WS2812B

Adafruit_NeoPixel strip = Adafruit_NeoPixel(PIXEL_COUNT, PIXEL_PIN, PIXEL_TYPE);


char auth[] = "Haha nice try";

void setup()
{
  Serial.begin(9600);
  delay(5000);
  Blynk.begin(auth);
  pinMode(0, OUTPUT);
  pinMode(1, OUTPUT);
  analogWrite(0, 255);
  analogWrite(1, 255);
  strip.begin();
  strip.show();
}

void loop()
{
    Blynk.run();

    if (ModeBtnPressed()) {
        Blynk.notify("Mode button was pressed");
    }
}

BLYNK_WRITE(V0) {
    analogWrite(0, param.asInt());
    }

BLYNK_WRITE(V1)
{
    analogWrite(1, param.asInt());
}

// Attach a ZeRGBa widget (mode: Merge) to the Virtual pin 21
BLYNK_WRITE(V21) {
    int r = param[0].asInt();
    int g = param[1].asInt();
    int b = param[2].asInt();
    if (r > 0 && g > 0 && b > 0) {

        strip.setPixelColor(29, r, g, b);
    } else {

    }
}

  // Some example procedures showing how to display to the pixels:
  // Do not run more than 15 seconds of these, or the b/g tasks
  // will be blocked.
  //--------------------------------------------------------------

  //strip.setPixelColor(0, strip.Color(255, 0, 255));
  //strip.show();

  //colorWipe(strip.Color(255, 0, 0), 50); // Red

  //colorWipe(strip.Color(0, 255, 0), 50); // Green

  //colorWipe(strip.Color(0, 0, 255), 50); // Blue

  //rainbow(20);

  //rainbowCycle(20);

  //colorAll(strip.Color(0, 255, 255), 50); // Cyan
void colorAll(uint32_t c, uint8_t wait) {
  uint16_t i;

  for(i=0; i<strip.numPixels(); i++) {
    strip.setPixelColor(i, c);
  }
  strip.show();
  delay(wait);
}

bool ModeBtnPressed() {
    if(millis() > 5000) {
        if(BUTTON_GetDebouncedTime(BUTTON1) >= 50) {
            BUTTON_ResetDebouncedState(BUTTON1);
            return 1;
        }
    }
    return 0;
}`