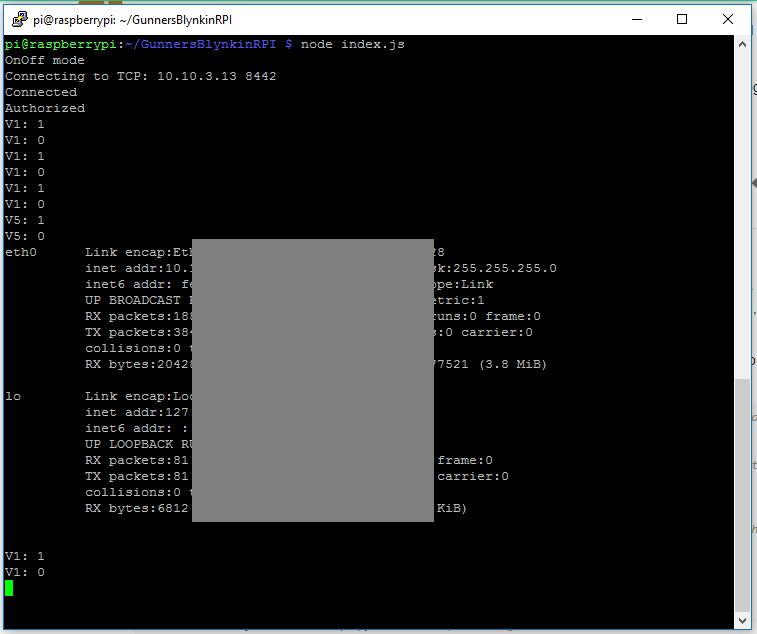
Well, after reading a few of those topics found with Google, I was able to merge in a small “run the command ifconfig” snippet into my RPi test sketch when pressing a button on V5… after some syntax fiddling, it seems to work.
This NodeJS example might help you get started. (NOTE: mine is setup for my Local Server, so you will need to adjust accordingly.)
var Gpio = require('onoff').Gpio;  // links variable 'Gpio' to the all important onoff GPIO control library
var Blynk = require('blynk-library');  // Links variable 'Blynk' to the Blynk Library
var AUTH = 'cda957435xxxxxxx283c95018f';  // My top secret auth code... useless to anyone on the cloud ;P
var blynk = new Blynk.Blynk(AUTH, options = { connector : new Blynk.TcpClient( options = { addr:"10.10.3.13", port:8442 } ) });
var process = require('child_process'); // Allows this script to run CLI commands?  Used in the "run the command ifconfig" function

var v1 = new blynk.VirtualPin(1);  		// Setup Button Widget on V1 with variable 'v1'
var v5 = new blynk.VirtualPin(5);  		// Setup Button Widget on V5 with variable 'v5'
var v9 = new blynk.VirtualPin(9);  		// Setup Display Widget on V9 with variable 'v9'
var v10 = new blynk.VirtualPin(10);  	// Setup LED Widget on V10 with variable 'v10'

v1.on('write', function(param) {  		// Watches for V1 Button
  console.log('V1:', param[0]);  		// prints value to CLI
		if (param == 0) {
        		blynk.virtualWrite(10, 0);  // V10 Widget (ORANGE) LED OFF
    			} else if (param == 1) {
                	blynk.virtualWrite(10, 1023);  // V10 Widget (ORANGE) LED ON
        		}
		});

// "run the command ifconfig"
v5.on('write', function(param) {  		// Watches for V5 Button

	console.log('V5:', param[0]);  		// prints value to CLI
		if (param == 1) {				// Runs the CLI command ifconfig if the button on V5 is pressed
			process.exec('ifconfig',function (err,stdout,stderr) {
    				if (err) {
        			console.log("\n"+stderr);
    				} else {
        			console.log(stdout);
    				}
			})
		}
});

v9.on('read', function() {   			// I don't understand why this says read??
	v9.write(new Date().getSeconds());  	// but this sends the seconds 0-59 to the Display Widget
});

	led = new Gpio(18, 'out'),  			// Sets up the BCM pin 18 as an output for the LED and assigns it to variable "led"
	button = new Gpio(25, 'in', 'both');  // Sets up the BCM pin 25 as an input registering both rising and falling for the variable "button"

button.watch(function (err, value) {  // Watches for button press and assigns 0/1 to value
	if (err) {
		throw err;  // Some form of error handling
	}
led.writeSync(value);  // Sends value (0/1) to Physical LED
	if (value  == 0) {
        blynk.virtualWrite(2, 0);  // V2 Widget (BLUE) LED off
		blynk.virtualWrite(3, 1023);  // V3 Widget (RED) LED on
		} 	else if (value == 1) {
            blynk.virtualWrite(2, 1023);  // V2 (BLUE) Widget LED on
			blynk.virtualWrite(3, 0);  // V3 (RED) Widget LED off
			}
});