Hey guys,
Ive taken the blynk Led blink example, and changed the code abit, but I’m having problems with the led turning on and off.
I’ve altered the code and added a variable j. Initially the variable is at zero and when the system first runs the led should turn on, but at the end of the function I increment the variable j by 1 and my condition says if j > 0 led should turn off if j is not> 0 led stays on. But that is not happening can anyone tell me why ?
#define BLYNK_PRINT SwSerial
#include <SoftwareSerial.h>
SoftwareSerial SwSerial(10, 11); // RX, TX
#include <BlynkSimpleStream.h>
#include <SimpleTimer.h>
// You should get Auth Token in the Blynk App.
// Go to the Project Settings (nut icon).
 char auth[] = "ffde7e4bea3c47f0a1bc96a9a9e4e91a";
SimpleTimer timer;

 int j=0;
WidgetLED led1(V2);


void setup()
{


  Serial.begin(9600); // See the connection status in Serial Monitor
   Blynk.begin(Serial, auth);

  timer.setInterval(1000L, blinkLedWidget);
}

// V2 LED Widget is blinking
void blinkLedWidget(){


  if(j>0){
    led1.off();
    Serial.println("LED on V2: off");
  } else {
    led1.on();
    Serial.println("LED on V2:on");
  }
  j++;
}

void loop()
{
  Blynk.run();
  timer.run();
}
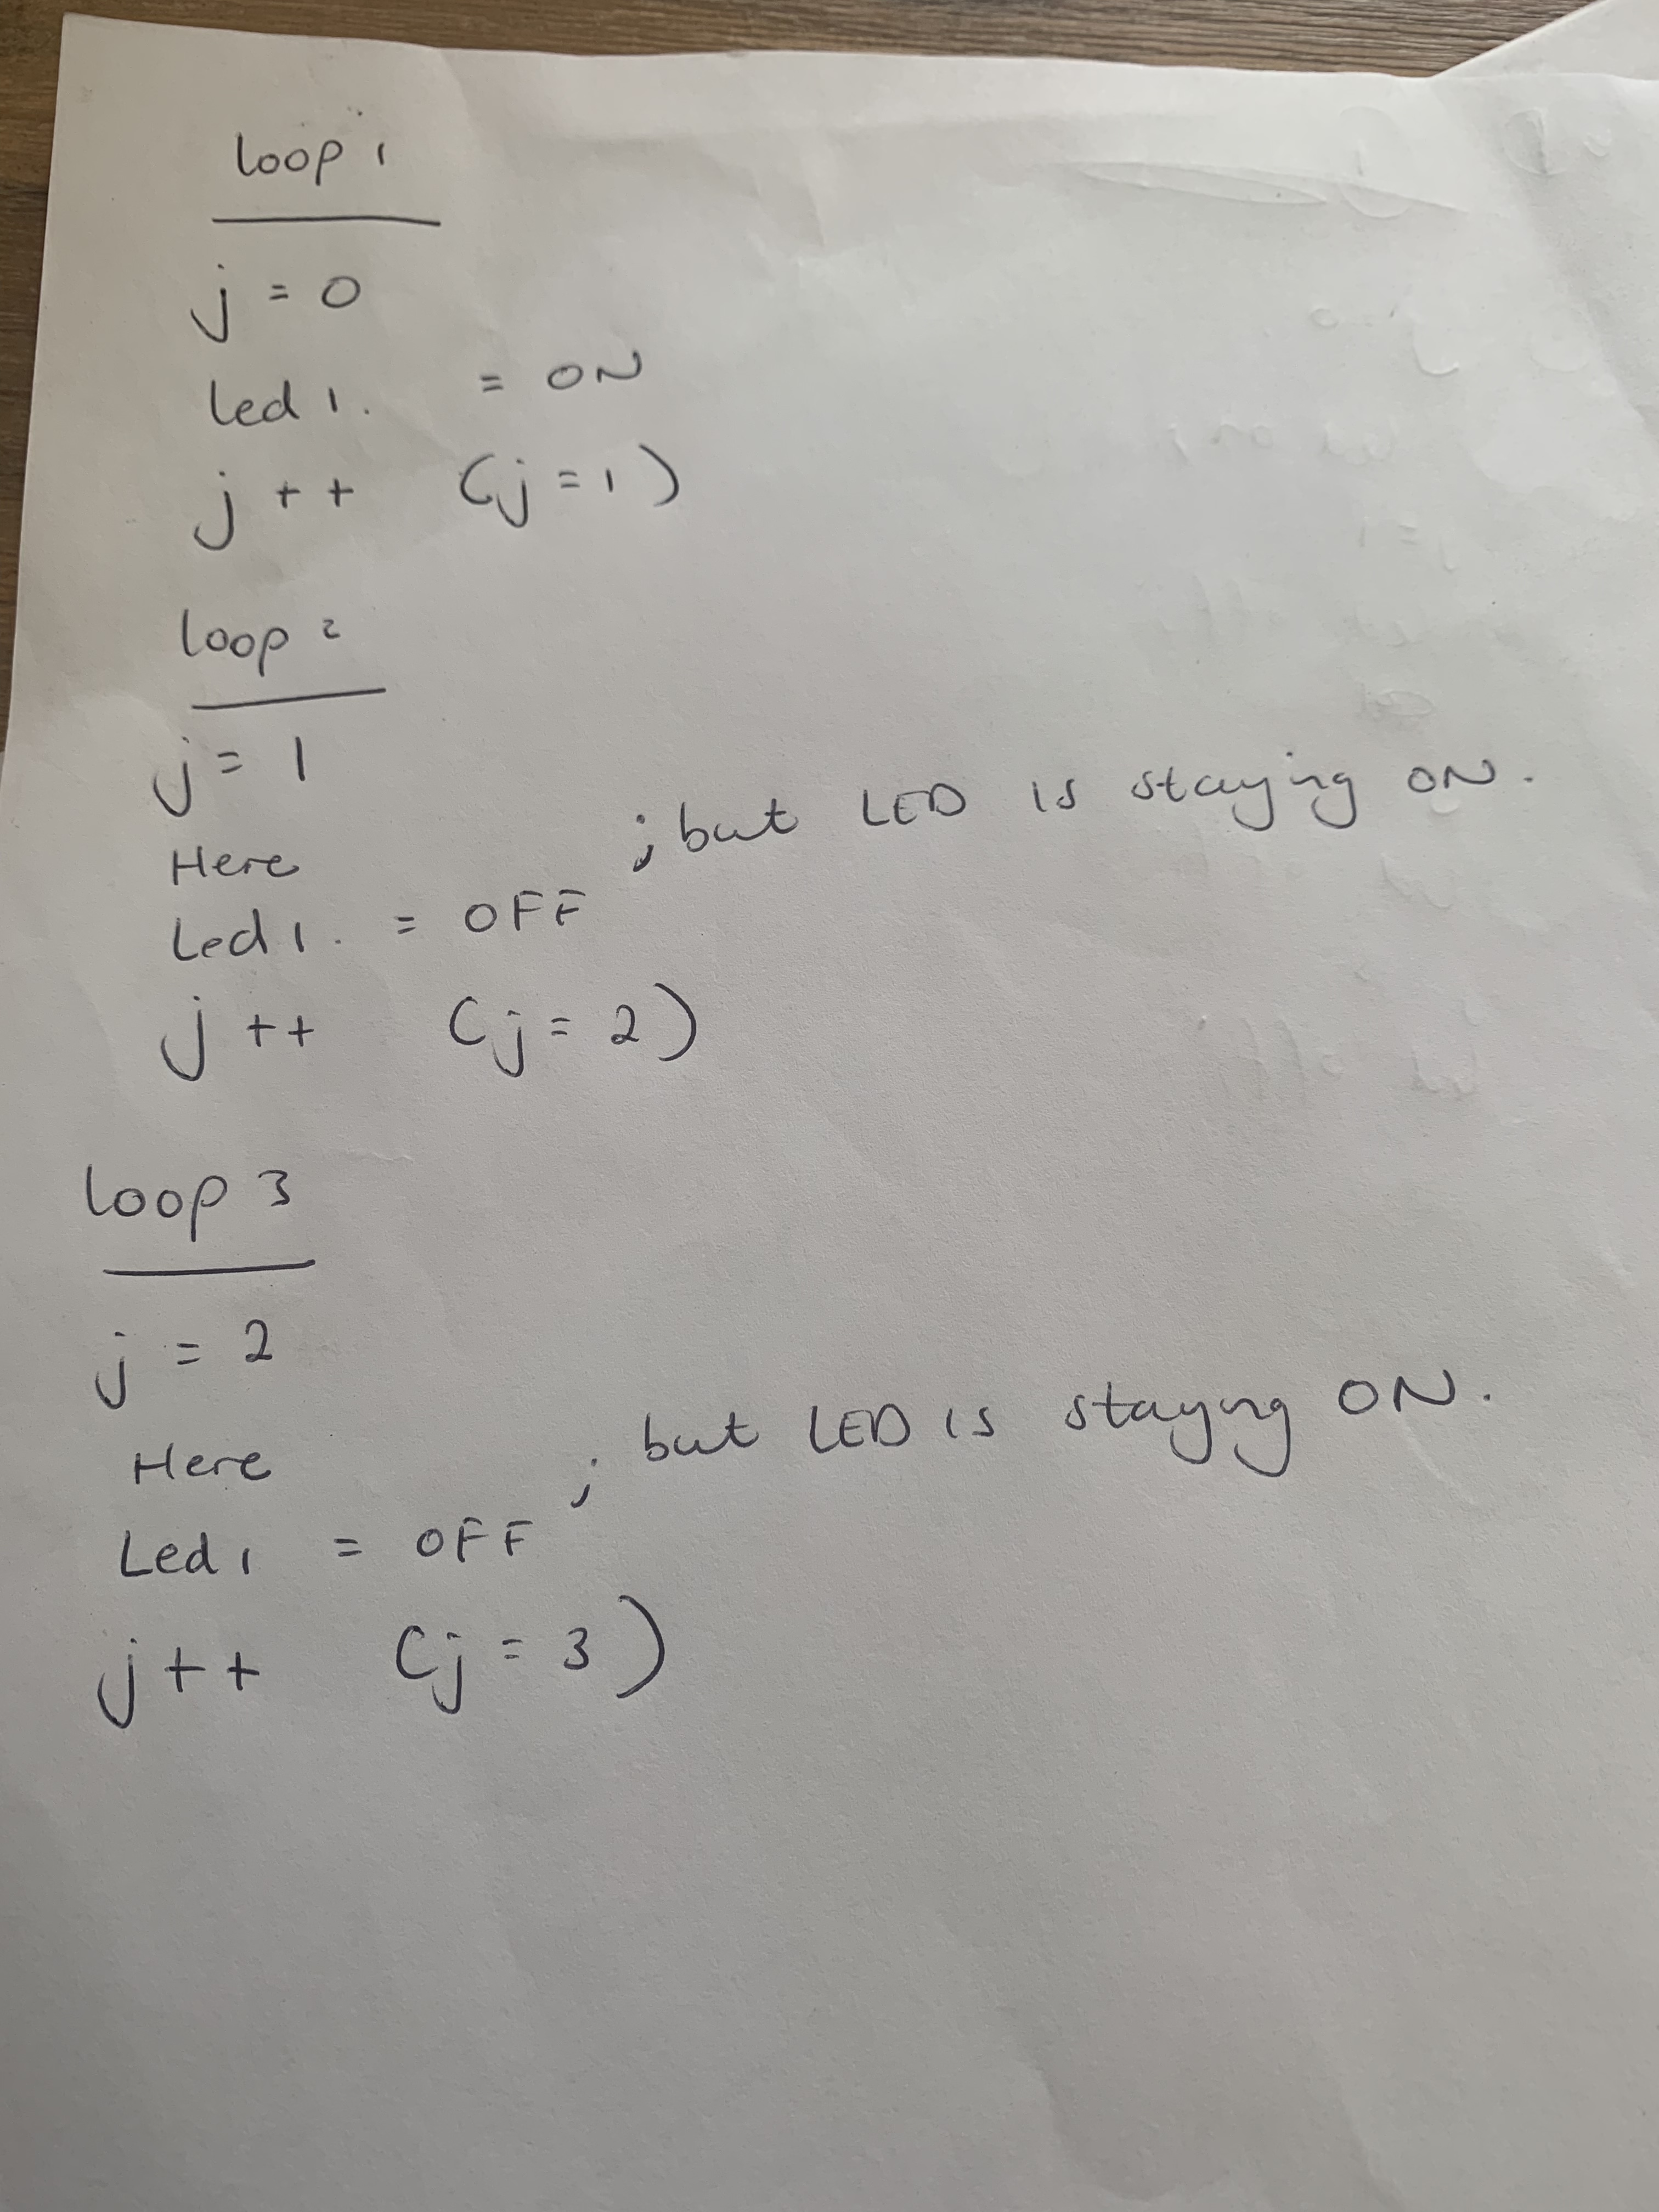
Take a pen and paper, go line by line and put results on the paper for 2-3 loop cycles. You will see your error. It’s a very simple code to ask for help. You should be fully capable of debugging it.
if(j>0){ // J = 0 ^^^
    led1.off();                                        // NOT RUN BECAUSE J = 0
    Serial.println("LED on V2: off");     // NOT RUN BECAUSE J = 0
  } else {
    led1.on();                                      // RUN BECAUSE J <= 0
    Serial.println("LED on V2:on");     // RUN BECAUSE J <= 0
  }
  j++;                 // Increase J by 1, so now J = 1
Loop 2:
if(j>0){ // J = 1 ^^^
    led1.off();                                        // RUN BECAUSE J > 0
    Serial.println("LED on V2: off");     // RUN BECAUSE J > 0
  } else {
    led1.on();                                      // NOT RUN BECAUSE STATEMENT ABOVE IS TRUE
    Serial.println("LED on V2:on");     // NOT RUN BECAUSE STATEMENT ABOVE IS TRUE
  }
  j++;                 // Increase J by 1, so now J = 2
Loop 3:
if(j>0){ // J = 2 ^^^
    led1.off();                                        // RUN BECAUSE J > 0
    Serial.println("LED on V2: off");     // RUN BECAUSE J > 0
  } else {
    led1.on();                                      // NOT RUN BECAUSE STATEMENT ABOVE IS TRUE
    Serial.println("LED on V2:on");     // NOT RUN BECAUSE STATEMENT ABOVE IS TRUE
  }
  j++;                 // Increase J by 1, so now J = 3
Loop 4:
if(j>0){ // J = 3 ^^^
    led1.off();                                        // RUN BECAUSE J > 0
    Serial.println("LED on V2: off");     // RUN BECAUSE J > 0
  } else {
    led1.on();                                      // NOT RUN BECAUSE STATEMENT ABOVE IS TRUE
    Serial.println("LED on V2:on");     // NOT RUN BECAUSE STATEMENT ABOVE IS TRUE
  }
  j++;                 // Increase J by 1, so now J = 4