Thanks I got it to work when I took out those comments. Much appreciated
But you still haven’t formatted your code correctly. Please edit your post and insert the backticks.
Pete.
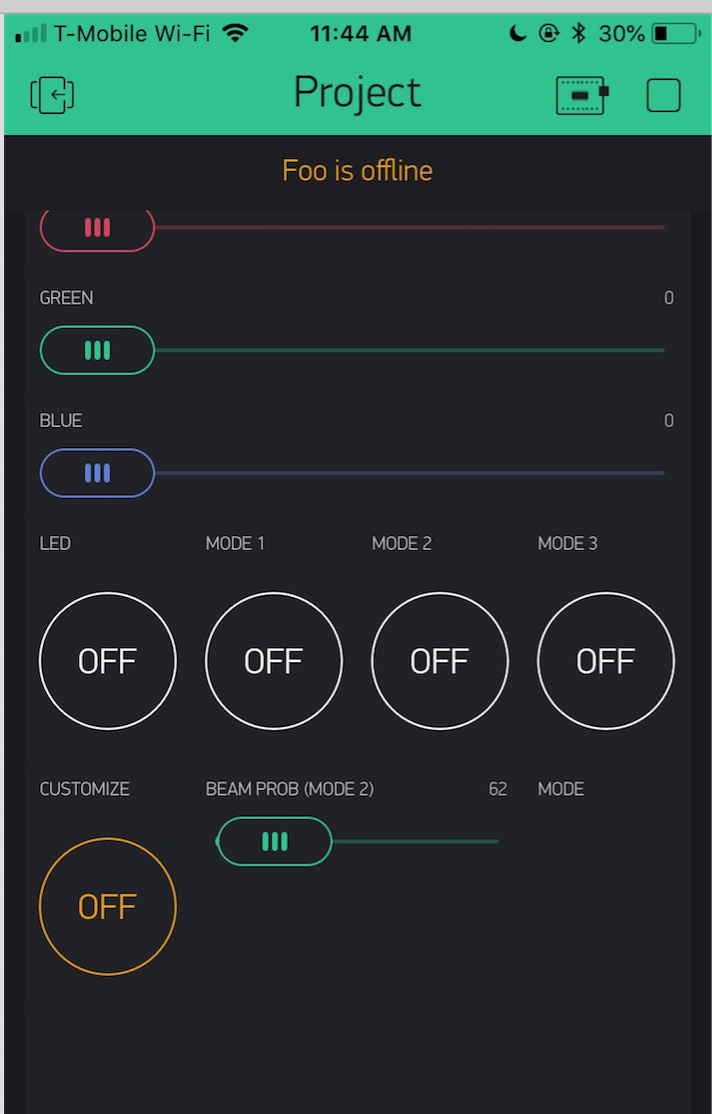
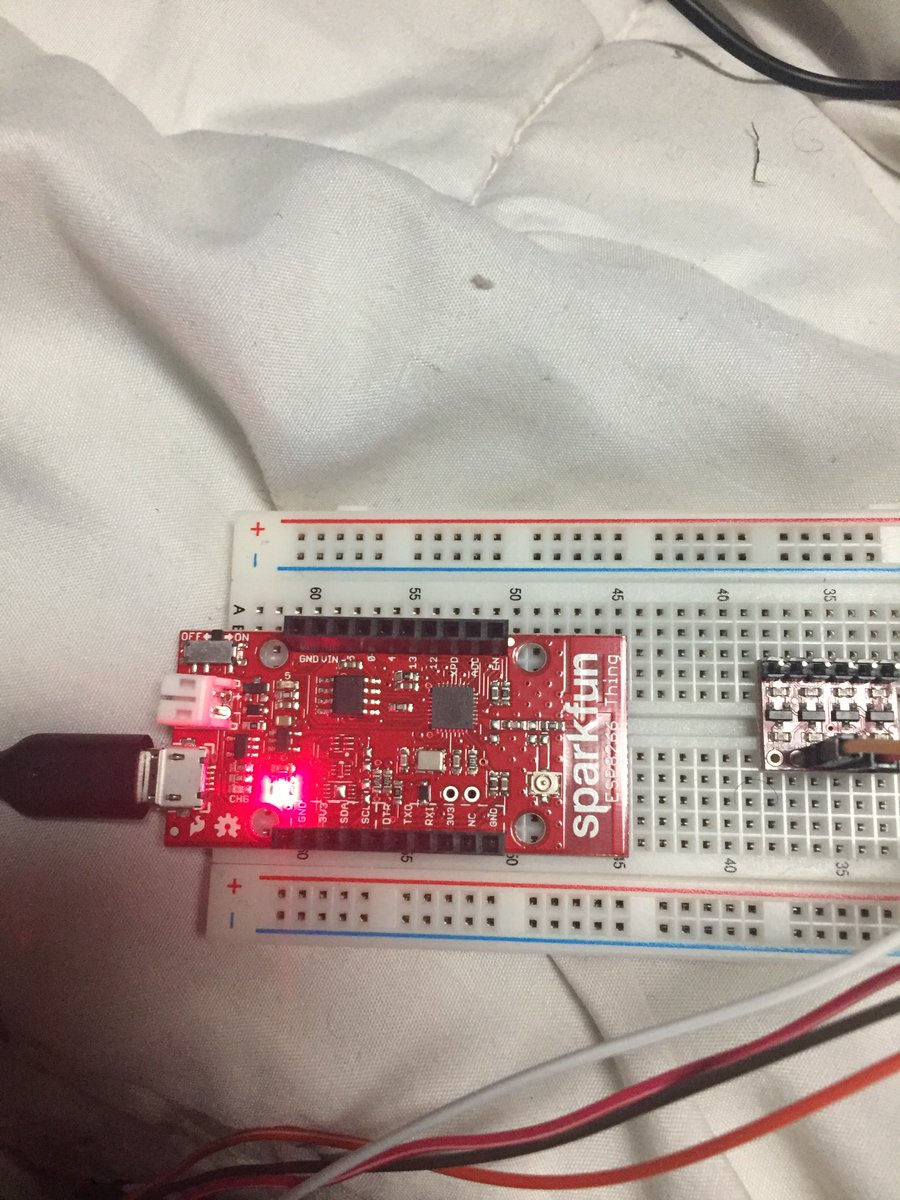
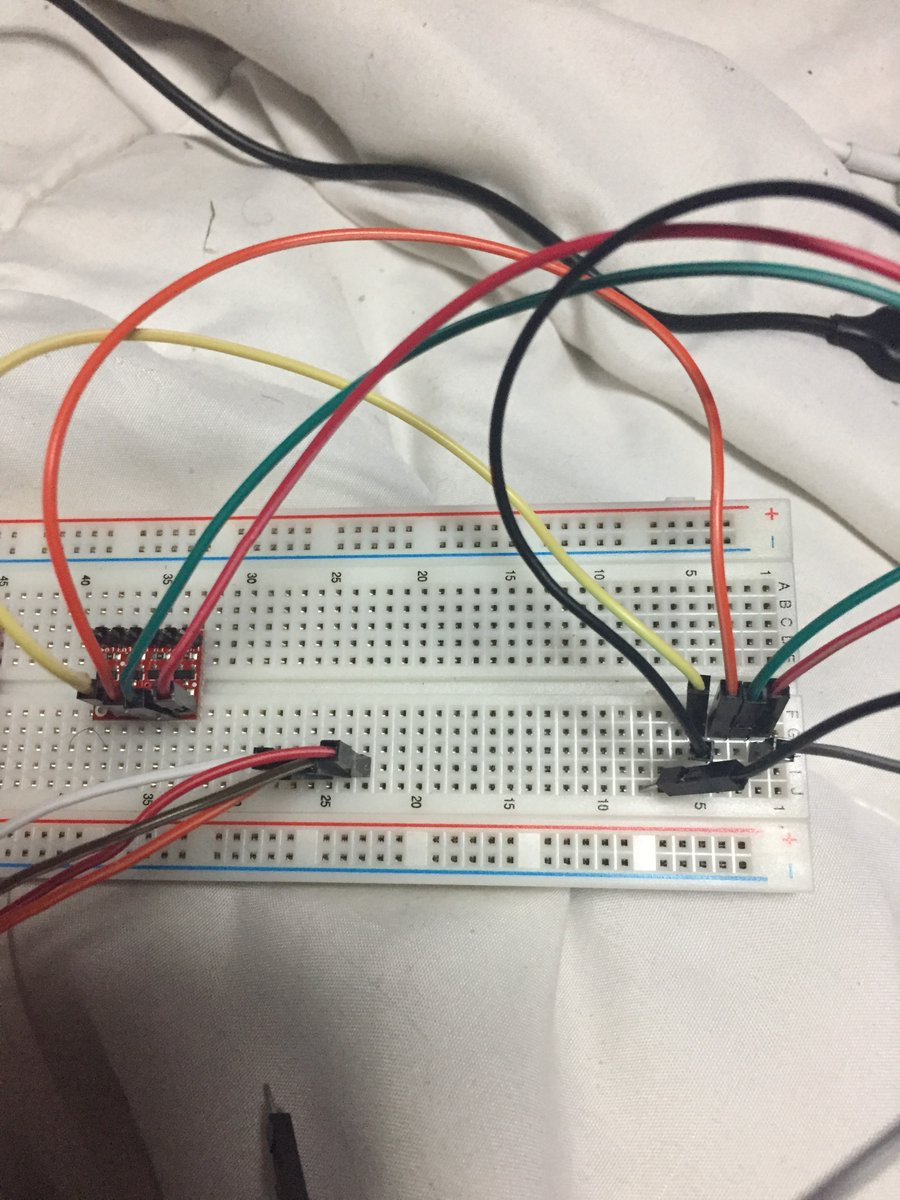
The goal is to control my LED strip from the Blynk app. Everytime I try to run it, it just says offline. Heres my setup:
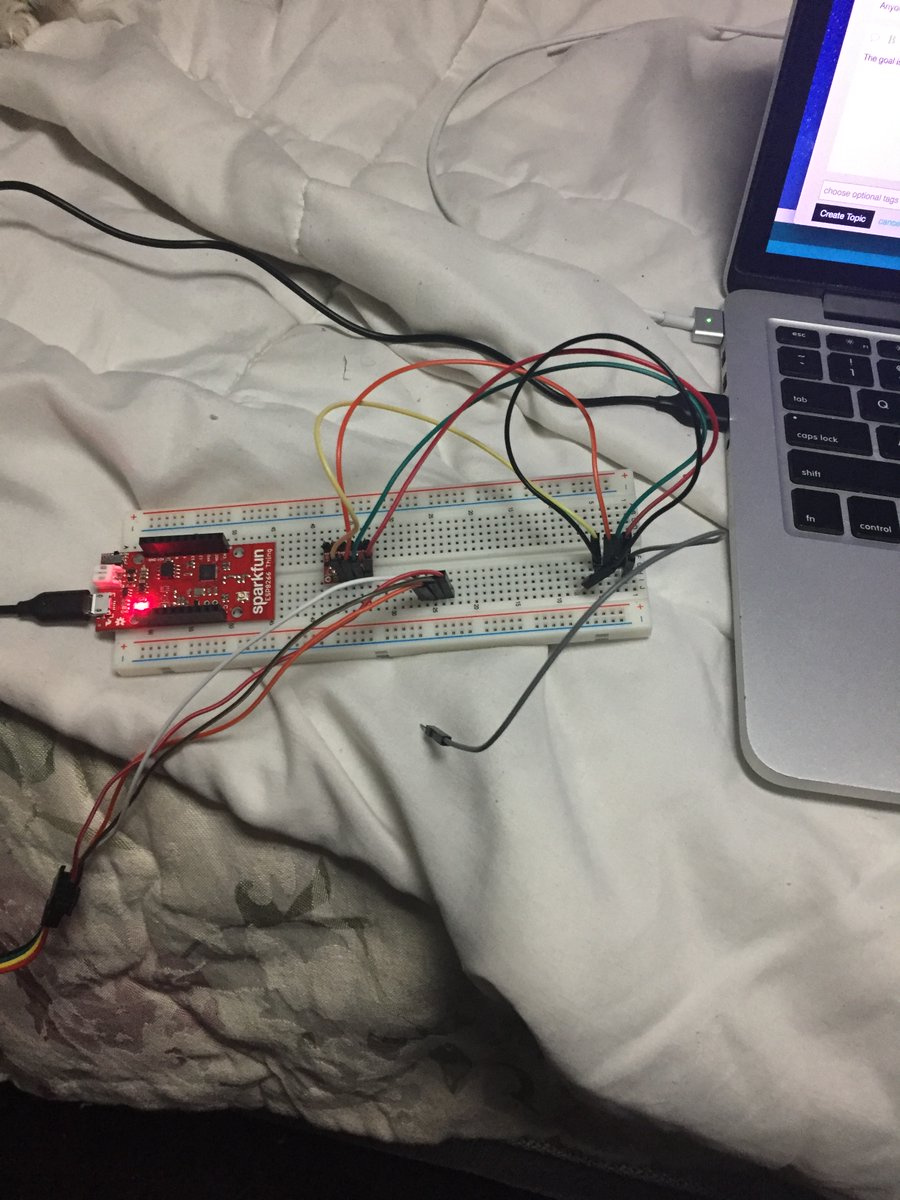
Anyone know the solution or whats going wrong?
Yes, you shouldn’t run a laptop on a soft surface like that as it can block the ventilation…
Oh, and your device says it is offline becasue it is ![]() other than that we can’t tell becasue all you have shown is pictures
other than that we can’t tell becasue all you have shown is pictures ![]()
1 Like
Ok. What else would you need to figure out the solution? Is there an ON button on the Sparkfun ESP8266 somewhere that I’m missing? I know that its offline, I just don’t know why its offline and I have no idea why it would be offline. I have it connected to my labtop directly.
Could it be a problem with the cord? I’m using the mini-USB but its one thats mainly used for changing an ANKER small battery. It came with the battery when I bought it. I’m not sure if that makes a difference though
Just a little more info perhaps?
Before creating the topic
- Search forum for similar topics
- Check http://docs.blynk.cc and http://help.blynk.cc/
- Add details :
• Hardware model + communication type. For example: Arduino UNO with Ethernet Shield
• Smartphone OS (iOS or Android) + version
• Blynk server or local server
• Blynk Library version
• Add your sketch code. Code should be formatted as example below.
Simply paste your code between ``` If you don’t format your code, your topic can be deleted by moderators.
void loop()
why you use a lot of wires without a real connection? what is supposed to them must do? I mean, they aren’t really connected to the sparkfun… maybe you disconnected them for try to find where is the error? post a photo of unconnected wires helps nothing…
I only can view the sparkfun esp connected via usb cable… without your code to view how you are trying to connecto to blynk server… is hard to say…
Have you correctly configured the wifi auth? you change the blynk auth to the correct one from the example sketch?
When I upload a default/example code to my Sparkfun ESP8266 Thing Dev Board from Arduino, it works fine. I can turn off and on the LED on the board with GP5 in Blynk. Everything works fine.
But when I upload my specific code (its a code to control a LED light from using Blynk), it goes offline. I have the same auth token in both codes, as well as the SSID and Pass. Any solutions/recommendations? I can post the codes if anyone wants to see
My guess is that either your void loop is full of code, or some other part of your code has delays or takes too long to process - which is starving Blynk.run of processor time.
Pete.
Okay thanks for the input.
Is this the right place to post code and see if people can give a solution/recommendation or do I have to go to a different website. I can post the code I have currently.
Yes, just make sure its properly formatted
Alright heres my code.
> #include <Blynk.h>
> #include <Adafruit_DotStar.h>
> #include <SPI.h>
> #include <ESP8266WiFi.h>
> #include <BlynkSimpleEsp8266.h>
> #include <ESP8266WiFiMulti.h>
> // constants
> #define NUMPIXELS 60 // number LEDs on the strip
> #define ESP8266_LED 5 // ESP8266 on-board LED on port 5
> #define MINIBAR_LEN_TREB 7 // len of small bar in mode 3
> #define MINIBAR_LEN_BASS 30 // len of mid bar in mode 3
> #define MINIBAR_LEN_MIDL 15 // len of mid bar in mode 3
>
> #define DATAPIN 2 // GPIO2 - MOSI
> #define CLOCKPIN 4 // GPIO4 - CLK
>
> #define IP_ADDR "173.56.98.227" // IP address of pc running Processing app
> #define SSID_NAME "584N6" // SSID of the network in use
> #define SSID_PW "JX7TFN36GRPKXVCH" // password to the network in use
> // WiFi
> ESP8266WiFiMulti WiFiMulti;
>
> // Use above defined pins for DATA and CLK
> Adafruit_DotStar strip = Adafruit_DotStar(NUMPIXELS, DATAPIN, CLOCKPIN);
>
> // Use hardware SPI (DATA-13, SCLK-SCL)
> //Adafruit_DotStar strip = Adafruit_DotStar(NUMPIXELS);
> // You should get Auth Token in the Blynk App. // Go to the Project Settings (nut icon).
> char auth[] = "41ca952815c3452481585b2b8ef6f0bc";
> // global variables
> bool setupFailed = false; // flag for WiFi setup. if failed, blink onboard LED
> WiFiClient client; // create TCP connection
> byte val = 0; // val received from Processing app (beat in val bin)
>
> // LED controlling variables
> unsigned int r[NUMPIXELS] = {0}; // each index holds the R, G, or B value
> unsigned int g[NUMPIXELS] = {0}; // of the LED with that index ranging
> unsigned int b[NUMPIXELS] = {0}; // from 0 - 255
>
> int heads[NUMPIXELS] = {-1}; // array holding the heads and tails values
> int tails[NUMPIXELS] = {-1}; // of the "beams" that go across the LED strip
> int beamCnt = 0;
> int beamDelay = 0; // counter that increments and every...
> int beamPropDelay = 4; // ...beamPropDelay it updates the beam
> int beamLen = -7; // length of beam in LEDs
>
> // Blynk variables
> int customize, modeSel; // flags
> int blynk_r, blynk_g, blynk_b; // r,g,b
> void setup()
> {
> // set up onboard LED mode
> pinMode(ESP8266_LED, OUTPUT);
>
> // set up Blynk
> Blynk.begin(auth, SSID_NAME, SSID_PW);
>
> // set up WiFi connection to PC
> const uint16_t port = 5204;
> const char * host = IP_ADDR; // ip or dns
>
> Serial.begin(115200);
> delay(10);
>
> // We start by connecting to a WiFi network
> WiFiMulti.addAP(SSID_NAME, IP_ADDR);
> Serial.println();
> Serial.println();
> Serial.print("Wait for WiFi... ");
>
> while(WiFiMulti.run() != WL_CONNECTED) {
>   Serial.print(".");
>   delay(500);
> }
> Serial.println("");
> Serial.println("WiFi connected");
> Serial.println("IP address: ");
> Serial.println(WiFi.localIP());
>
> delay(500);
>
> Serial.print("connecting to ");
> Serial.println(host);
>
> if (!client.connect(host, port)) {
>   Serial.println("connection failed, restart system");
>   setupFailed = true;;
> }
>
> strip.begin();
>
>   strip.show();
>   // random seed
>   randomSeed(0);
> }
>
> // Blynk functions for virtual pins
> BLYNK_WRITE(V0)
> {
>   modeSel = 0;
> }
> BLYNK_WRITE(V1)
> {
>   modeSel = 1;
> }
> BLYNK_WRITE(V2)
> {
>   modeSel = 2;
> }
> BLYNK_WRITE(V3)
> {
>   modeSel = 3;
> }
> BLYNK_WRITE(V4)
> {
>   customize = param.asInt();
> }
> BLYNK_WRITE(V5)
> {
>   blynk_r = param.asInt();
> }
> BLYNK_WRITE(V6)
> {
>   blynk_g = param.asInt();
> }
> BLYNK_WRITE(V7)
> {
>   blynk_b = param.asInt();
> }
> BLYNK_WRITE(V8)
> {
>   beamPropDelay = param.asInt();
> }
> BLYNK_READ(V9)
> {
>   Blynk.virtualWrite(9, modeSel);
> }
>
> void loop()
> {
>   int i; // counter used for misc purposes
>   int gVal, rVal, bVal; // temporary holder variables for RGB values
>
>   // blink onboard LED if wifi failed
>   if (setupFailed == true)
>   {
>     digitalWrite(ESP8266_LED, HIGH);
>     delay(1000);
>     digitalWrite(ESP8266_LED, LOW);
>     delay(1000);
>     return;
>    }
>
> Blynk.run(); // Initiates Blynk
>
> if (client.available())
> { // if data is availble to read
>     val = client.read();
> //////////////////// mode 0 ////////////////////
> if ( modeSel == 0) // bar flash mode
> {
>   if (!customize) // custom colors
>   {
>     gVal = random(0x100);
>     rVal = random(0x100);
>     bVal = random(0x100);
>   }
>   else // use sliders on Blynk app to determine color
>   {
>     gVal = blynk_g;
>     rVal = blynk_r;
>     bVal = blynk_b;
>   }
>
>   if (val == 10) // detecting == bin2 (71 < val < 86 Hz )
>   {
>     for ( i = 0; i < NUMPIXELS; i++)
>     {
>       r[i] = rVal;
>       g[i] = gVal;
>       b[i] = bVal;
>     }
>   }
> }
> //////////////////// mode 1 ////////////////////
> else if ( modeSel == 1 )
> { // spectrum mode (sub bass, bass, midrange, high mids, high freq)
>   if (customize)
>   {
>     r[val] = blynk_r;
>     g[val] = blynk_g;
>     b[val] = blynk_b;
>   }
>   else
>   {
>     if (val < 5)
>     { // red
>       r[val] = 0xFF;
>       g[val] = 0;
>       b[val] = 0;
>     }
>     else if (val < 10)
>     { // orange
>       r[val] = 0xFF;
>       g[val] = 0xA5;
>       b[val] = 0;
>     }
>     else if (val < 15)
>     { // yellow
>       r[val] = 0xFF;
>       g[val] = 0xFF;
>       b[val] = 0;
>     }
>     else if (val < 20)
>     { // chartreuse
>       r[val] = 0x7F;
>       g[val] = 0xFF;
>       b[val] = 0;
>     }
>     else if (val < 25)
>     { // green
>       r[val] = 0;
>       g[val] = 0x80;
>       b[val] = 0;
>     }
>     else if (val < 30)
>     { // spring
>     r[val] = 0;
>     g[val] = 0xE6;
>     b[val] = 0x73;
>   }
>   else if (val < 35)
>   { // cyan
>     r[val] = 0;
>     g[val] = 0xFF;
>     b[val] = 0xFF;
>   }
>   else if (val < 40)
>   { // azure
>     r[val] = 0xF0;
>     g[val] = 0xFF;
>     b[val] = 0xFF;
>   }
>   else if (val < 45)
>   { // blue
>     r[val] = 0;
>     g[val] = 0;
>     b[val] = 0xFF;
>   }
>   else if (val < 50)
>   { // violet
>     r[val] = 0xEE;
>     g[val] = 0x82;
>     b[val] = 0xEE;
>   }
>   else if (val < 55)
>   { // magenta
>     r[val] = 0xFF;
>     g[val] = 0x00;
>     b[val] = 0xFF;
>   }
>   else
>   { // rose
>     r[val] = 0xFF;
>     g[val] = 0;
>     b[val] = 0xFF;
>    }
>   }
> }
> //////////////////// mode 2 ////////////////////
> else if ( modeSel == 2 )
> {
>   if (val == 17 )
>   { // trigger the beam
>     if (beamCnt >= NUMPIXELS)
>       beamCnt = 0;
>     heads[beamCnt] = 0;
>     tails[beamCnt] = beamLen;
>
>     if (!customize) // every beam gets a random color
>     {
>       r[beamCnt] = random(0x100);
>       g[beamCnt] = random(0x100);
>       b[beamCnt] = random(0x100);
>     }
>     else
>     { // using zeRGBa on Blynk app to determine color
>       g[beamCnt] = blynk_g;
>       r[beamCnt] = blynk_r;
>       b[beamCnt] = blynk_b;
>     }
>     beamCnt++;
>    }
> }
>
> //////////////////// mode 3 ////////////////////
> else if ( modeSel == 3 )
> { // random small bars (bass, mid, treble)
> // random colors if custom button not pressed on Blynk app
> if (!customize)
> {
>     gVal = random(0x100);
>     rVal = random(0x100);
>     bVal = random(0x100);
> }
> // determine location of bass bar
> i = random(60 - MINIBAR_LEN_BASS);
> if (val == 10)
> {
>     if (customize)
>     {
>       gVal = blynk_g;
>       rVal = blynk_r;
>       bVal = blynk_b;
>     }
>     for (int j = i ; j < i + MINIBAR_LEN_BASS; j++)
>     {
>       r[j] = rVal;
>       g[j] = gVal;
>       b[j] = bVal;
>     }
> }
> // determine location of mid bar
> i = random(60 - MINIBAR_LEN_MIDL);
> if (val == 17)
> {
>     if (customize)
>     {
>       gVal = blynk_r;
>       rVal = blynk_b;
>       bVal = blynk_g;
>     }
>     for (int j = i ; j < i + MINIBAR_LEN_MIDL; j++)
>     {
>       r[j] = rVal;
>       g[j] = gVal;
>       b[j] = bVal;
>     }
> }
> // determine location of treble bar
> i = random(60 - MINIBAR_LEN_TREB);
> if (val == 54)
> {
>     if (customize)
>     {
>       gVal = blynk_b;
>       rVal = blynk_g;
>       bVal = blynk_r;
>     }
>     for (int j = i ; j < i + MINIBAR_LEN_TREB; j++)
>     {
>       r[j] = rVal;
>       g[j] = gVal;
>       b[j] = bVal;
>      }
>   }
> }
> else if ( modeSel == 4 )
> {
>   for (i = 0; i < NUMPIXELS; i++)
>   {
>
>       r[i] = val;
>       g[i] = val;
>       b[i] = val;
>       strip.setPixelColor(i, g[i], r[i], b[i]);
>     }
>   }
> }
> // mode 2 - beam propagation
> // update head location every beamPropDelay // to control beam propagation speed
> if (beamDelay++ % beamPropDelay == 0)
> {
>   for (i = 0; i < NUMPIXELS; i++)
>   {
>     strip.setPixelColor(heads[i], g[i], r[i], b[i]);
>     strip.setPixelColor(tails[i], 0);
>
>     if (heads[i] >= 0)
>     {
>      if ( ++heads[i] >= NUMPIXELS) // reset head
>       heads[i] = -1;
>     }
>     if (tails[i] >= beamLen)
>     {
>       if ( ++tails[i] >= NUMPIXELS ) // reset tail
>         tails[i] = beamLen - 1;
>     }
>   }
> }
> // dimming, all modes except beam (mode 2)
> if ( modeSel == 0 || modeSel == 1 || modeSel == 3 )
> {
>   for ( i = 0; i < NUMPIXELS; i++ )
>   {
>       if (g[i] > 0)
>         g[i] /= 1.04;
>       if (r[i] > 0)
>         r[i] /= 1.04;
>       if (b[i] > 0)
>         b[i] /= 1.04;
>
>        strip.setPixelColor(i, g[i], r[i], b[i]);
>      }
>   }
>   strip.show();
>
>   delay(5); // give uController time to maintain behind the scenes tasks
> }
You didn’t!

Pete.
Ok I edited the post and got it now
Take a look at this post…
Pete.
biggest issue I see is that your void loop contains more than just
blynk.run
timer.run
thats the first fail. Initiate a timer and rework your code with that. Many examples on this forum.
Then get back here if it still fails.
What do you mean by “initiate a timer”? You mean add another delay (maybe after Blynk.run?) or create a whole new method with a Timer class?
I see this is the void loop method that was used in the link that Pete posted
> void loop() {
>       Blynk.run();
>       if(!Blynk.connected()) {
>         Serial.println(F("Resetting in loop"));
>         ESP.restart();
>       }
>       WDTCount = 0;
>       timer.run();
>       ArduinoOTA.handle();
>       activity(current_activity);
>     }
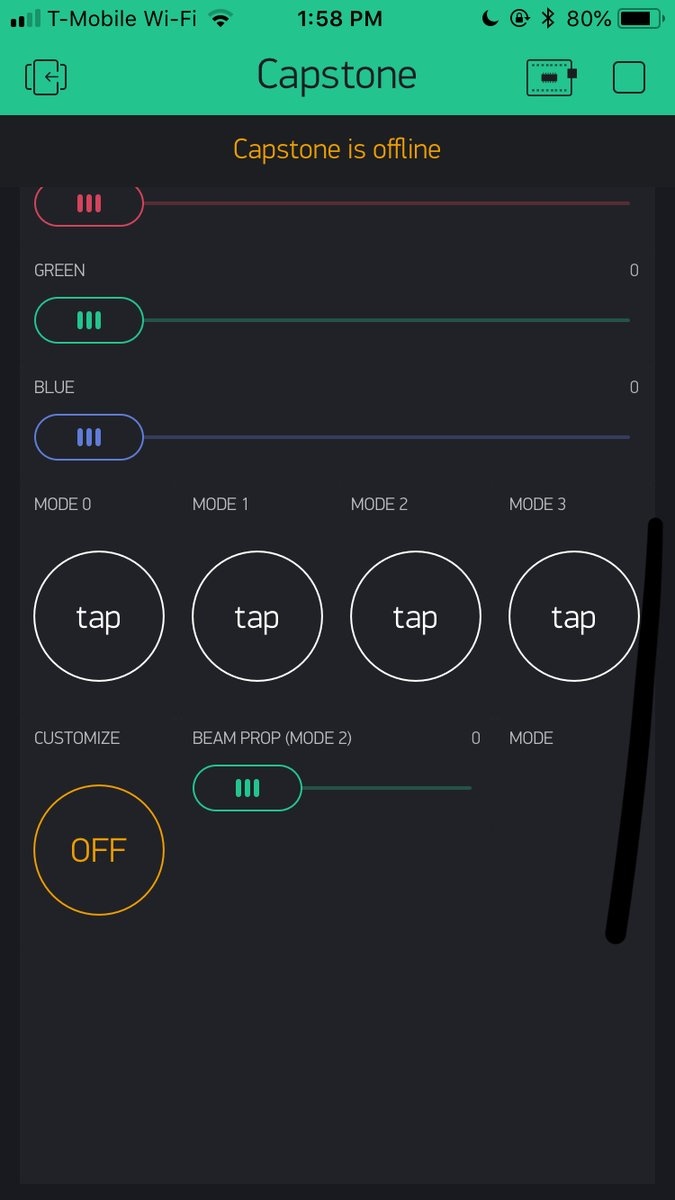
Still can’t find a solution after I initiated a timer. I also tried taking out all the regular delays (stuff like delay(500)). Still doesn’t work. And this code is pretty long because it has to do a lot of stuff. This is what my Blynk screen looks like. Maybe it will help some of you guys to see what I’m working with