Dear All,
this is probably trivial problem after I am quite new to Blynk, but despite carefully reading instruction and trying to repeat it, I can’t understand how to “connect” second hardware to my working blynk app. This should be another “instance” of Blynk so virtual channels are not mixed altogether and I have separate data readings and controls with clear statement of to which device it goes or comes from. Do I need to “clone” my app, add “device” to existing one, or create another “project”? Do I need to buy more “energy”?
Please help to solve my issue.
Andrzej
You have two choices, all within the existing app.
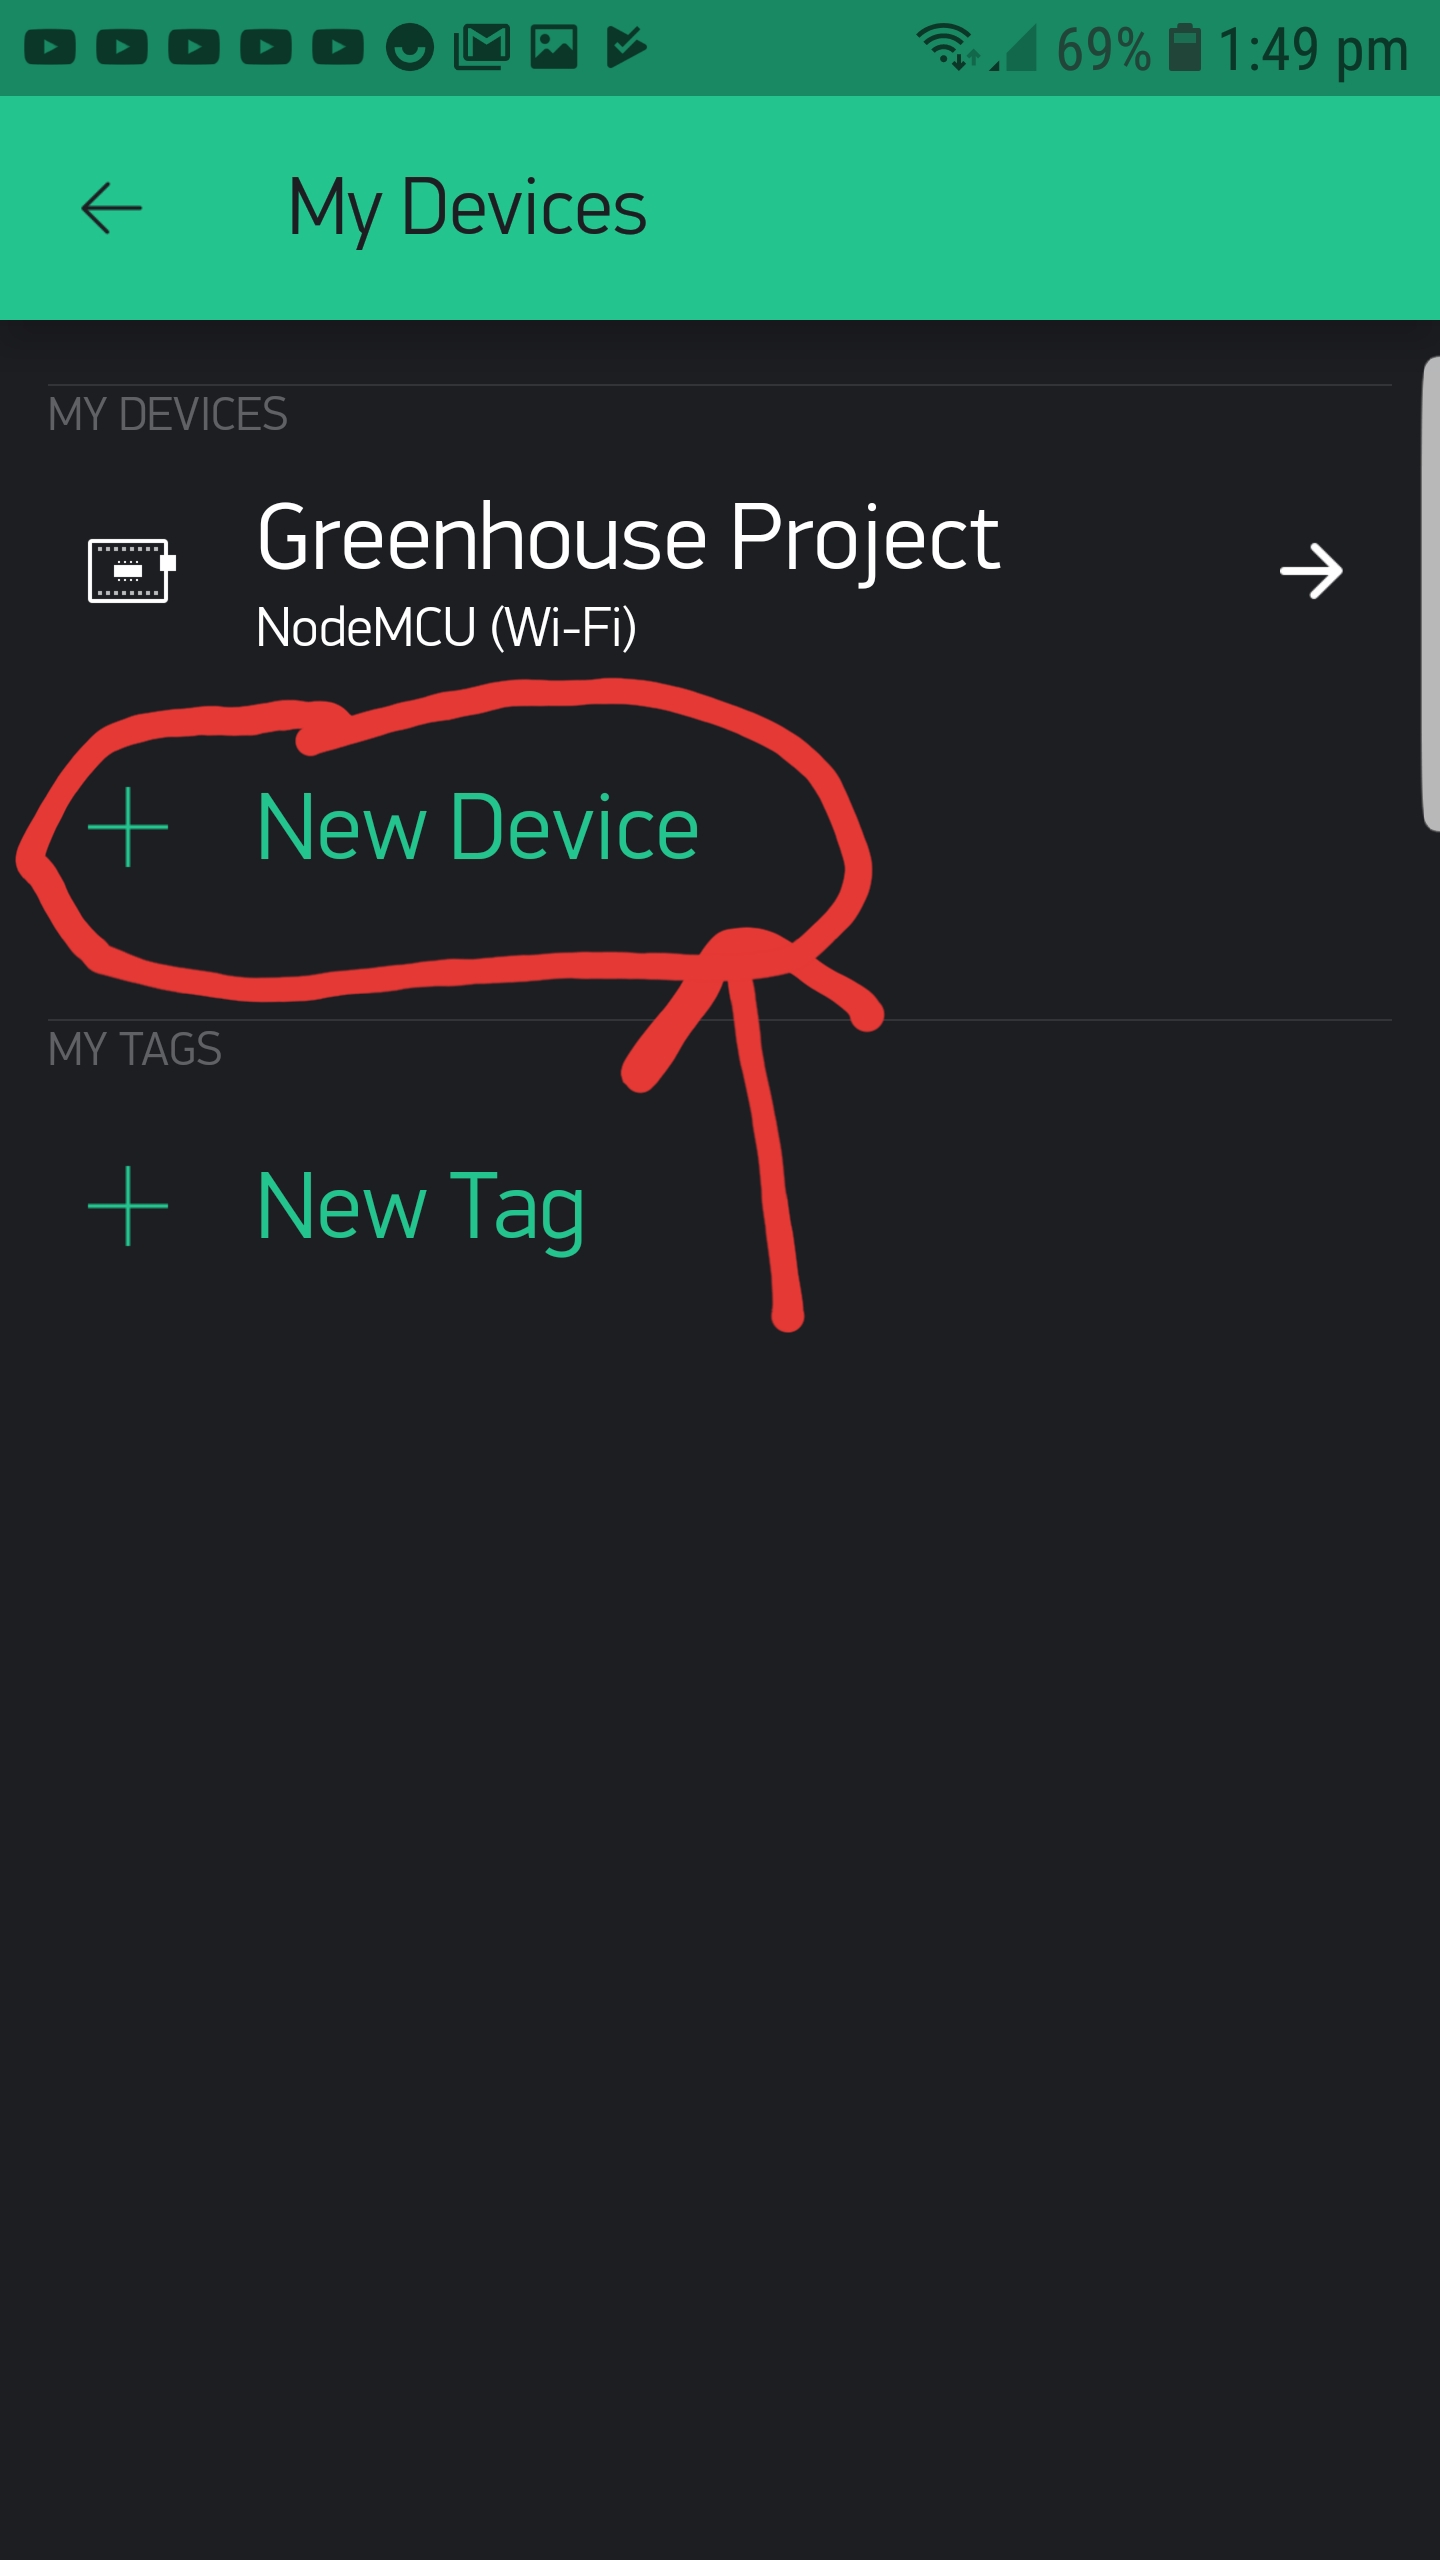
add another device to your existing project.
add a new project.
You’d normally add a new device to your existing project if you had several related things that you wanted to control with widgets on the same screen - say a couple of devices each controlling a light, and you wanted to have button widgets to be able to turn them on and off individually, but have those buttons on the same screen.
A new project would give you a totally separate screen, that you have to switch to, to be able to use.
I have separate projects that control devices in the U.K. and Spain, and at each location I have multiple devices within those projects that represent different physical hardware devices in those countries.
Pete thanks for the explanation.
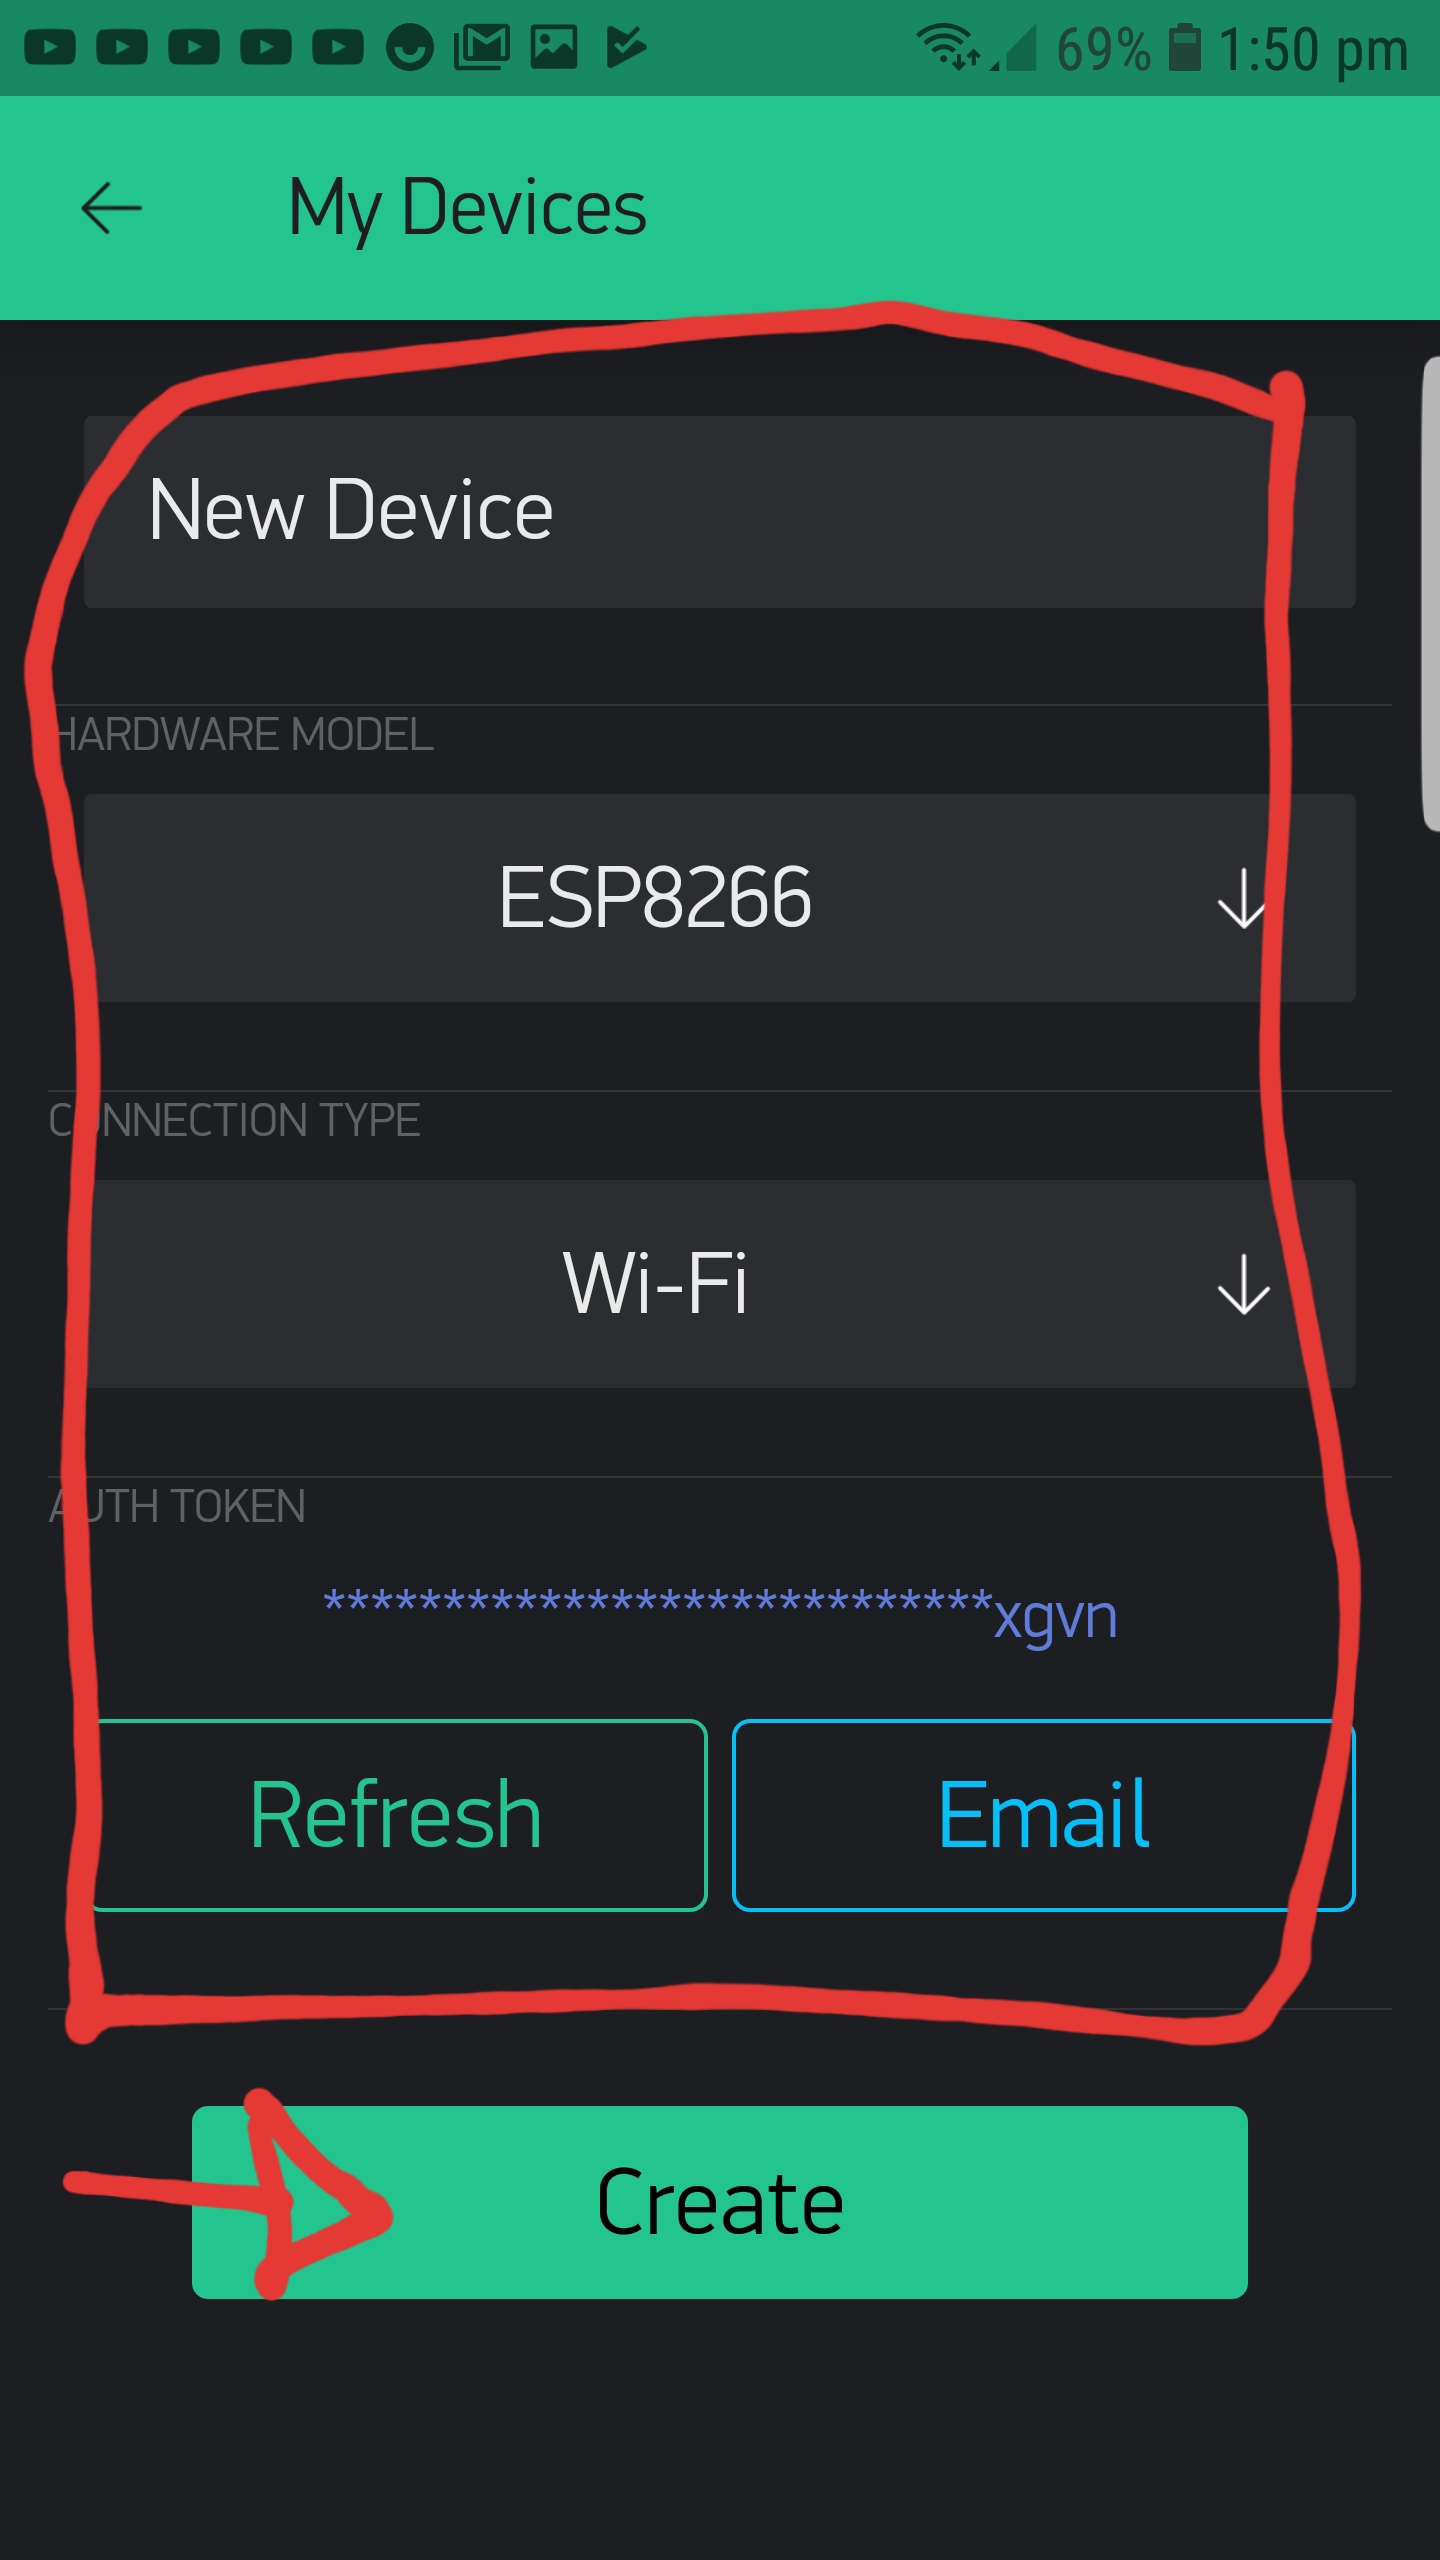
As in my case I have similar (identic) setup of switches and sensors for two different rooms, each controlled by separate ESP8266 based device, I assume #1 is the right way to go. Adding device I request new token and put it in to the second device code and this seems clear to me. But how do I create second instance of blynk controller on my smartphone? How to copy all screens into another controller app? In my previous attempts I’v got constantly switching displays from device1 to device2 and so forth without possibility of making selections by menues and slides. What do I do wrong?
(This will send you a new auth code in your email, which you should use when writing the code for the new device.)
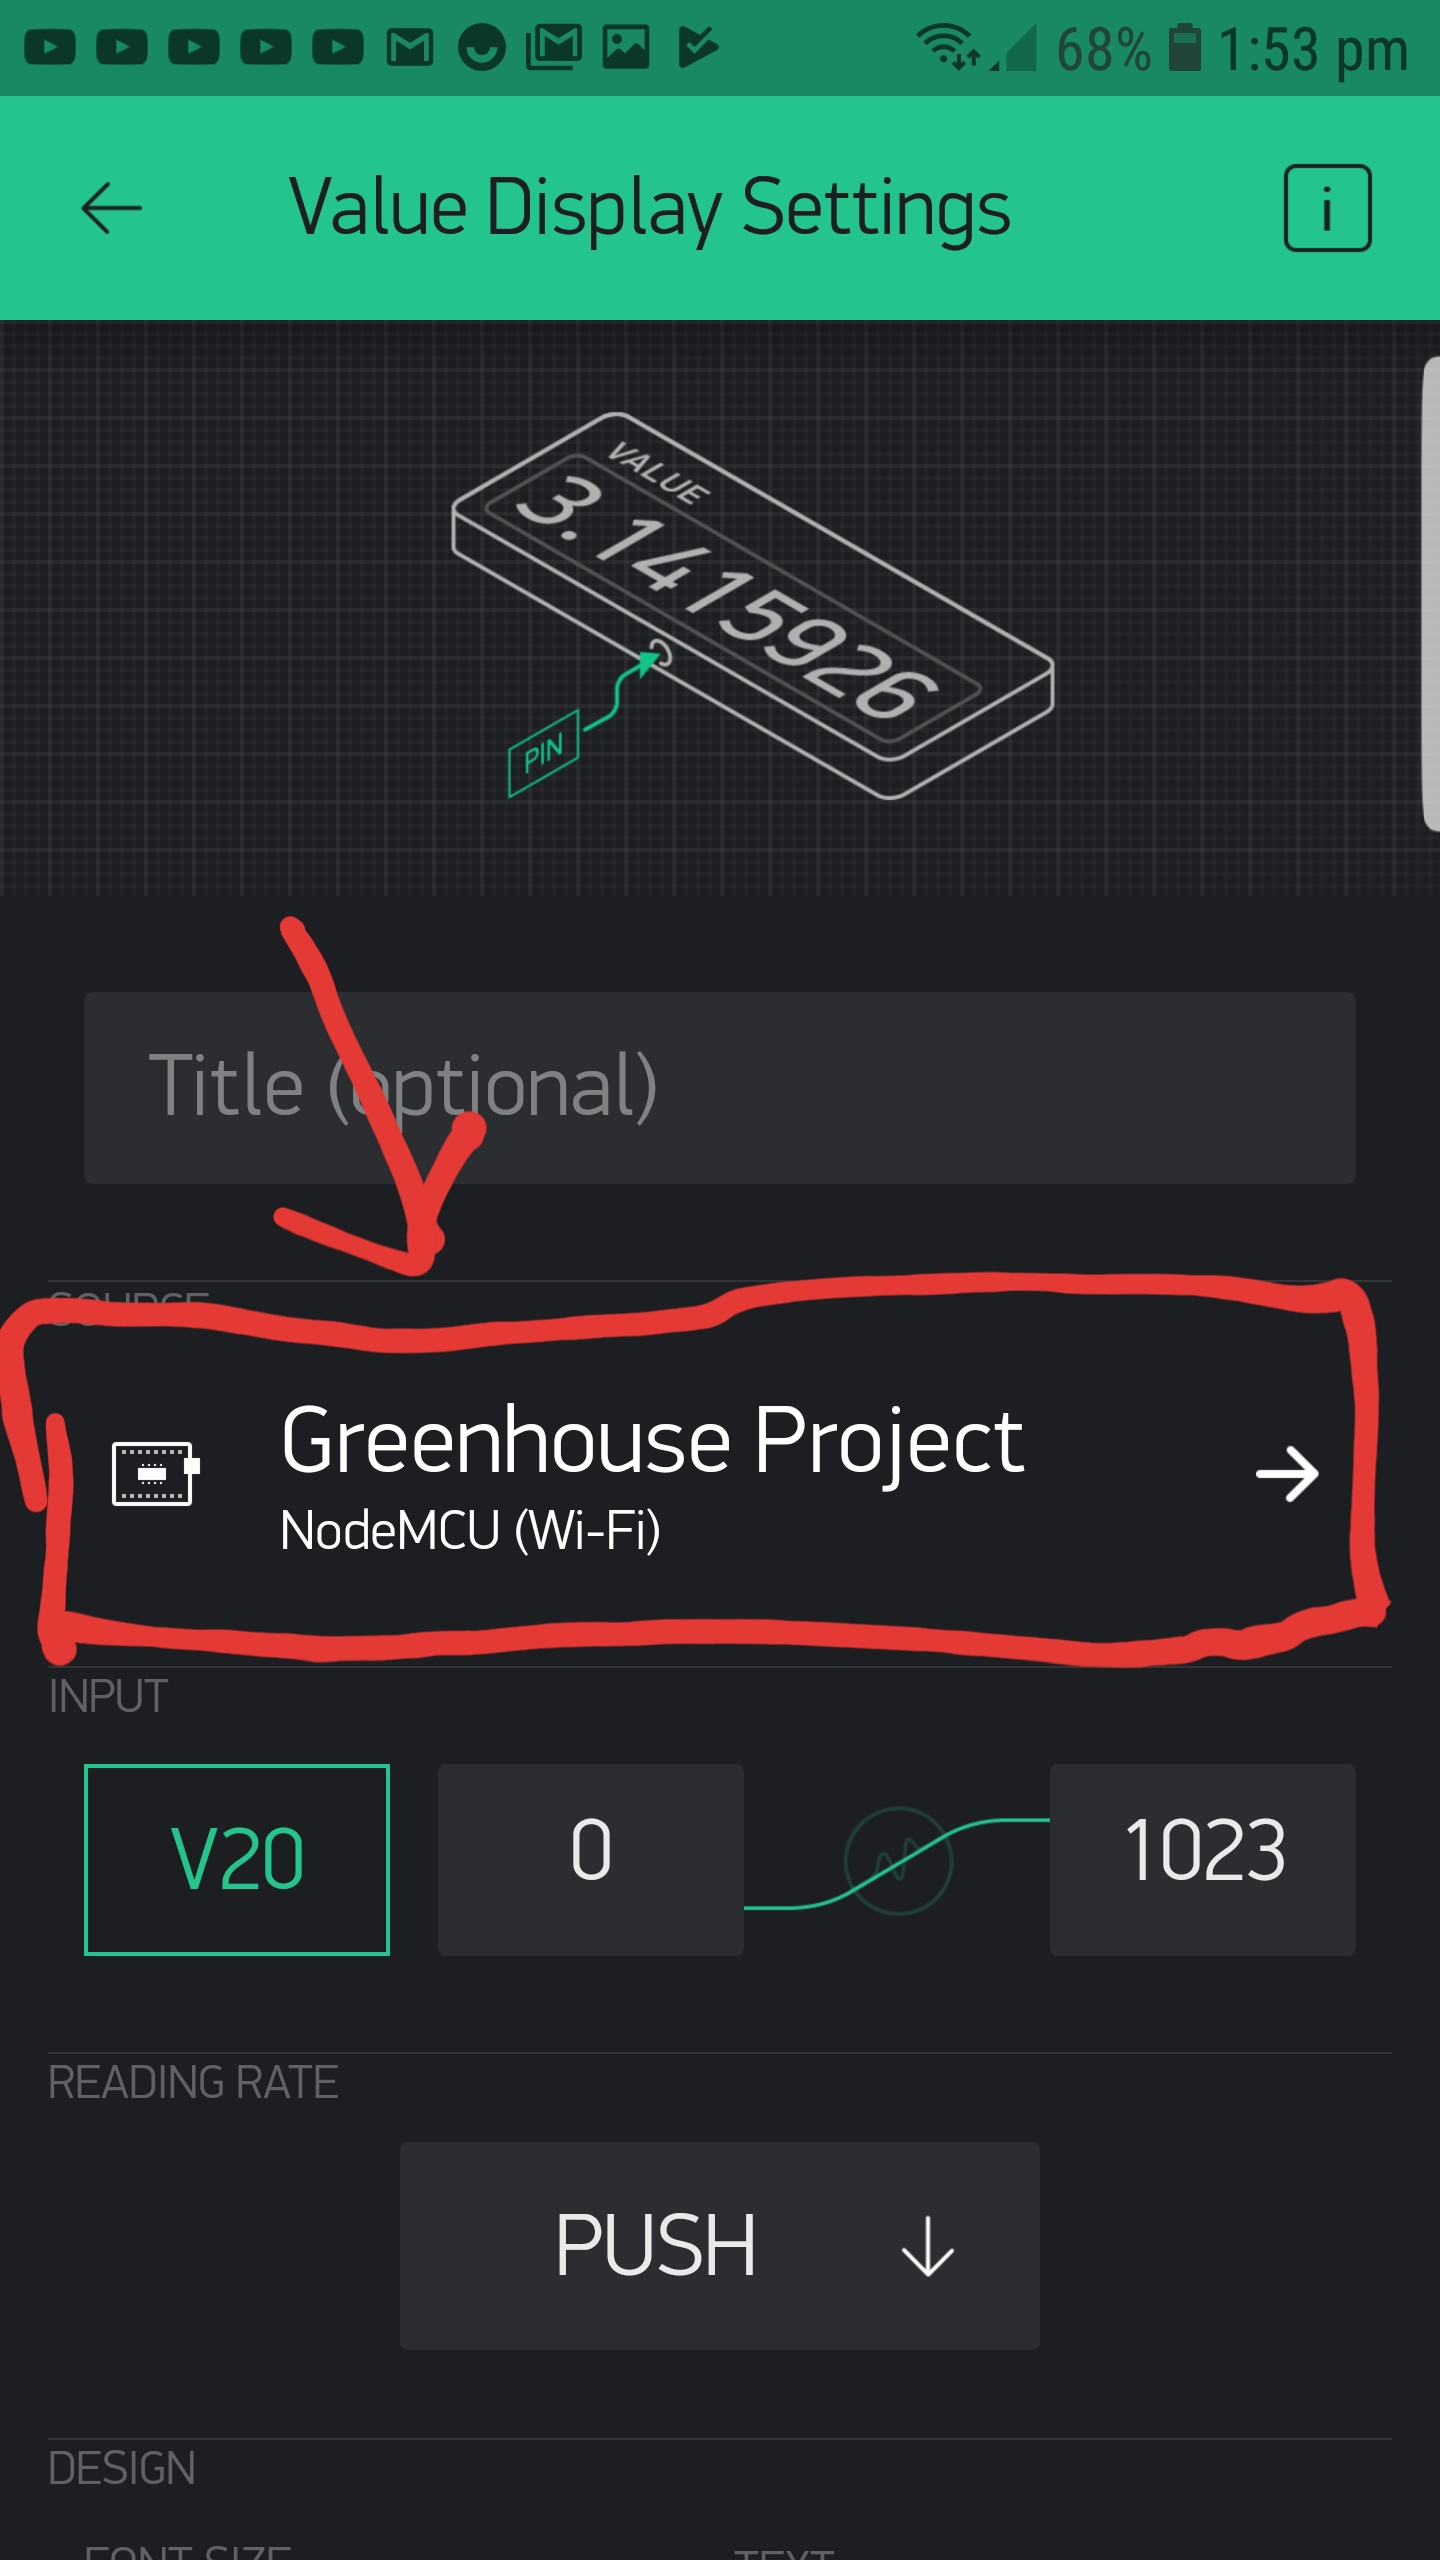
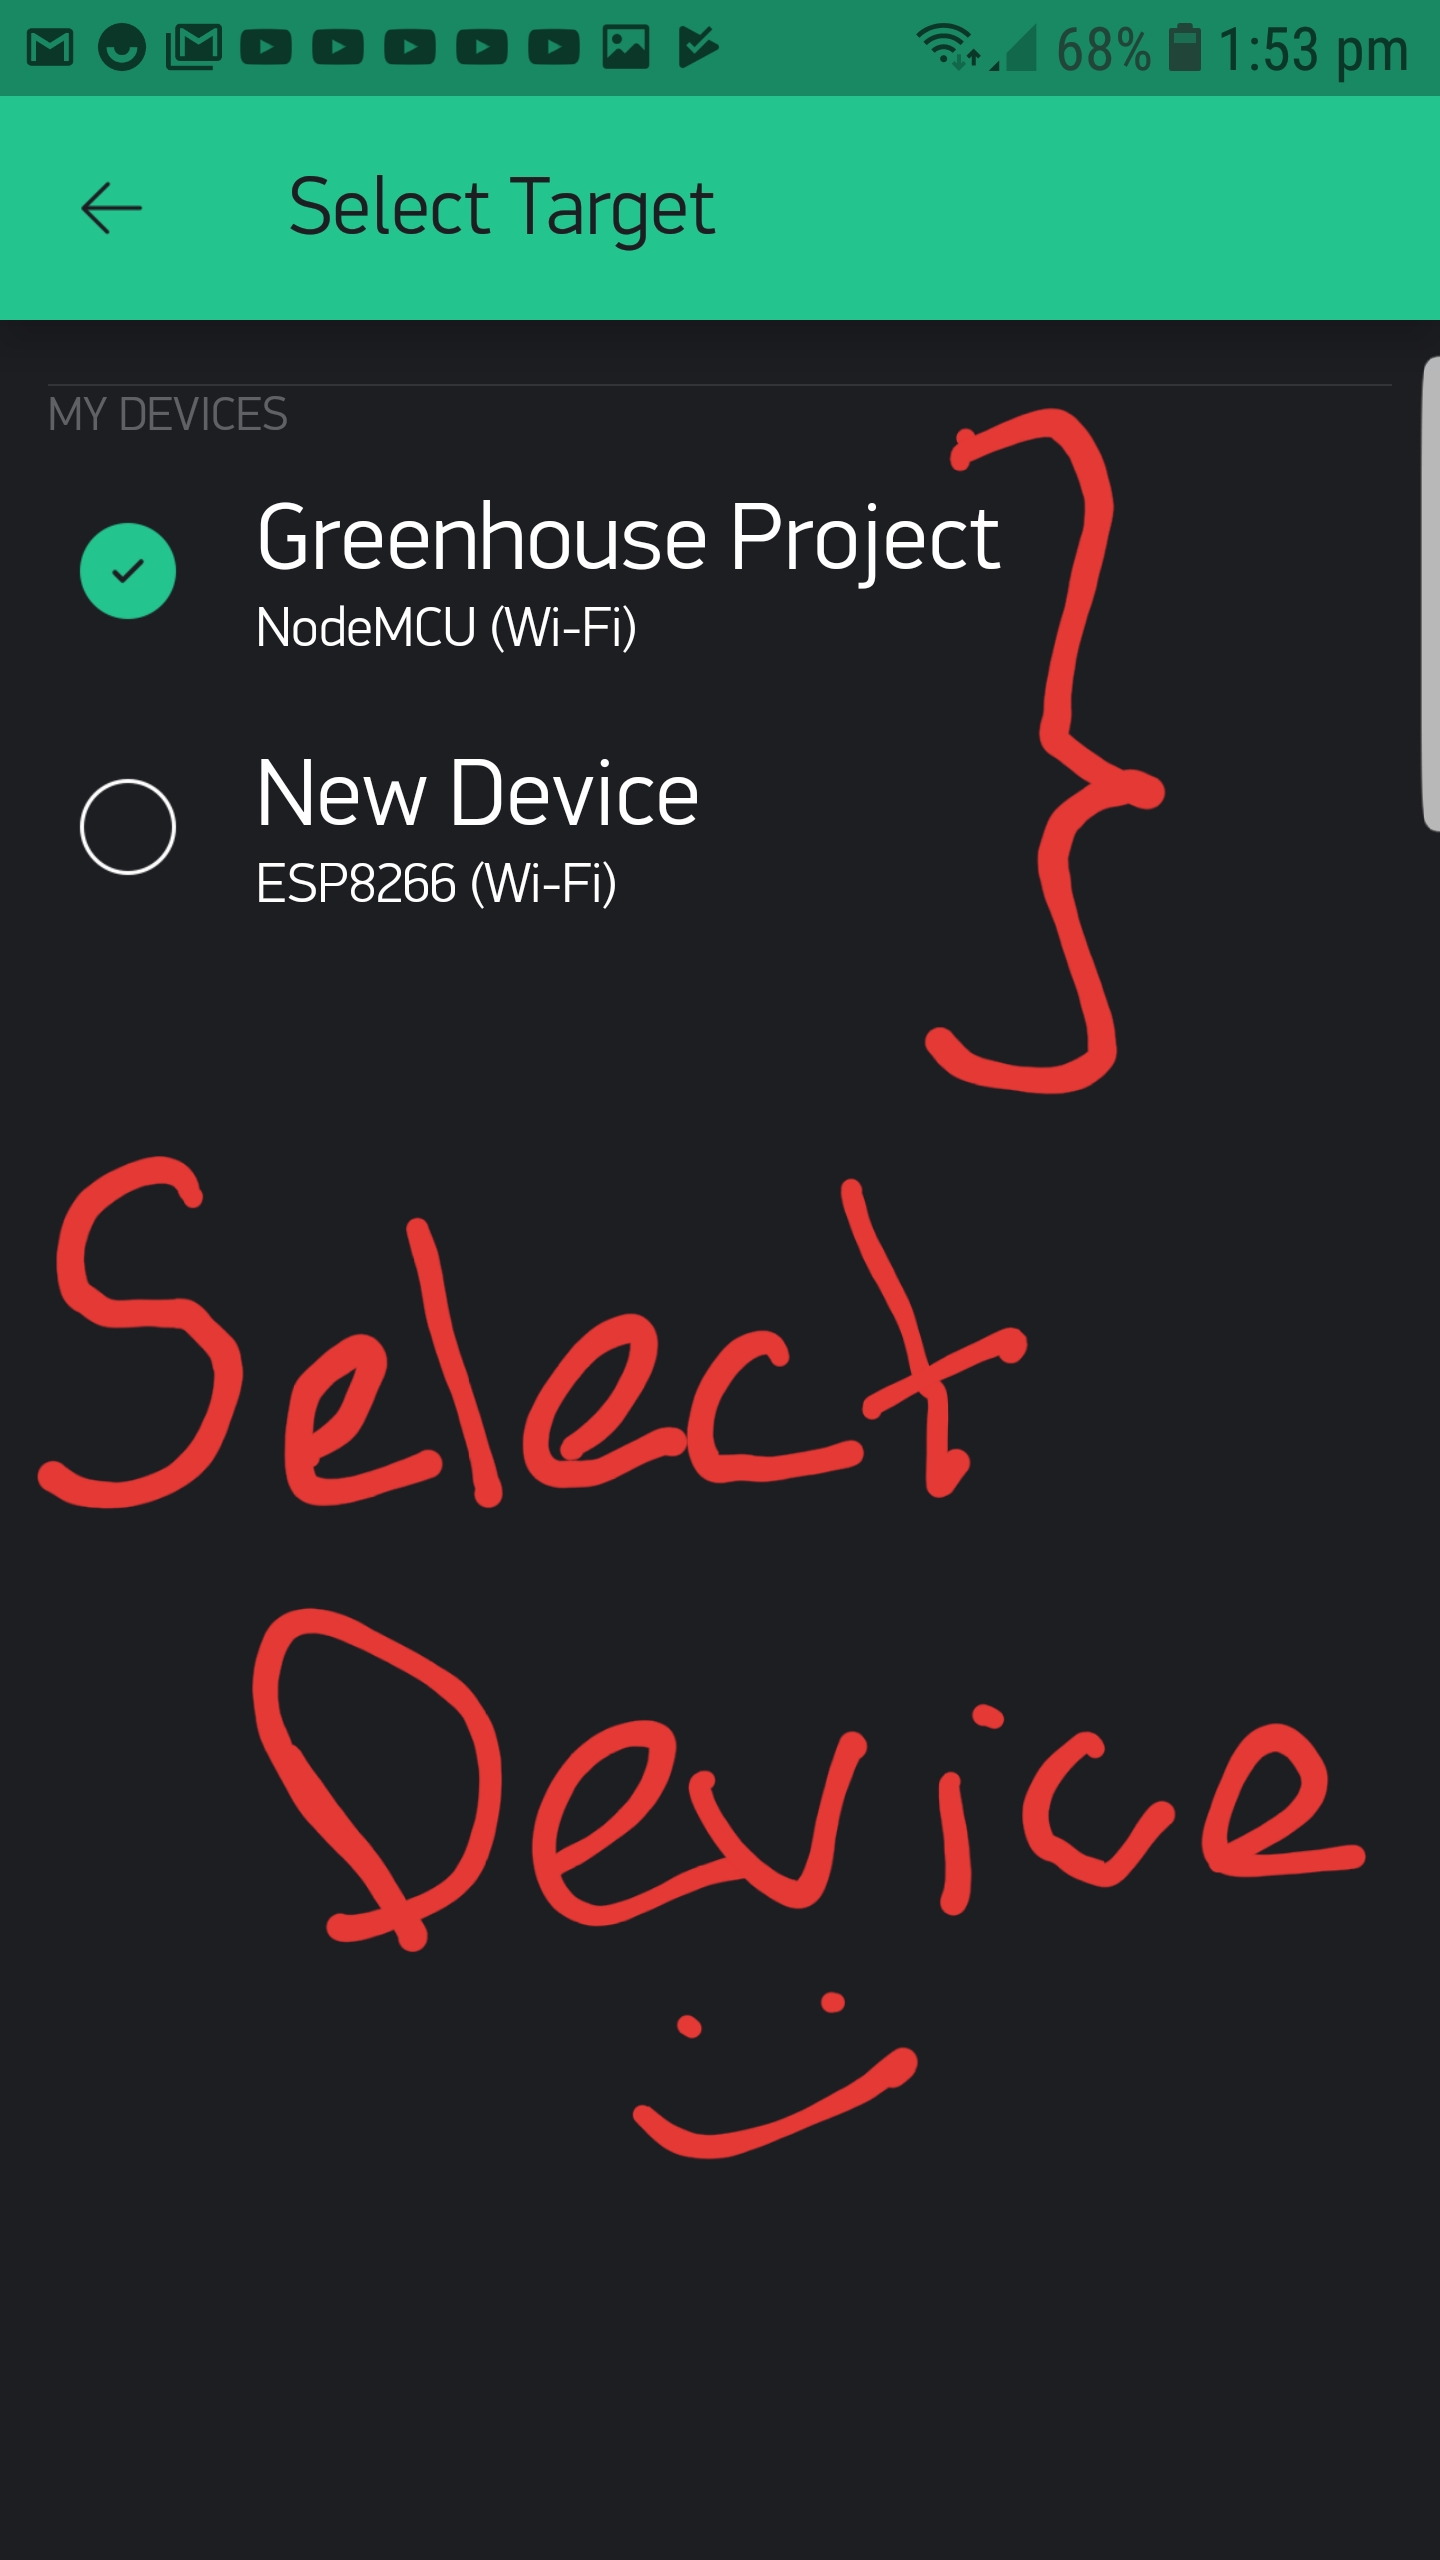
The next step is to go into the settings of the button, or whatever thing you wish to use to control the other device and select it from the ‘Source’ or ‘Target’ menu, depending on the widget you choose.
Once you have completely the aforementioned steps, you just have to select between your devices, for each element you use in your app (I used a value display for demonstration). After this, you can seamlessly control multiple different devices, independently from the same application.
Martin,
thank you for so detailed explanation you made. Please correct me, does it mean that if I want independent controls for particular efectors in my 2 devices I will need to define each control twice, separate for each target device. Does it work for menues and numerical data inputs too? What is your experience - is it clearer to be done with New Project, or New device?
Pete, thank you. Could you advise - is it easier and clearer to the user to be done with New Project, or New device within one project (for identical set of efectors and sensors?
I think what would make this easier, for everyone involved, would be if you could upload a screenshot of the app you have made, and how you want it to work?
My app is nothing special now it is same as in your or Pete’s example, I am in process of thinking on idea and want to understand ways to go. And btw I do not know how to upload it in to forum…
What I want undertand is what I asked for in my previous post.
Ok, so the way I described it, you select which device you want it to show something from, or control (it works with all elements as far as I’m aware) and other than that, it would be the same process as making an app for a single device.
You say you want it to operate based on sensors? Will you have some sort of master control to override the sensors? Or maybe adjust how they behave, otherwise I can’t see what you want to do in the app
Otherwise, if you just want an app so that you can control different things on different devices, I think Pete’s two examples are probably the best way to go.
Just to clarify what I think is the best way forward…
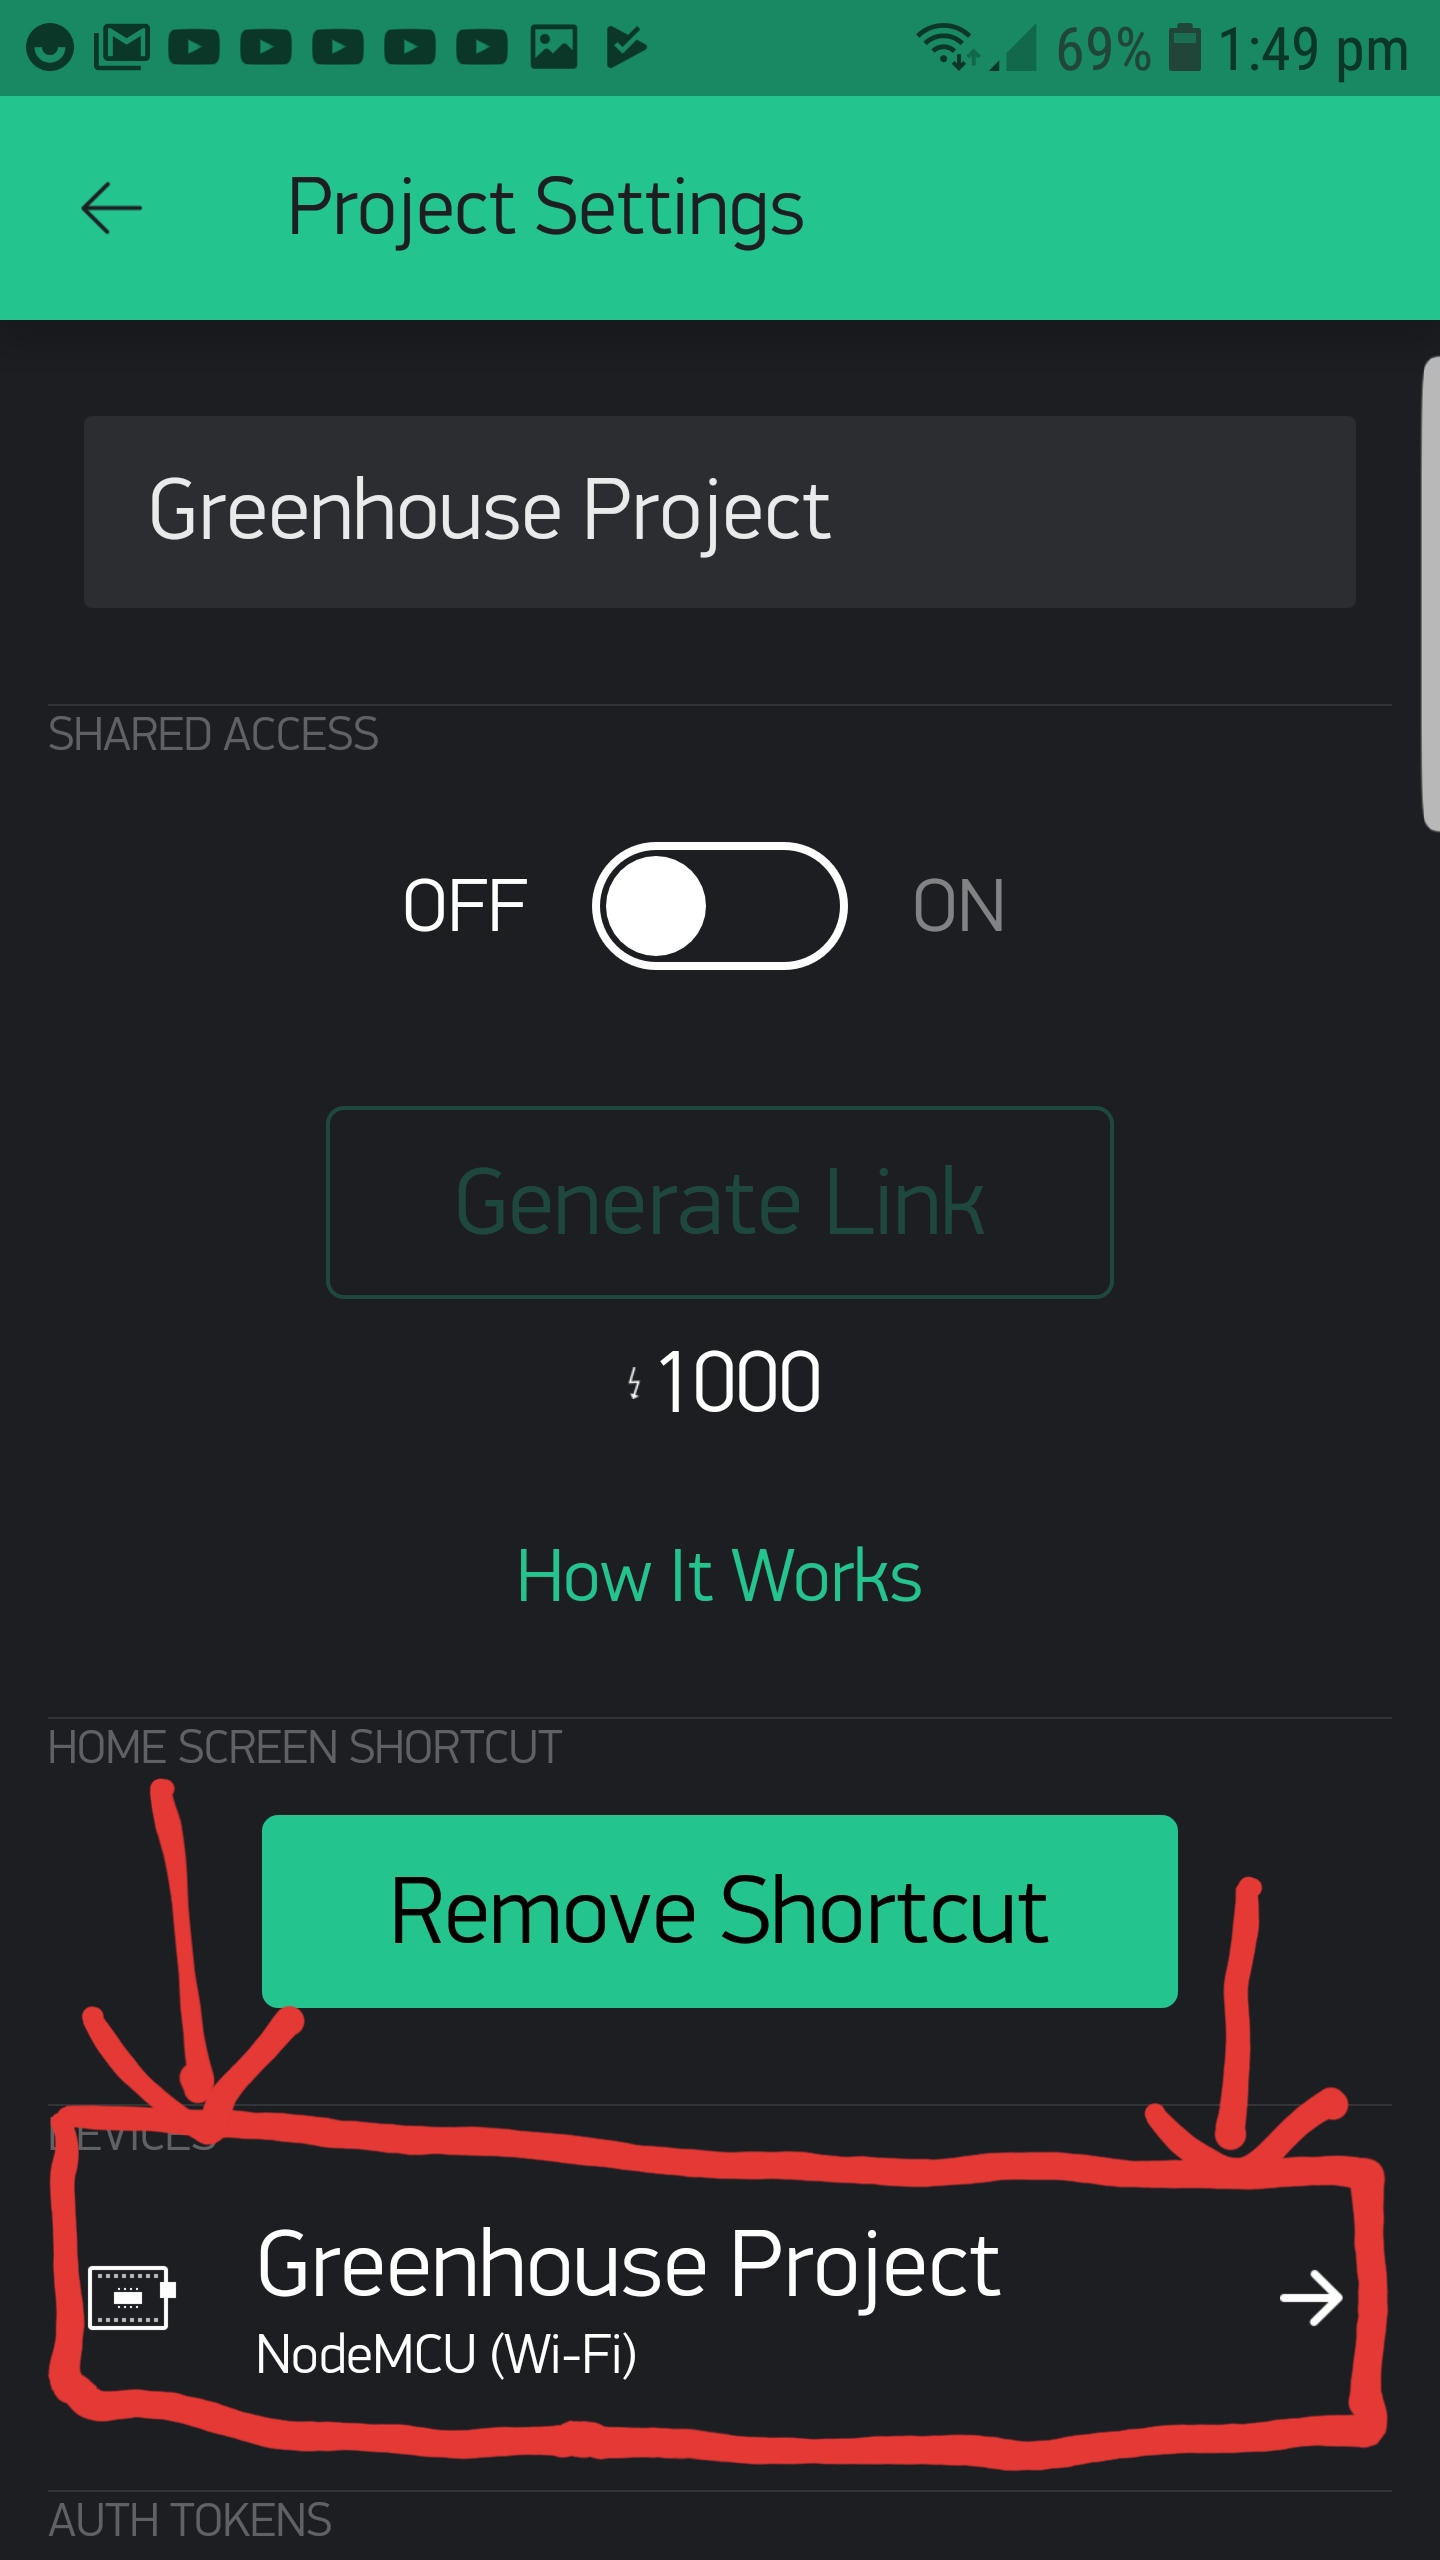
One project, with two (or more) devices.
You can use Device tiles, but they aren’t required. If you do use Device Tiles you can define a template, but I’ve never used this functionality.
When you have multiple devices in the same project then you can use the same virtual pins for each device if you wish (pin v1 on device 1 is not connected in any way to pin v1 on device 2).
Just take care (as Martin pointed out) to select the correct device. When you add a new widget it will default to the first device in your list, and you need to manually change this to the device you want BEFORE assigning a virtual PIN number to it.
Martin,
sensors do measure temperature/humidity and display its value in my app, switch warnings if it is to high and light resp. LED in the app device has it’s own logic too so it switches vent when humidity to high and vent’s LED goes on in the app etc. In the app I do select from menue type of behaviour of my device logic (i.e. comfort, fast heat, fast cool etc.) and I want it apply to 2 independent devices/rooms separately from one smartphone and looking for most efficient and user friendly way to do it with Blynk, so no confusion or mistake happens. I also want to understand economics of the process up front to purchase enough energy points.
Pete ,
thank you for your explanation. From it I see probably my initial mistake. My both devices were using same virtual pin numbers in their sketches and as I understand from your message unique virtual pins need to be assigned for the whole system including 2 devices and one controller app on the smartphone?
From your explanation I would recommend using Tabs, this would let you have a separate screen for each room you want to add to the app. This will keep you from getting confused, whilst still making it far easier to switch between than making a separate app.
No, you won’t need to assign different virtual pins if you don’t want to, the pins aren’t shared between the devices, V1 on Device 1 won’t affect anything happening on V1 on Device 2 etc.
If you do want them to communicate you can use ‘Bridge’.
Also - complete side note, I recently got The ‘Thank You’ and the ‘Appreciated’ badges (thank you by the way). But I saw that more people have ‘Thank You’ than ‘Appreciated’ which seems weird. If you look at the requirements it seems counter-intuitive?
Pete,
now after second reading I see you already explained to me issue of virtual assignment in the app - first the device then virtual pin. I hope I will manage to proceed further now.
Andrzej
Haha, what I meant was that the requirement for the ‘Appreciated’ badge is to get 20 liked posts. 70 people have this. To get ‘Thank You’ you need to get 20 liked postsand you need to give 10 likes. 79 people have this.
To me, I would think that everyone who had ‘Thank You’ should have also have ‘Appreciated’ as both require 20 likes, but ‘Thank you’ requires extra stuff, yet more people have it?
Sorry that this is off-topic just wanted to bring it up