Construction -
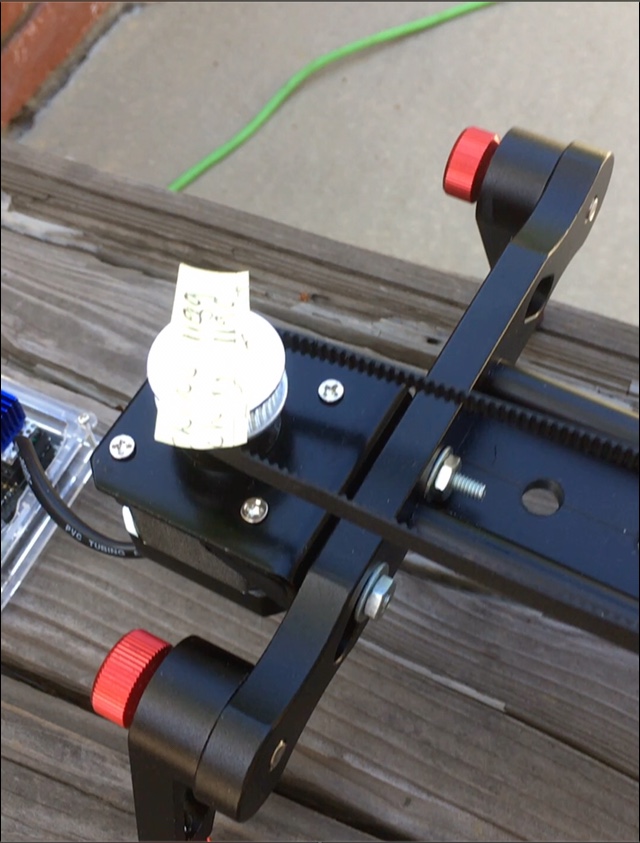
Iteration 2.0 - X-axis (rail) motion. Removed the TurnsPro Time Lapse camera mount and bracket from the Neewer trolley, and left the pulley and bracket attached to the other end. Using a new separate NEMA17 mounting bracket, I attached it to the slider base plate, then attached the motor to the bracket using 4 supplied bracket screws. Next I dropped a pulley from an Amazon 3D-printer pulley kit onto the NEMA17 motor shaft, and secured the hex “grub” screws using the supplied Allen wrench. Finally, plugged the stepper-motor cable into the Arduino Zero header and plugged in the 12V 2A power plug. Pretty much a bare-naked slider and trolley now with an Arduino Zero in a crystal project case hanging out the rear, but it worked perfectly.
It’s really quiet with the timing belt almost free-floating. This is not a finished product by any longshot; it’s just for testing. The NEMA17 stepper motor pulled the slider trolley easily with my 35mm Canon PowerShot screwed into a Neewer camera mount. Finally, I shot test videos showing X-axis-only movement down the rail. That yellow sticky “flag” on the pulley is so I can see the pulley turning; the black timing belt blends with the slider frame 100% and renders it almost invisible.
Here are some video clips; right-click and hit start.
PowerShot SX260HS X-axis Demo, Camera Slider Hardware, and iPhone 5 X-axis Demo