4 Relay module with a void loop ESP32

#define R1 13
#define R2 12
#define R3 14
#define R4 27

void setup() {
pinMode(R1, OUTPUT);
pinMode(R2, OUTPUT);
pinMode(R3, OUTPUT);
pinMode(R4, OUTPUT);
digitalWrite(R1, HIGH);
digitalWrite(R2, HIGH);
digitalWrite(R3, HIGH);
digitalWrite(R4, HIGH);

}

void loop() {
digitalWrite(R1, LOW);
delay(500);
digitalWrite(R1, HIGH);
delay(3000);
digitalWrite(R2, LOW);
delay(500);
digitalWrite(R2, HIGH);
delay(3000);
digitalWrite(R3, LOW);
delay(500);
digitalWrite(R3, HIGH);
delay(3000);
digitalWrite(R4, LOW);
delay(500);
digitalWrite(R4, HIGH);
delay(3000);
}

HI! i’m such a beginner, im not have an idea yet about how can i program a ESP32 through bluetooth in blynk, soon start some tutorials about arduino and how can i program by myself but in this moment i’m stuck in a personal project.

The idea is simple (i think), is like a secuentiator, have a 4 module relay and is connected with a ESP32 devkit; so i made rudimentary program, i want to control how much time is “ON” each relay and how much time is “OFF” each relay, in my rudimentary program i’m control that with a “delay” function, is possible link all “delay” ON and with blynk app just modify all the delay “ON” (the same case in OFF delays)
for example, i want turn on 1, 2, 3 and 4 just 500ms in each, with a 180000ms turn off in each secuence:

Turn On 1 (500ms) (then off 180000), Turn on 2 (500ms) (then turn off 180000) etc…

Then just change the time while is on and the time while is off trough blynk app, The time of intervals always be the same so i just need modify 2 values. is possible?

i’m such a noob in all this, sorry for my bad english, im learning too. Thanks in advance!

@JedGoz please edit your post, using the pencil icon at the bottom, and add triple backticks at the beginning and end of your code so that it displays correctly.
Triple backticks look like this:
```

Pete.

@PeteKnight Thanks for the observation, i’m already add the ``` like you say. Have a nice day!

You should start by reading this:

Pete.

1 Like

@PeteKnight Hi!, i’m already read that, in fact my code is not prepare to function with blynk, i know if i want to work with the app i need to get my void loop clean and add the code to work with bluetooth or wifi. Just i think First i need find the solution of my problem hehe and then add the code to work with blynk app

Is using WiFi instead of Bluetooth an option for you?

Passing a parameter from the app to the device, and using this as a duration in a timeout timer (as opposed to a delay) is relatively easy.

Pete.

@PeteKnight

#define BLYNK_PRINT Serial

#define BLYNK_USE_DIRECT_CONNECT

#include <BlynkSimpleEsp32_BT.h>

#include <SPI.h>

int x;
long xx;
int R1=13;
int R2=12;
int R3=14;
int R4=27;
int button;
BlynkTimer timer;


// You should get Auth Token in the Blynk App.
// Go to the Project Settings (nut icon).
char auth[] = "Dsz4ouU3dud-InMPrftIIrVbVaw6FTIX";

BLYNK_WRITE(V1)  
{
 int x = param.asInt(); 
}
BLYNK_WRITE(V2)  
{
 int xx = param.asInt(); 
}


BLYNK_WRITE(V0)  
{
 int button = param.asInt(); 
}


void setup()
{
 Serial.begin(9600);

 Serial.println("Waiting for connections...");

 Blynk.setDeviceName("Blynk");

 Blynk.begin(auth);
 
 pinMode(R1, OUTPUT);
 pinMode(R2, OUTPUT);
 pinMode(R3, OUTPUT);
 pinMode(R4, OUTPUT);
 digitalWrite(R1, HIGH);
 digitalWrite(R2, HIGH);
 digitalWrite(R3, HIGH);
 digitalWrite(R4, HIGH);

if( digitalRead(V0)==LOW ){
timer.setInterval(x, R1on);
timer.setInterval(xx, R1off);
timer.setInterval(x, R2on);
timer.setInterval(xx, R2off);
timer.setInterval(x, R3on);
timer.setInterval(xx, R3off);
timer.setInterval(x, R4on);
timer.setInterval(xx, R4off);
}

}

void R1on()
{
  digitalWrite(R1, LOW); 
}
void R1off()
{
  digitalWrite(R1, HIGH); 
}
void R2on()
{
  digitalWrite(R2, LOW); 
}
void R2off()
{
  digitalWrite(R2, HIGH); 
}
void R3on()
{
  digitalWrite(R3, LOW); 
}
void R3off()
{
  digitalWrite(R3, HIGH); 
}
void R4on()
{
  digitalWrite(R4, LOW); 
}
void R4off()
{
  digitalWrite(R4, HIGH); 
}


void loop()
{
 Blynk.run();
 timer.run();  
}

Well, im just interested in change the values of “x” and “xx” from blynkapp with a numeric input widget, also i add a button to “start the secuence or shutdown”
:slightly_frowning_face: but is not working, im desesperate i’m investigate a lot and don’t find a solution

Well, first opf all, you don’t use digitalRead commands to read virtual pins. That command is reserved for physical pins.

You add a special callback…
BLYNK_WRITE(vPin)
which is triggered whenever the value of vPin changes. You then use the param.asInt() command to obtain the latest value of the widget attached to the vPin. param.asFloat() and param.asString` are also available to get Float and String values.

If you’d looked at some of the Sketch Builder examples you’d have seen how these work.

Secondly, you’ve dumped a load of code into your void setup. This runs ONLY ONCE, when the device boots.

Thirdly, you won’t be using interval timers in your sketch. these perform the same task at a given interval, over and over again.
You’ll be using timeout timers, possibly in a Lambda function.

And, an earlier unanswered question…

Pete.

@PeteKnight

Thanks for take your time.

Well, first i’m such a begginer in programing, believe me i dont comite a failures just because yes;

i don’t understand at all of the “special callback”, i’m already write BLYNK_WRITE(v0), is not in correct place?

:frowning: 
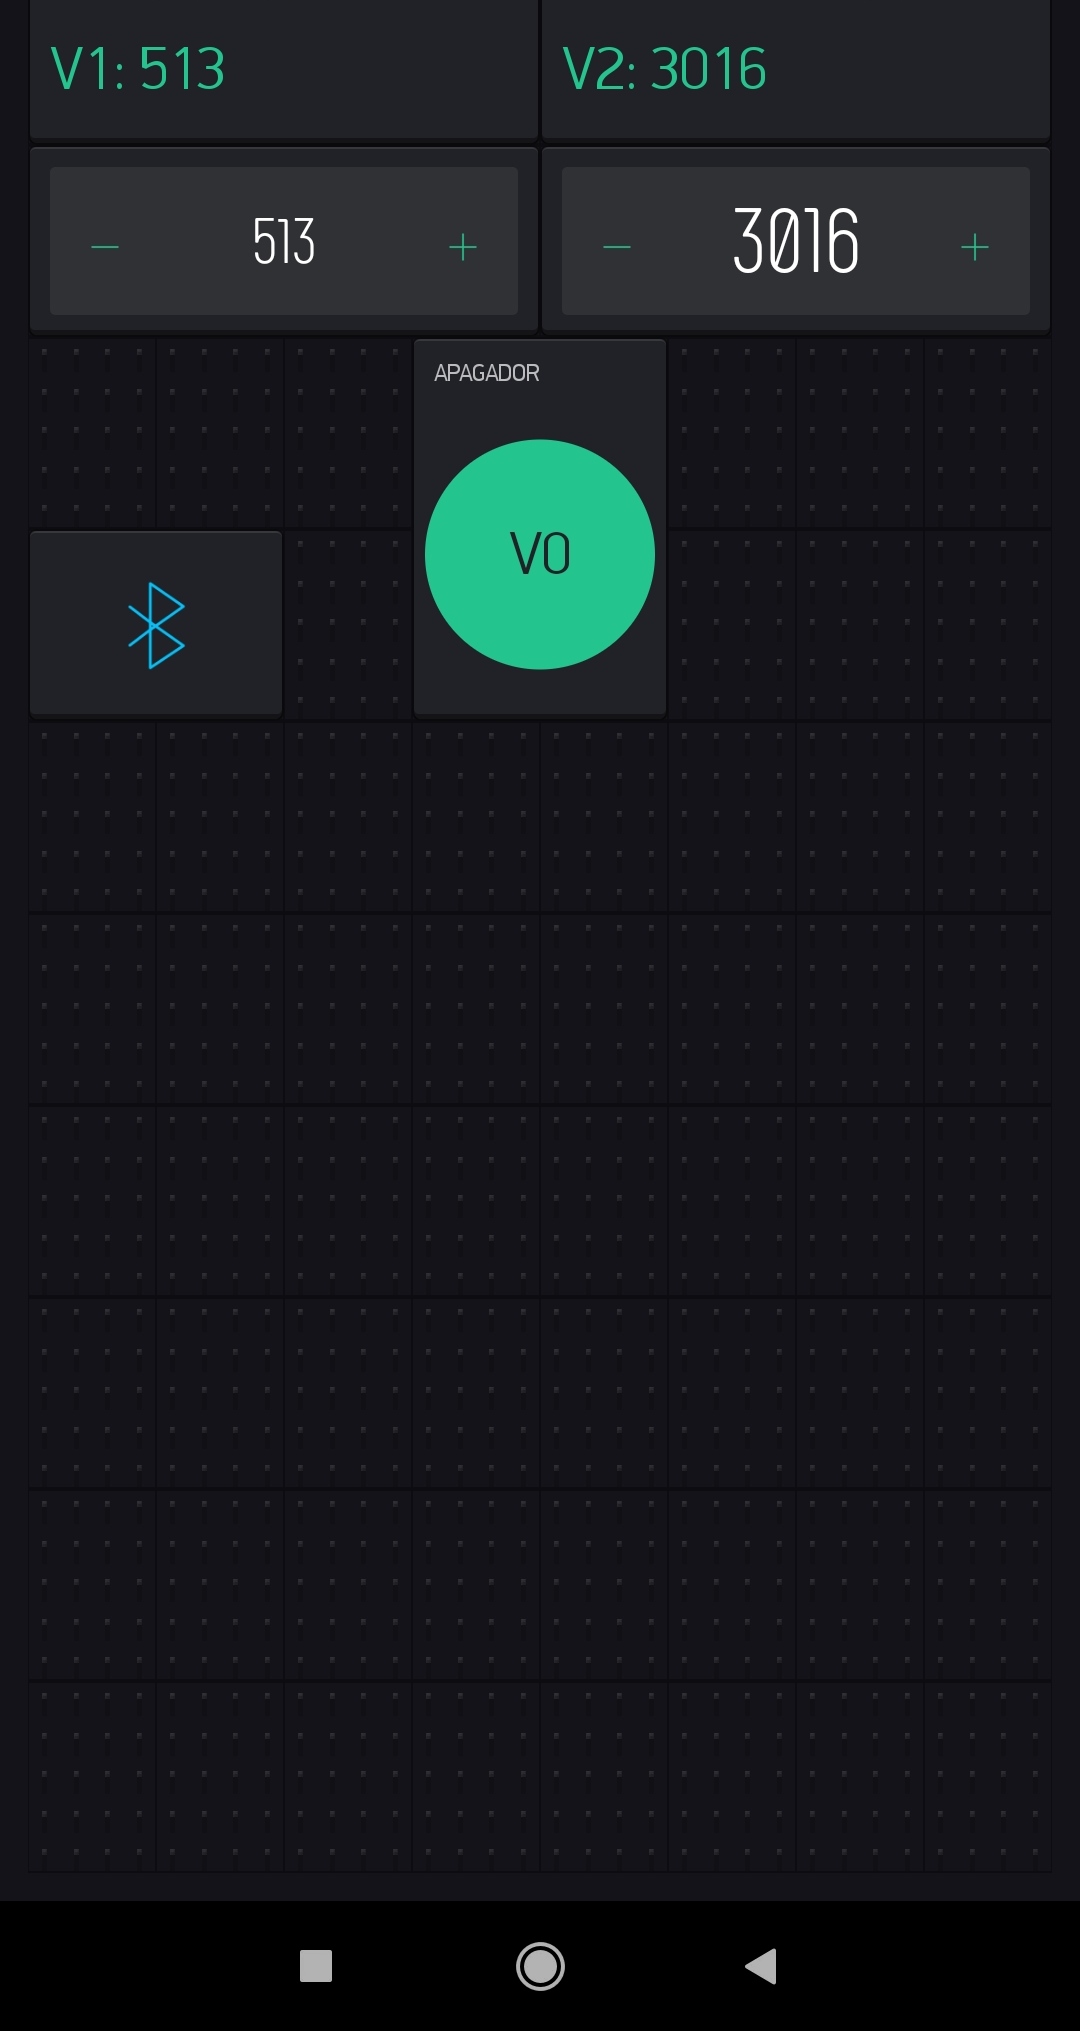
only once?, im trying use this like the alternative of void loop

what is a lambda function?, is difficult to add in the code?

sorry for no answer,
is not a option using a WiFi, i need to do this trough Bluetooth.

thanks in advance and sorry for the problems :frowning:

They are in the correct place, but they serve no purpose. You are capturing the widget value to a local variable and doing nothing with it.
Research ‘variable scope’ in C++

Yes, and if the void setup was an alternative to void loop then you’d need to keep that clean too.

Try using the search function in the forum.

Pete.