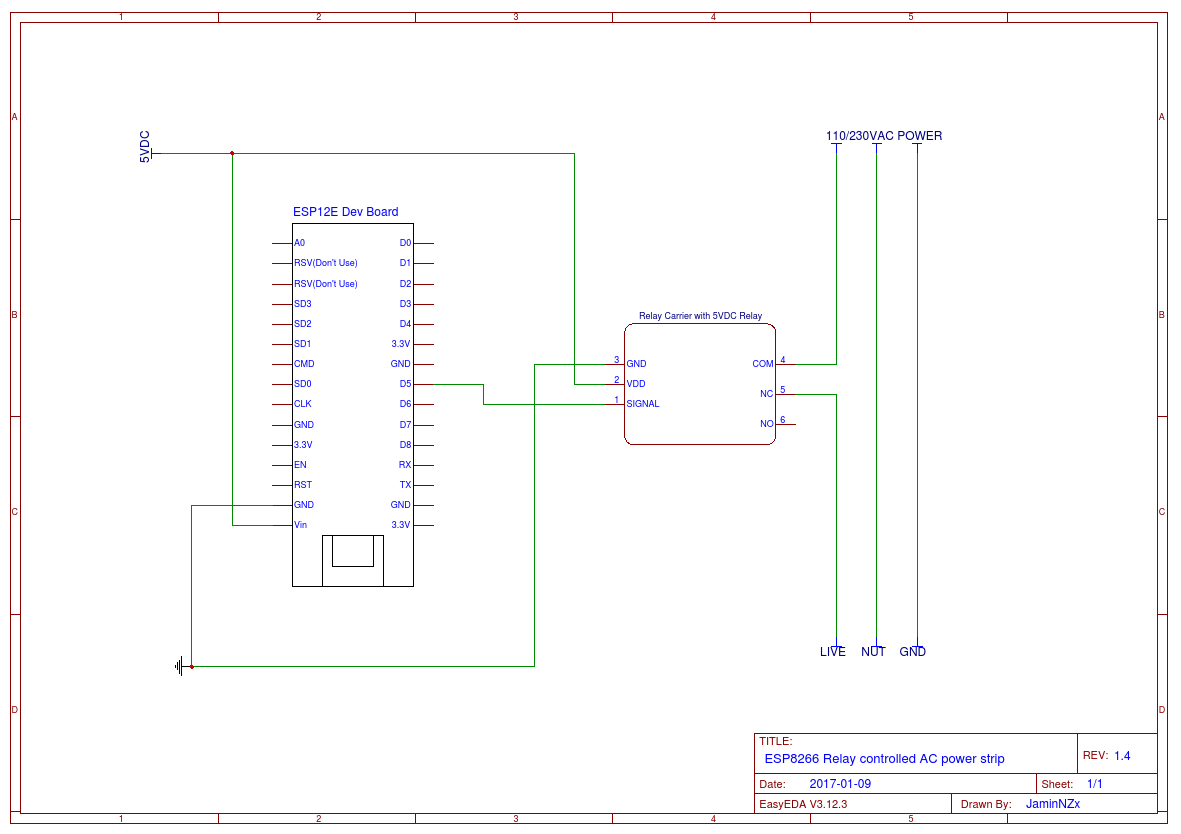
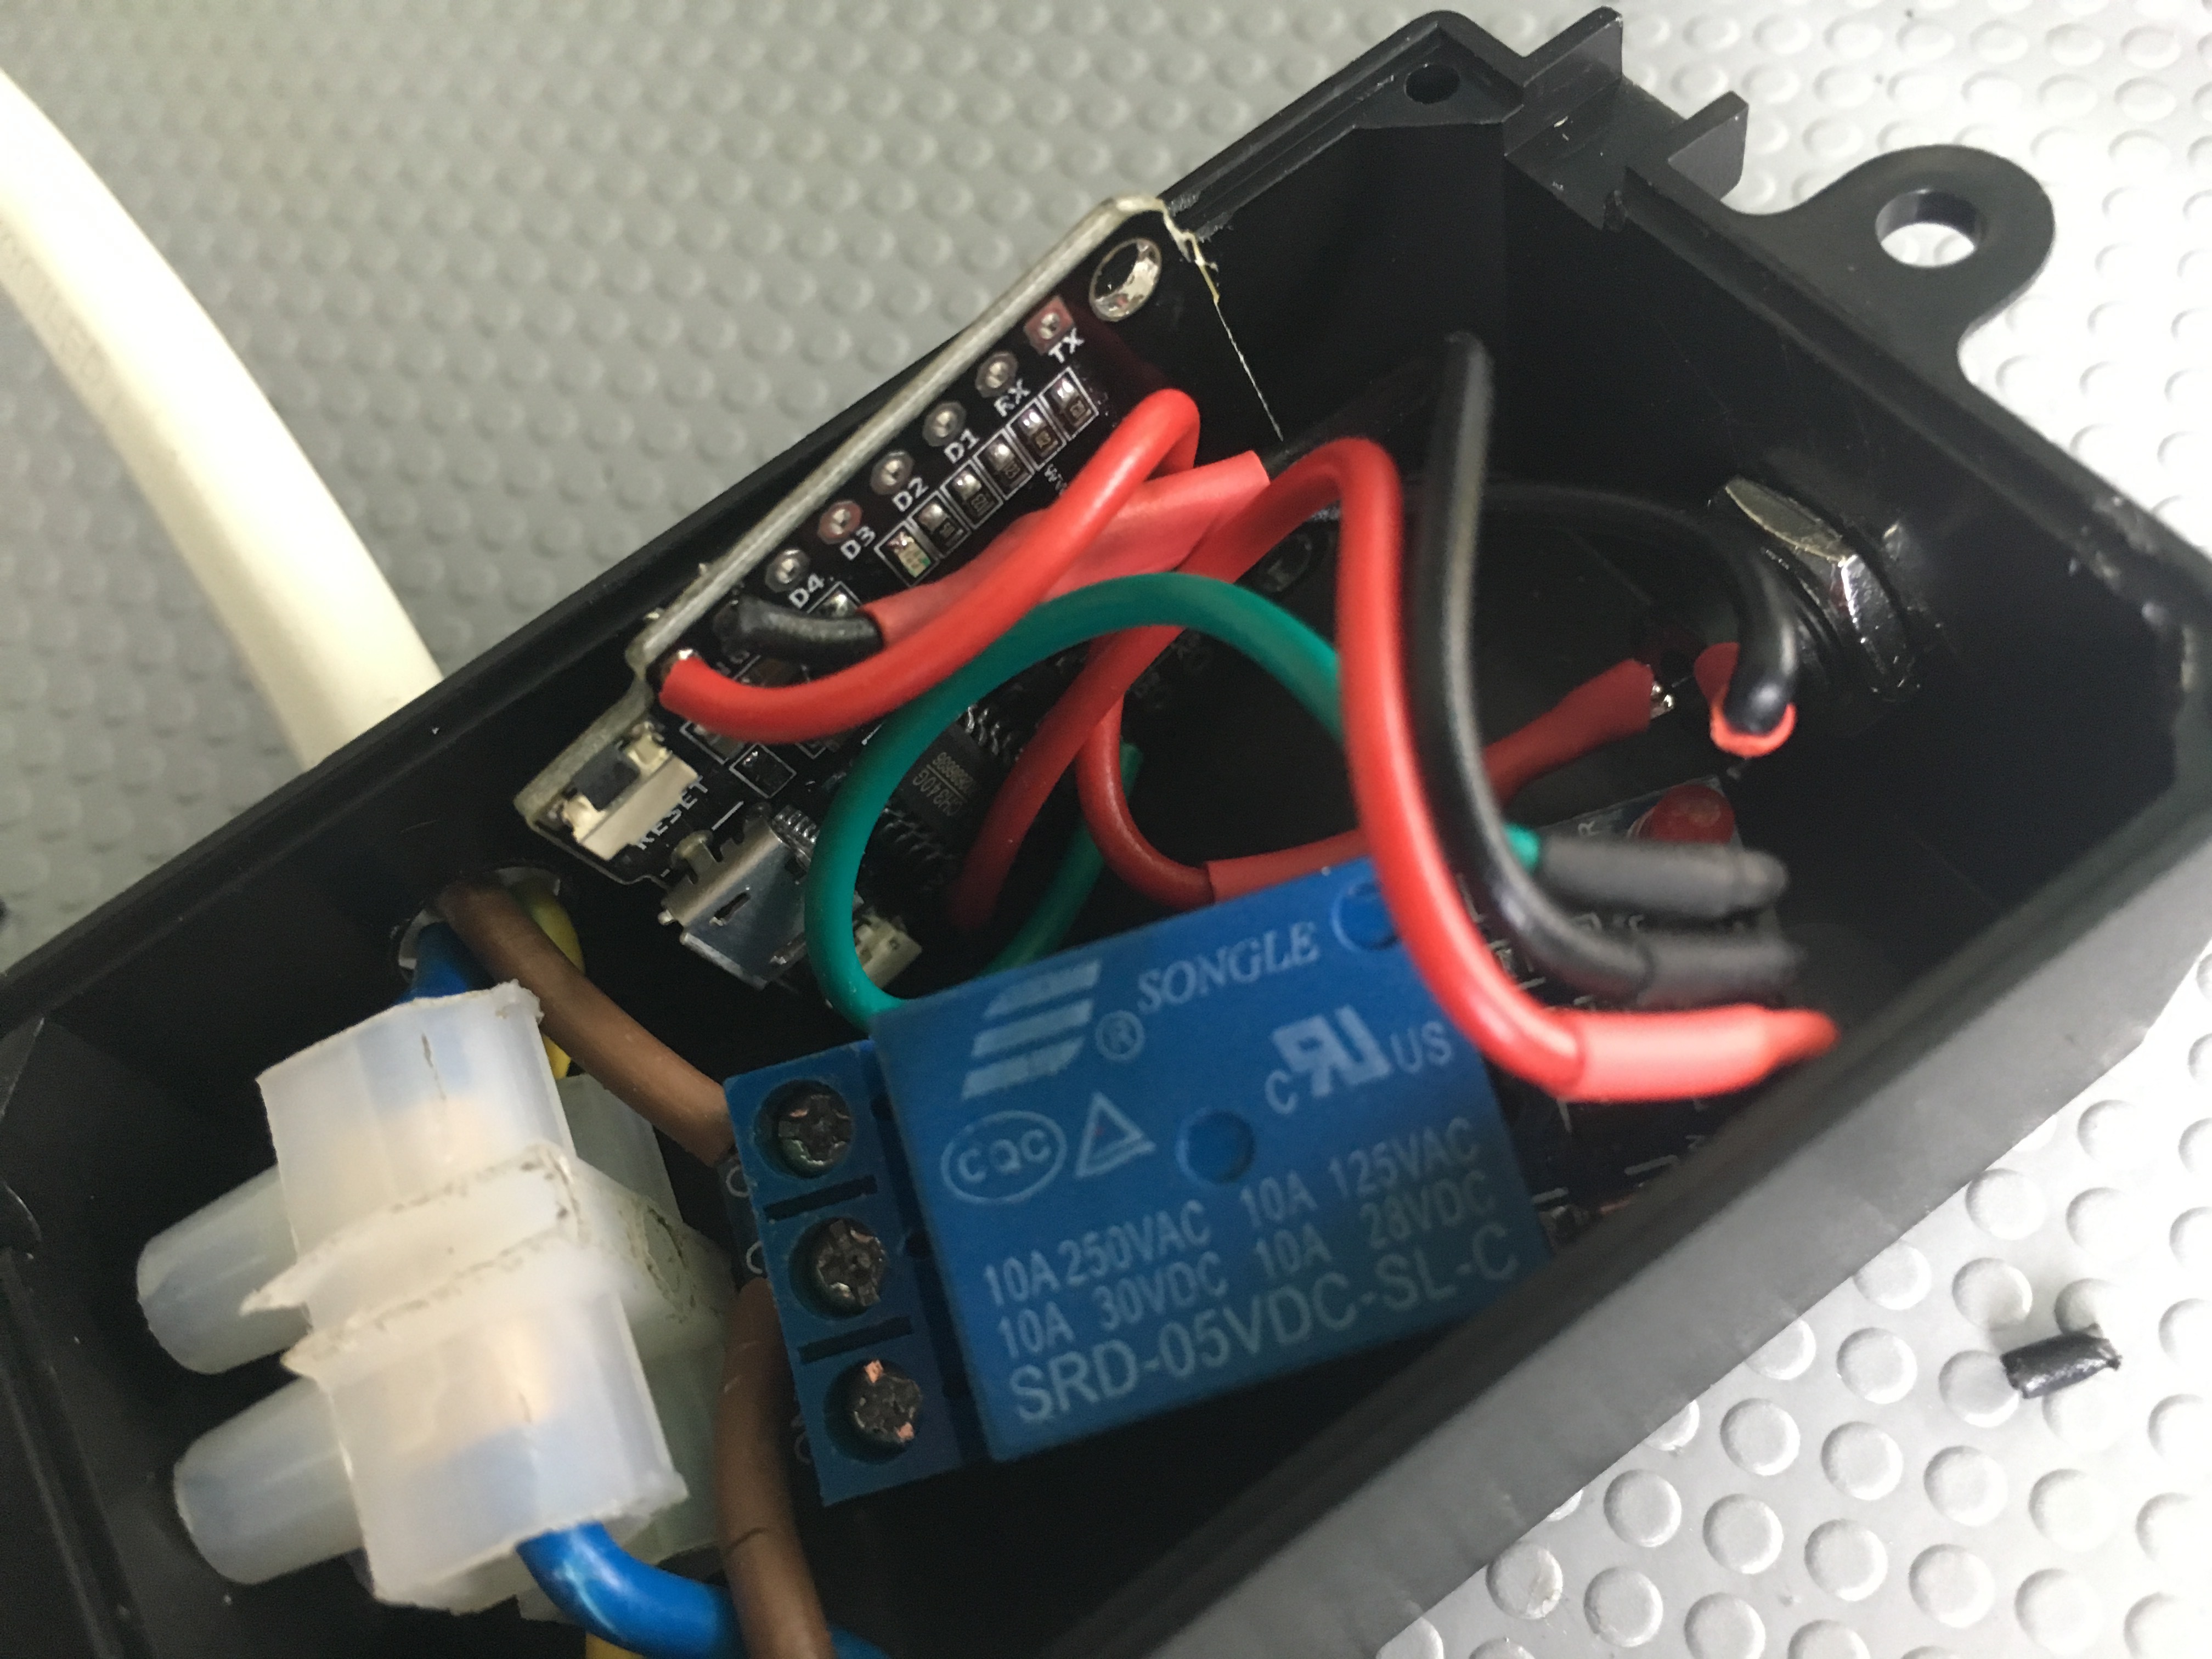
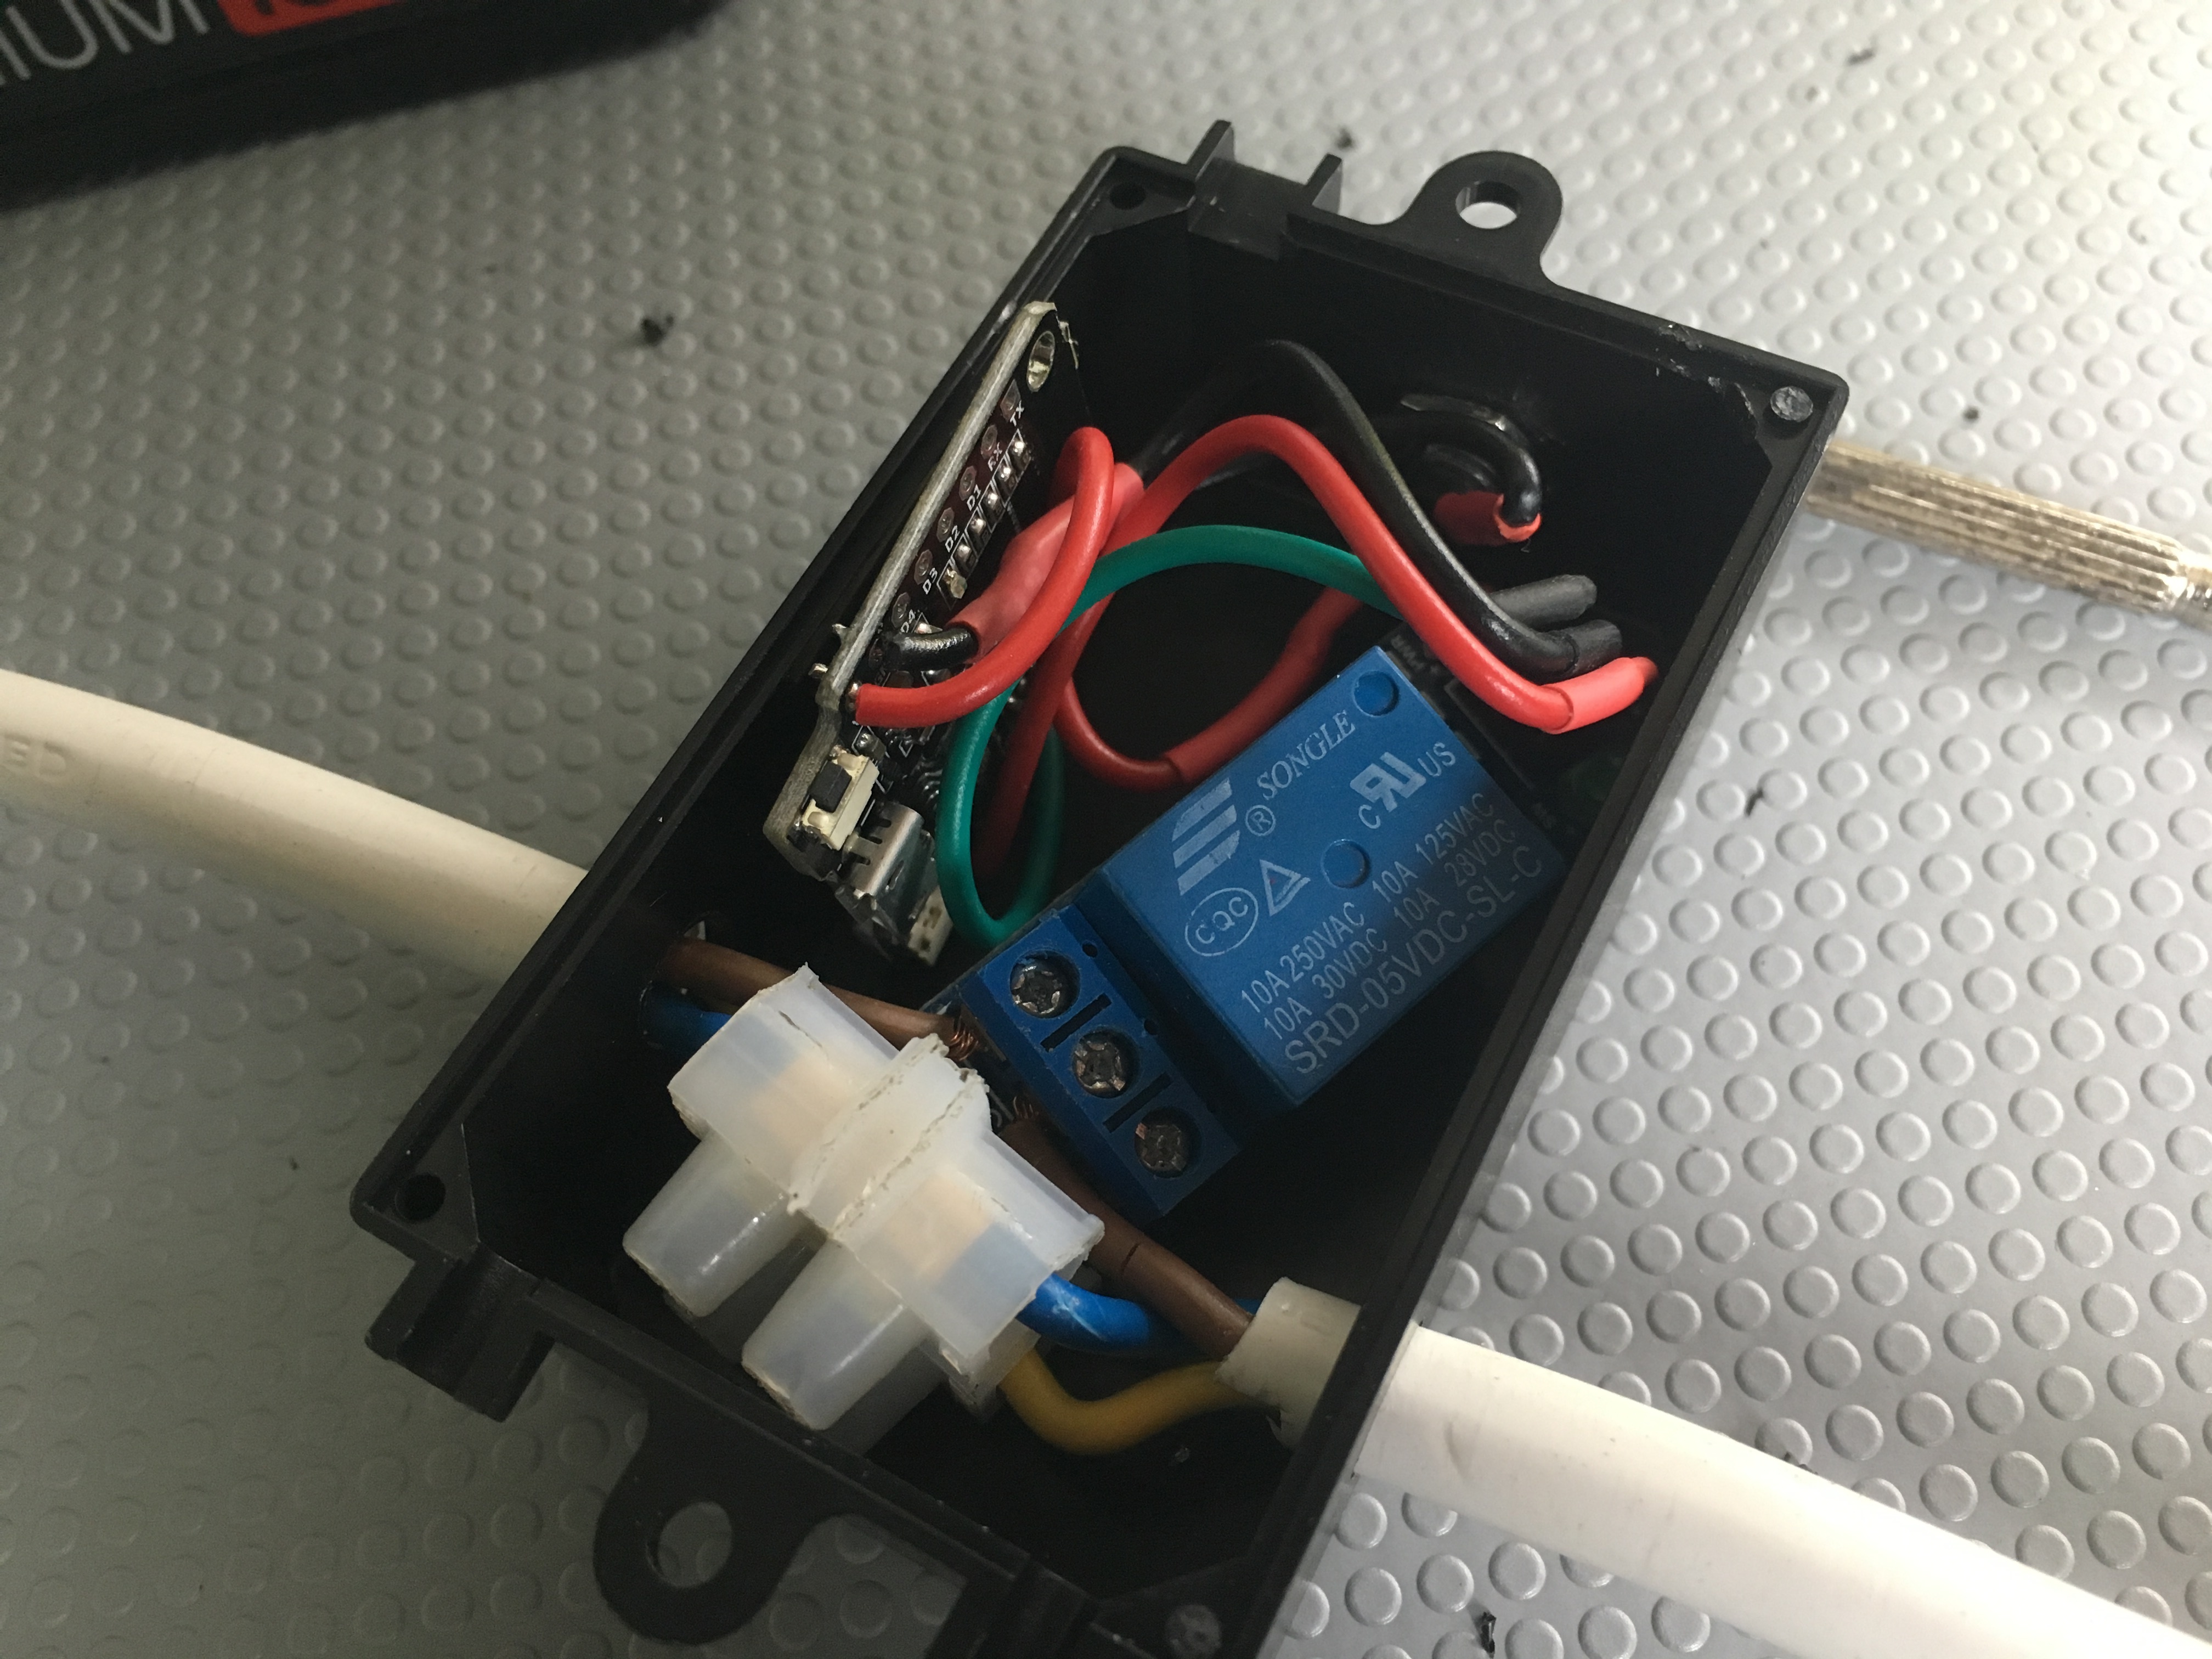
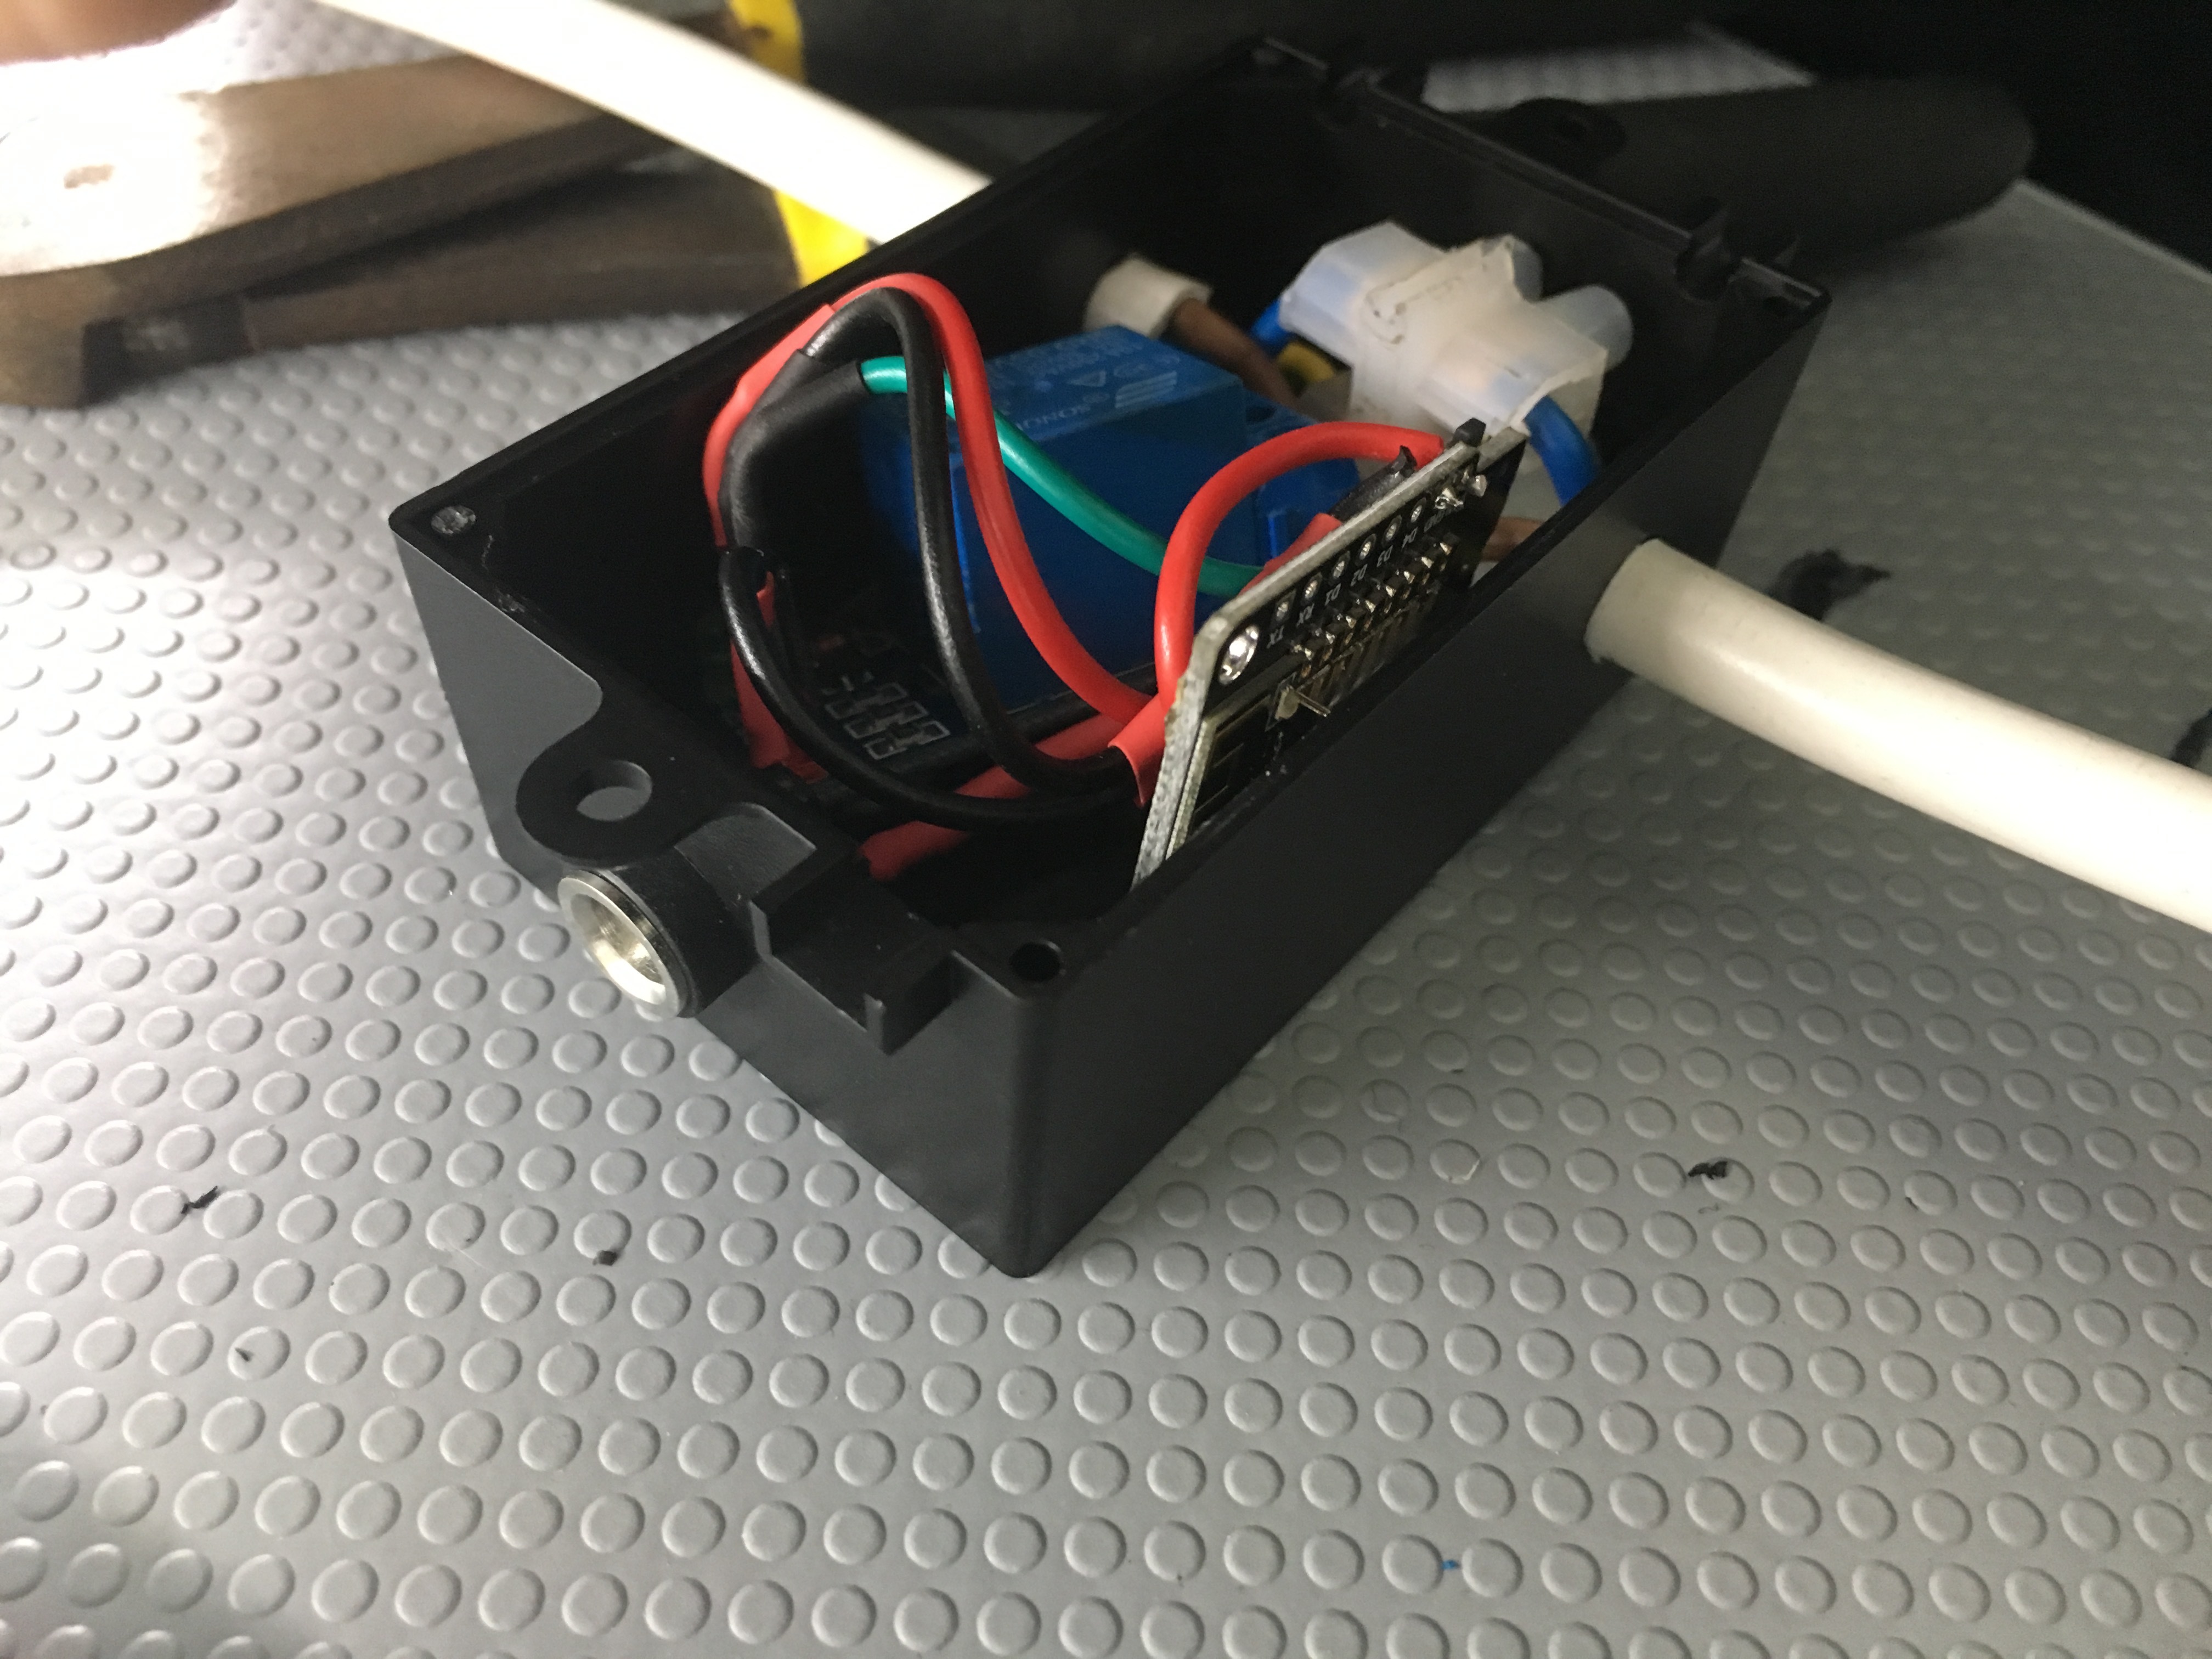
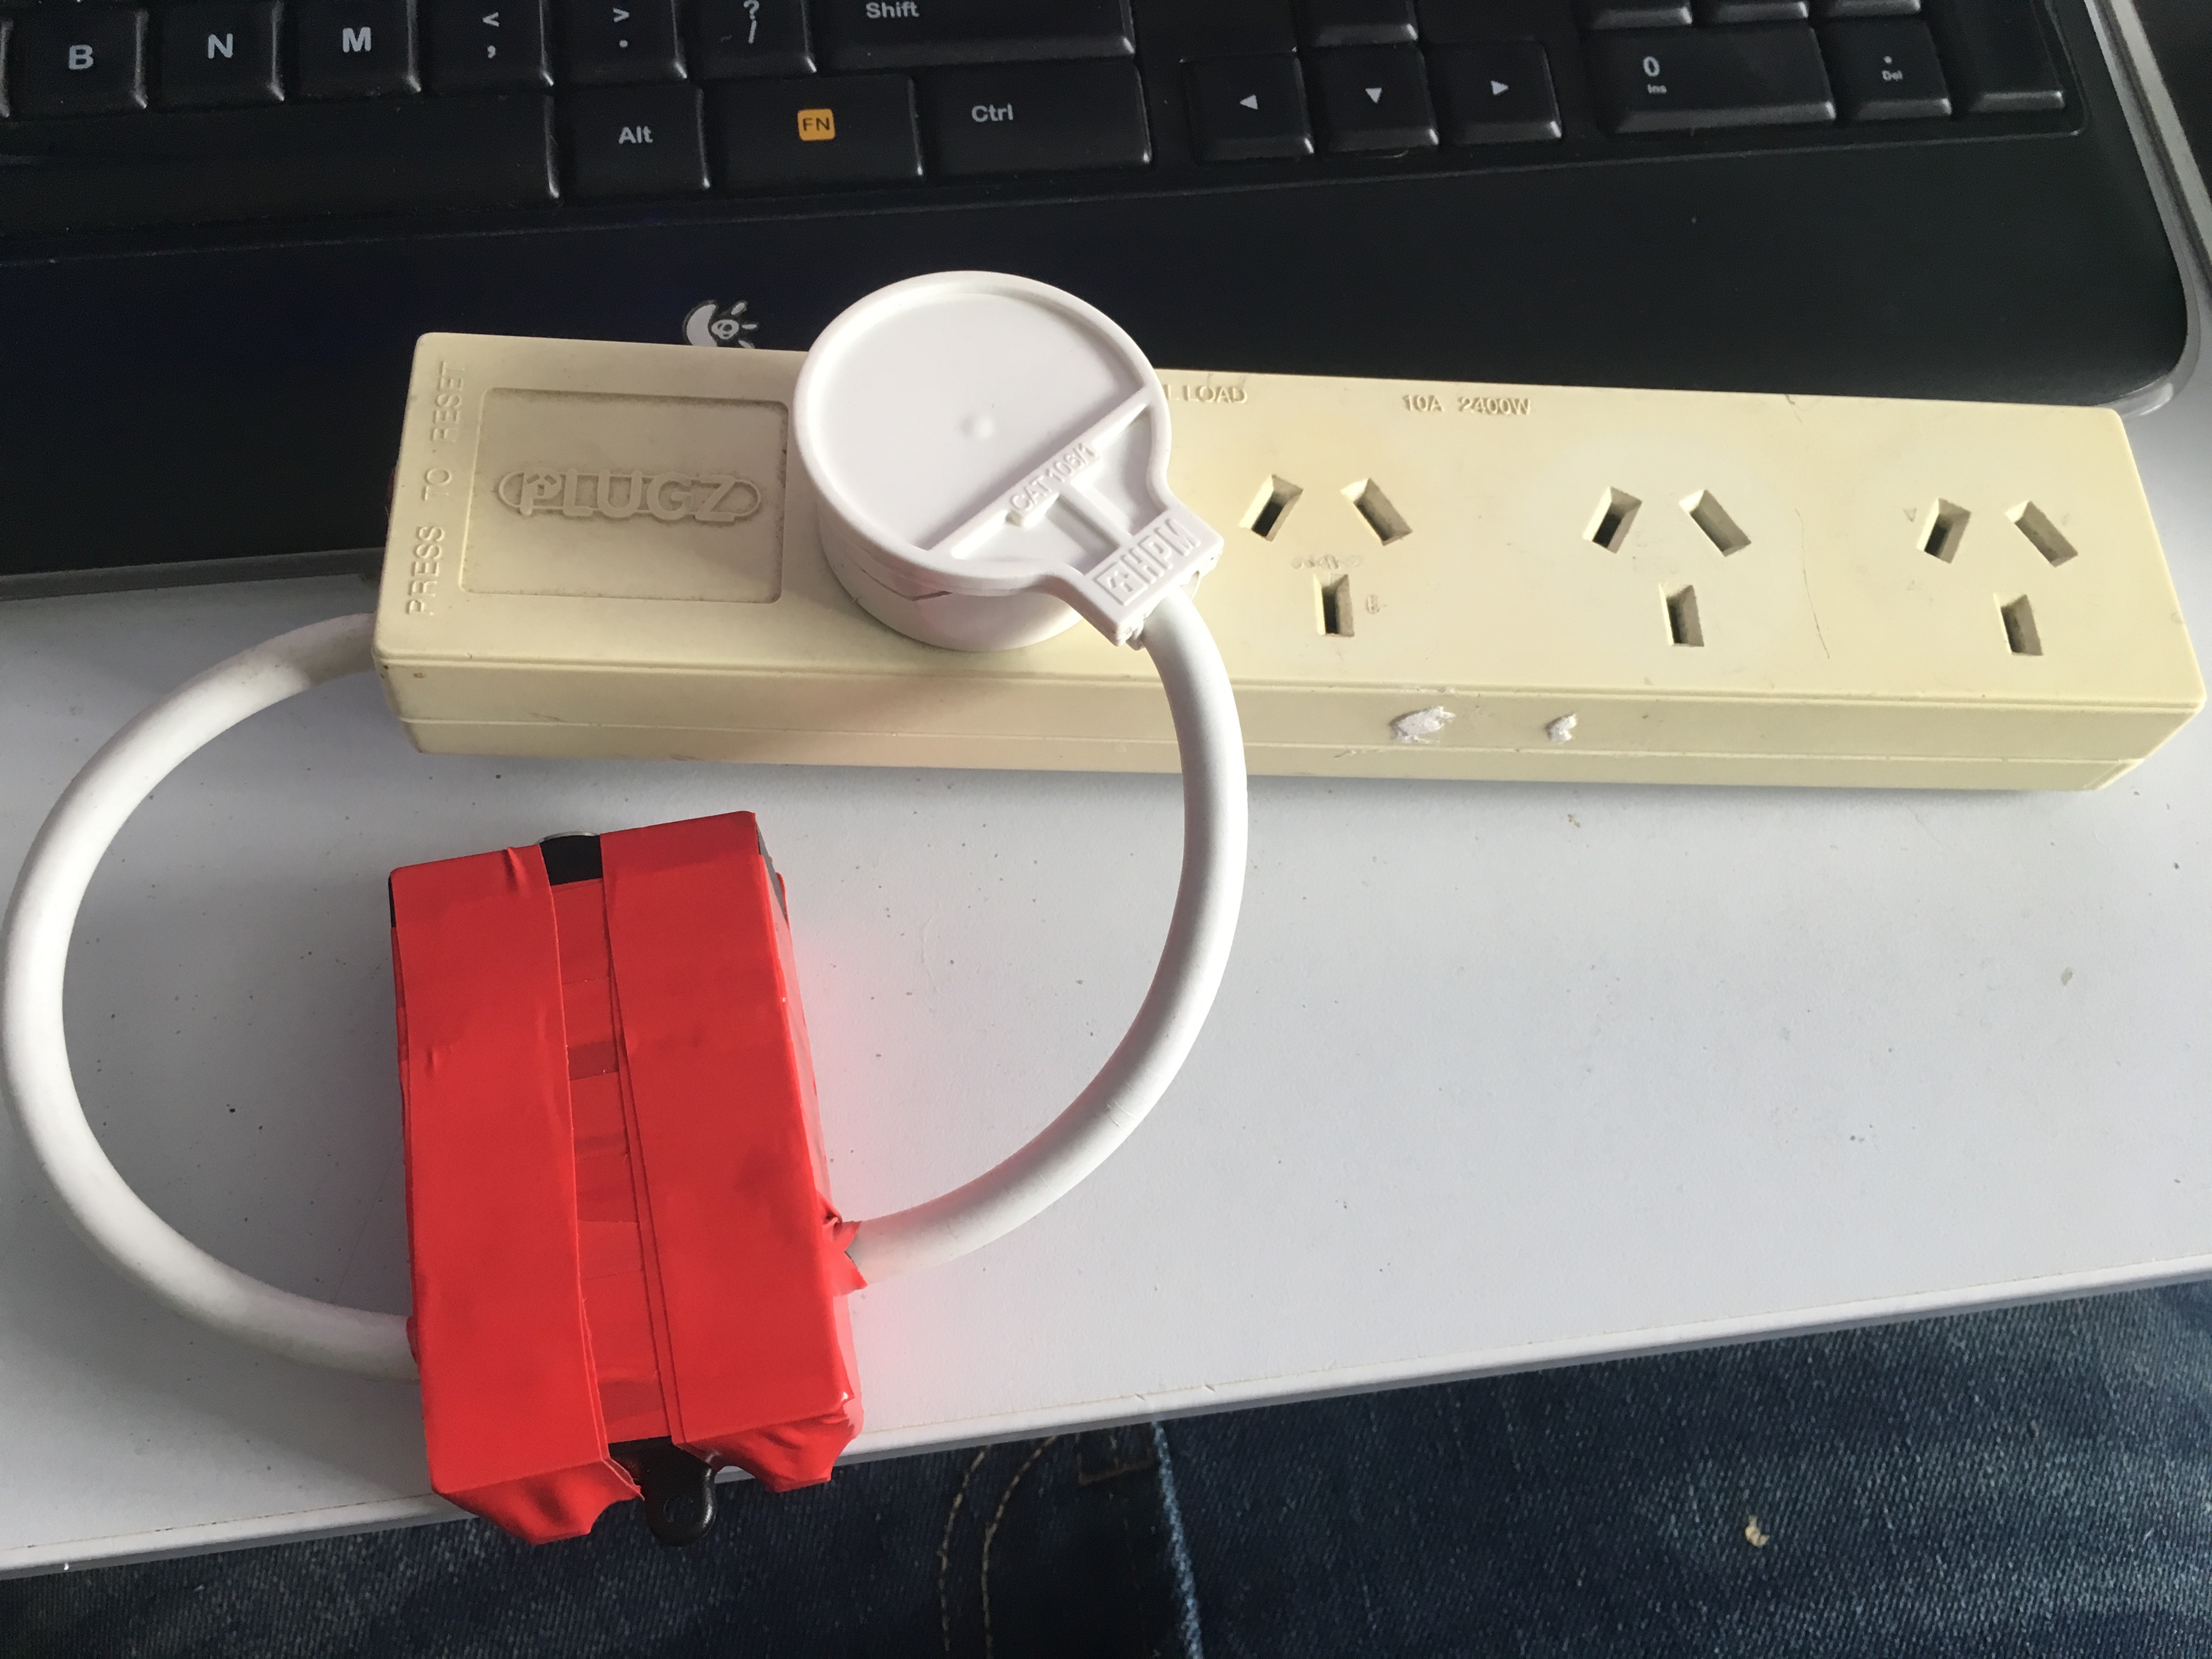
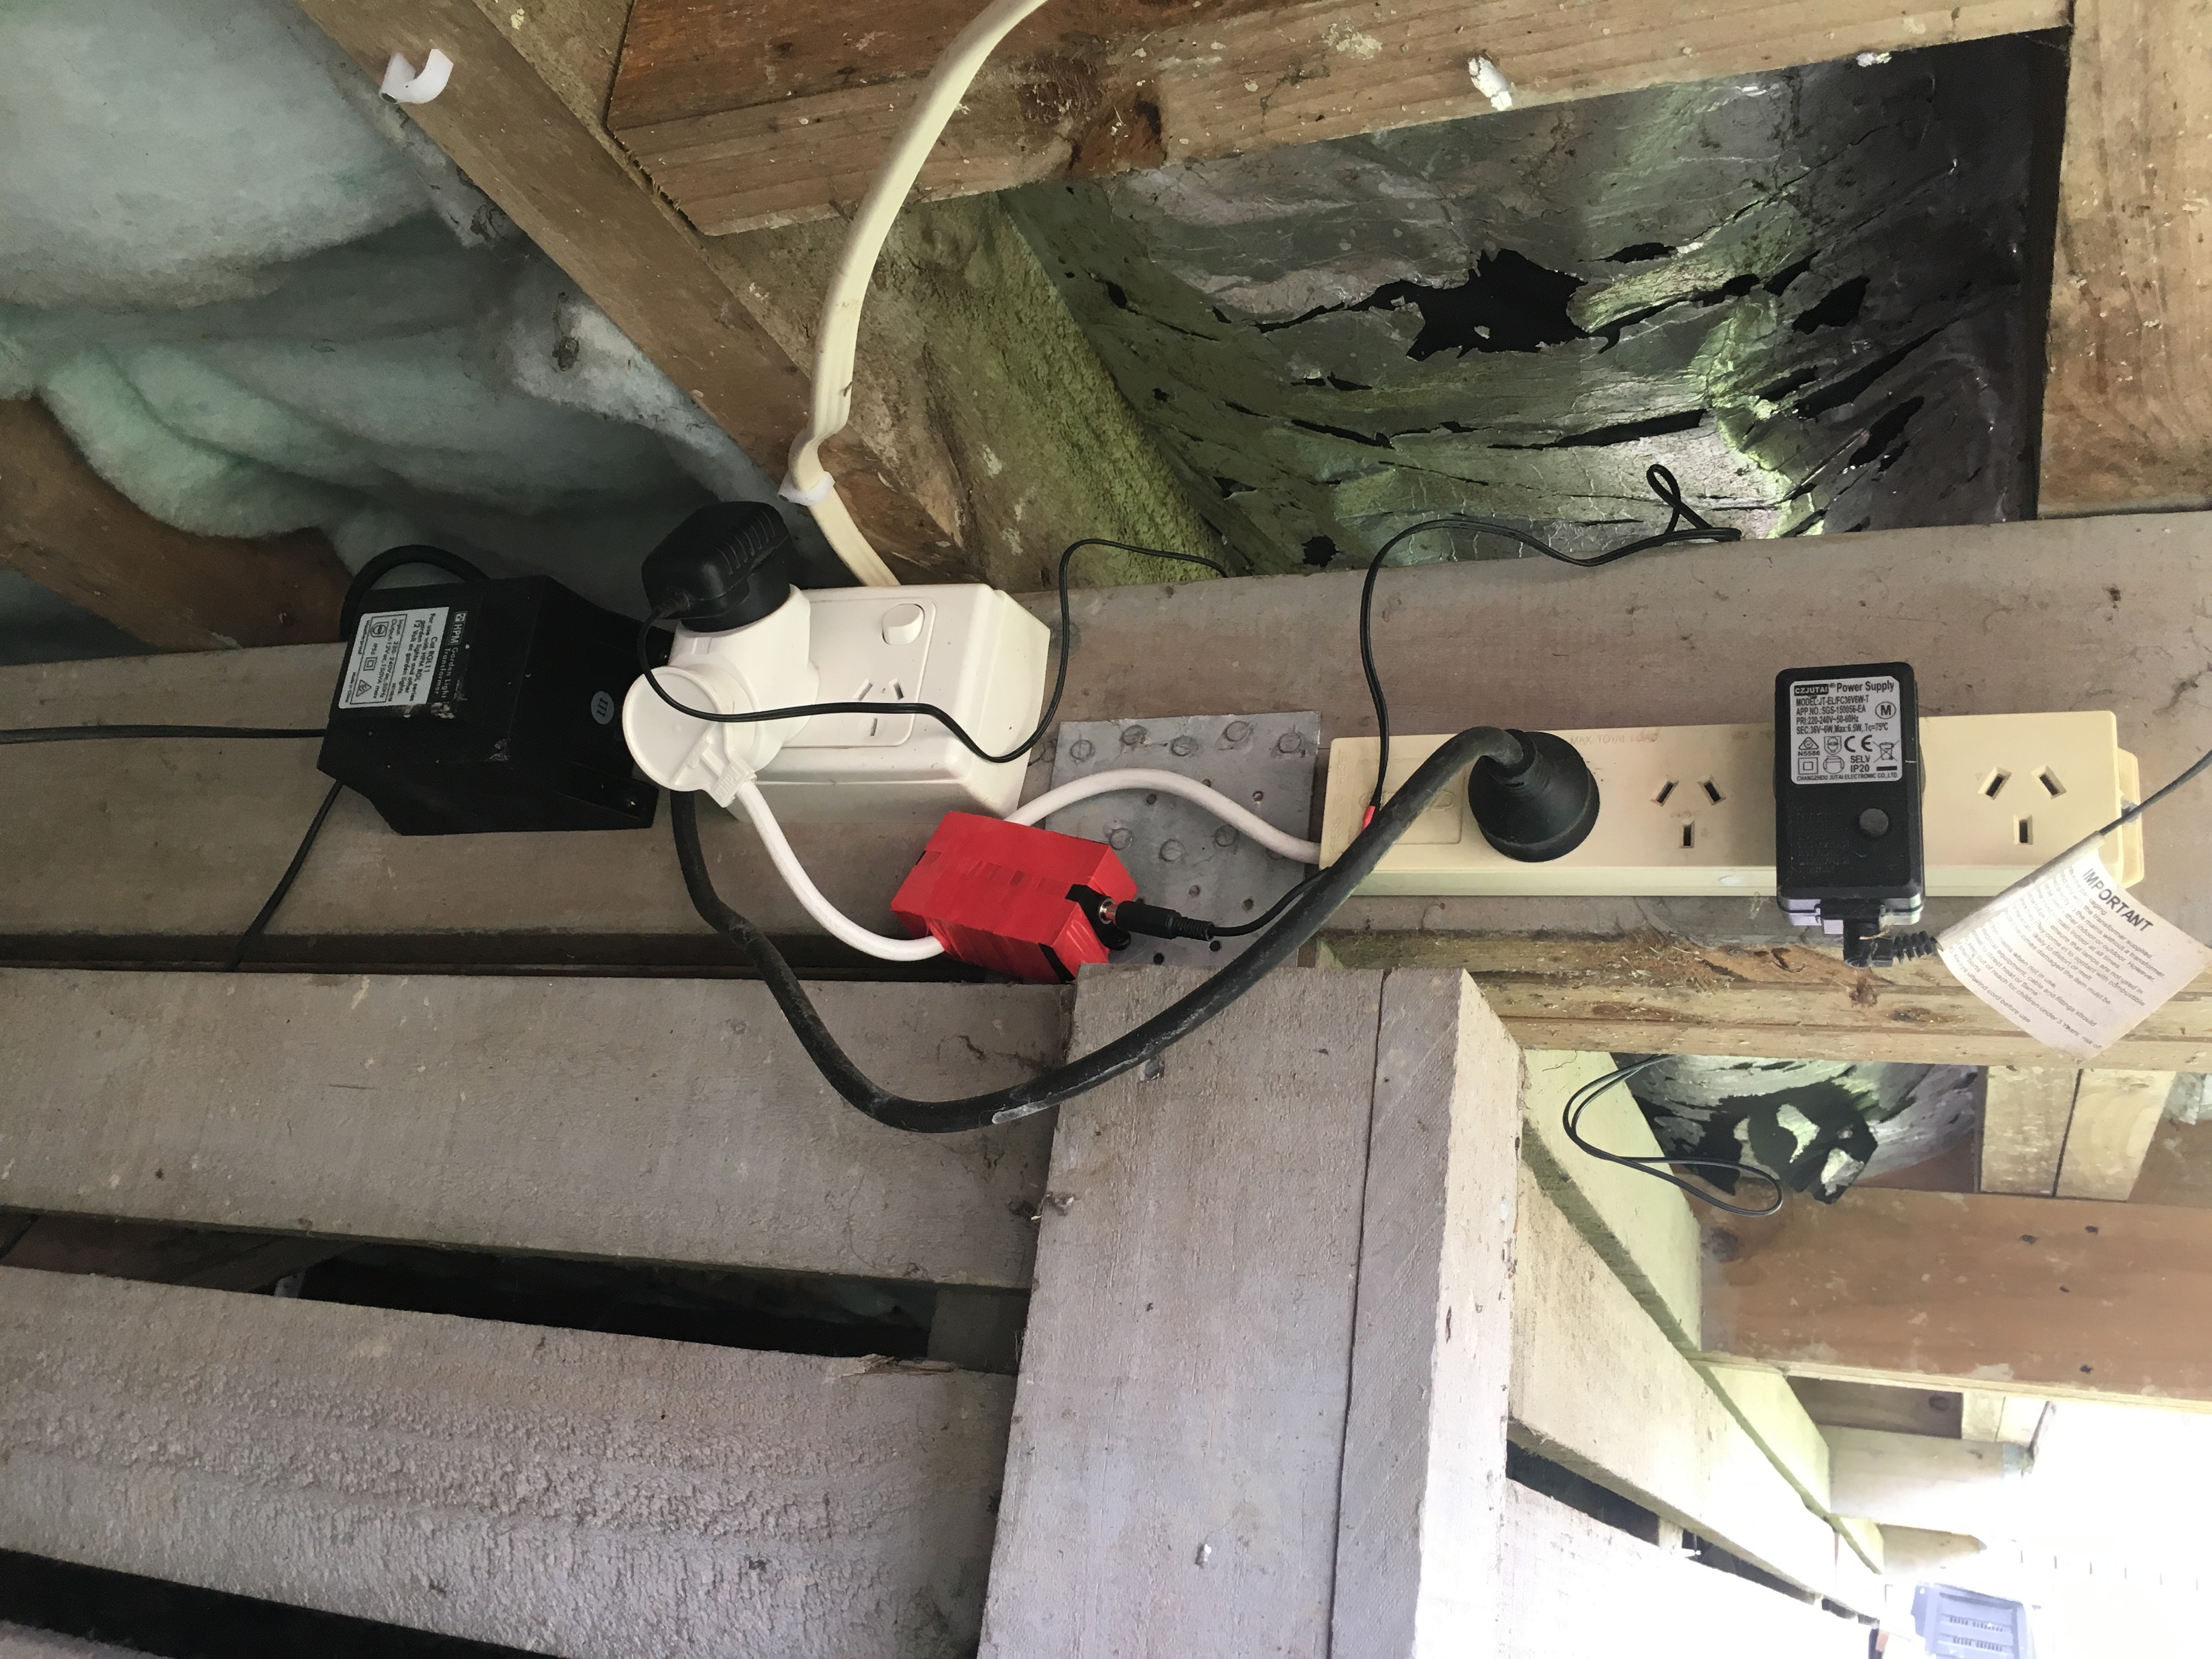
I built a tiny AC switch which Im using to turn my garden and path lights on. Its replacing an old digital timer which turns the landscape and path lighting after sunset.
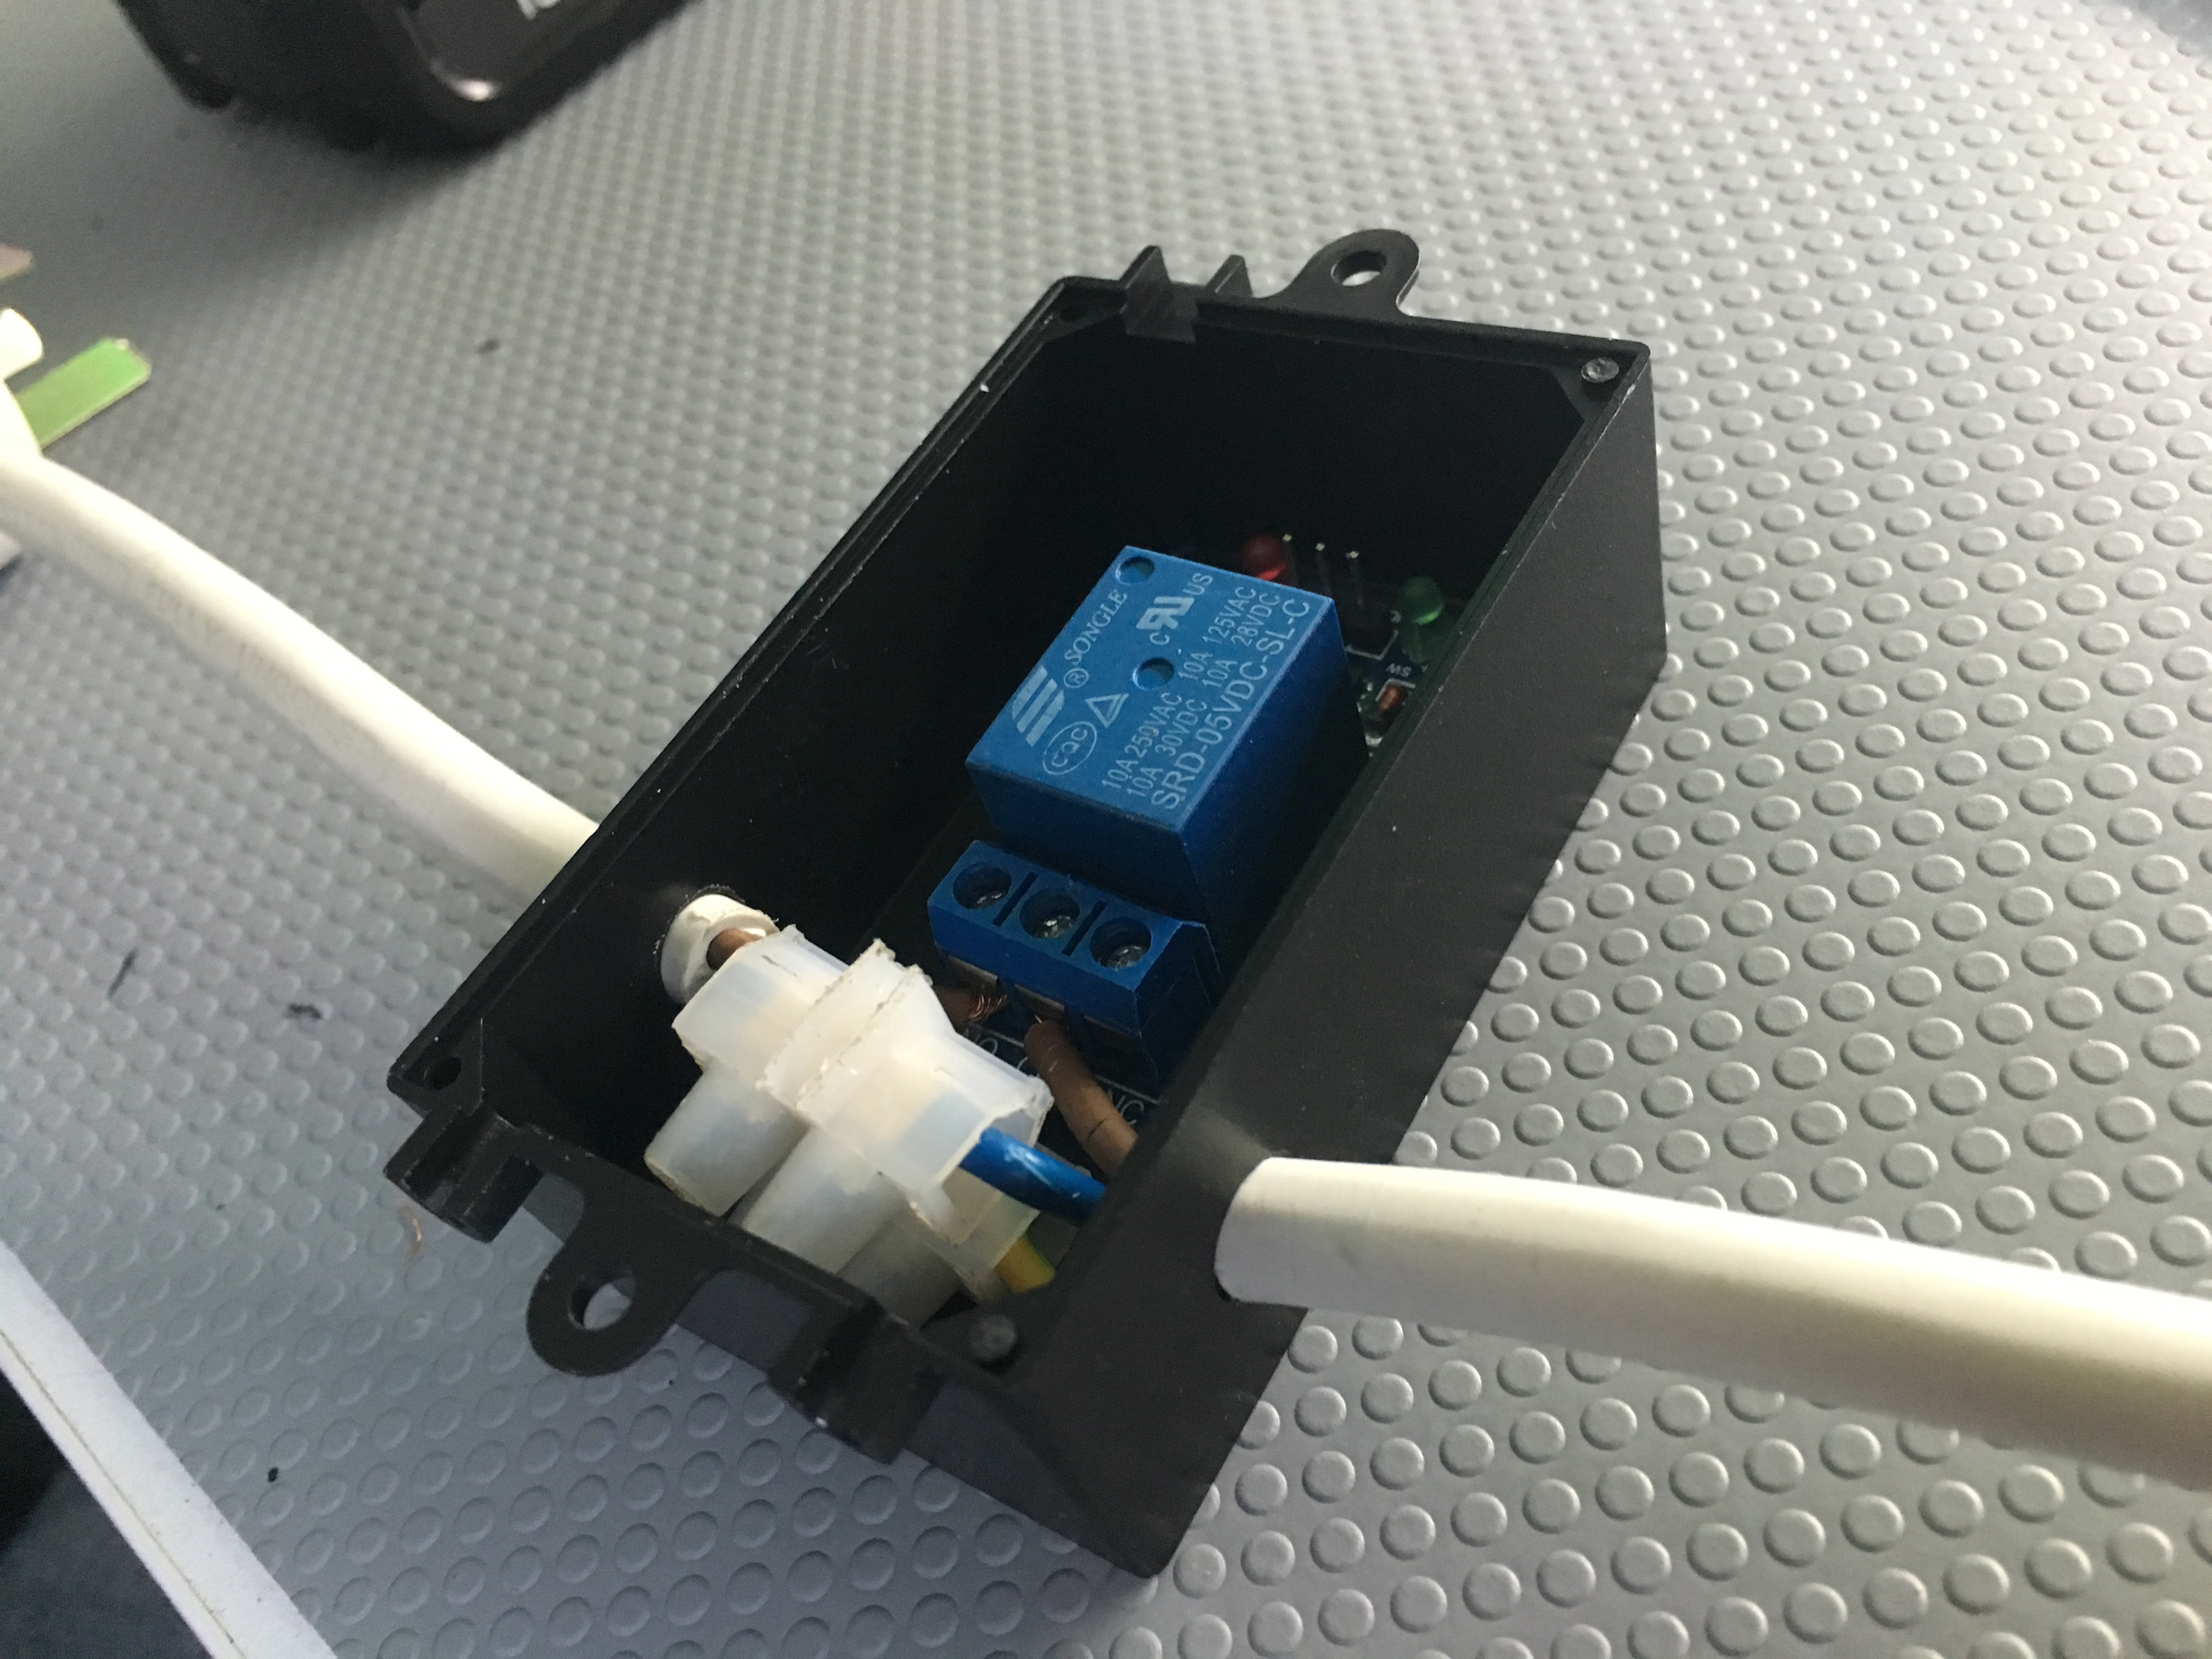
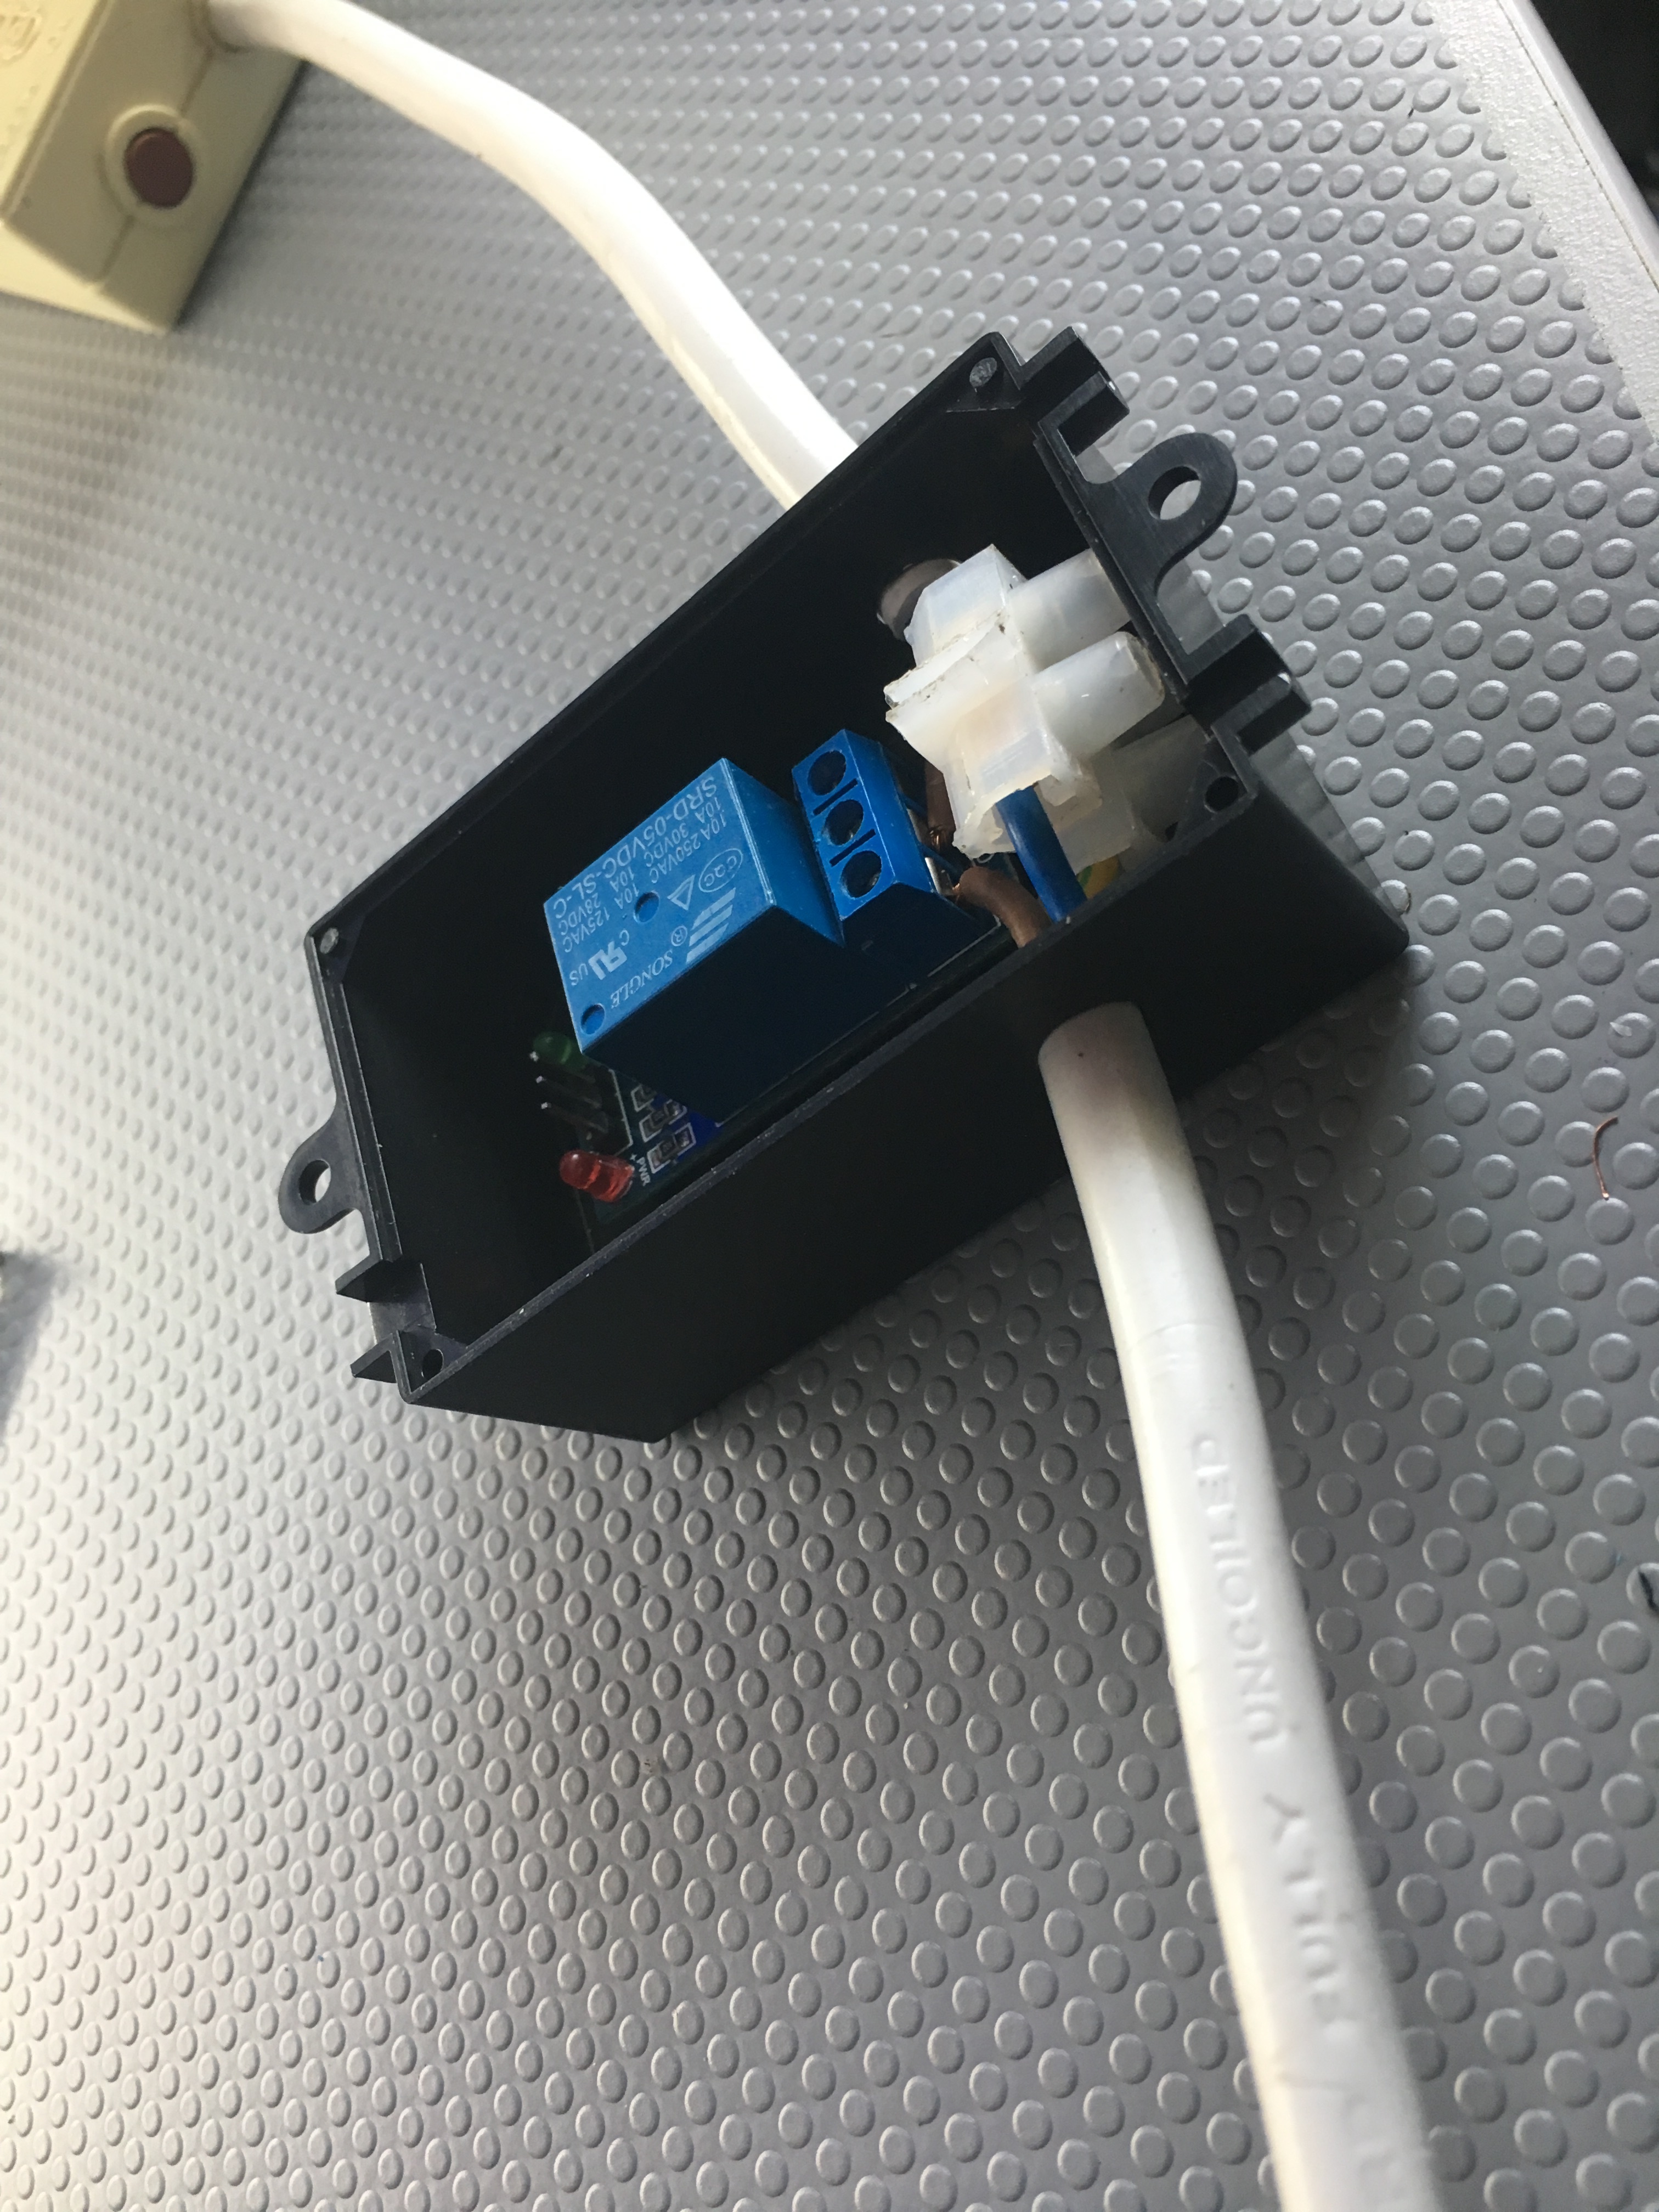
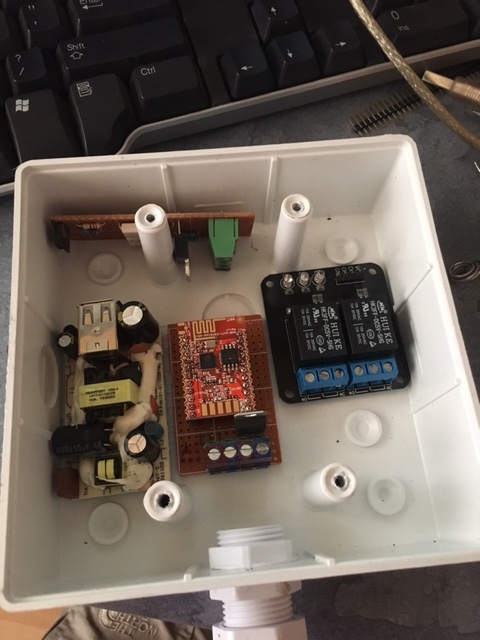
I hacked a 4-way power strip and put a single relay on the live wire (Brown in my case).
In terms of features:
OTA Updates
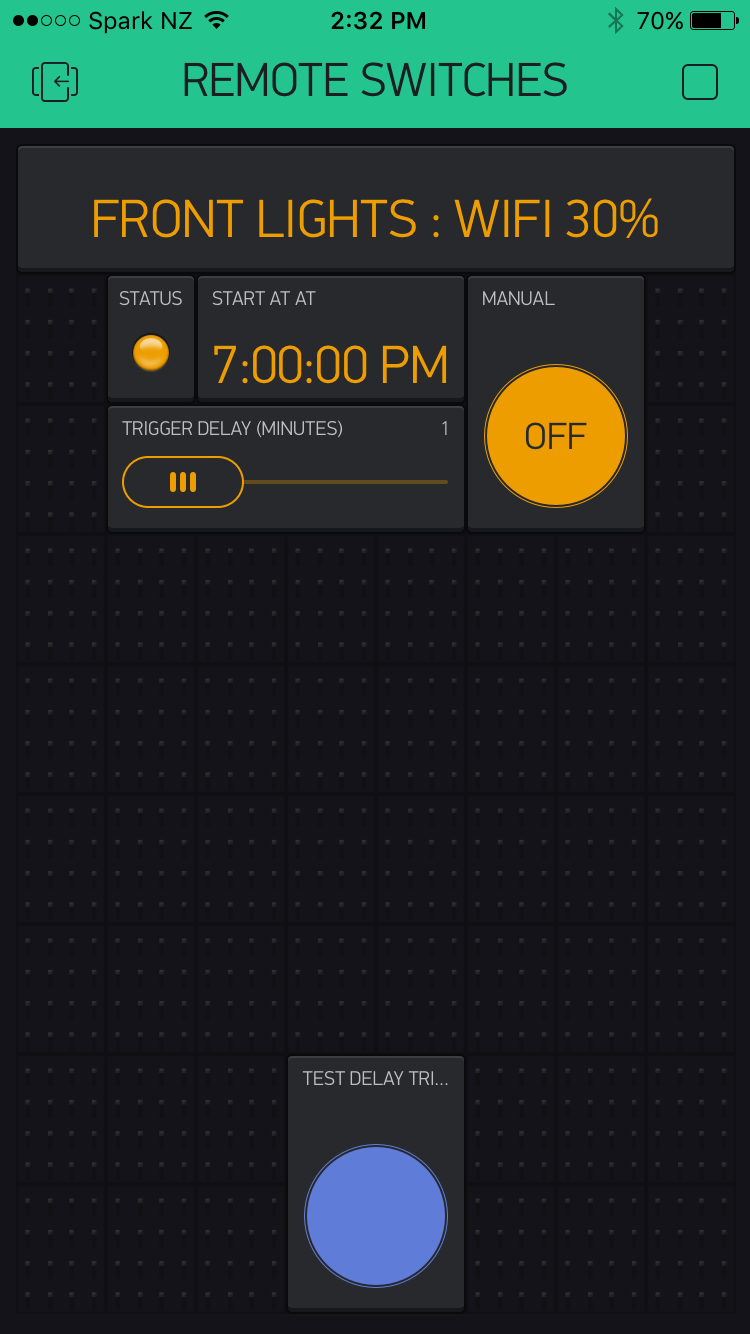
Manual Button (widget, not physical button)
Time Input (start/end time)
Remote Trigger with timeout (use bridge to trigger lights with a timeout via another ESP on a gate or PIR sensor)
Slider widget can set the delay from 1-10min.
When I build another one, I will also include the power supply for the ESP inside the case and splice it in to the main line. This time I didn’t have a big enough case.
I use the remote delay trigger when my gate is opened during night hours to help light up your way to the door.
The Timer widget trumps the delay too.
Wow!! @Jamin, you are reading my mind!!!
I’m doing my own Relay for other purposes with the ESP-01, at the moment my Dashboard has only One button! Lol, I will pay attention to your code! Thanks for sharing!!
I bought a bunch of the Sonoff devices now due to the price, I am not able to make ^ for the same cost as a Sonoff, I run custom MQTT firmware on the Sonoff.
Yup I just got a few from Banggood.com but I discovered a few days after ordering that I could get them far cheaper on aliexpress! So I have another 15 in the mail now
Building a new workshop/shed in 4 weeks and will be setting up solar on it so will be designing my own solar charge monitor too!
Also will be able to control the lights and setting up an electronic lock just for fun
Me now working on remote car start project for old cars. I accomplished it, but neets to be tune up for feedback from the car to esp and to blynk app to get notification like “cars’ engine is istarted” or " stopped" cant figure it out that part
You just need the signal. Once you have it… use a voltage divider to bring the voltage from 12V down to 1-3.3V… then pop it in to your A0 analog input.
You can then just use analogRead(A0) and look for a change, attach an interupt to it then use that to trigger any widget you like.


 , then more cool projects coming in the future then
  , I will order the sensor today. I might need help with code when I get sensor