Ha! Jinx! 
Where should i insert timer.setInterval(1000L, blinkLedWidget); ?
but i need to #define BLYNK_GREEN and stuff right ?
Thank you anyway  )
)
Yes you will need to include the #define for the colors you wish to use.
As for the timer.setInterval(1000L, blinkLedWidget); it should go right before or after timer.setInterval(1000L, blinkLedWidget); in your setup function.
Just write the new timer after the other one:
timer.setInterval(1000L, sendSensor);
timer.setInterval(1000L, blinkLedWidget);
Or just copy the code from @Toro_Blanco and get rid of the blinkLedWidget function
Thanks already did it 
It´s kinda working now, but it´s switching between Received Reading and Failed to Read
it displays this in serial monitor
Failed to read from DHT sensor!
Led on V1: red
Failed to read from DHT sensor!
Led on V1: red
Received reading from DHT sensor!
LED on V1: green
Received reading from DHT sensor!
The Led on the App isn´t lighting up aswell.
You will probably need turn the led on. Add this before the if statement.
led1.on(); //turn on led
Once it receives the reading from the sensor does it continue to receive the readings or does it then fail to receive after that?
Re-post the code you are now using so we can have a look.
Everything is working now but still switching between states some times it stays then it switches to failed again can´t see any patterns
 /**************************************************************
 * Blynk is a platform with iOS and Android apps to control
 * Arduino, Raspberry Pi and the likes over the Internet.
 * You can easily build graphic interfaces for all your
 * projects by simply dragging and dropping widgets.
 *
 * Blynk library is licensed under MIT license
 * This example code is in public domain.
 *
 **************************************************************
 * This example shows how value can be pushed from Arduino to
 * the Blynk App.
 *
 * WARNING :
 * For this example you'll need SimpleTimer library:
 *   https://github.com/jfturcot/SimpleTimer
 * and Adafruit DHT sensor library:
 *   https://github.com/adafruit/DHT-sensor-library
 *
 * App project setup:
 *   Value Display widget attached to V5
 *   Value Display widget attached to V6
 *
 **************************************************************/

#define BLYNK_PRINT Serial    // Comment this out to disable prints and save space
#include <SPI.h>
#include <ESP8266WiFi.h>
#include <BlynkSimpleEsp8266.h>
#include <SimpleTimer.h>
#include <DHT.h>

WidgetLED led1(V1);

BlynkTimer timer;
bool ledStatus = false;

#define BLYNK_GREEN   "#23C48E"
#define BLYNK_RED     "#D3435C"
#define DHTPIN 2          // What digital pin we're connected to

// Uncomment whatever type you're using!
#define DHTTYPE DHT11     // DHT 11
//#define DHTTYPE DHT22   // DHT 22, AM2302, AM2321
//#define DHTTYPE DHT21   // DHT 21, AM2301

DHT dht(DHTPIN, DHTTYPE);


// This function sends Arduino's up time every second to Virtual Pin (5).
// In the app, Widget's reading frequency should be set to PUSH. This means
// that you define how often to send data to Blynk App.
void sendSensor(){

float h = dht.readHumidity();
float t = dht.readTemperature(); // or dht.readTemperature(true) for Fahrenheit
led1.on(); //turn on led

  if (isnan(h) || isnan(t)) {
Blynk.setProperty(V1, "color", BLYNK_RED);
Serial.println("Failed to read from DHT sensor!");
Serial.println("Led on V1: red");
ledStatus = true;
  } else {
Blynk.setProperty(V1, "color", BLYNK_GREEN);
Serial.println("Received reading from DHT sensor!");
Serial.println("LED on V1: green");
ledStatus = false;
  }
// You can send any value at any time.
// Please don't send more that 10 values per second.
Blynk.virtualWrite(V5, h);
Blynk.virtualWrite(V6, t);
}


void setup()
{
  Serial.begin(9600); // See the connection status in Serial Monitor
  Blynk.begin(auth, ssid, pass);

  dht.begin();

  // Setup a function to be called every second
  timer.setInterval(1000L, sendSensor);
}

void loop()
{
  Blynk.run(); // Initiates Blynk
  timer.run(); // Initiates SimpleTimer
}
Are the readings on v5 and v6 accurate?
Maybe try increasing the timer interval.
The readings are changing if im changing the environment, can´t say if they´re accurate. I don´t have any reference values.
How can i change it ?
Thanks for your help 
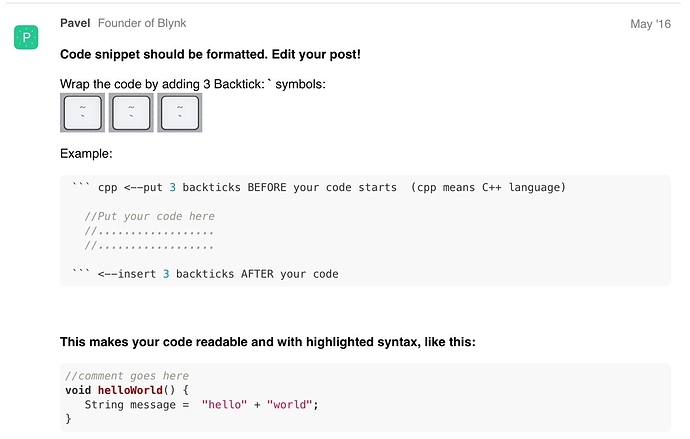
I had to go back and add in the proper formatting backticks (top and bottom of code). Please check it out and see how it needs to be done for future. Thanks.
As for your code, try increasing the timer interval to around 5 seconds… the DHT11 is notoriously slow and only has a accuracy range of ± 2 deg.
I did it by clicking the preformatted text button in the Editor right here.
Should i just change the refresh time in the app ?
That doesn’t always work properly, which is why the developers show how to do it here:
Change it here:
timer.setInterval(1000L, sendSensor);
Do i need to change the “1000L” ? I apologize for so much questions but im quite new ![]()
LOL can´t reply anymore :DDDD need to wait 19 Hours
It´s still switching around continously…
unfortunately this makes no change
Received reading from DHT sensor!
LED on V1: green
Received reading from DHT sensor!
LED on V1: green
Failed to read from DHT sensor!
Led on V1: red
Failed to read from DHT sensor!
Led on V1: red
Received reading from DHT sensor!
LED on V1: green
Received reading from DHT sensor!
LED on V1: green
Received reading from DHT sensor!
LED on V1: green
Received reading from DHT sensor!
Yes, the timing is in milliseconds, so 1000 = 1 second. Change it to 5000 for 5 seconds 5500 for 5.5 seconds and so on.
Change the position of led1.on to immediately before the ledStatus=true and led1.off just before ledStatus=off.
